Troubleshooting OLED displays in splitkb.com DIY keyboards
My keyboard layout is mirrored
Steps to follow when the left half acts as the right, and the other way around.
The keyboard behaves erratically after changing the RGB settings
Excessive power draw can cause a keyboard to act up. Here's how to limit the power draw and get your keyboard back in business.
When to use
You should use this document when you're using and/or experiencing the following.
Products
This page applies to the following products:
Situations
Use this page when:
- You are using QMK or Vial firmware.
- Your OLED display doesn't display anything, it's just black.
- Your OLED display shows "tearing", where the displayed image looks like it's torn in several pieces.
- Your OLED display shows "snow", where pixels are randomly black or white.
Expected outcome
After following the instructions on this page:
- Your OLED display will show the expected image.
When to avoid
Do not use this page when:
- You are using a different kind of display, such as a nice!view or RGB TFT LCD display.
- You are using a different firmware than QMK or Vial.
You've soldered your OLED display, flashed firmware to your keyboard, plugged it in and... the keyboard works, but the display does not. Here are some common troubleshooting steps to help you get your display up and running.
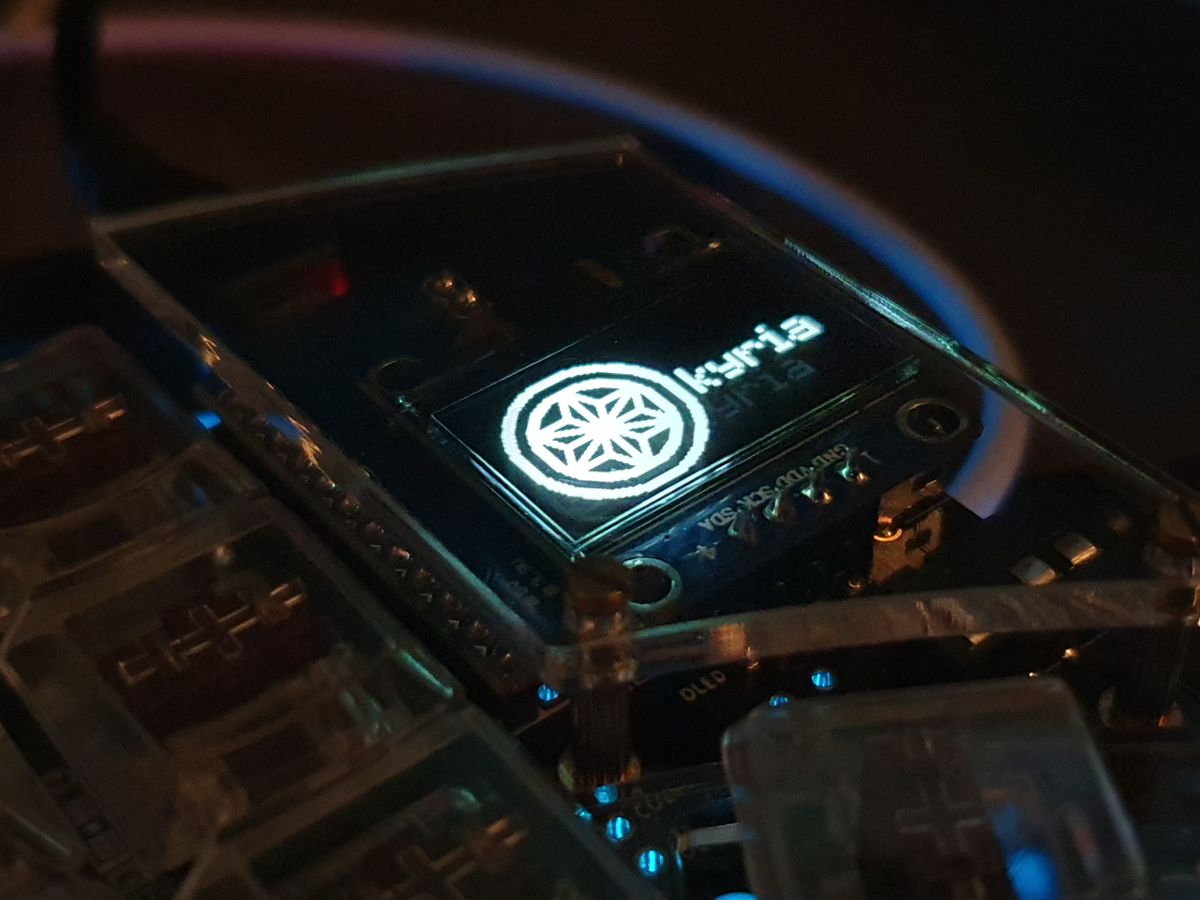
A 128x64 OLED display showing the Kyria emblem.
Sleep mode
By default, the display will turn off after around ten seconds, after the last keypress. Hit a key and the display should become active again.
The display should turn on when you just plug the keyboard in, however, so if the display won't work, follow the next steps.
Check the display for damage
First up: The display should not have cracks or otherwise have visible damage. It's thankfully very rare, but it can happen. If your display is damaged and still has its protective plastic foil on, please send a photo of it to support@splitkb.com. If possible, also send a photo of the package if the shipment was damaged on its way to you.
Make sure you've flashed both halves
For a split keyboard, the peripheral half (the half not directly connected to the computer) also needs to have firmware flashed to it, otherwise it won't know that it should drive its own display.
You can find your keyboard's default firmware using our Firmware Finder.
Check the resistors
For displays sold through splitkb.com, you will need to have resistors installed. You should check the Resistor build step in your build guide, such as Resistors step in the Aurora build guide.
If you did have resistors installed, please check the quality of their joints and reflow them when needed.
Check the soldering
Just to be sure, you'll want to ensure the solder joints for the four pins of the display are good. Reflow them when needed.
Check whether the OLED display jumpers are jumped correctly
Older kits, and kits by other vendors frequently use jumpers as part of the connection between the controller and the display. This is done so that the PCB can be reversible, using the same PCB for both the left and right halves of a split keyboard.
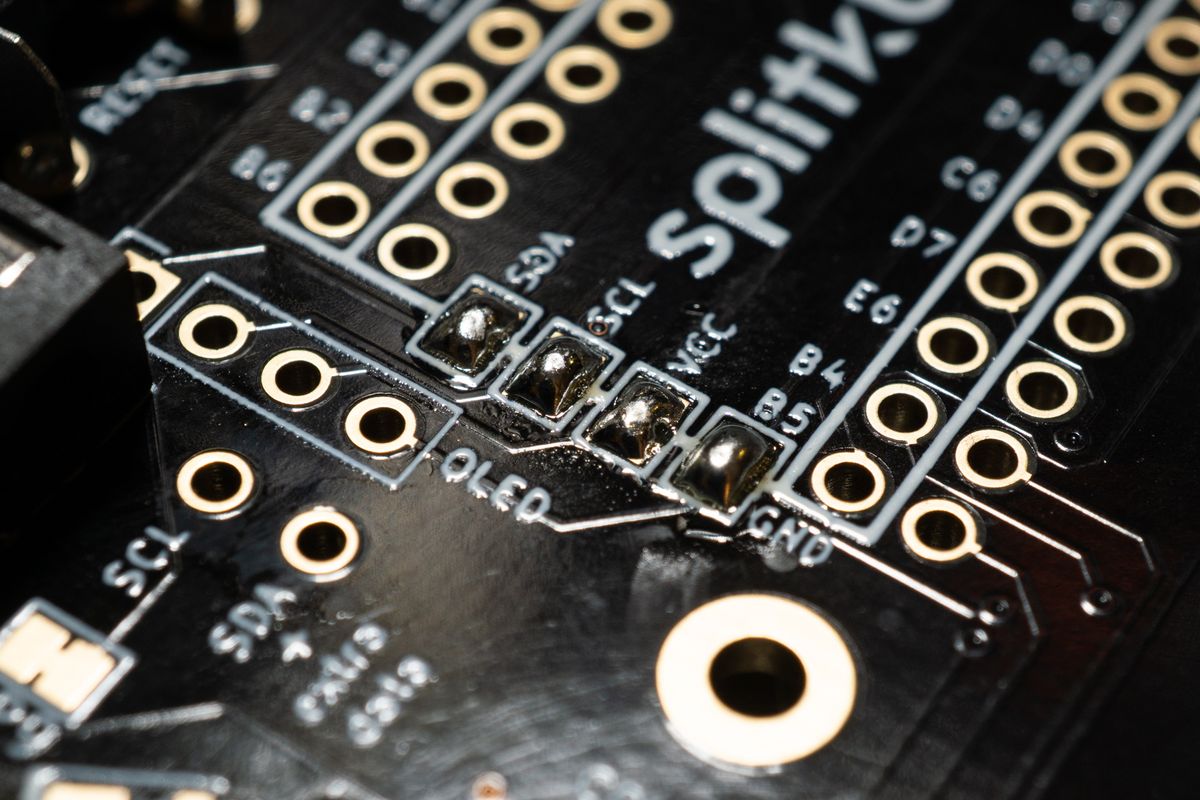
Soldered OLED jumpers on a revision 1 Kyria.
Make sure enough solder was added to the pads. Each set of jumper pads should connect to itself, but not to another set. Make sure the soldering is similar to that shown in the image above.
Verify if the OLED is enabled
The default firmware will have the OLED enabled, but if you made custom firmware or have altered your keymap using its source, you may not have enabled your display, or may have disabled it.
You should double-check whether you set up the display correctly. When in doubt, revert back to a default firmware and verify the display works. If it does work, you then have a basis to start from, and can compare the known to work version with your own code to figure out where you made a mistake or ommission.
Final steps
If all these steps do not work, you might have a defective display. Please get in touch with support@splitkb.com. It can help to send a picture of your display along with your request.
My keyboard layout is mirrored
Steps to follow when the left half acts as the right, and the other way around.
The keyboard behaves erratically after changing the RGB settings
Excessive power draw can cause a keyboard to act up. Here's how to limit the power draw and get your keyboard back in business.