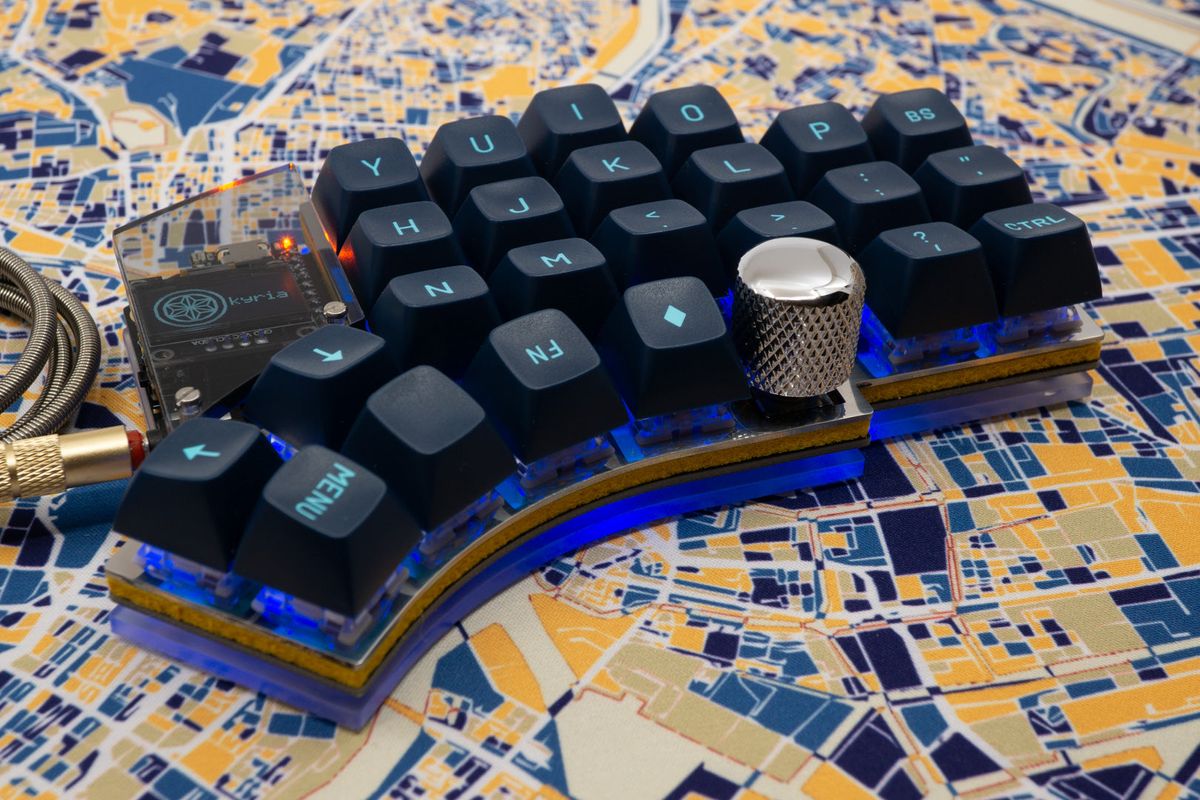
Kyria Build Guide: Getting Started
The Kyria is a 40% form factor split keyboard, packed with features and options to make it your own. In this guide, I’ll provide step by step instructions on how to assemble it and get your new keyboard set up.
If you face any trouble with the build, feel free to email me at support@splitkb.com, or join the Discord server.
Parts
You’ll have received various parts in your kit, but you’ll also need to purchase some other parts to finish your keyboard.
The kit
The kit is the basis the keyboard is built from. It contains most components you’ll need during your build:
- 2 × Kyria PCB
- 55 × 1N4148 Diode
- 2 × TRRS jack
- 2 × Reset button
- 4 × 4700 Ohm resistor
- 2 × 128×64 pixel OLED displays
- 25 × RGB LEDs
Required but not included
Other than the included parts, you’ll also need other parts to complete your build. You may be able to get most if not all of these at the same vendor you bought your kit from. The parts you’ll need:
- 1 × Kyria Plate Case or Kyria High Profile Case.
- 2 × Arduino Pro Micro compatible microcontroller, ATmega32U4 5V/16MHz.
- Up to 50 × MX, ALPS or Choc switch.
- Up to 50 × MX, ALPS or Choc 1u keycap.
- 1 × TRRS cable. A TRRS cable is a 3.5mm audio cable with four contacts on each end: the tip, two rings and a so-called sleeve.
- 1 × Micro USB to USB A cable. Depending on the microcontroller you use, you might instead need a USB C to USB A cable.
If you want to use larger 2u keys as your thumb keys, you’ll need one switch and one keycap less for each two keys you replace with a larger key.
While the case is technically not required, most people do choose to build their keyboard with a case, as it protects the keyboard's circuitry, and ensures a proper alignment of the keys.
Optional and not included
If you replace the outer thumb keys with larger 2u keys, you may want to get a PCB mount 2u stabilizer for each of them to reduce the chance they’ll wobble when you hit the keys off center.
You can use up to two EC11 or compatible rotary encoders.
A Note on Warranty and Defects. While your kit and components were selected and packed with care, defects can happen. Please inspect your PCB for damage before starting with your kit, and please flash the microcontroller before assembling it to make sure it works. Check out the article How Do I Test My Microcontroller? for more information about verifying the working of your microcontroller. While we will help you out with any questions you have, we cannot accept returns that have been partially or wholly assembled.