Top plates
The top plate holds your switches in place, and forms the base for the case.
Parts needed
You will need your top plate, screws, a flat head screwdriver and 6mm or 8mm spacers.
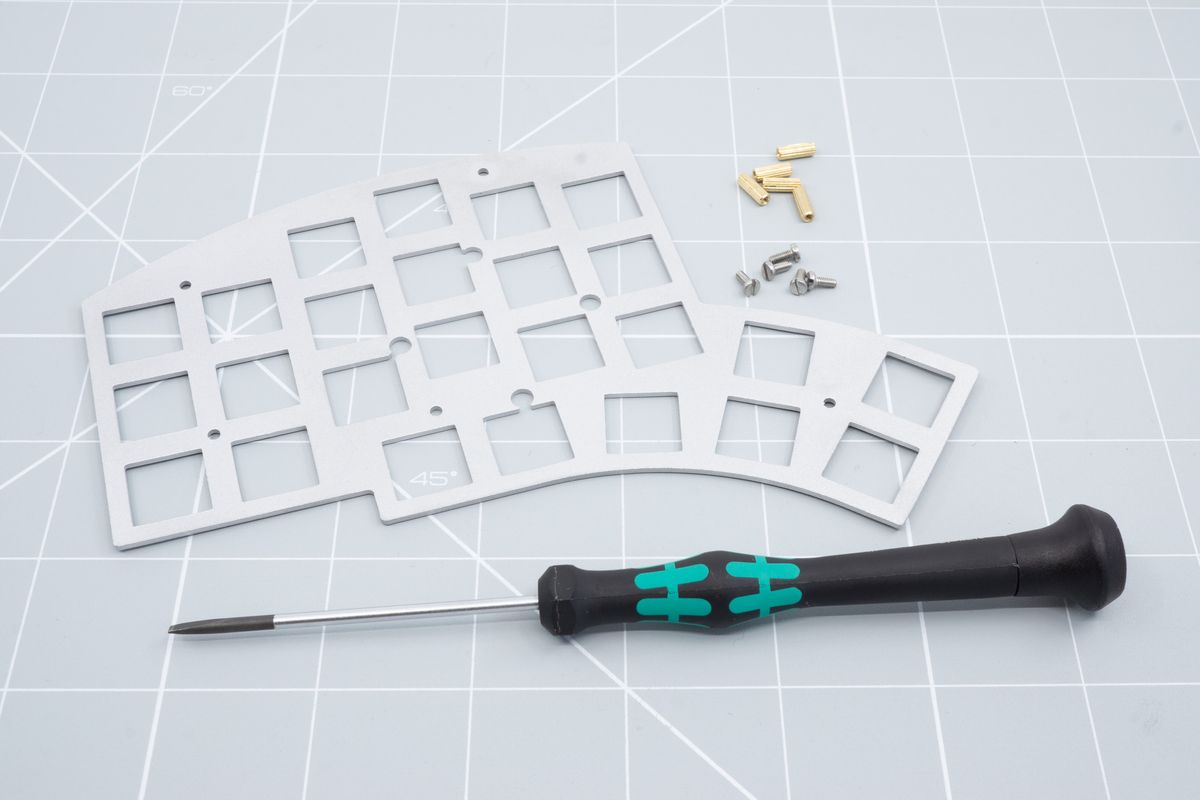
Screwdriver, top plate, screws and 8mm spacers.
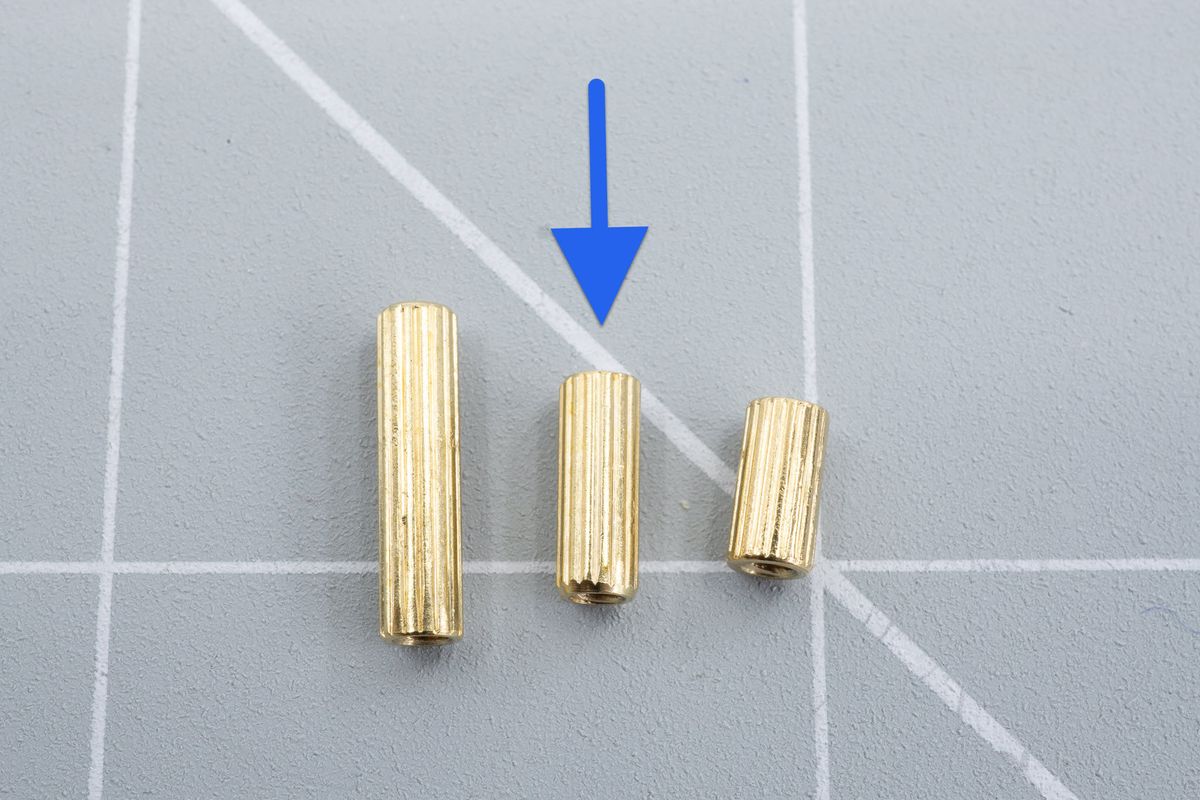
Different spacers, from left to right: 12mm, 8mm and 6mm. You'll need the 8mm ones, in the middle.
For the choc kit you will need the smallest size from the hardware kit.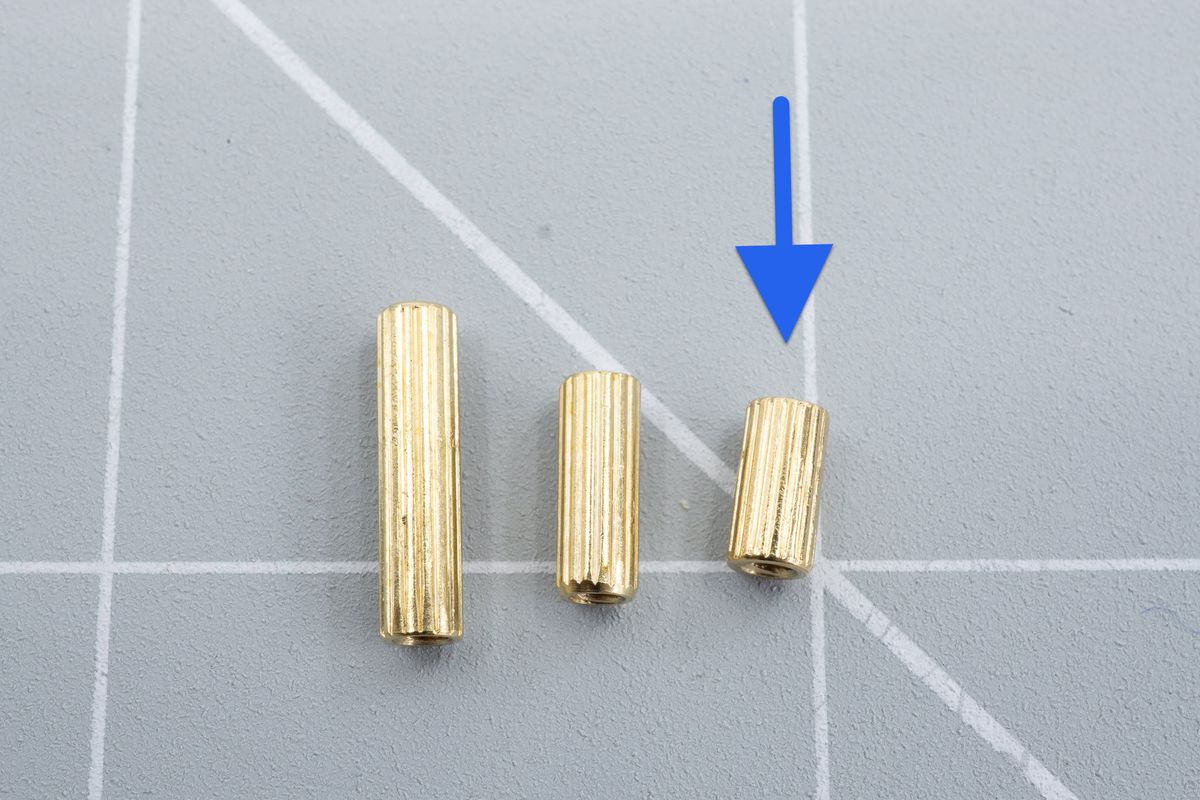
Different spacers, from left to right: 12mm, 8mm and 6mm. You'll need the 6mm ones, on the right.
Additionally, you will need your sound dampening sheet if you ordered one. This is an option for MX switches. It will not fit for keyboards using Kailh Choc Low Profile switches.
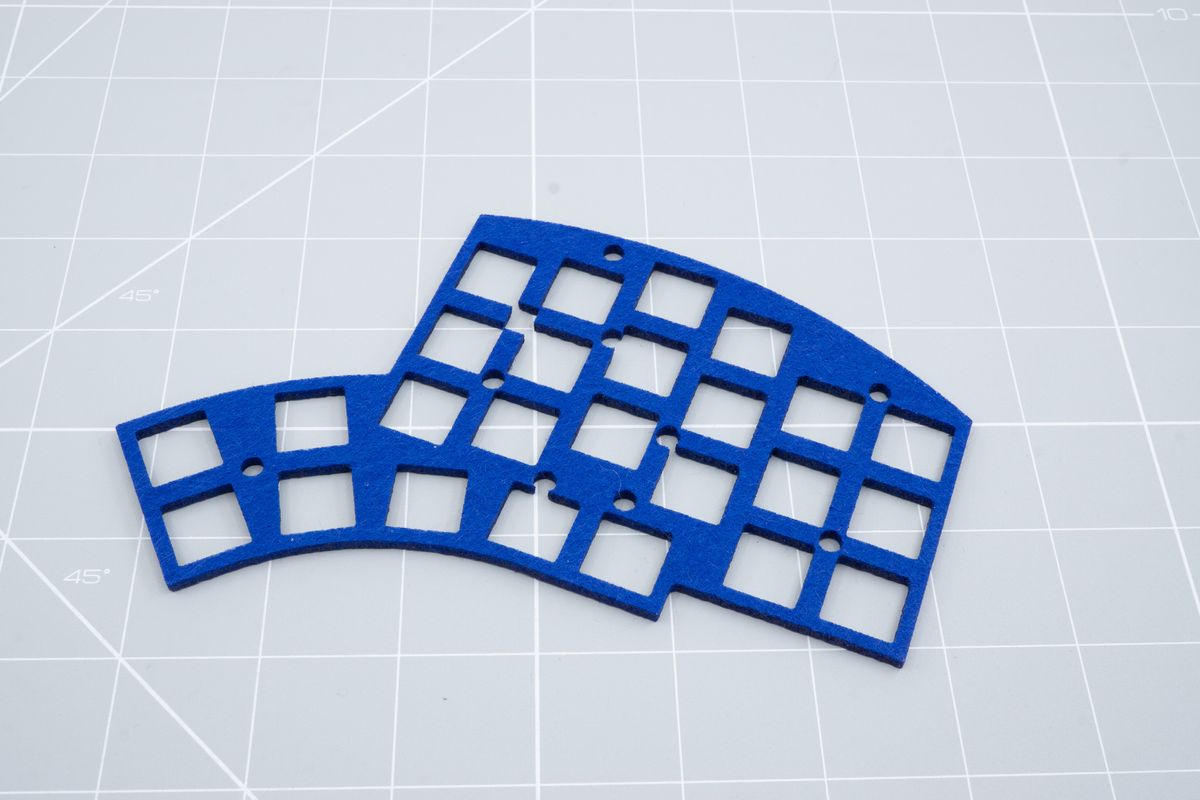
A felt sound dampening plate.
Position the plate
Make sure to orient the plate the correct way. It should align with the top of the keyboard.
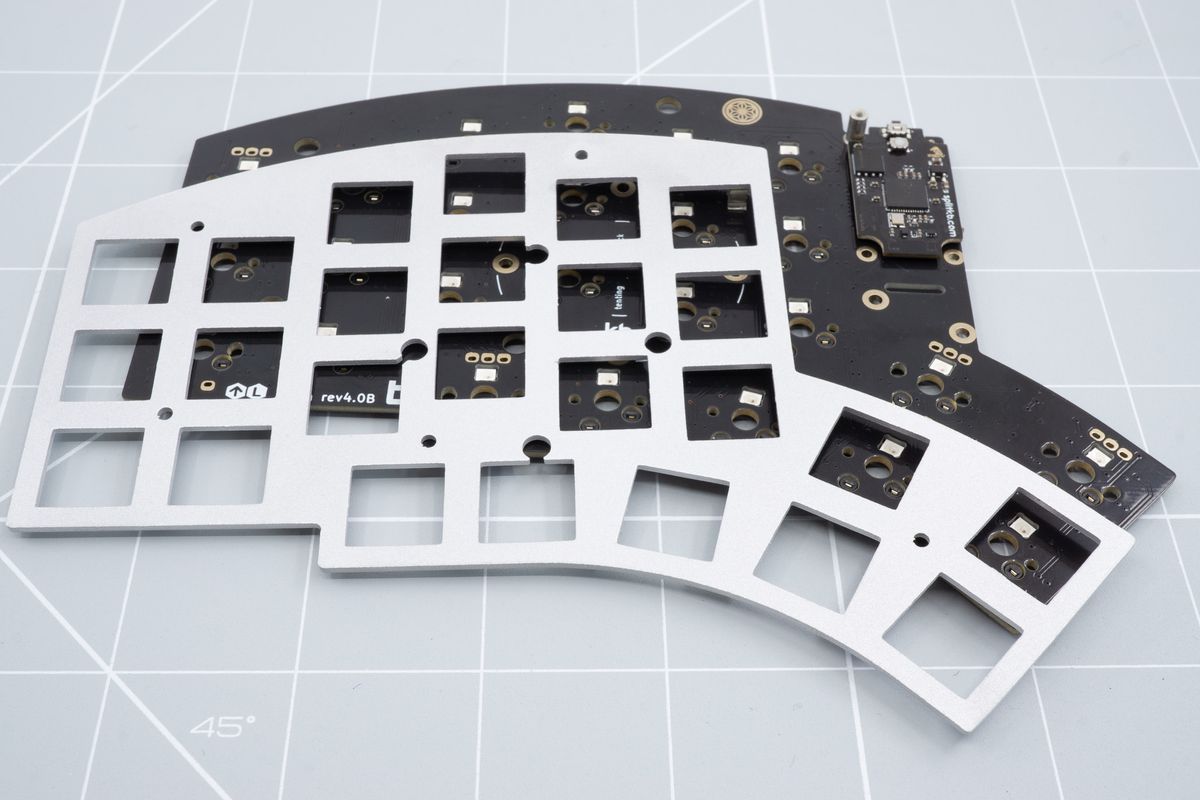
Top plate alignment.
Installing the spacers
Using your flat head screwdriver, screw in one of the spacers.
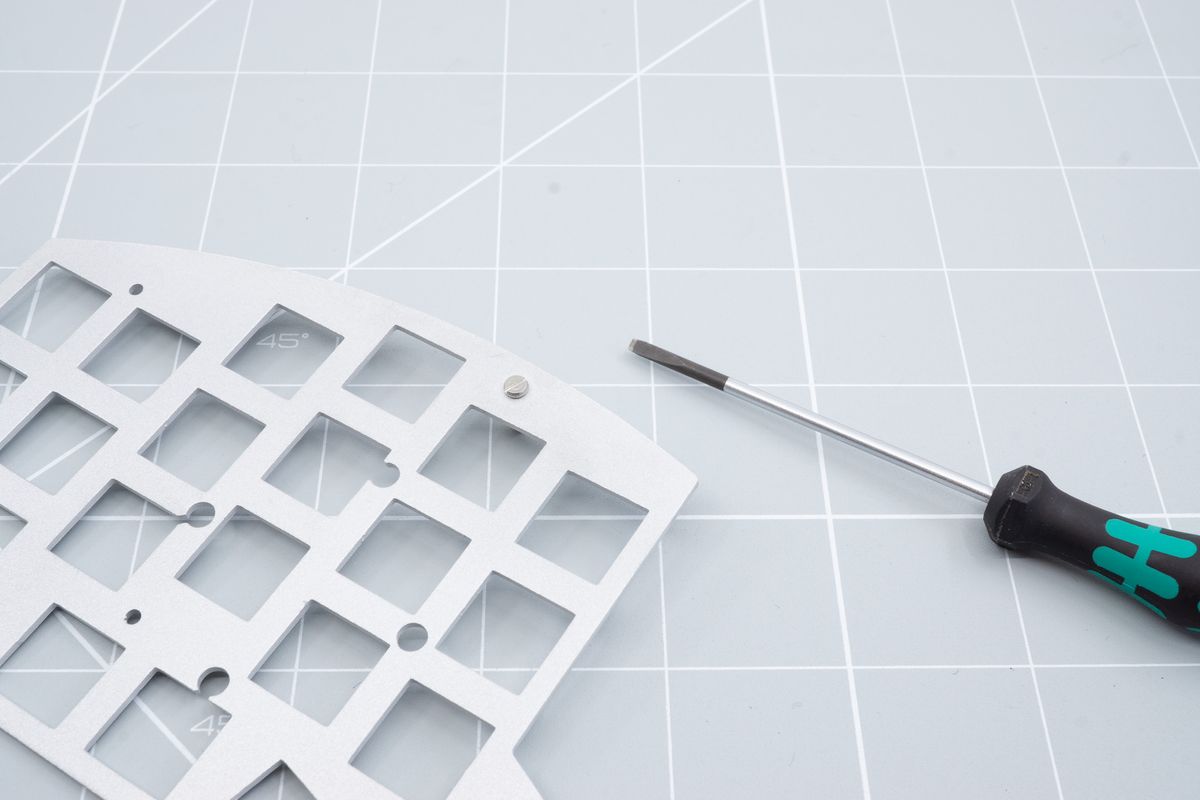
Screwing in one of the spacers.
Make sure you screwed the spacer in fully and confirm by checking the bottom of the plate.
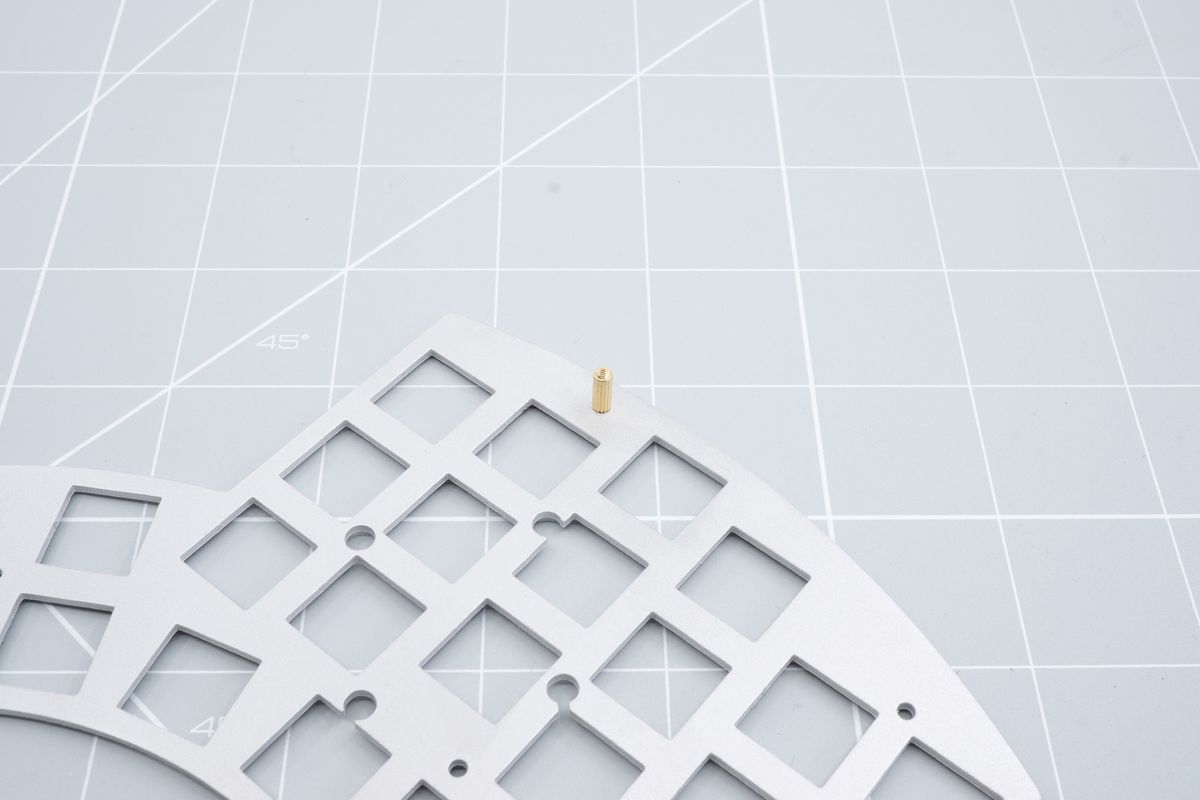
Bottom side of the top plate with one spacer installed.
Screw in the rest of the spacers in each of the spacer positions. The number of spacers may be different depending on which keyboard you're building.
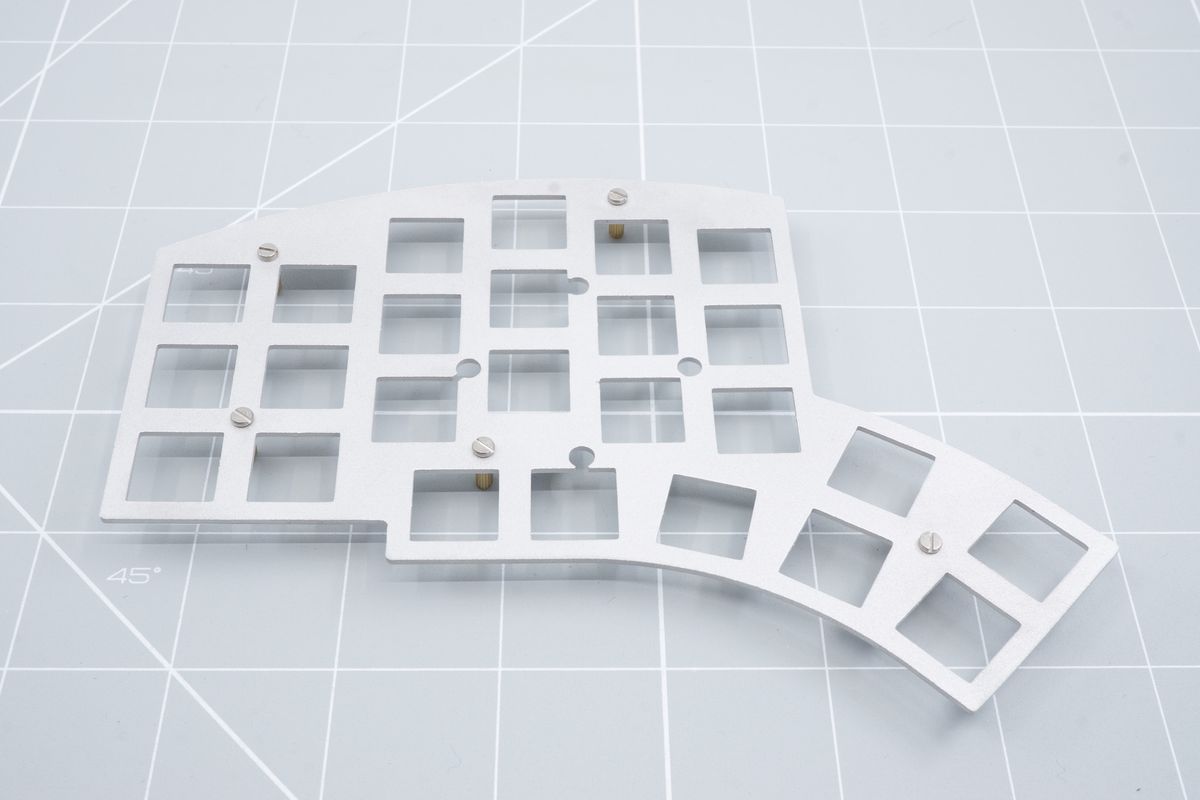
All spacers installed in to the top plate.
Once again, confirm all the spacers are screwed in completely on the bottom side.
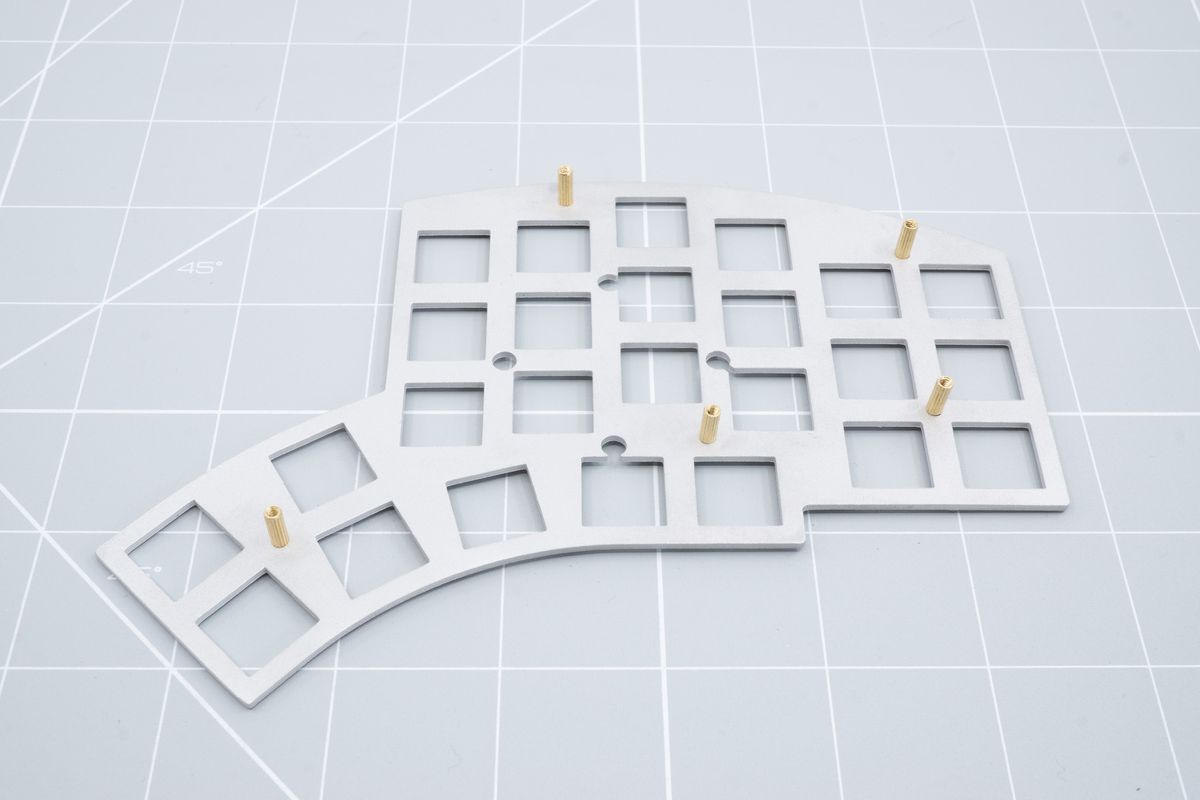
Bottom side of the top plate with all spacers installed.
Adding the sound dampening sheet
Add your sound dampening sheet on of the bottom side of the top plate if you have one.
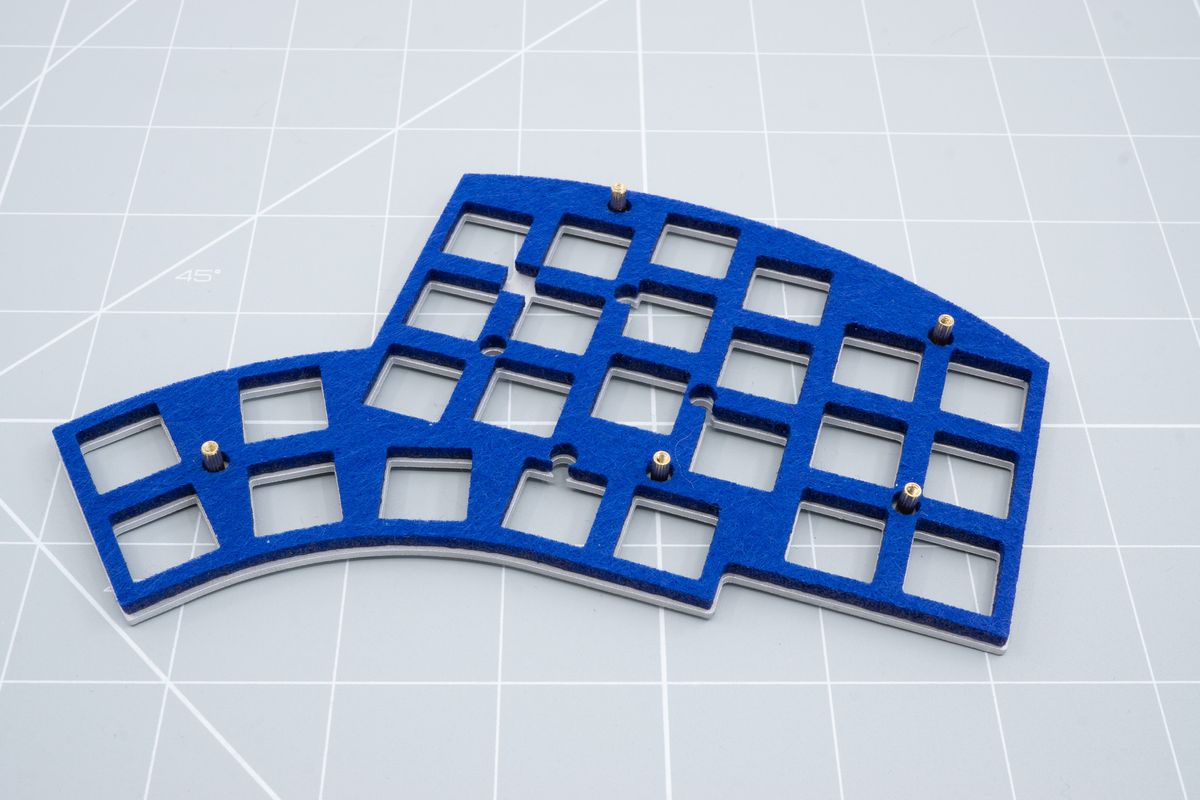
Sound dampening sheet added to the bottom of the top plate.
Adding the keyboard PCB
Finally add the keyboard PCB on top of the sound plate. We won't install a bottom plate just yet as we need to install switches first in the next step. The keyboard PCB mounting holes should align perfectly with the spacers.
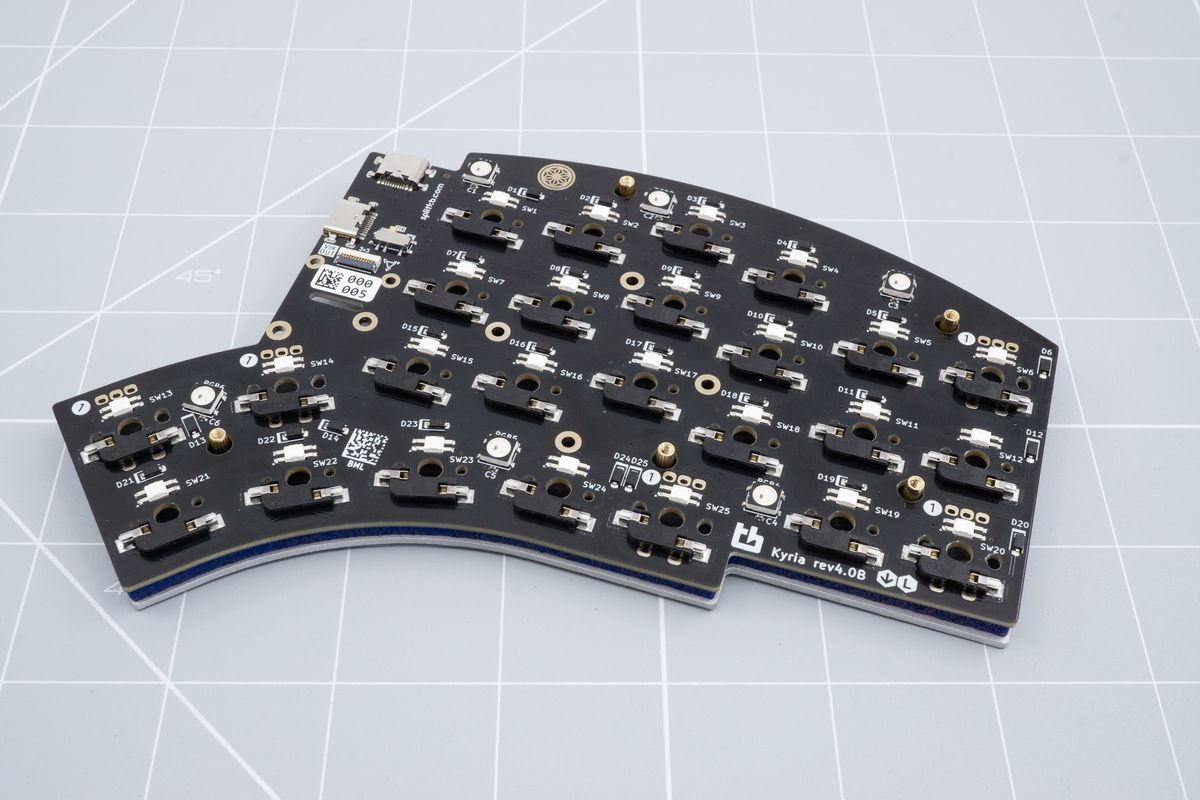
Adding the keyboard PCB to the stack-up.
You can now rotate the whole keyboard back to it's top. You've successfully prepared the top plate and the sound plate and you're ready to add switches now.
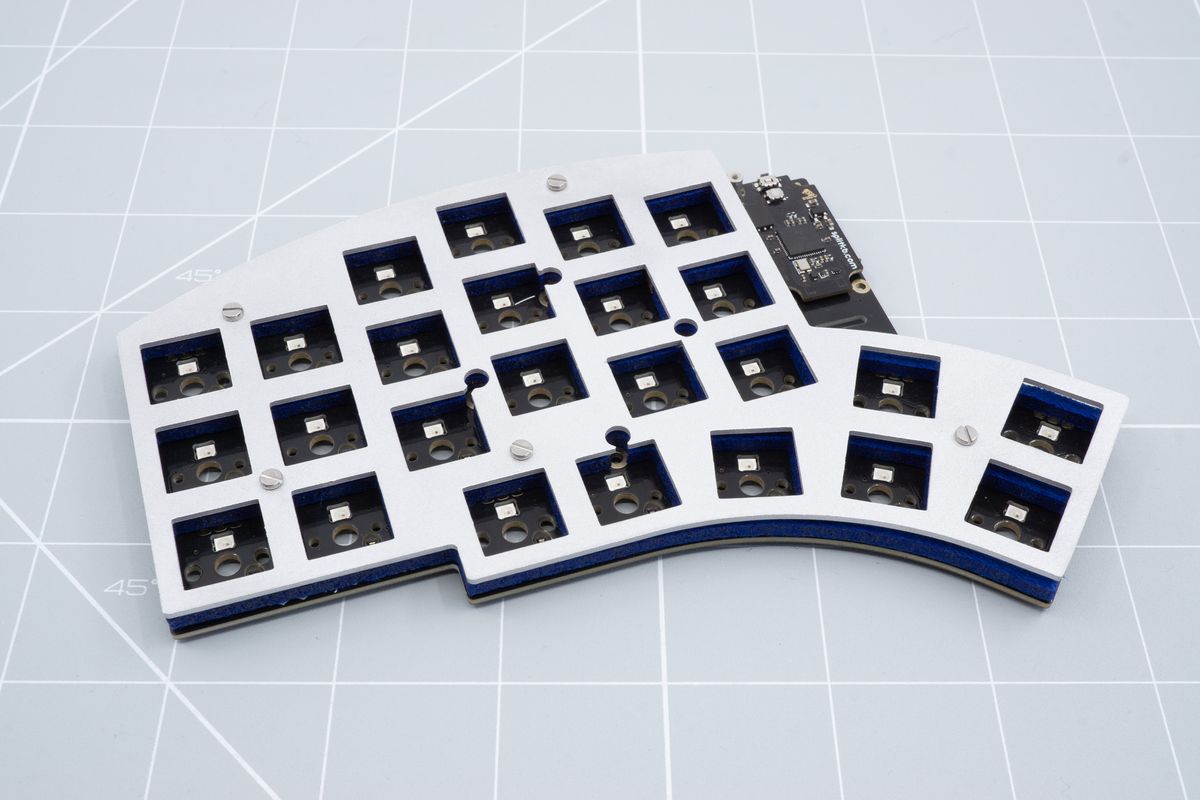
Complete top plate preparation.
Tenting puck
Add a tenting puck to your Halcyon keyboard.
Switches
Putting the switches through the top plate.

