Flashing a Pro Micro controller
First use
On first use, plugging in your controller to your host device won't seem to do anything. There are no LEDs, so there won't be anything lighting up on the controller.
To be able to test your controller, you'll need to flash firmware to it first.
The Pro Micro uses the Caterina bootloader with .hex files.
Flashing firmware
You can find such files for your keyboard using our Firmware Finder, or compile them yourself from QMK or Vial-based firmware.
Using the QMK Toolbox application
The easiest way to flash pre-built firmware files on Windows and MacOS is by installing the QMK Toolbox. If you are using Linux or prefer to flash firmware manually, please follow the steps under Using the command line interface.
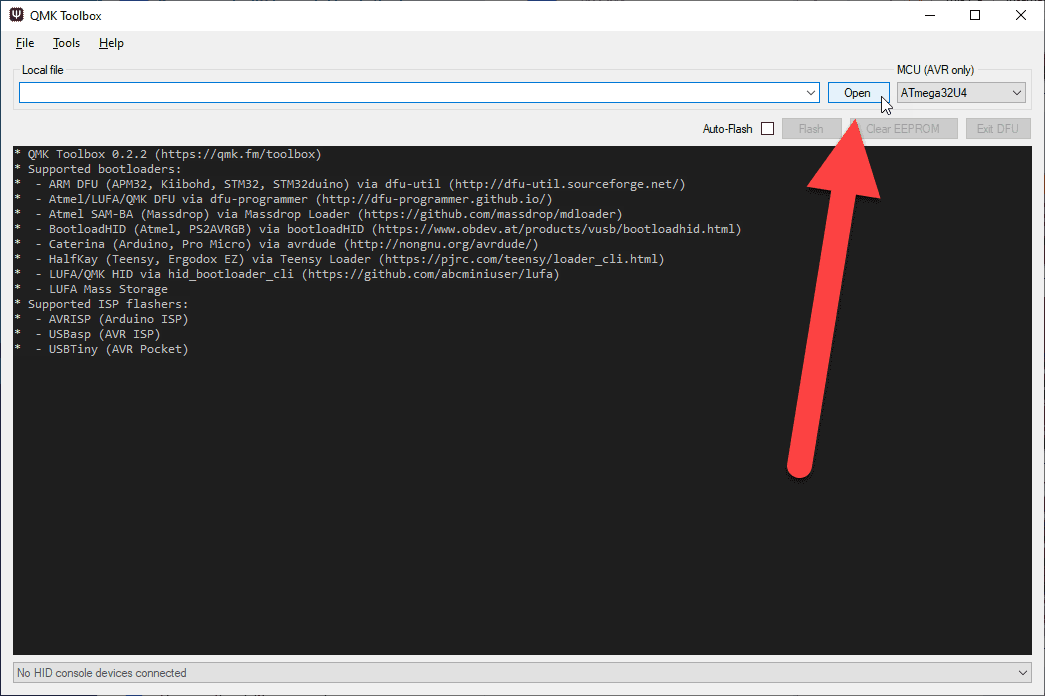
After installing QMK Toolbox, start the application and open the file you want to flash.

The starting screen of the QMK Toolbox application.
Plug the Pro Micro into your computer, then enter bootloader mode on the Pro Micro.
If this is the first time you are flashing it, this should happen automatically. On subsequent flashes, quickly press the reset button twice.
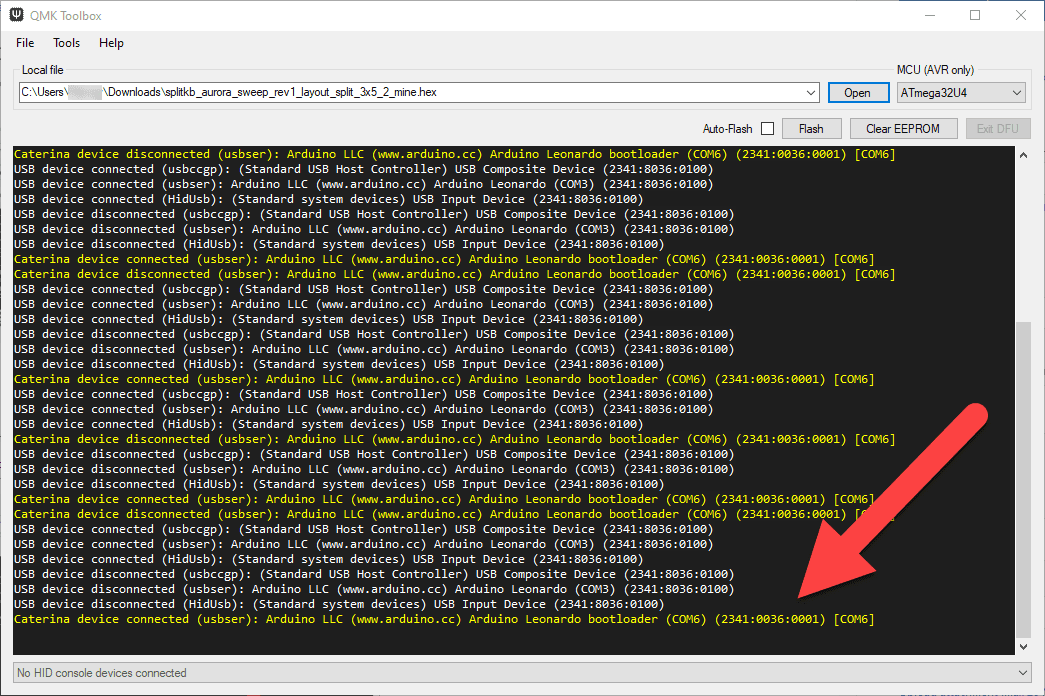
After entering bootloader mode, the toolbox should recognize your device. The text displayed may vary.

A device will be connected as the controller enters its bootloader mode.
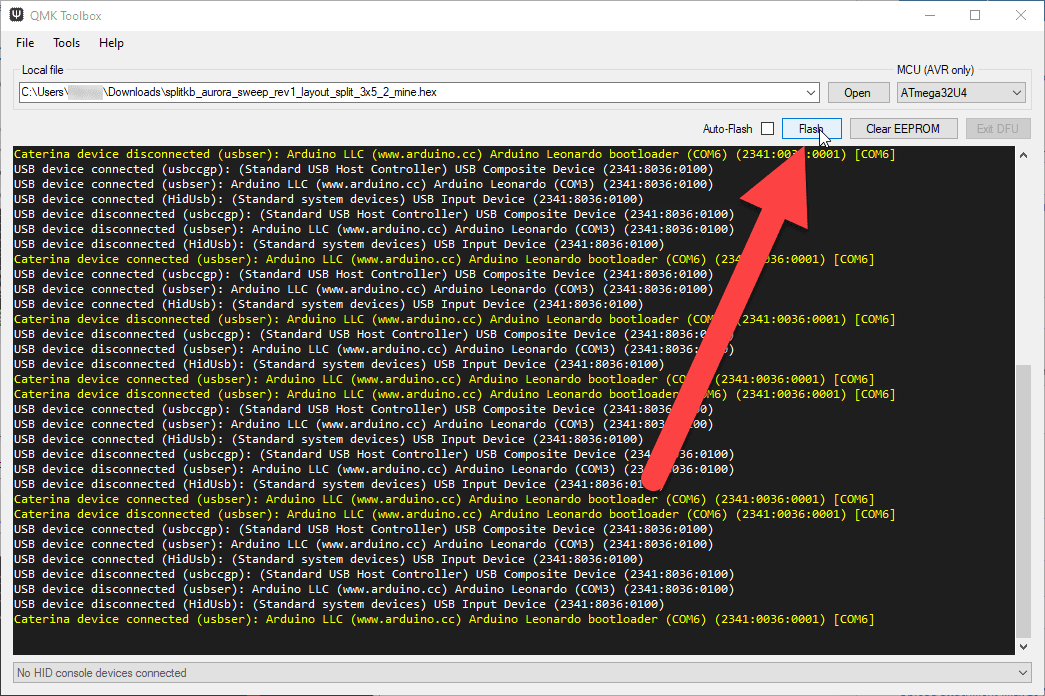
Click the "Flash" button. You can also enable the "Auto-Flash" feature, after which QMK Toolbox will automatically flash the file upon detecting a newly connected controller.

The Flash button in the QMK Toolbox application.
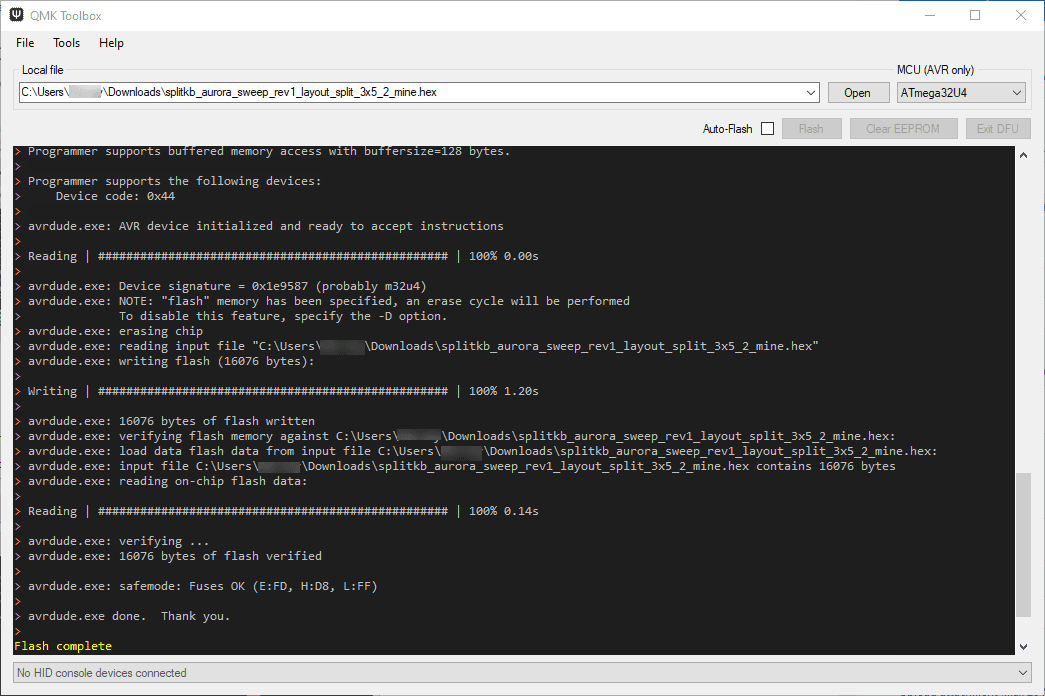
Wait for the flash to complete. Your Pro Micro should now reboot into the newly flashed firmware and connect to your computer as a keyboard. It'll show up in the device manager, too!

QMK Toolbox showing the "Flash complete" message.
Using the command line interface
Before you can flash a firmware file to your controller, you may need to install drivers for it.
First, install the QMK client by following the steps listed on the QMK Setup page. Then you can flash the precompiled file using:
qmk flash -bl avrdude my_firmware_file.hex
Can't get it to flash on Linux without using sudo? You may need to add the appropriate udev rules.
Testing the controller
Once flashed with keyboard firmware, connecting the controller to your computer or other host device will cause the controller to show up as a keyboard. For example, as "Kyria rev3".
You can connect a row and a column pad with one another to output a key. You can do so with metal tweezers, a paperclip or a piece of wire. You can look at the bottom of your keyboard (the labels next to the controller footprint, like connecting C0 with R0) or at the schematics for your keyboard to see which pins you can connect.
Mind that not all combinations of rows and columns will output a key. Some combinations won't be connected in the firmware, and some combinations are connected but are mapped to a modifier or layer key. Just try a few combinations (and be sure to have your cursor's focus on a text field on your computer). Any character output means that it's good to go!
If you're having trouble, you may also check out the QMK FAQ for common issues.

