Tenting puck
You should perform this step if you are going to be using tenting pucks. If not, you can go to the next step using the button below.
The tenting puck is an adapter which allows you to attach most camera tripods, so you can tent and tilt your keyboard to your hearts' content. It's easy to attach and detach later on, as you'll only need a screwdriver.
With the case and bottom puck plates installed, flip over the keyboard so its switches face toward the table.
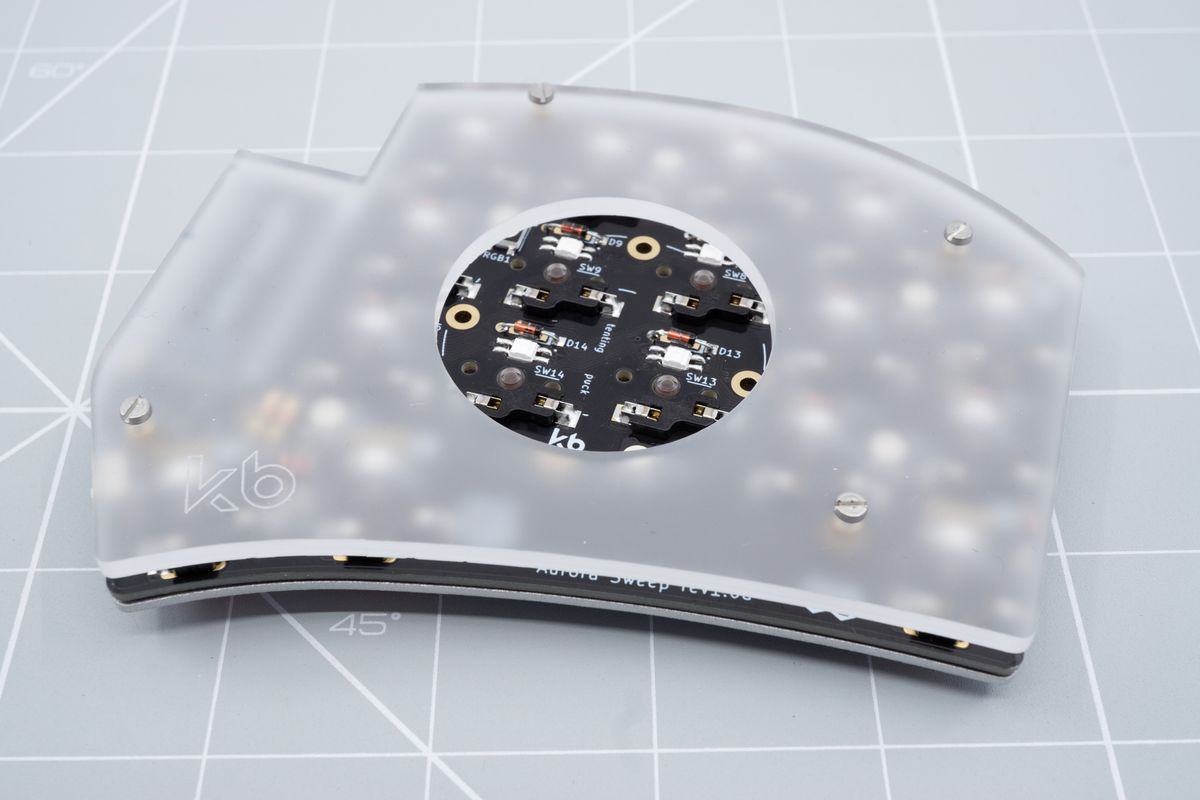
An Aurora Sweep, flipped over.
Place the puck to sit on top of the PCB. You can already roughly align the threaded standoffs of the puck with the corresponding mounting holes of the PCB.
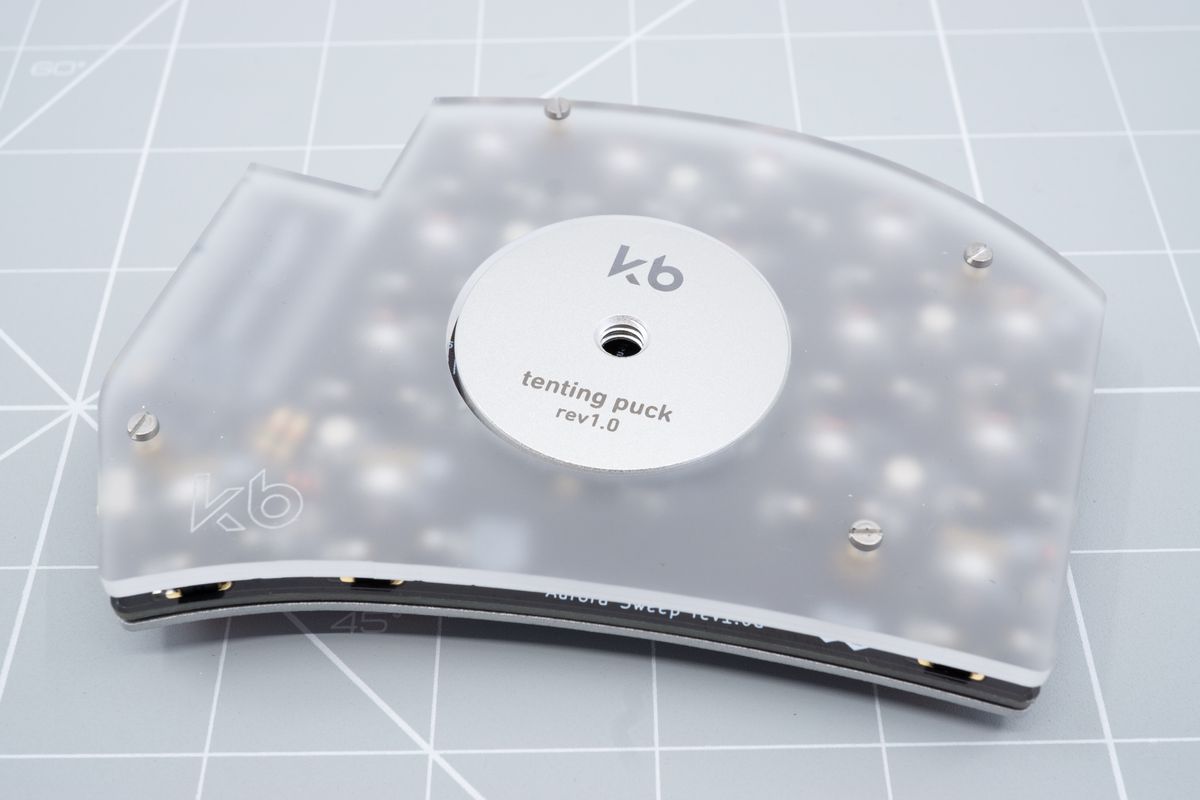
A tenting puck placed within its cutout.
Prepare the included 4mm M2 screws and a matching screwdriver so you can easily reach for them in the next step.
Hold the puck in place with your hand, and flip the keyboard over again. You can rotate the puck and move it around to align the threaded holes of the puck with the PCB's mounting holes.
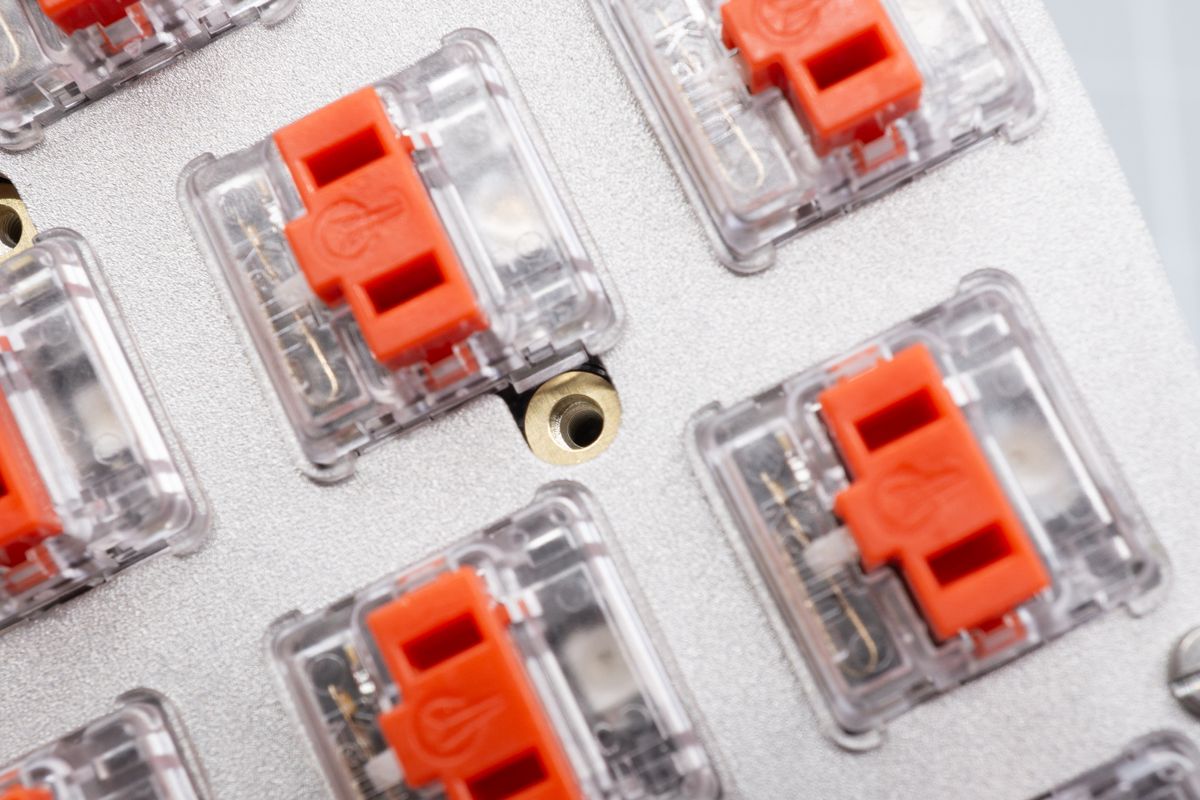
The threaded hole of the puck is now aligned with its mounting hole.
Place a screw in one of the mounting holes, and screw it down. Then, one by one, insert and screw in the other screws.
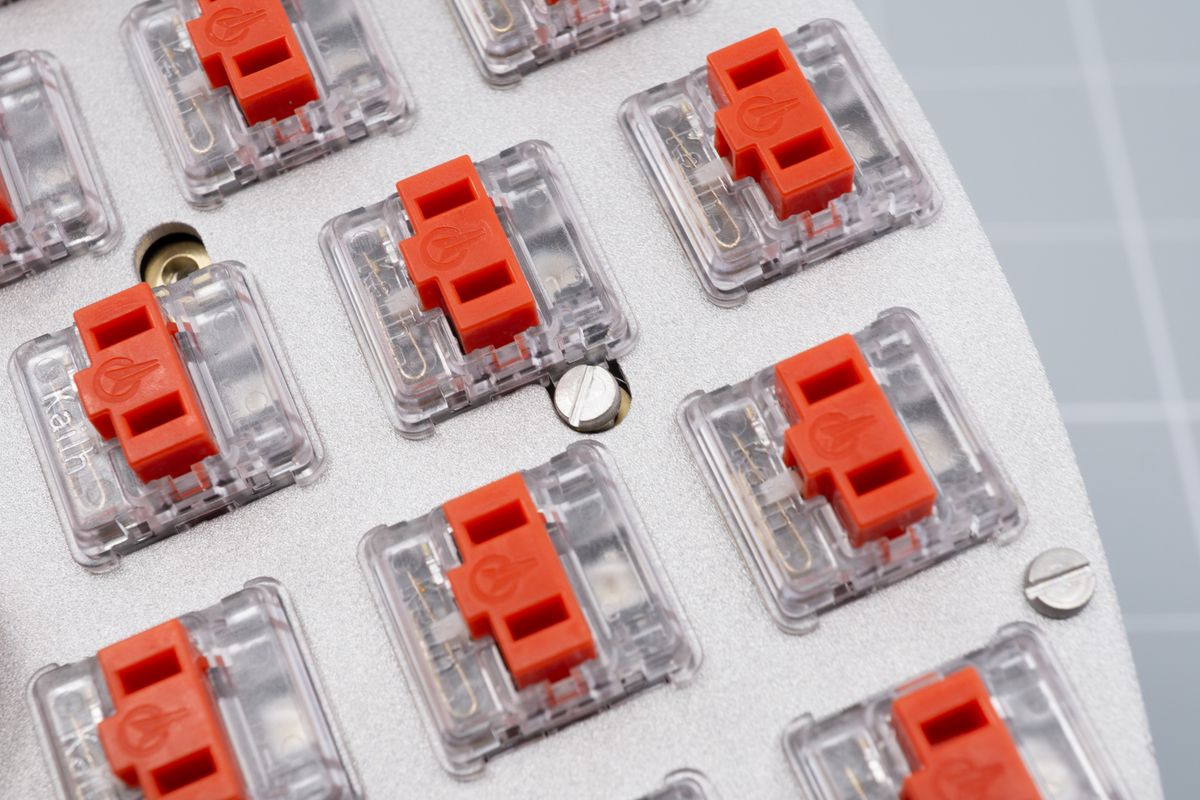
A screw is loosely placed within the mounting hole, ready to be screwed in.
Once all four screws have been screwed in, you're done with one half.
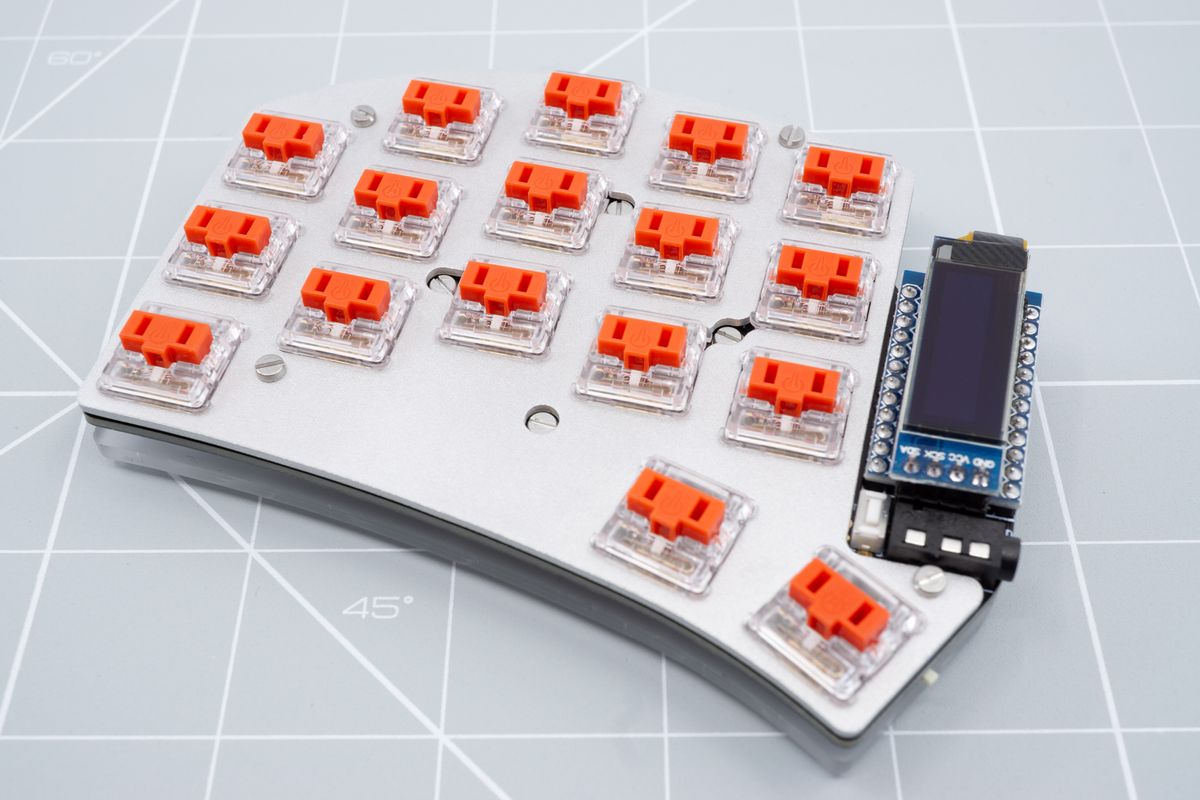
An Aurora Sweep with an assembled tenting puck viewed from the top side.
Case assembly
A case protects the components of your keyboard.
Flashing firmware
Firmware is what makes your keyboard configurable.

