Removing the controller
When to use
You should use this document when you're using and/or experiencing the following.
Products
This page applies to the following products:
- Any Halcyon Series keyboard
Situations
Use this page when:
- You were asked to replace your keyboard's controller by technical support, likely in an effort to remedy an issue you may have with your keyboard.
Expected outcome
After following the instructions on this page:
- Your controller is replaced with a different one.
When to avoid
Do not use this page when:
Removing the controller
In the case that you want to remove your controller if it is broken for example or you want to replace it with a different controller in the future.
To remove the controller you will need a spudger, guitar pick, plastic screwdriver, your fingernail or something similar. You will want something which is not conductive or sharp to not damage the controller.
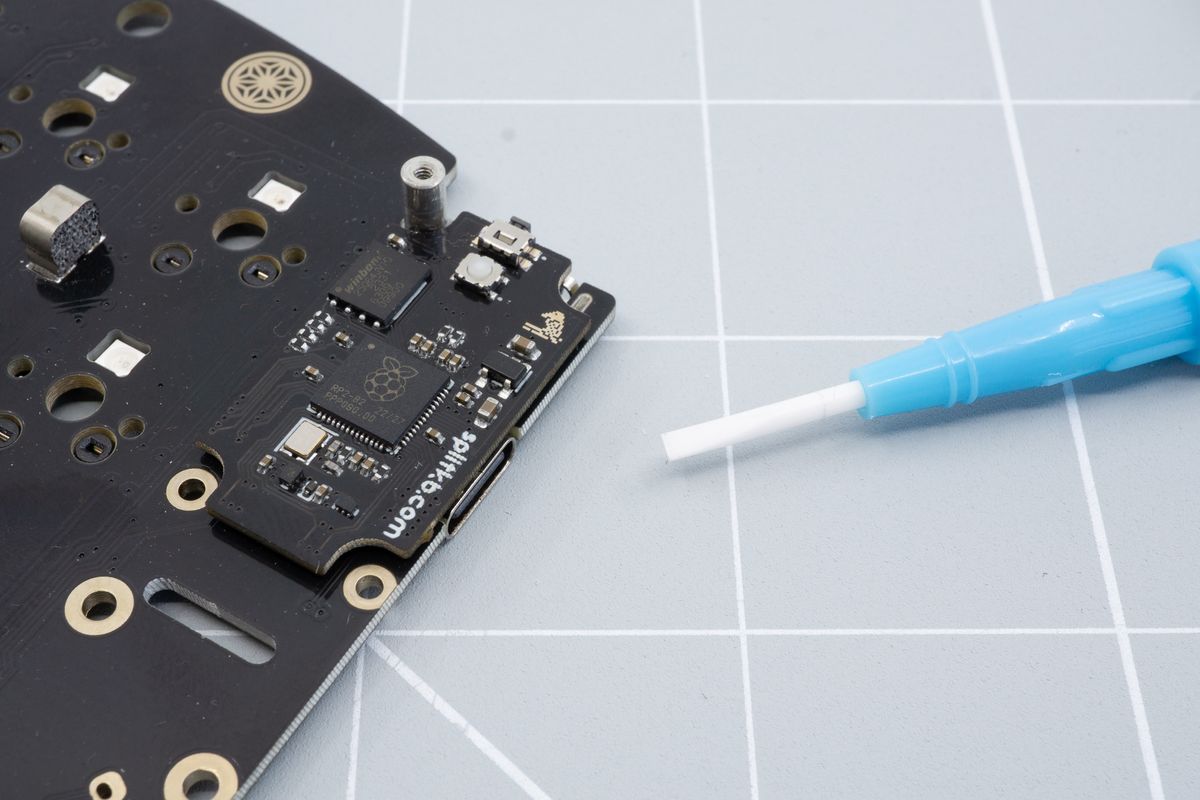
You'll need your keyboard with its controller, and something to pry the controller off with, which can be your fingernail.
Using your non conductive tool pry up from the middle of the keyboard. The controller should pop off easily.
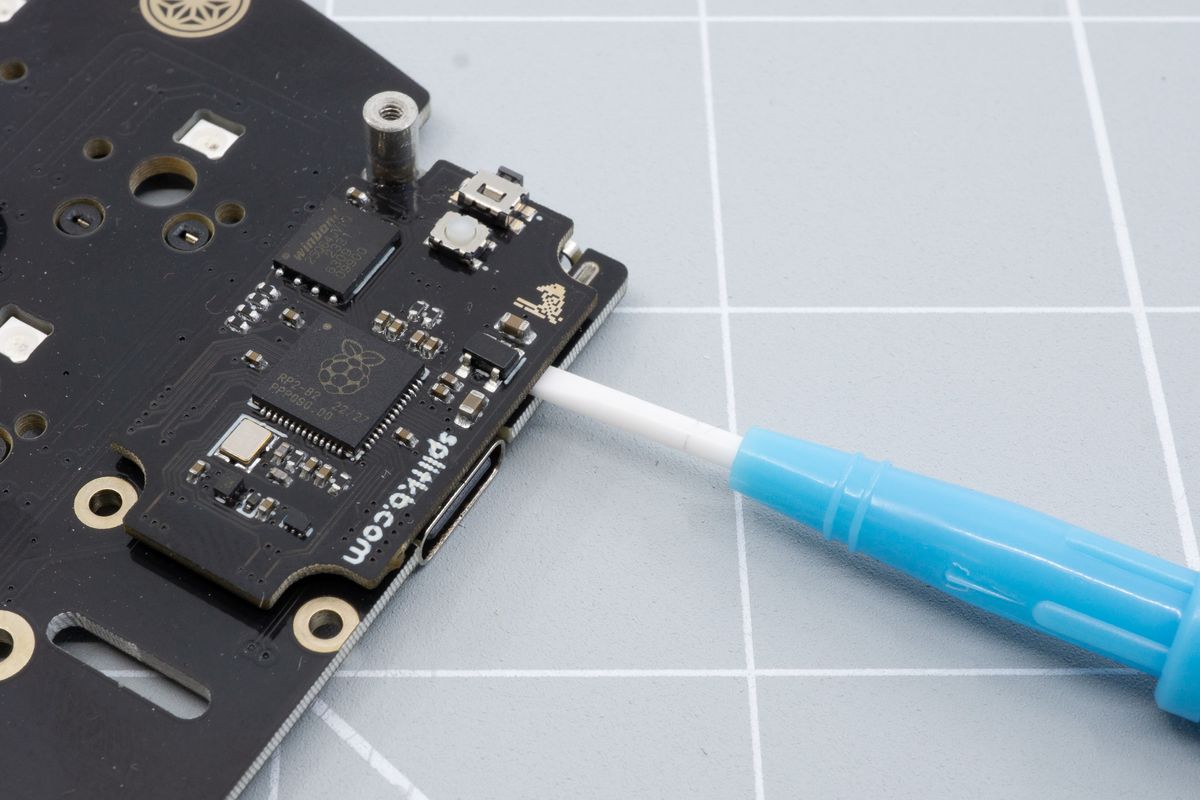
Place the tool between the keyboard and the controller from the side.
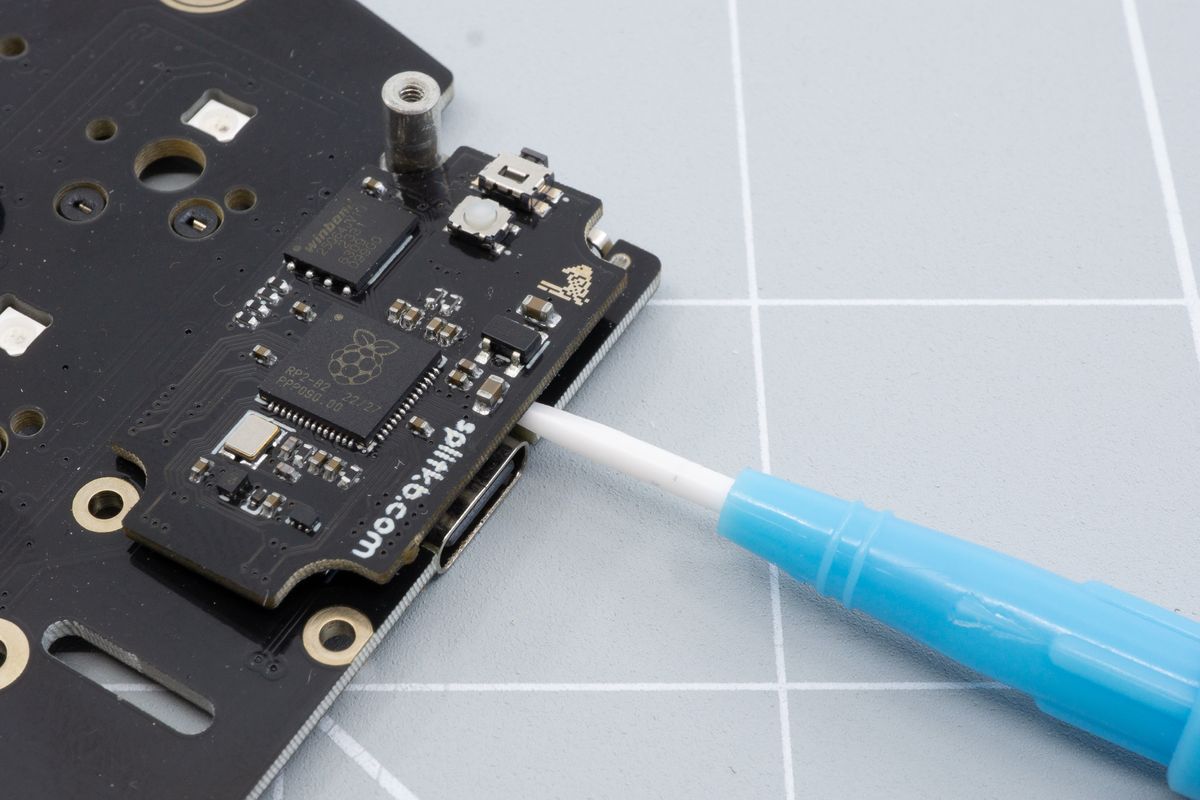
Lift the tool up to pop the controller off of the keyboard.
You have successfully removed the controller!
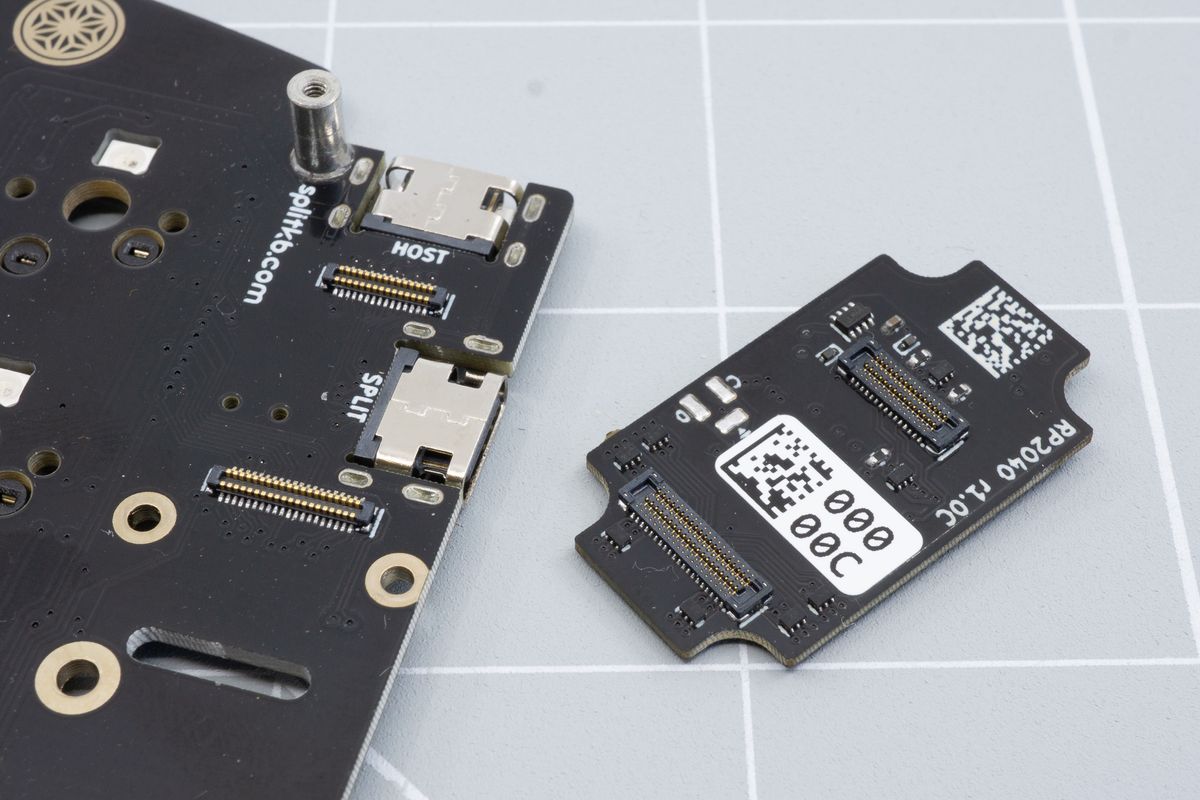
The controller is now separated from the keyboard.
You can now reinstall a new or different controller using the steps from the build guide.
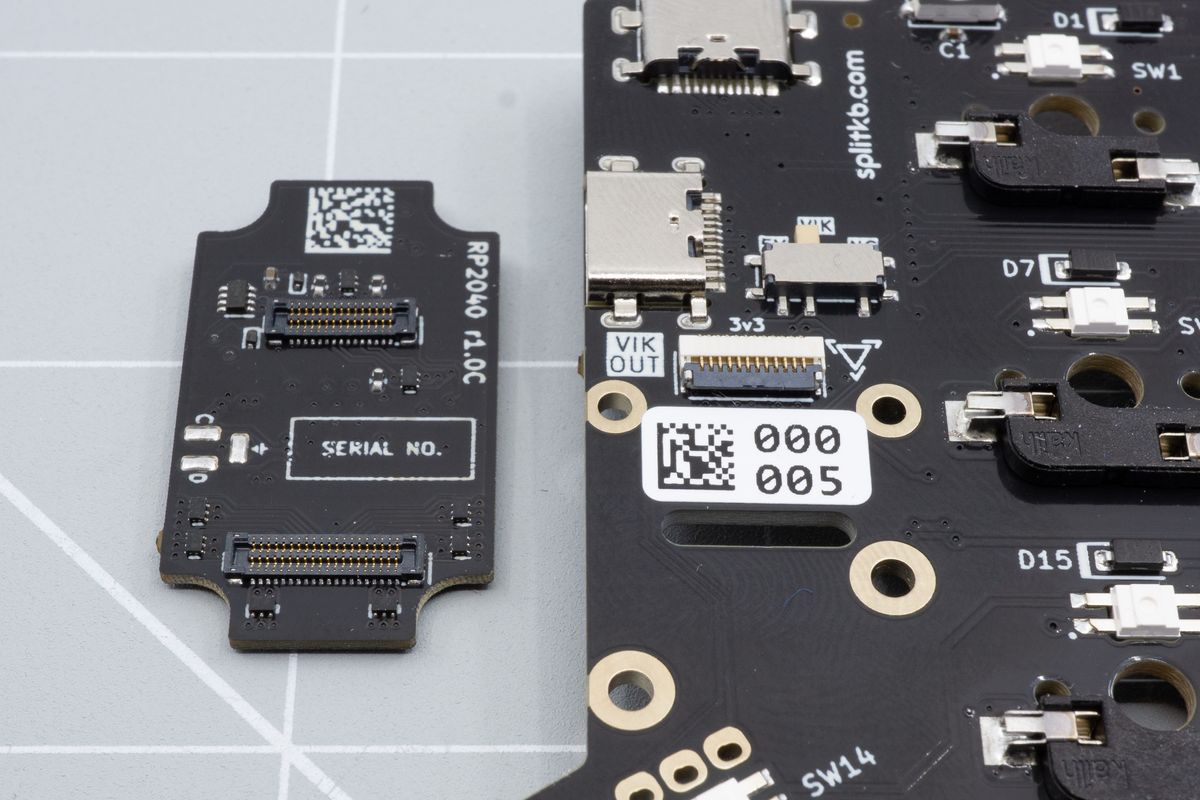
Serial numbers on the keyboard.