Soldering an encoder
You should perform this step if you chose to solder an encoder. If not, you can go to the next step using the button below.
You can choose to solder a rotary encoder on some Halcyon Series keyboards. This step is of course optional. If you've chosen to use a Halcyon Encoder module instead, you can install it later on in this build guide.
Parts needed
You will need your encoder, the keyboard PCB, some pliers and a soldering iron.
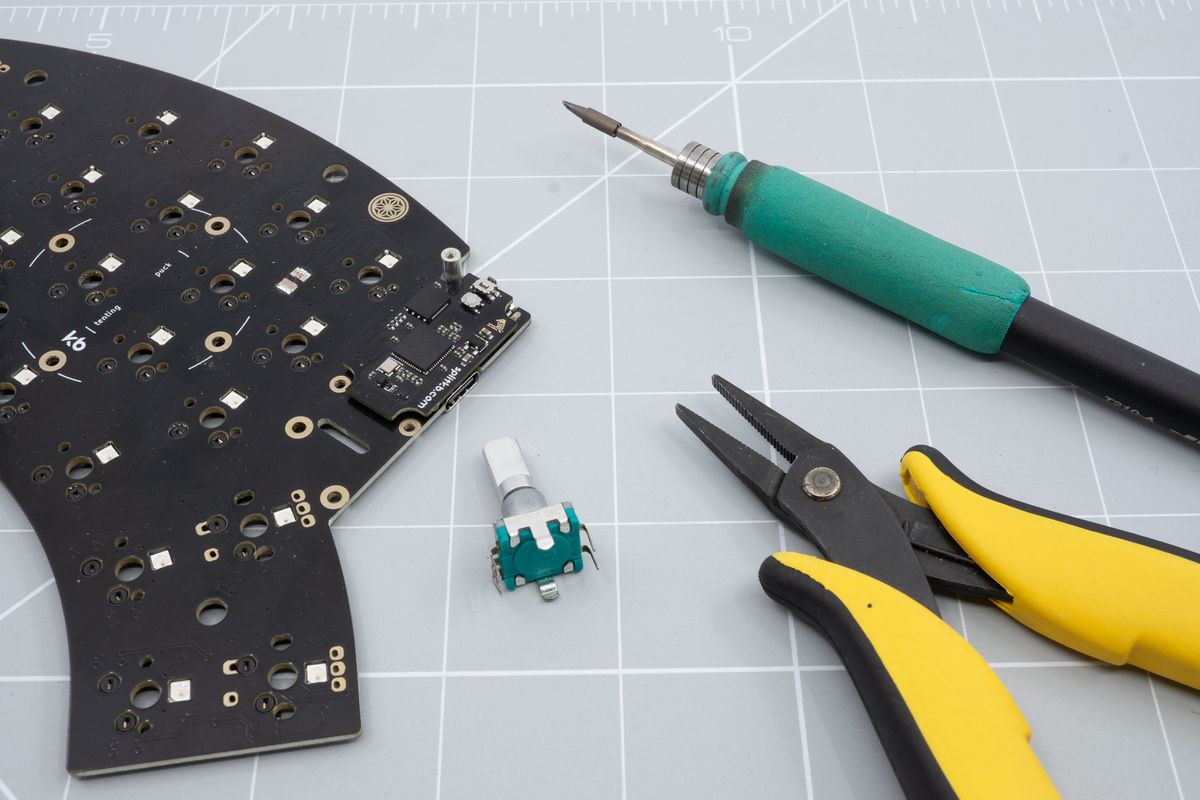
The encoder, the keyboard PCB, some pliers and a soldering iron.
Positioning
If you've already built your keyboard you will need to remove all the keycaps, switches and also the top and bottom plate first.
Your keyboard will have different spots for an encoder. You can identify these by the number on the bottom side of the keyboard next to a switch footprint.
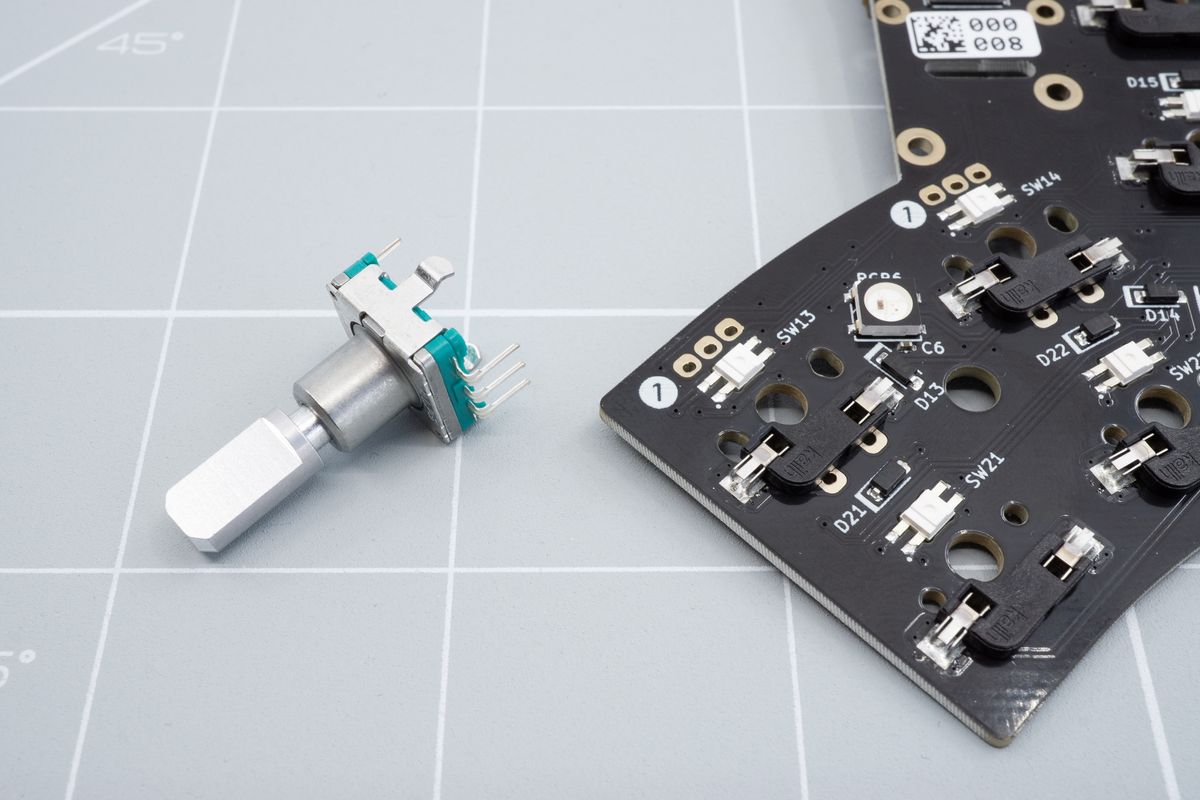
Encoder and the spot on the PCB.
Removing one of the legs
You will notice that you can't directly press the encoder in to the encoder spot. This is because one of the legs of the encoder interferes with the hotswap socket that is pre-installed.
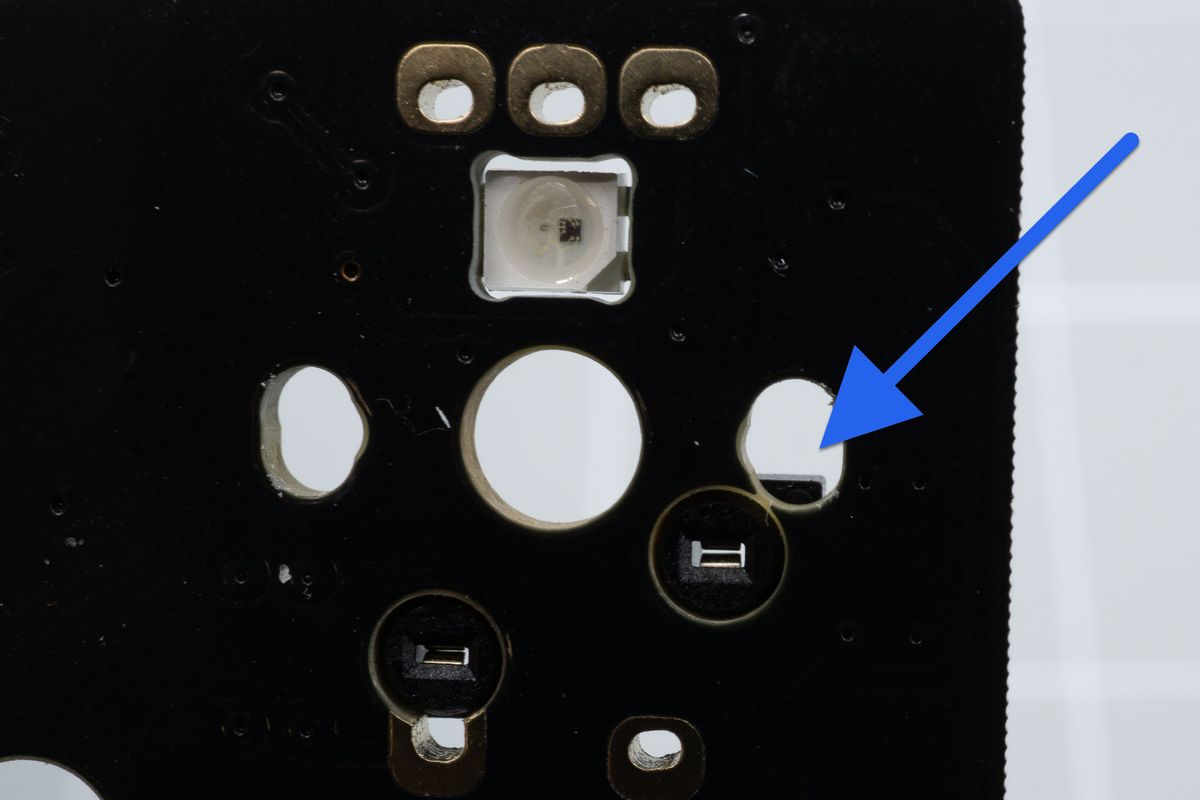
Interference from the hotswap socket.
Because of this you will need to remove one of the legs from the encoder. You will need your encoder and some small pliers.
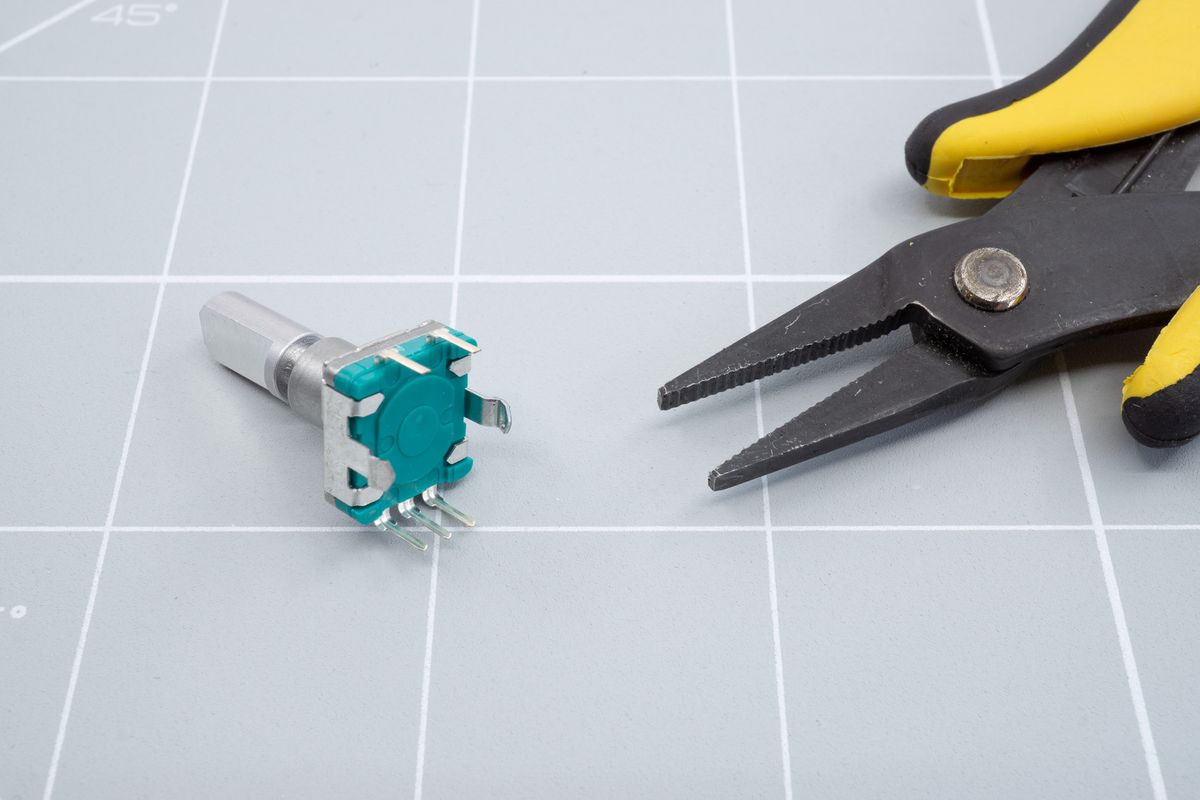
Encoder and pliers.
With the 2 pins facing up and the 3 pins facing down. You should remove the right leg.
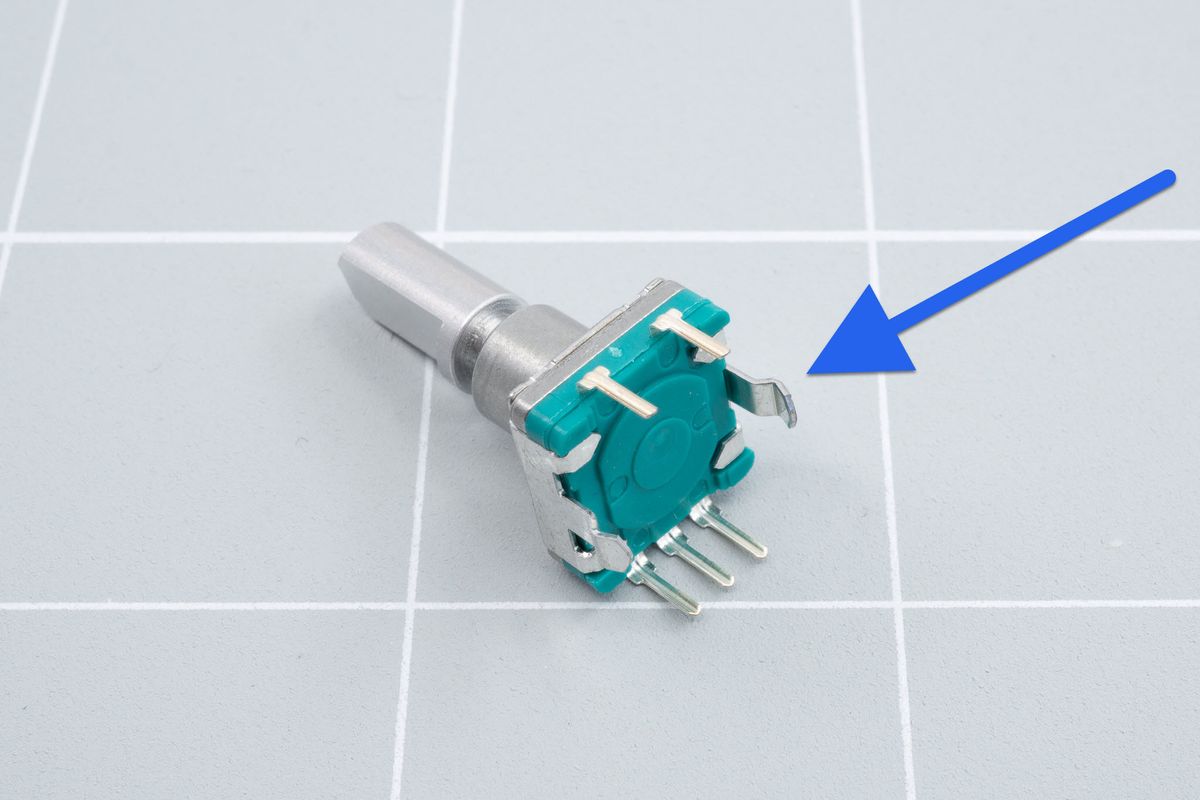
The right leg of the encoder.
Start of by getting a good grip on the leg of the encoder with some pliers.
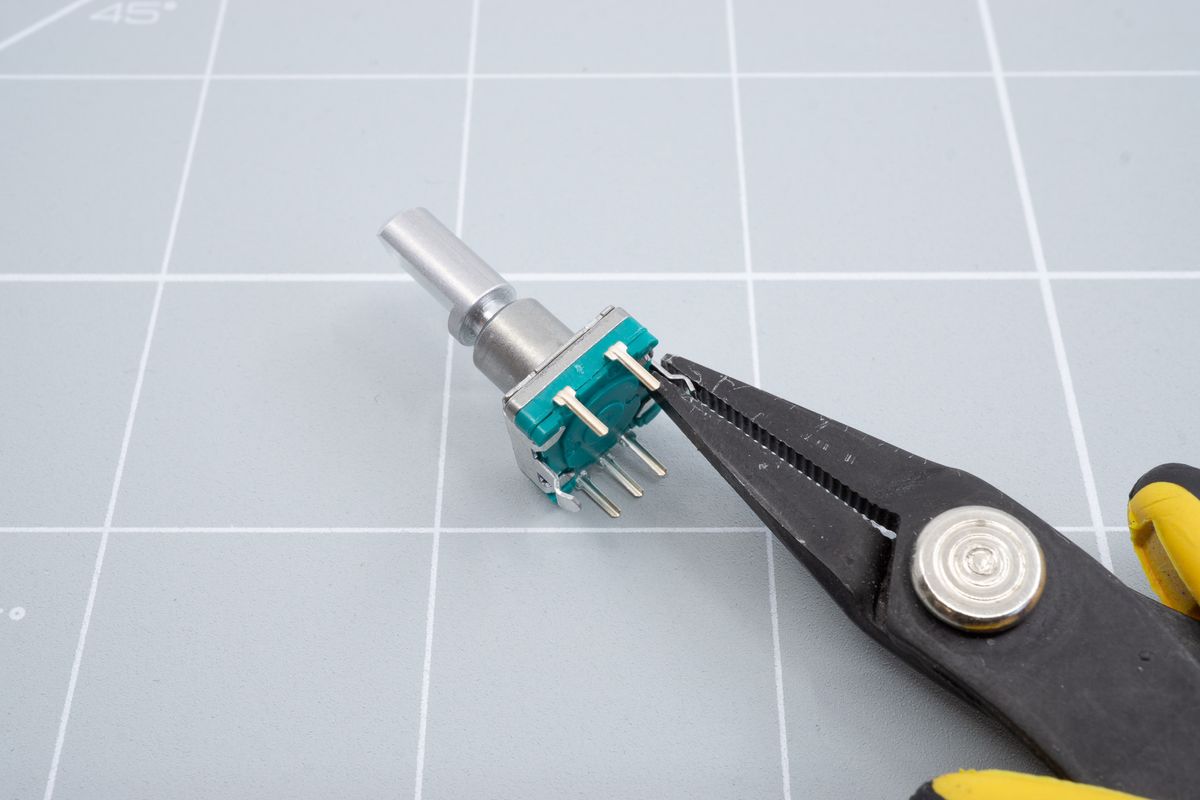
Grabbing the right leg with pliers.
Wiggle the leg back and forth.
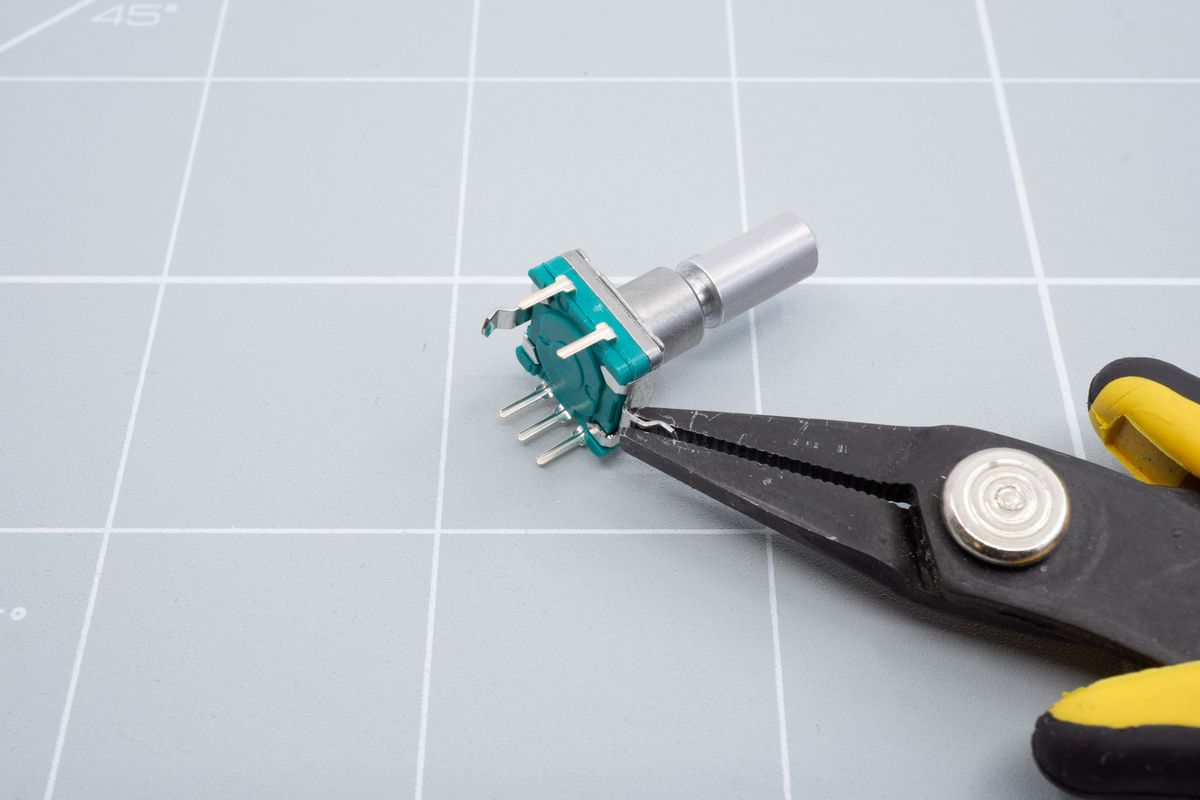
Wiggling the leg with pliers.
After wiggling the leg back and forth a few times, it should just break off.
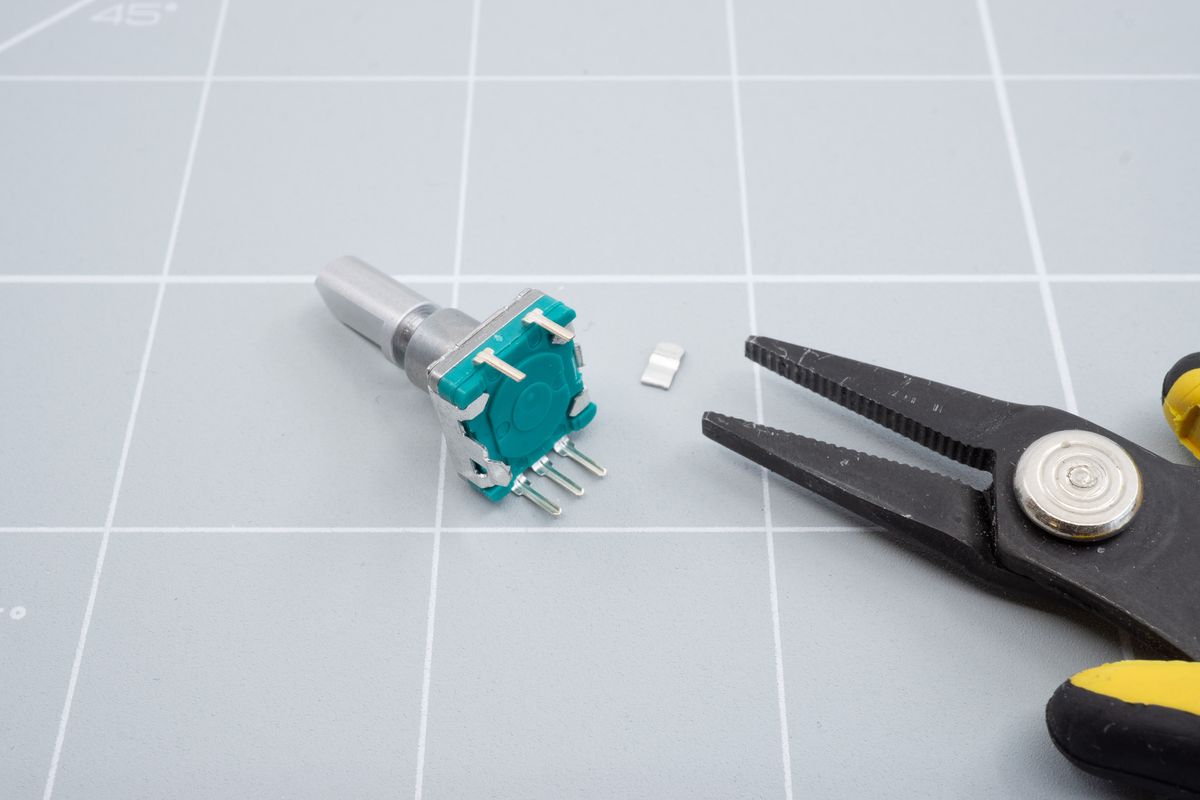
Broken off leg.
Soldering the encoder
With the interfering leg broken off, you can now install the encoder on to your keyboard. Insert the encoder in to the spot you want the encoder in.
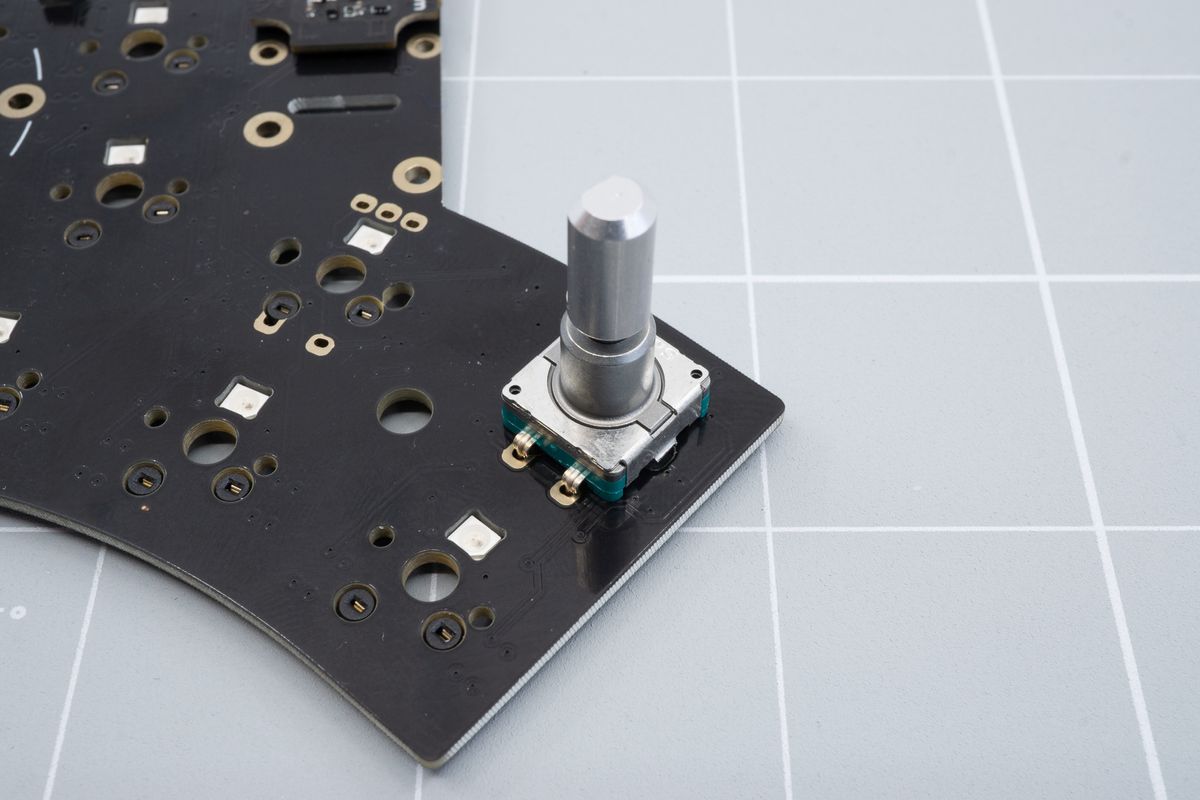
Inserted encoder.
Rotate the board and solder one of the legs.
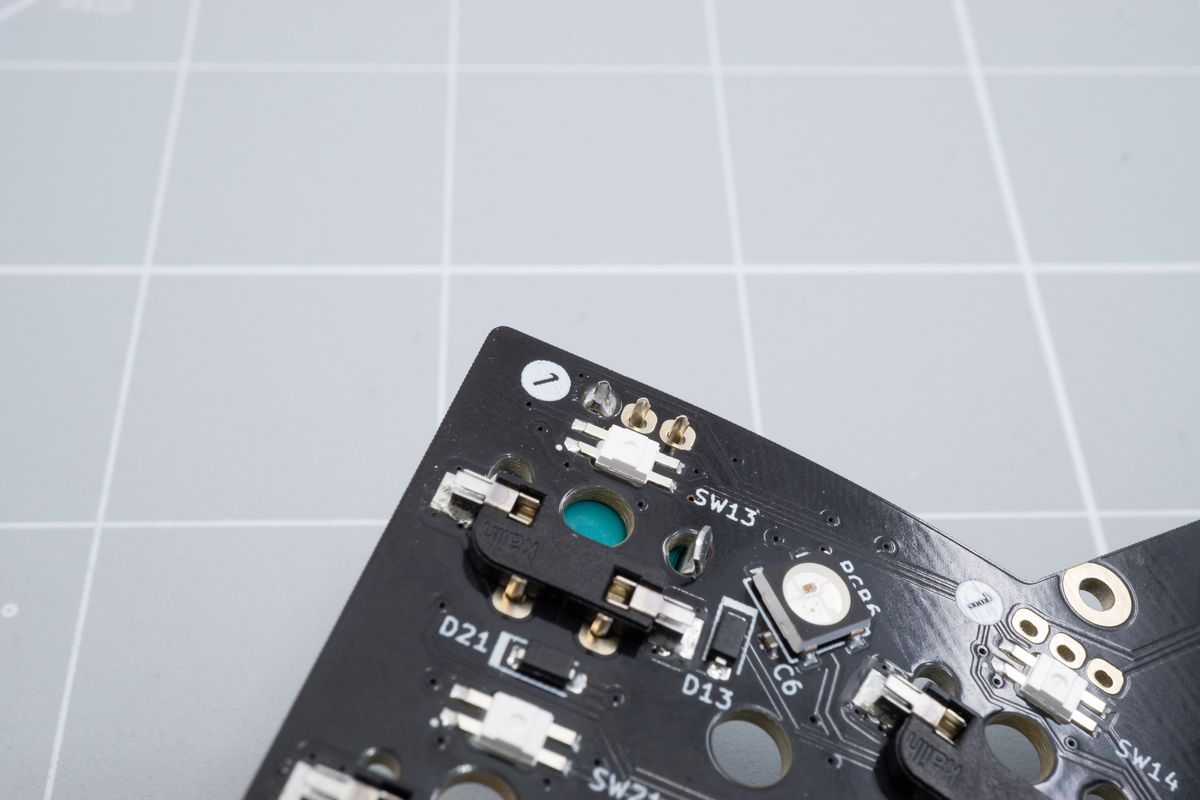
One joint soldered.
Confirm that the encoder is still fully inserted and solder the rest of the solder joints. Try not to touch the hotswap socket with your soldering iron.
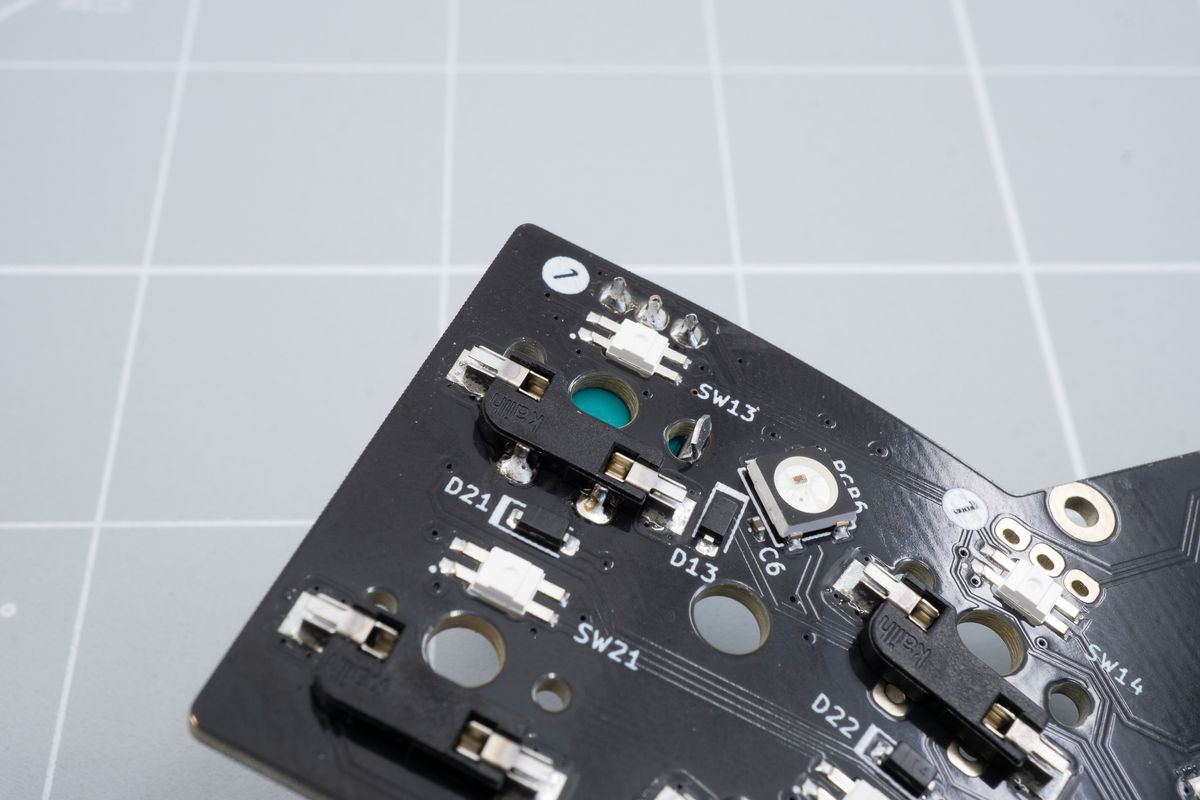
All joints soldered.
You have now successfully soldered an encoder in to your halcyon keyboard!

Installed encoder.
Controller
The first step to building your Halcyon keyboard.
Tenting puck
Add a tenting puck to your Halcyon keyboard.

