Bottom plates
Parts needed
You will need the keyboard, a bottom plate, some screws, bump-ons and a flat head screwdriver.
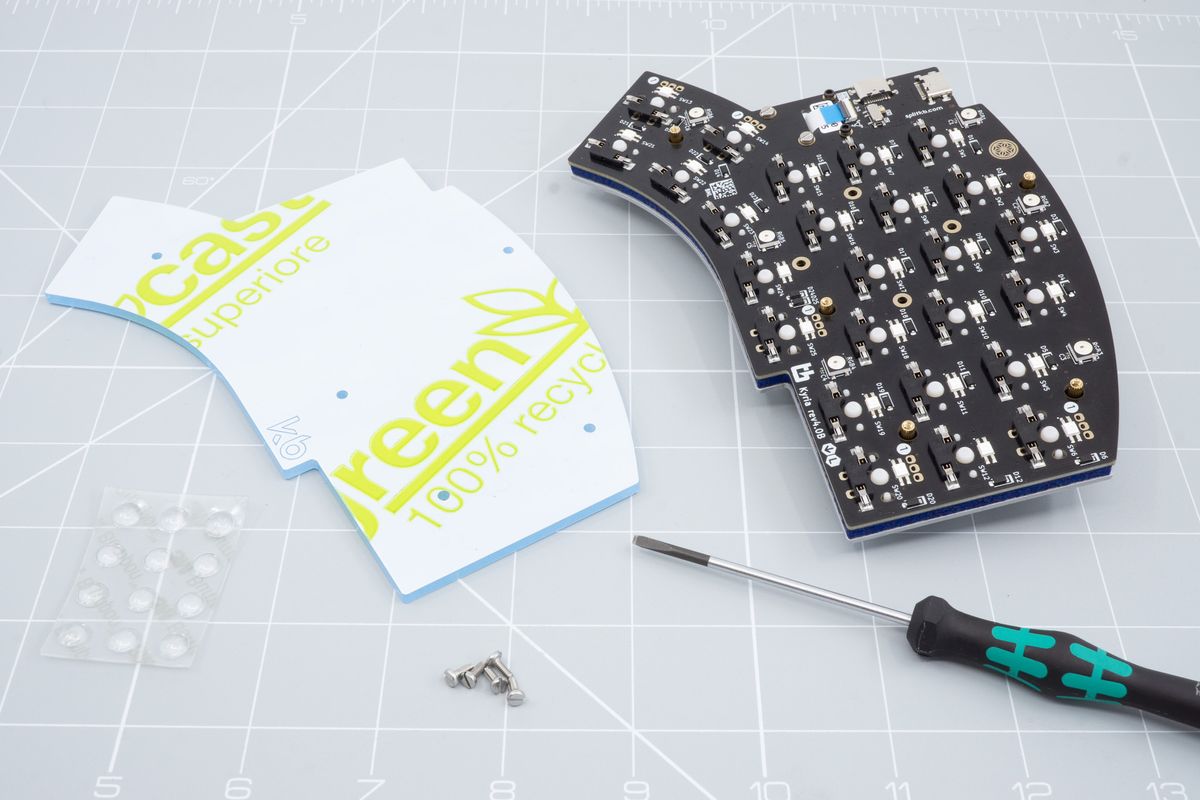
The keyboard, a bottom plate, some screws, bump-ons and a flat head screwdriver.
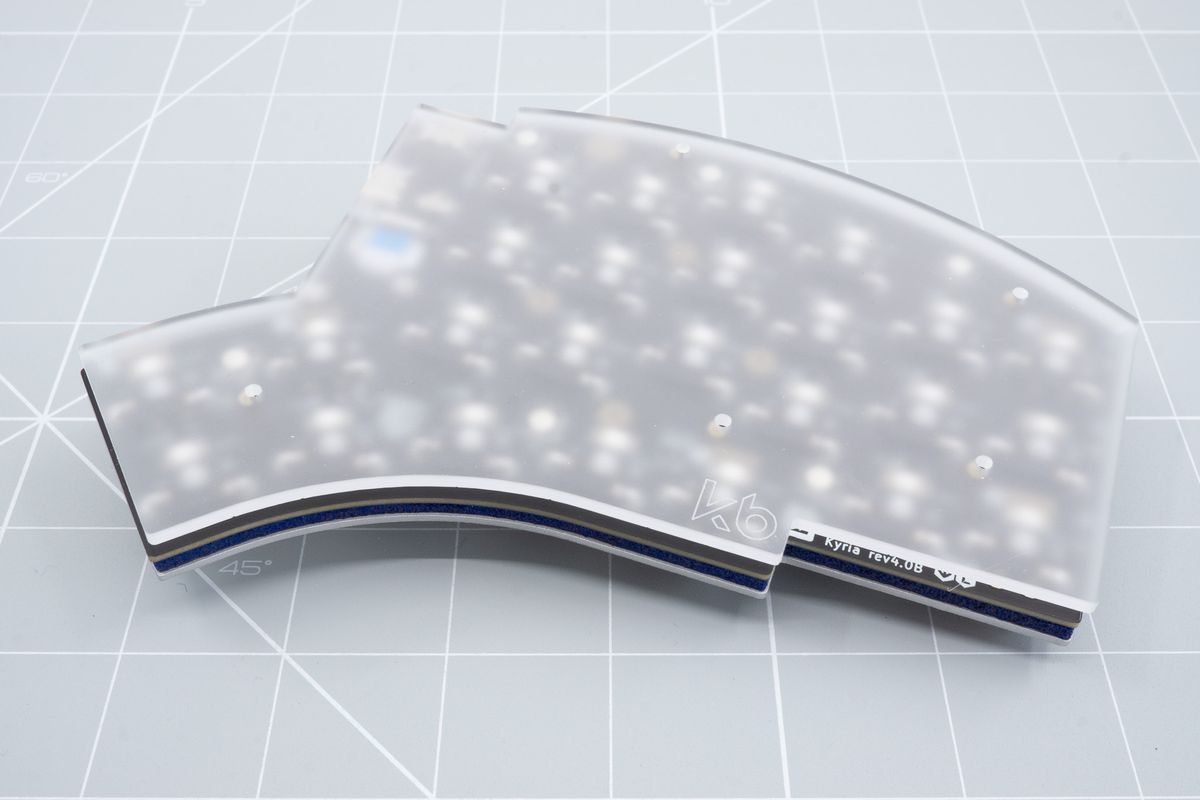
Removing the protective film.
Remove the protective plastic from the acrylic bottom plate
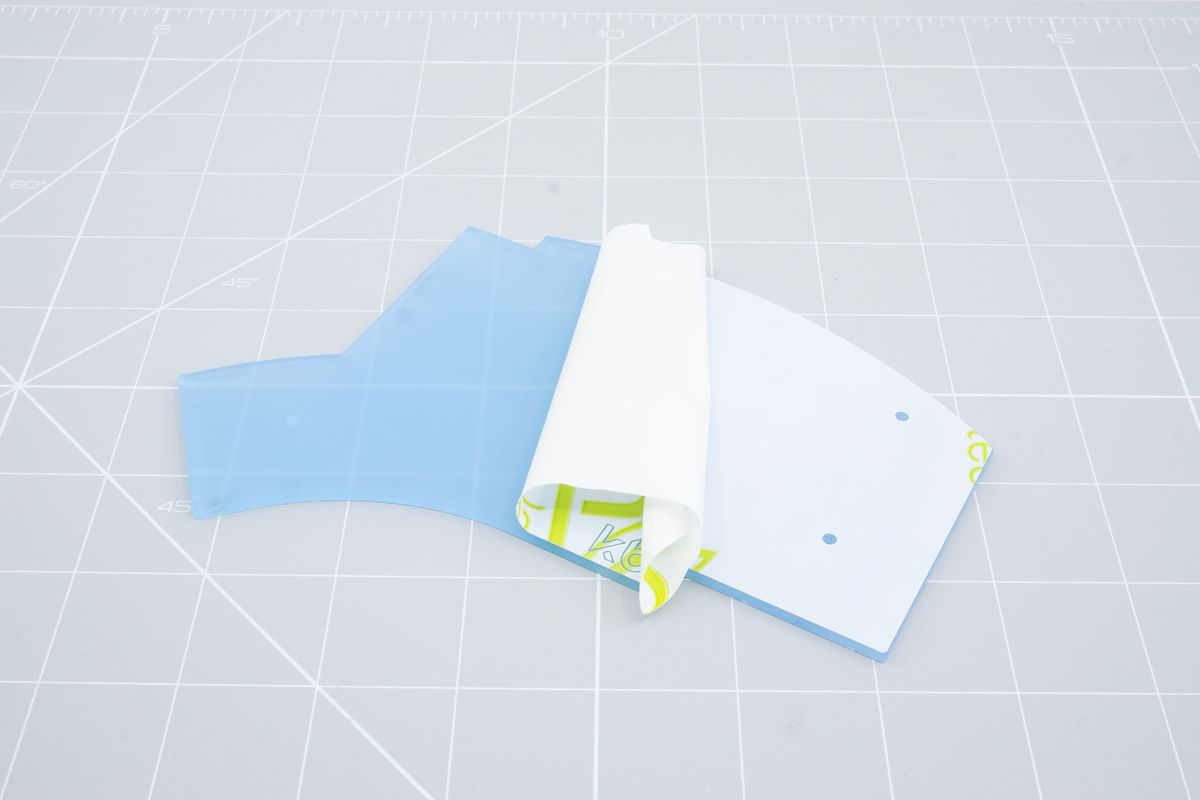
Removing the plastic protective from the acrylic bottom plate.
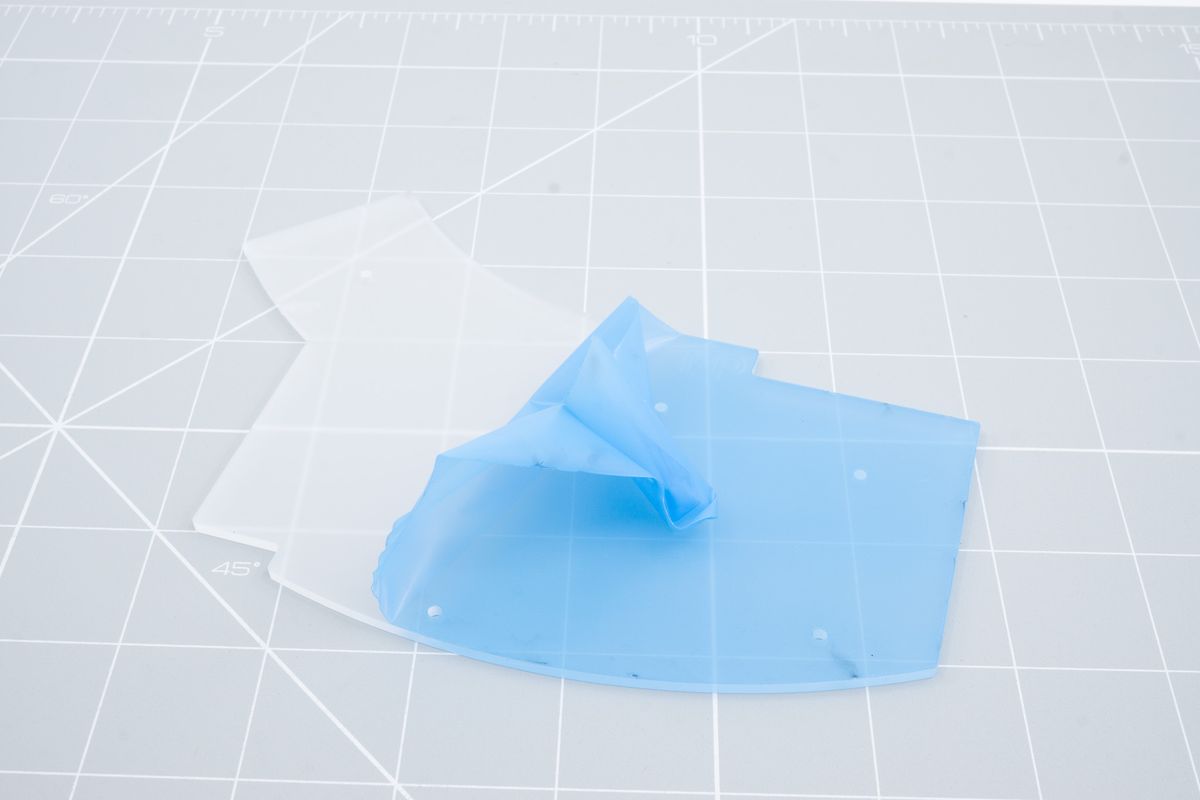
Removing the plastic protective from the other side of the acrylic bottom plate.
Installing the bottom plate
Start by aligning the bottom plate with the keyboard.
Aligning the bottom plate.
Now screw in all the screws.
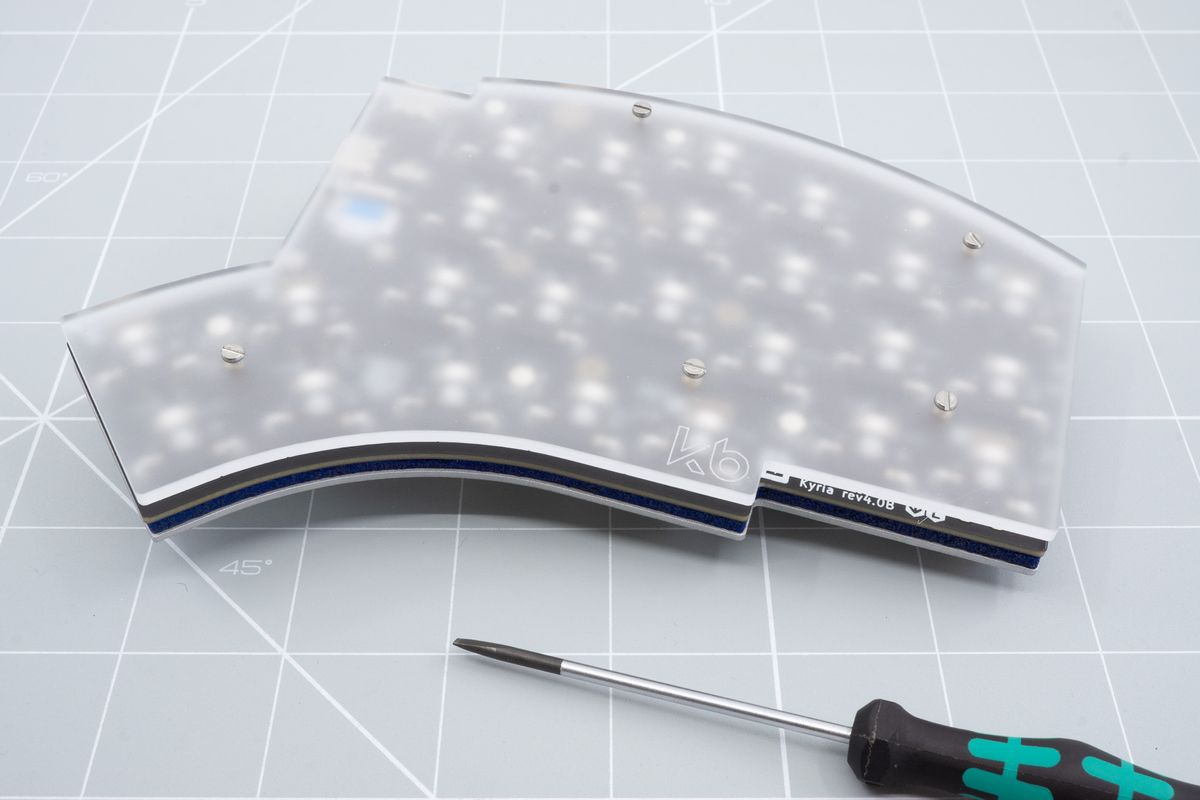
Screwing in the screws.
Adding the bump-ons
Your kit will include 12 bump-ons. This means that you will have 6 bump-ons per side. Positioning of these bump-ons is up to the user but we recommend adding one to each corner.
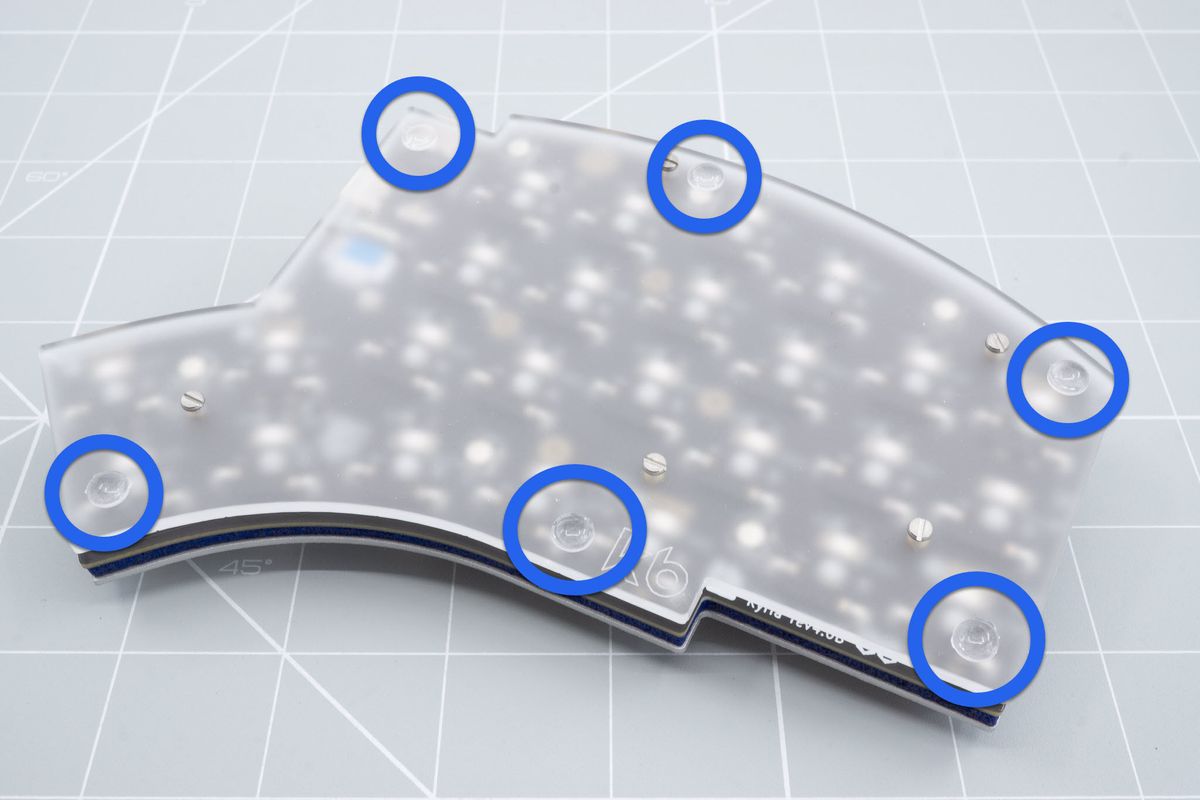
Adding the bump-ons.
You've successfully installed the bottom plate!
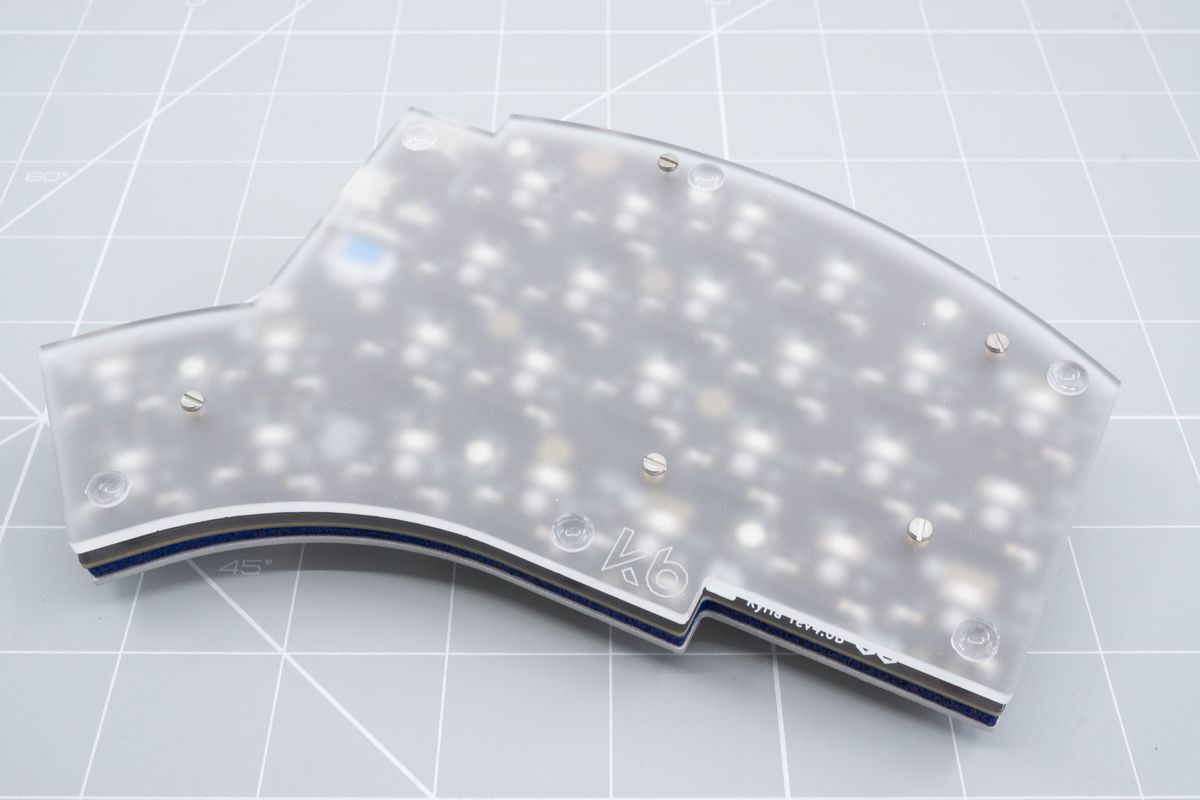
Finished bottom plate.
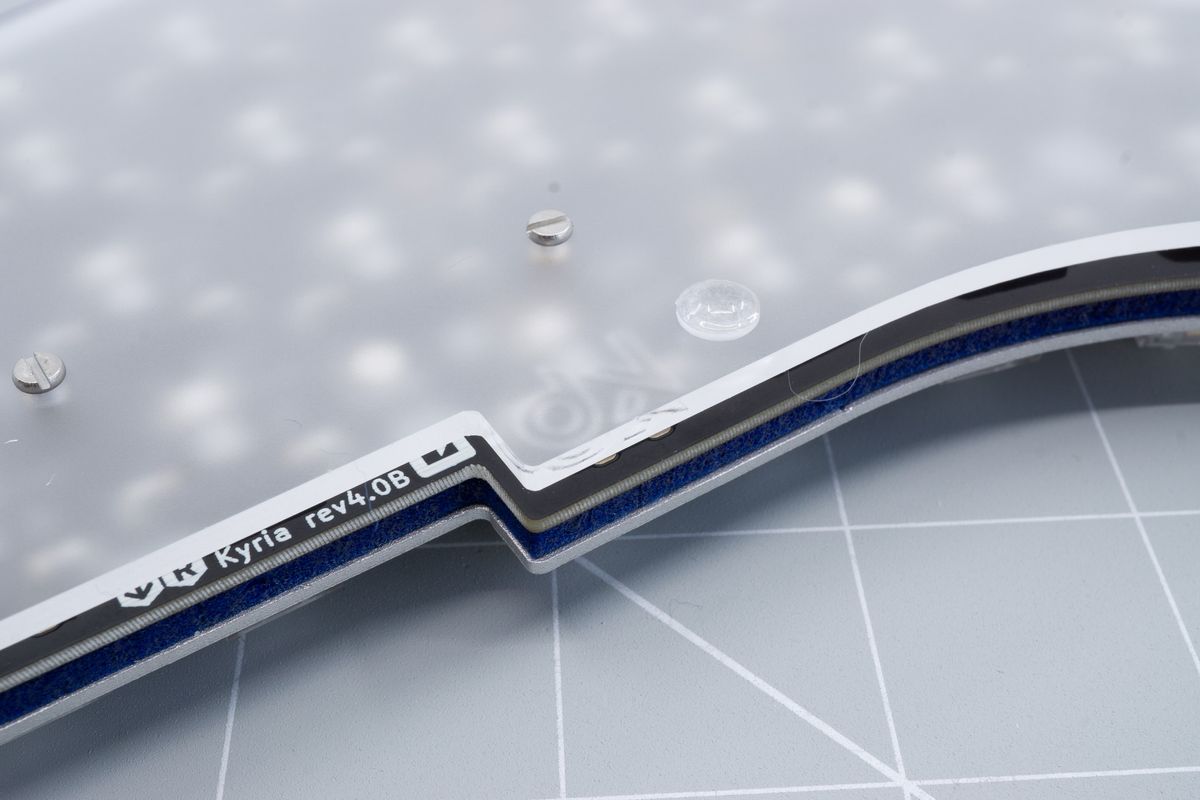
Flipped KB logo.
Covers
Whether you use a module or not, covers complete the case.
Keycaps
Almost there - let's add the keycaps!