OLED Displays
OLED displays can be put to use in various ways. On this page you'll read how to convert images for use on your display, so that you can show off your own image on your keyboard.

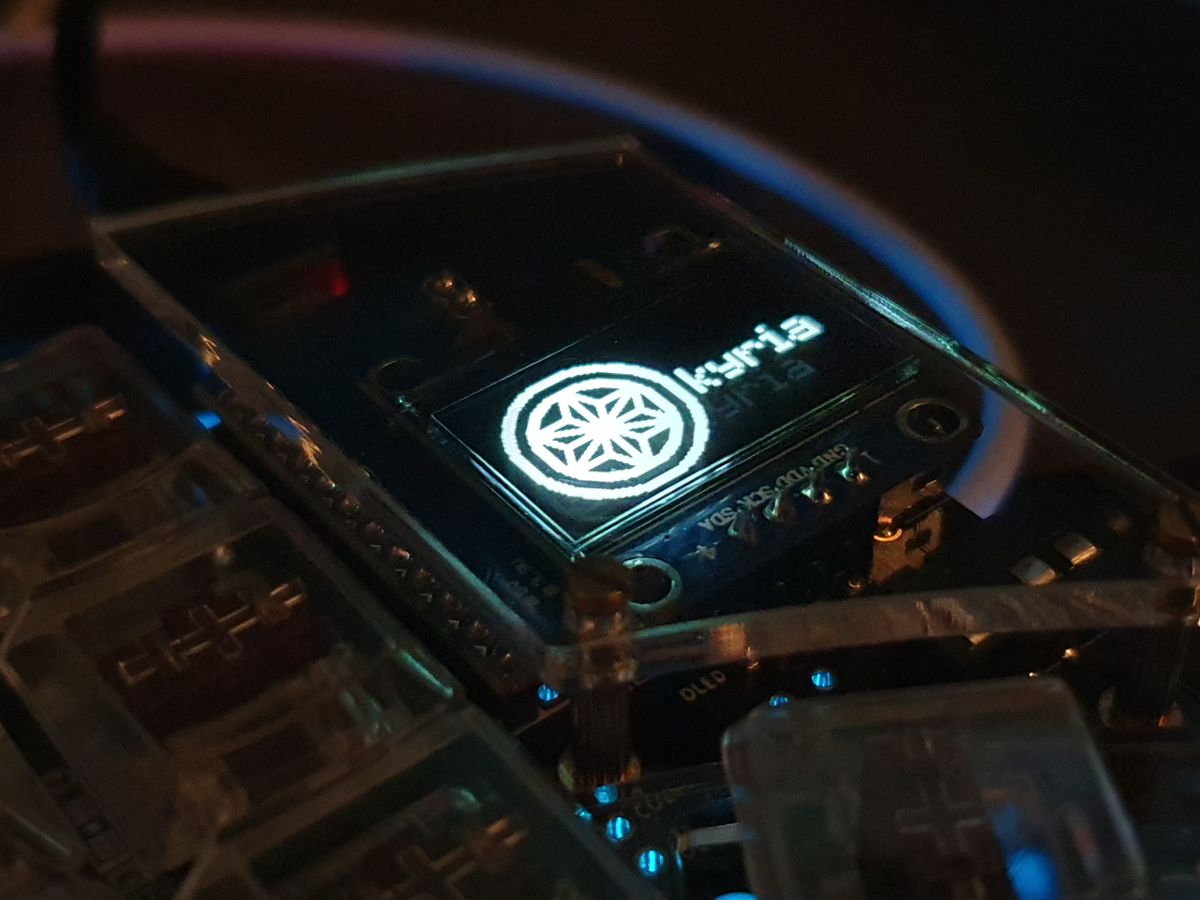
A 128x64 OLED display showing the Kyria emblem.
Your keymap will probably already have the OLED display enabled. Want to learn how to enable it first? Read the OLED Driver page in the QMK documentation.
Acquire an image
First off, you'll need an image. Depending on your display, you may want a specific size. These sizes are the most common:
- An image with a size of 128 pixels wide by 64 pixels tall is used on the larger OLED displays, such as on that of the Kyria.
- An image with a size of 128 pixels wide by 32 pixels tall is often used on other keyboards, like the Corne, Lily 58 and others. You may need to play with the rotation of your image, depending on the settings in your keymap.
For this tutorial, I'm using an image of the Kyria logo.
Download the BMP fileConvert your image
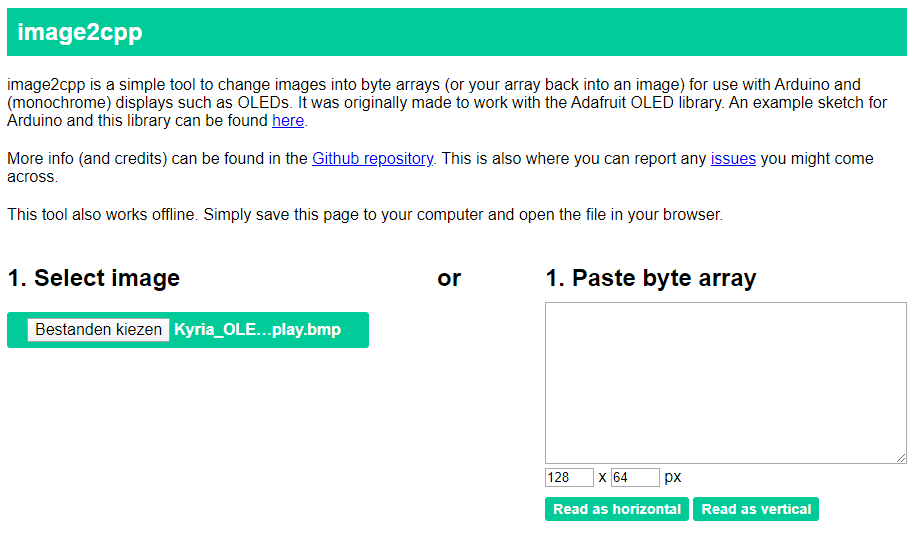
To convert your image, there are various tools. One of the most popular ones is image2cpp. First off, upload your image. I found using a black and white bitmap (.bmp file) works well, but it can also deal with other files. In this case, I've chosen to upload a bitmap file like below:

Uploading a file to image2cpp.
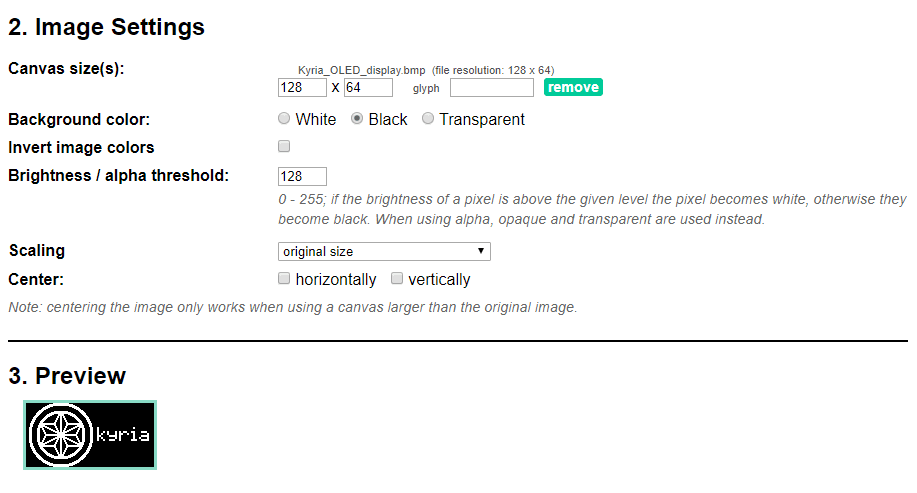
Next up, we need to choose some image settings. It'll try to load some sensible settings for the image you've uploaded. Verify that the canvas size fits with your image and display, and set the background color to the appropriate color. I set it to black, meaning that the white pixels will be lit on the OLED display. You can toggle Invert image colors to have the background light up instead.

Selecting the image settings in image2cpp.
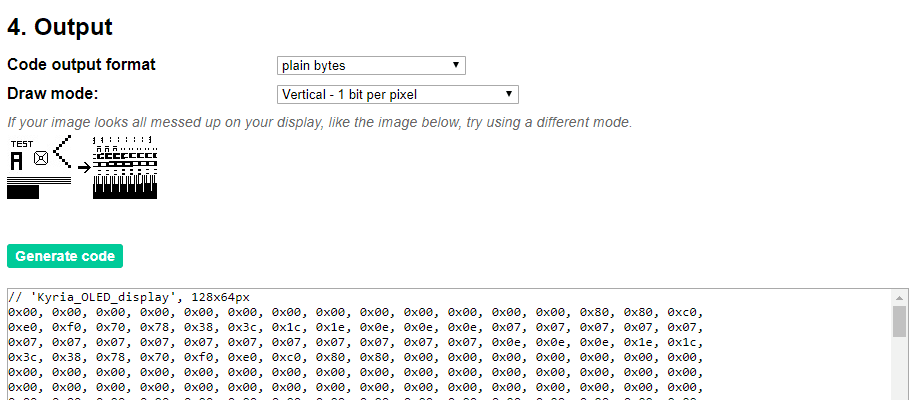
Now it's time to generate the output to be used in your keymap. For the settings, choose a Code output format of "plain bytes", and a Draw mode of "Vertical - 1 bit per pixel". This will give the proper output that QMK will understand.

Configuring the output in image2cpp.
Using the image in your keymap
With the image code generates, we can put it to use! Let's define a function first to more easily write the image. If you're adapting an existing keymap, you may find this function exists already, in which case you can alter it instead.
static void render_my_logo(void) {
  static const char PROGMEM my_logo[] = {
    // Paste the code from the previous step below this line!

  };

  oled_write_raw_P(my_logo, sizeof(my_logo));
}
Now you can use the render_logo function in another method. This one may already exist too, in which case you can alter it. It's called oled_task_user:
bool oled_task_user(void) {
  if (is_keyboard_master()) {
    // If you want to put your image on the main side side, put your function call here:
    render_my_logo();
  } else {
    // And if you want to put your image on the peripheral side, put it here instead:
    render_my_logo();
  }
  return true;
}
And that's all there is! Rebuild your keymap and then flash it to your keyboard. If you're changing the logo on the peripheral side, do be sure to flash both sides of the keyboard. Also read When do I need to flash my microcontroller?
More resources
- OLED Driver on the official QMK documentation.
- How are displays used on a keyboard? can give you more ideas on how to use your display.
- A logo editor by Joric helps you alter font files.

