Case assembly
You should perform this step if you are going to be using a case with your keyboard. If not, you can go to the next step using the button below.
First, when using acrylic plates, remove the foil off of both sides of the acrylic. One side will usually be coloured foil, while the other side will have clear foil. The clear foil can be hard to see, but you'll still want to remove it.
OLED cover
Install the OLED cover first if your kit has one. When you're using an OLED display, you can use the 12mm spacers (the longest ones in your kit). If you're not using an OLED display, you'll likely have some extra smaller spacers (like the 8mm ones) you can use to reduce the space between the cover and the controller.
It's a good idea to remove the protective cover from the display here, if it has one: it'll be more difficult to remove after installing the cover.
To install, first thread an M2 screw through the PCB, and then thread on a spacer from the other end. Do this for both cover mounting holes. Then, align the cover's mounting holes with the spacers, and thread two more M2 screws through them.
Low profile case
The low profile case is the only style of case available at splitkb.com at the moment. It is used for both MX and Kailh Choc low profile switches.
Remove the foil off of both sides of the acrylic, if you haven't already done so.
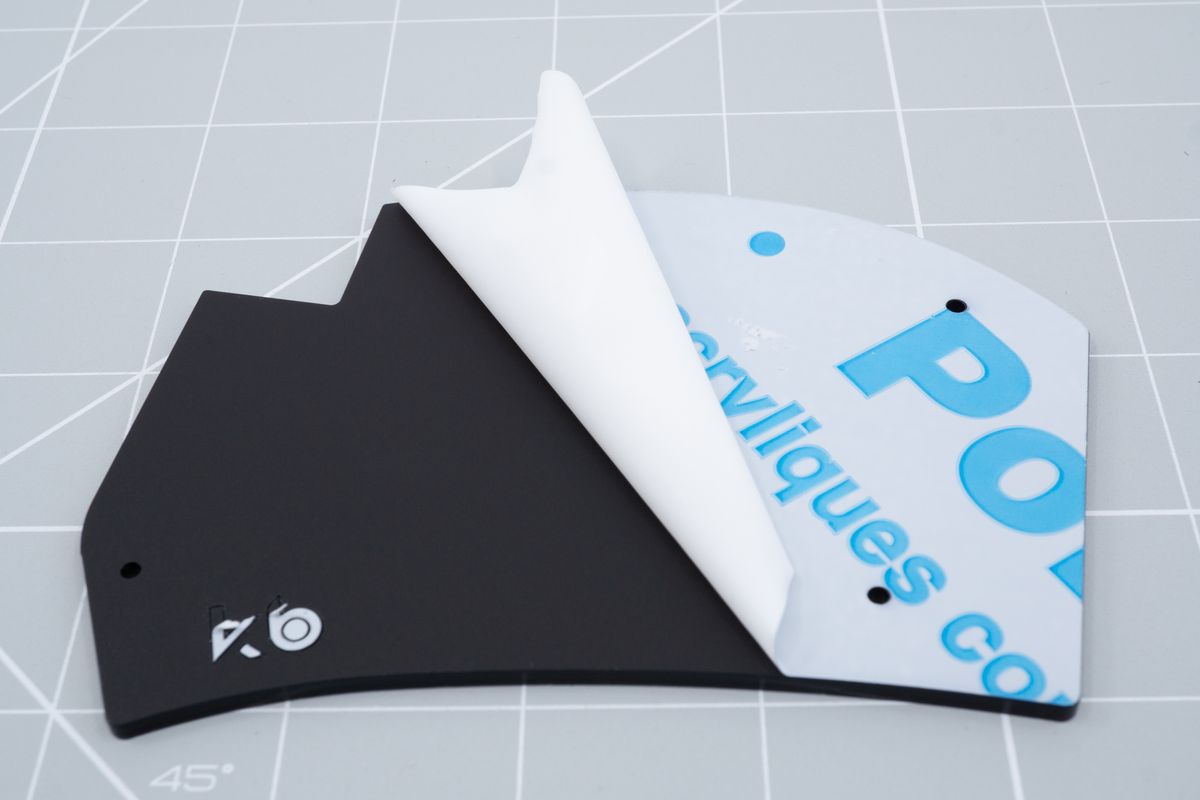
Removing the foil from a bottom plate.
There will be a "kb" engraving on the same side on both acrylic plates. This engraving will face down on one side, and up on the other. This is intended: they are fully symmetrical. You can remove the foil from the engraving, too.
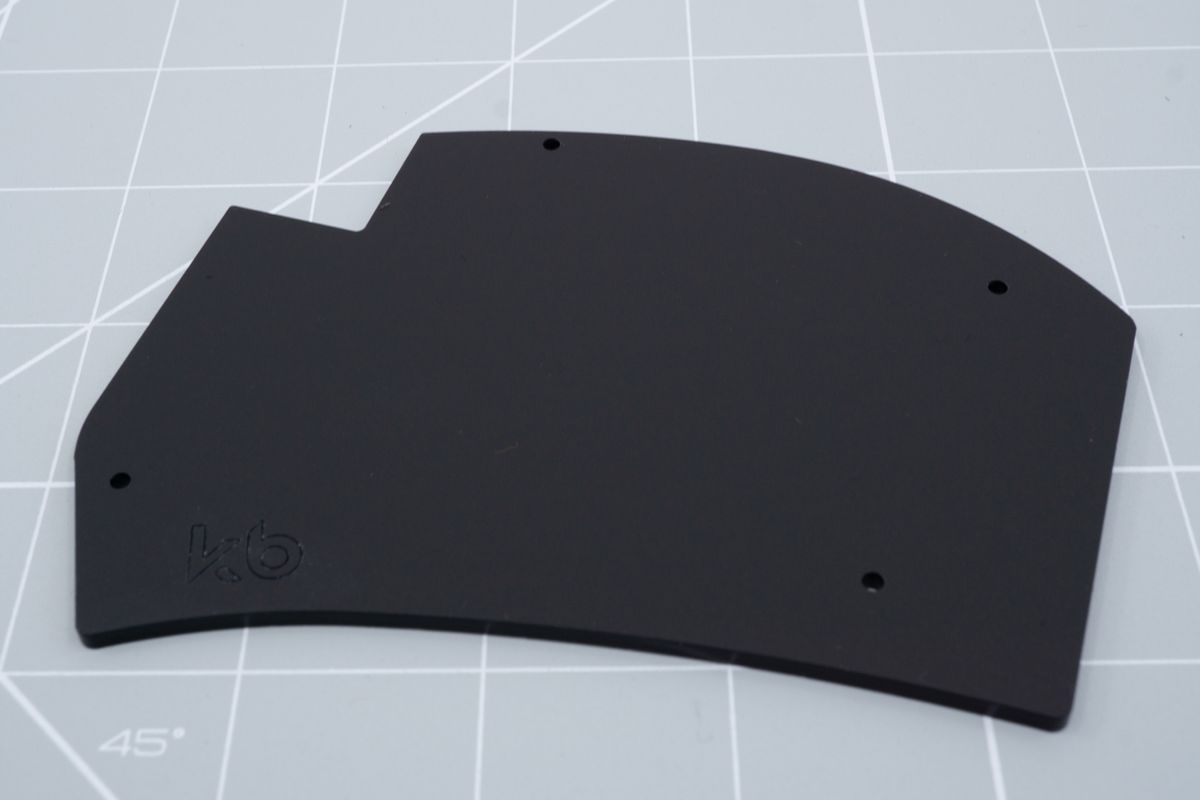
A bottom plate with all of its protective foil removed.
Align the bottom plate's mounting holes with the spacers you previously installed on the top plate. One by one, put a screw through each mounting hole and mount it to the spacer.
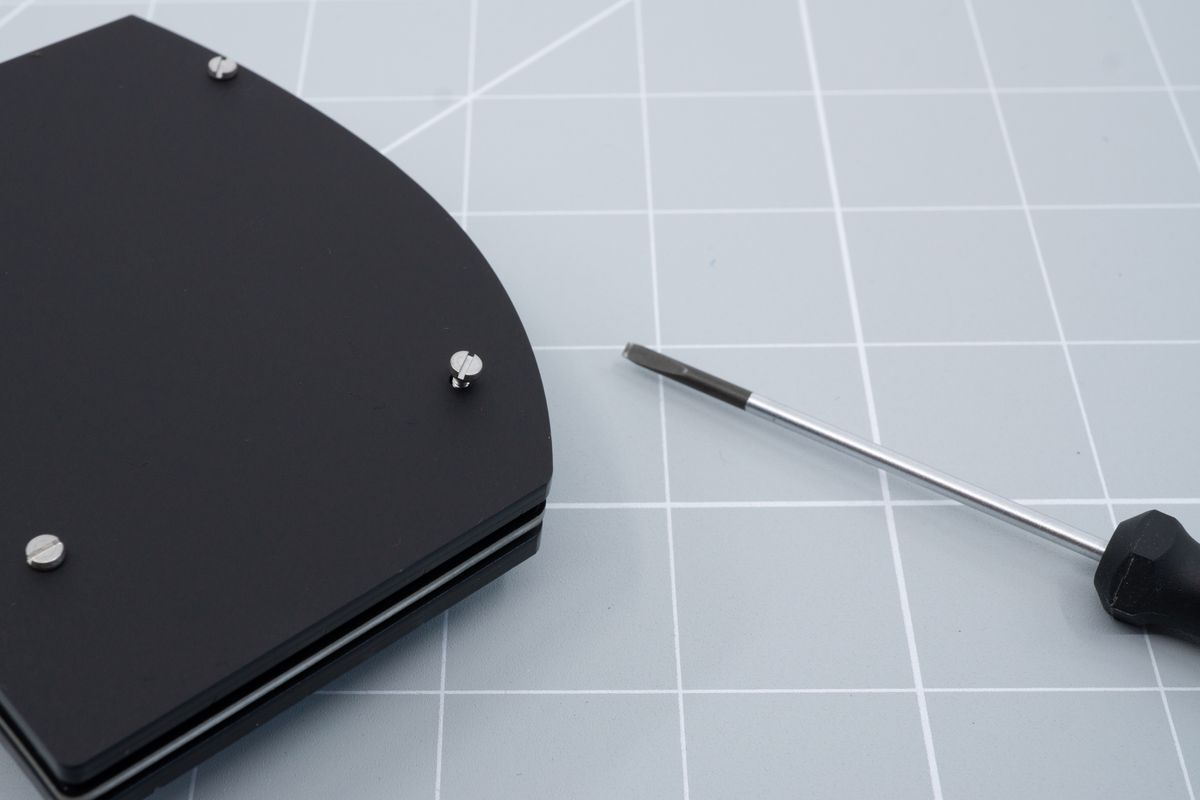
Placing a screw into one of the mounting holes.
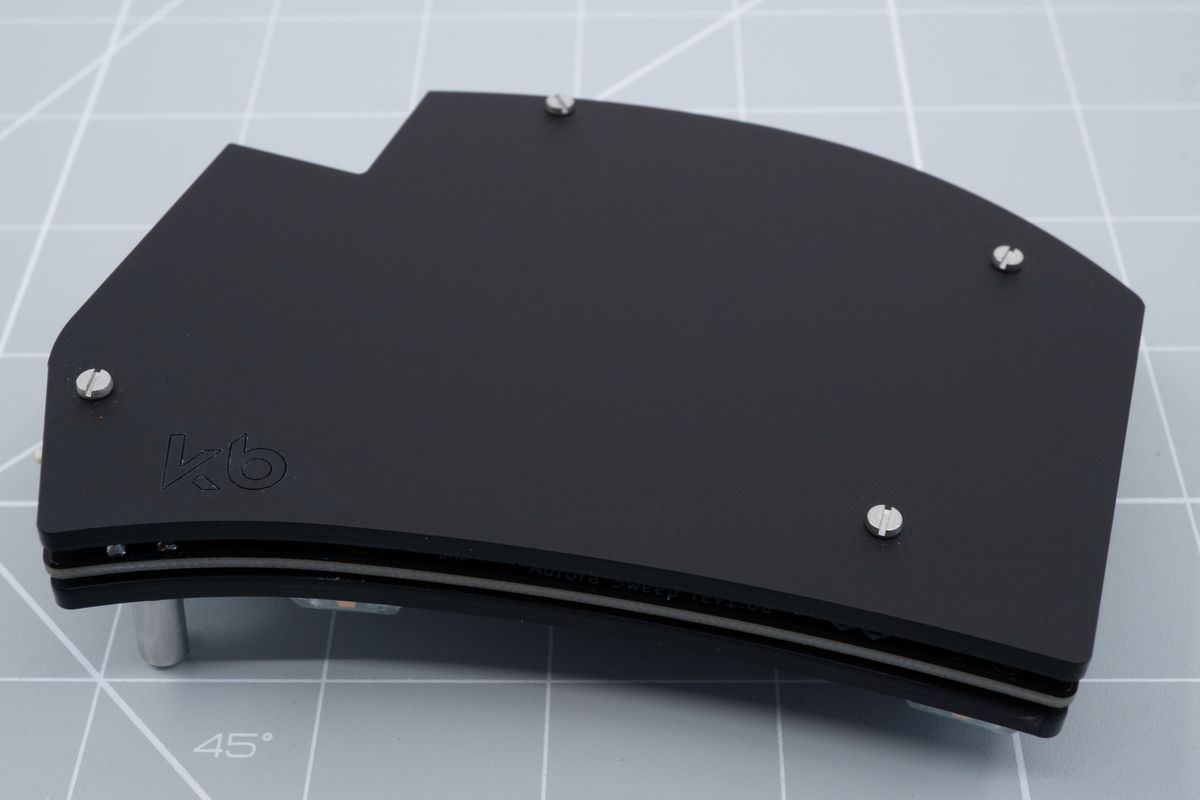
All screws mounted to the spacers.
Lastly, stick the rubber bumpons onto the bottom plate. Place one bumpon on each corner. On larger keyboards, it helps to place one along the top row, and sometimes one along the bottom row or near the thumb cluster as well. You'll have six bumpons to use per keyboard half.
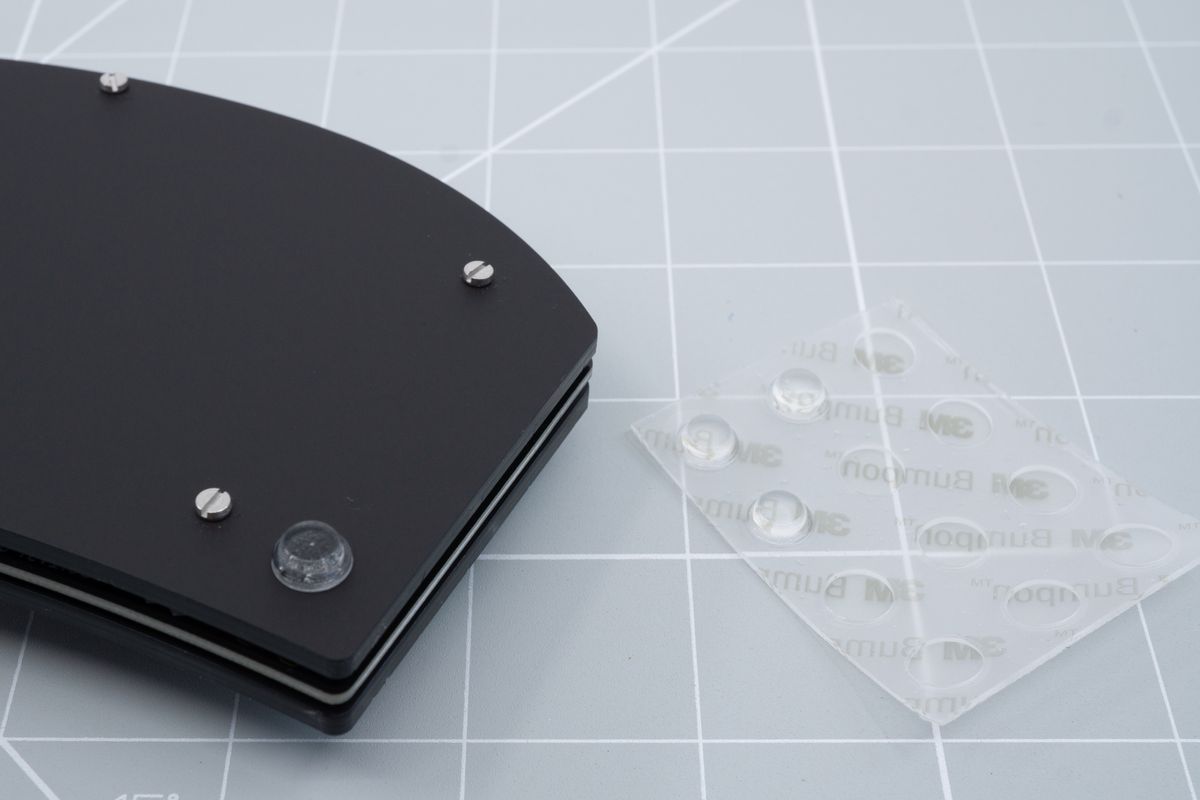
Sticking a bumpon onto the bottom plate.
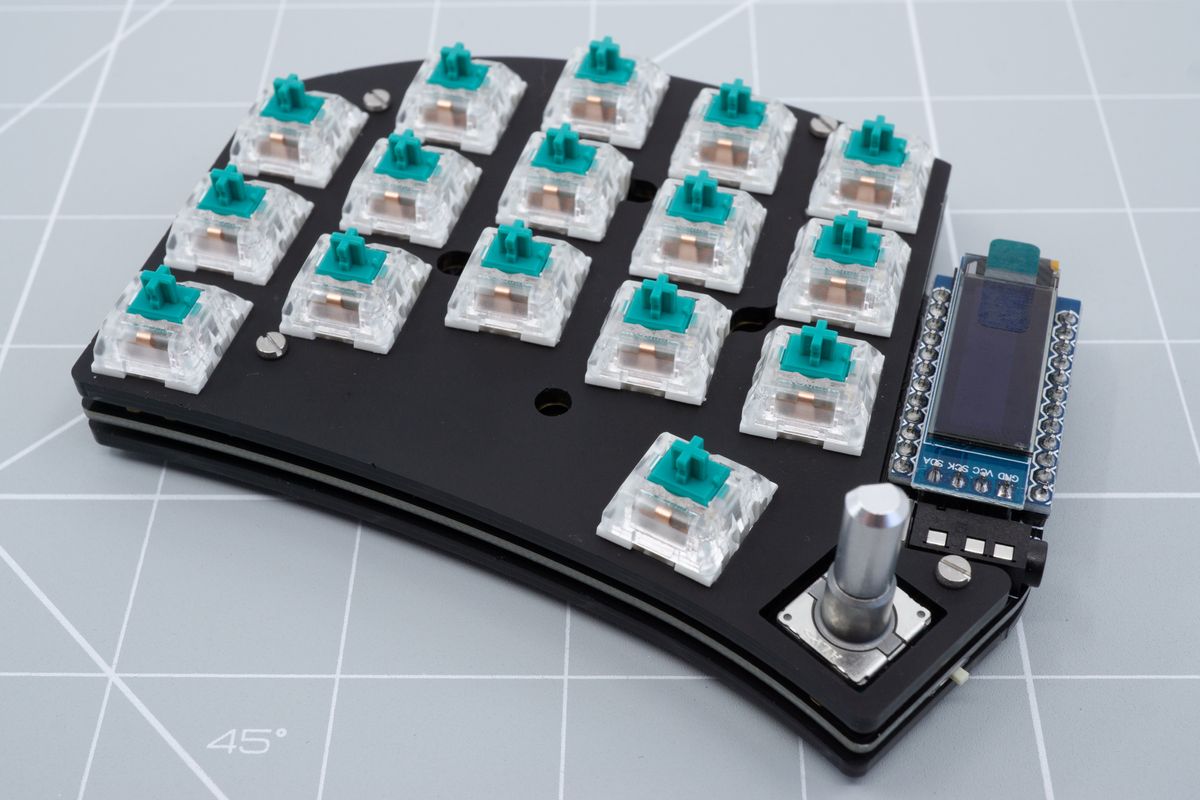
With all bumpons installed, the keyboard sits firmly and flat on the table.
OLED displays
Display the status of your keyboard, or personalise it with your own image.
Tenting puck
Learn how to install the tenting puck on any keyboard which supports it.

