Switches
With the top plates prepared, you can now insert the switches through it, into your keyboard's hot swap sockets.
Parts needed
You will need the keyboard you've prepared in the previous steps, as well as the switches you'd like to use.
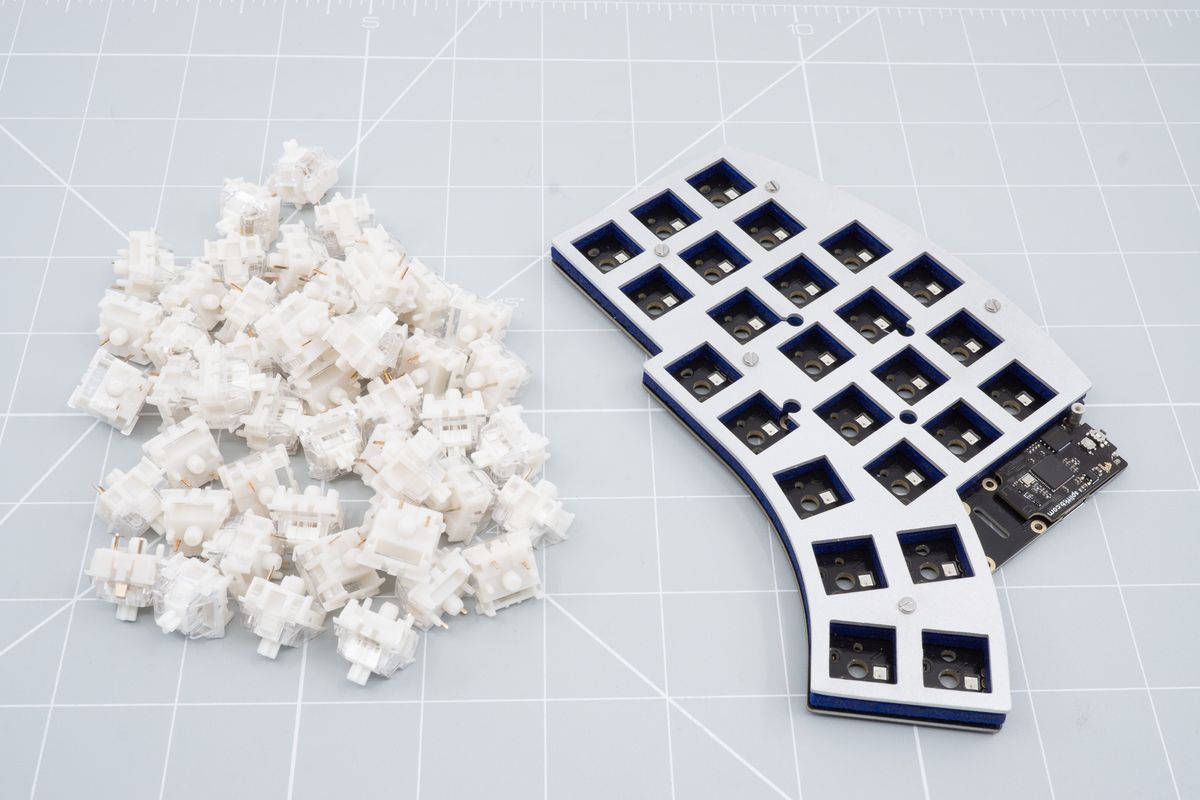
The prepared keyboard and switches.
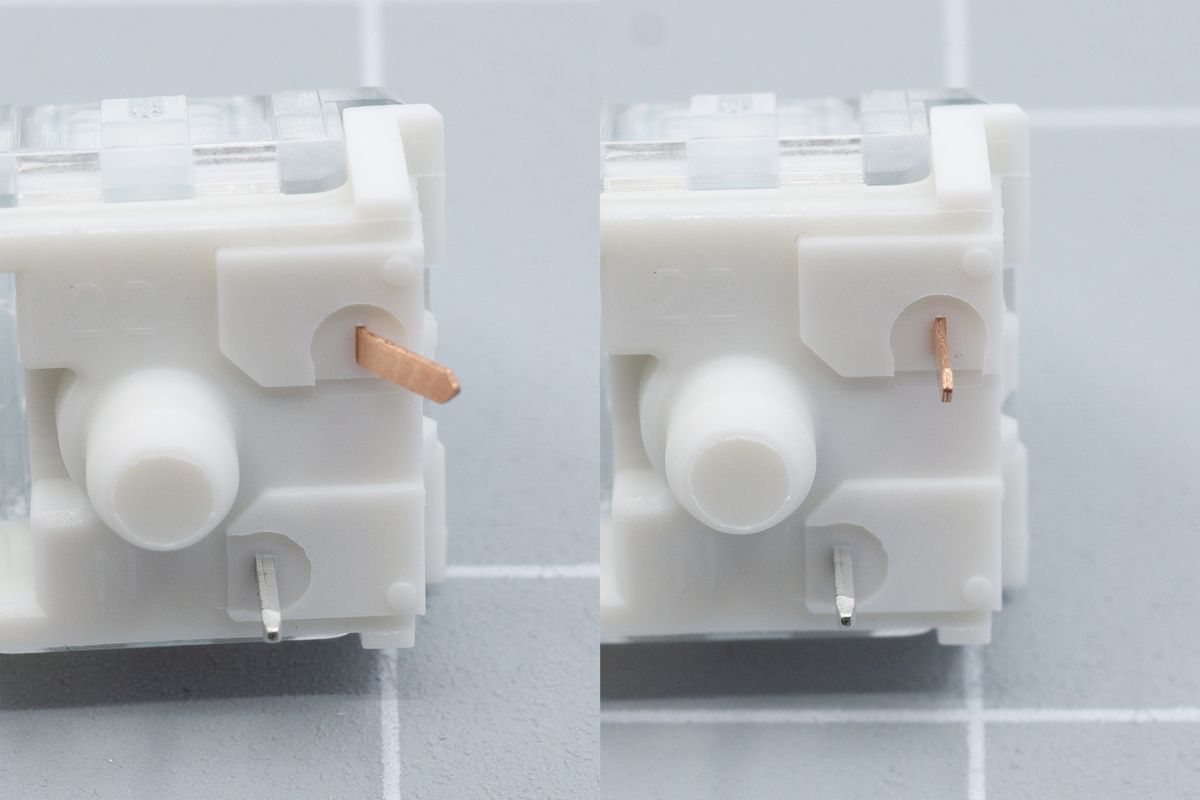
A bent switch leg on an MX switch can be bent back in shape.
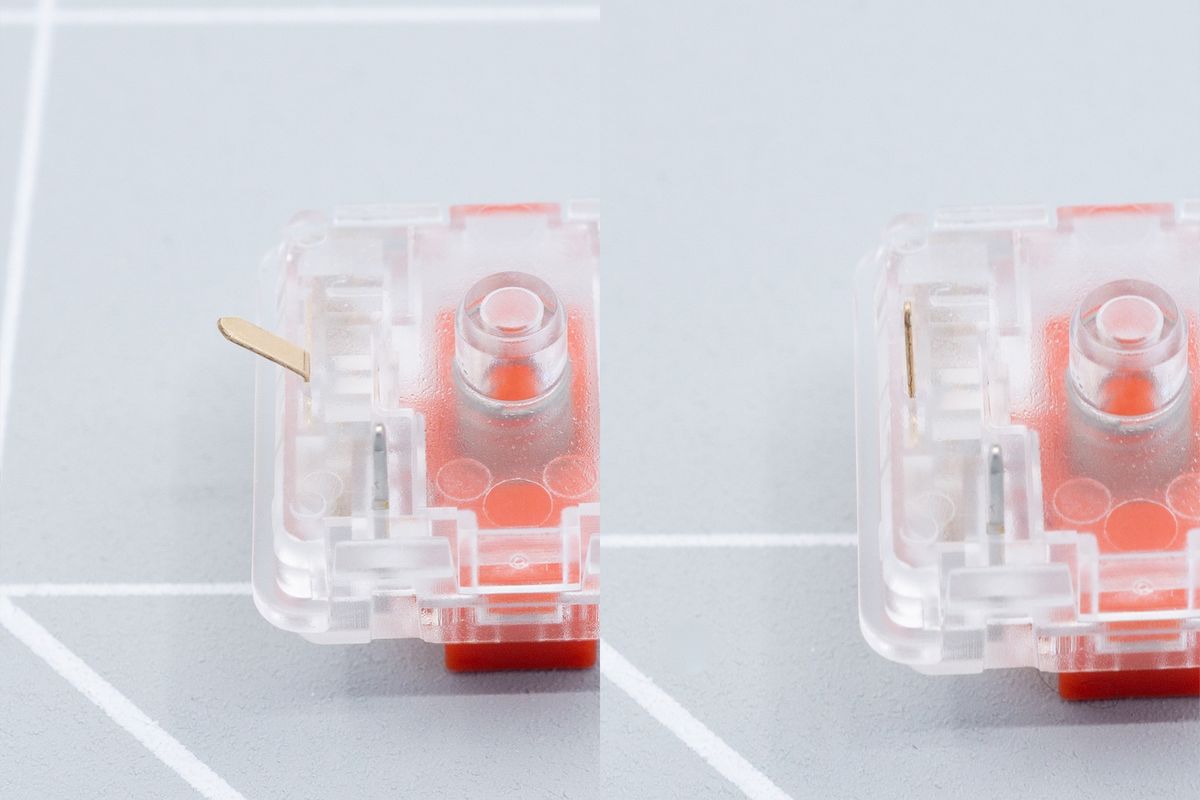
A bent switch leg on a Kailh Choc low profile switch can be bent back in shape.
Positioning the switches
After making sure that the switch pins are straight, you will need to correctly align the switch with the keyboard PCB before inserting it. The pins should be facing south.
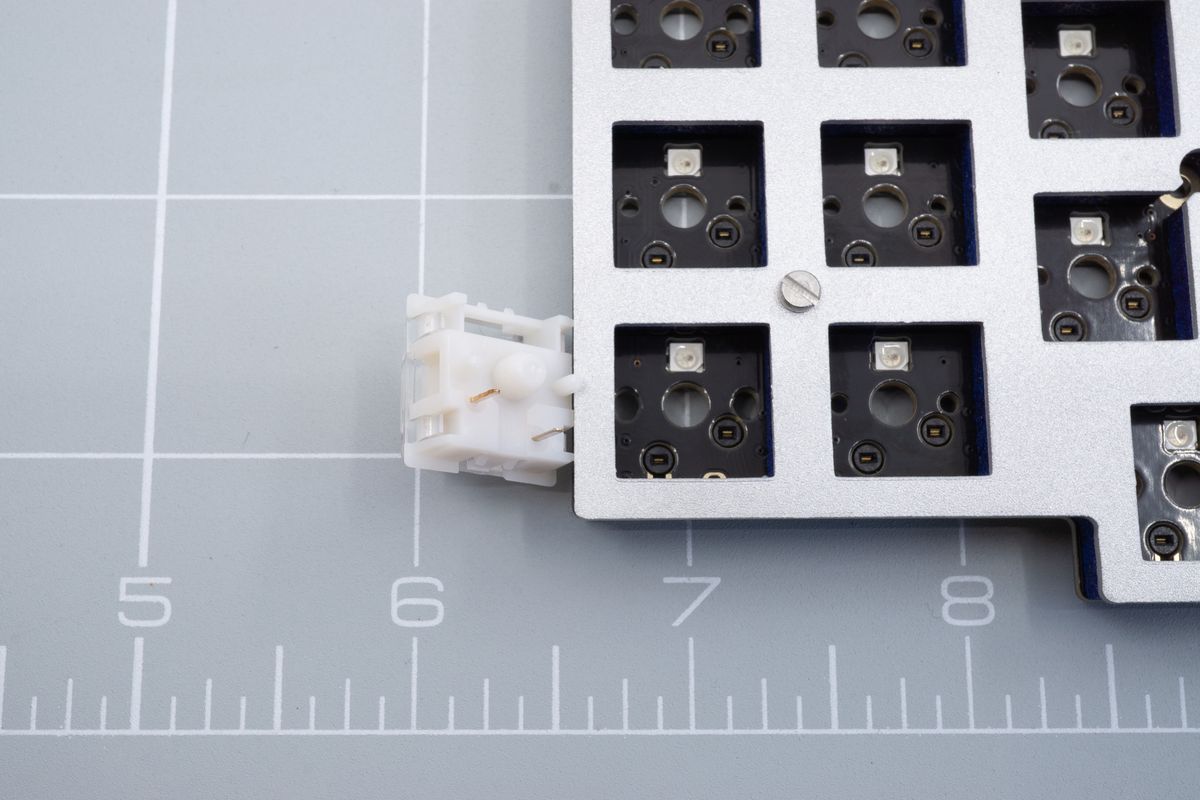
Aligning the switch with the keyboard PCB.
After aligning the switch you can position it in to the top plate. Don't press it down just yet.
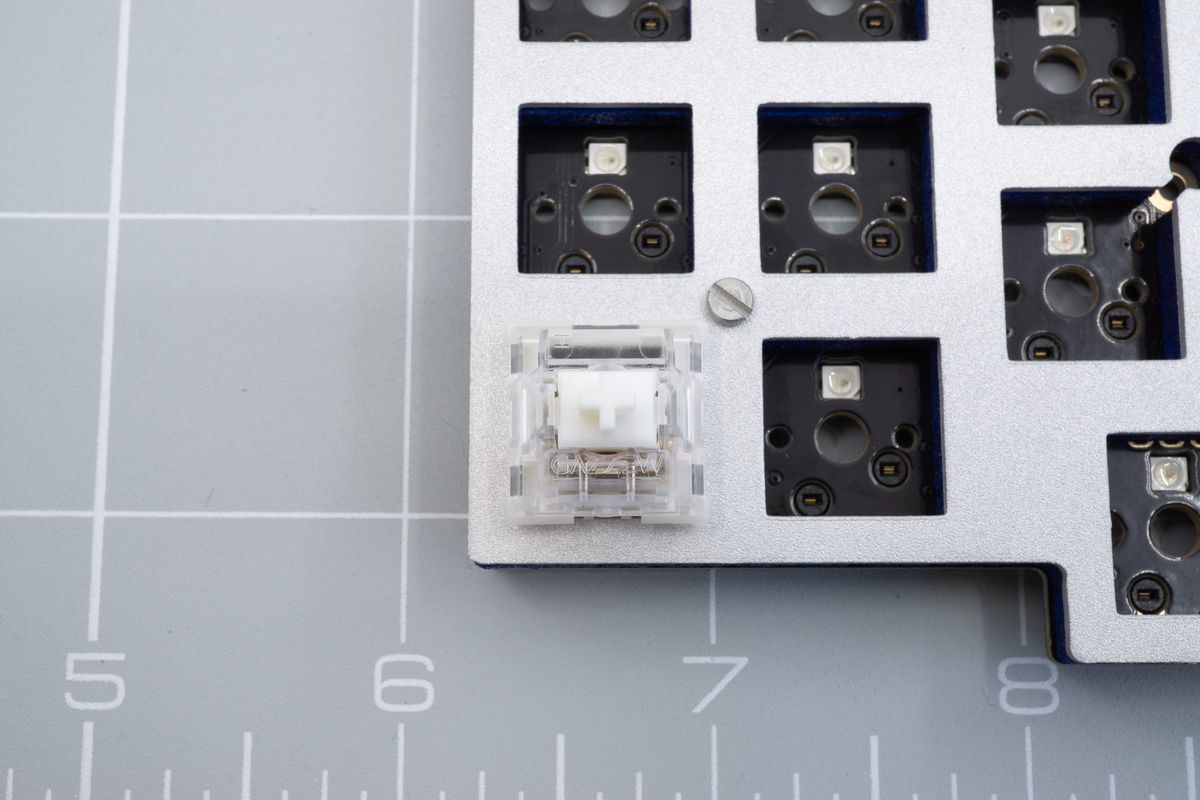
Positioning the switch in to the top plate.
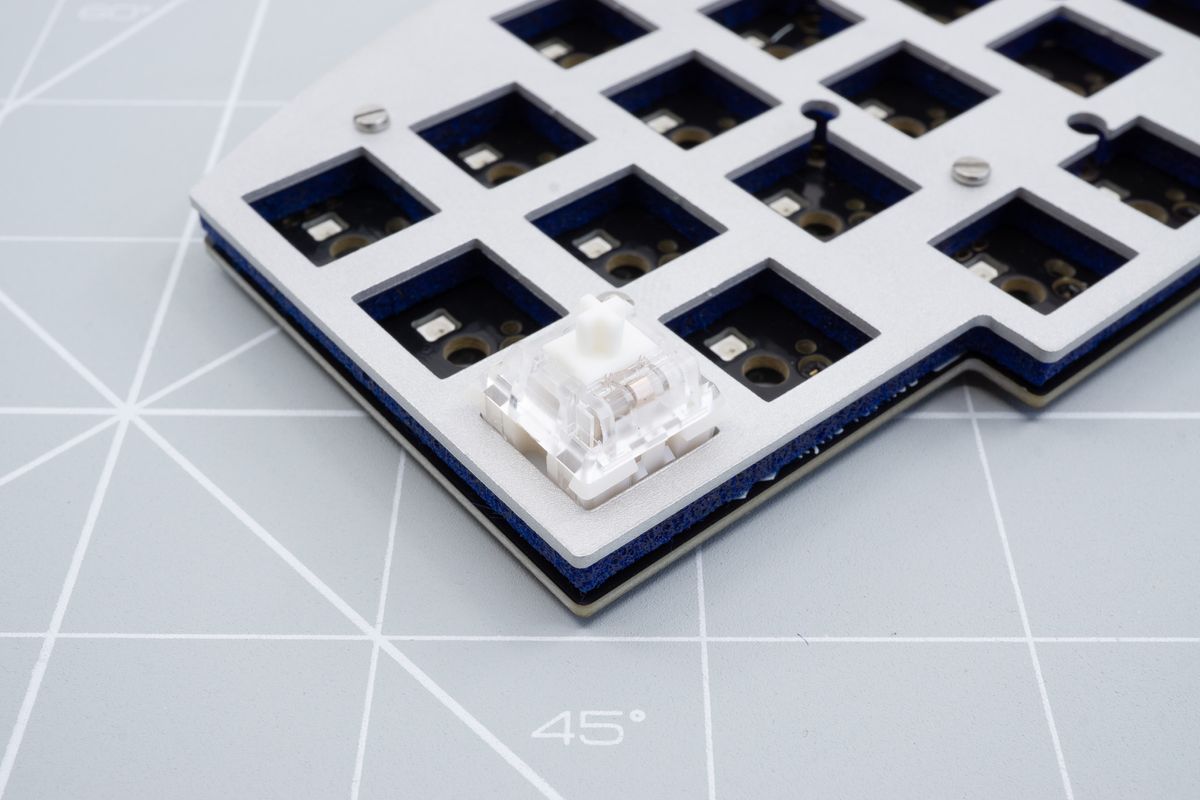
Side view of the positioned switch.
Inserting the first switches
It may be easier if you remove the top plate from the keyboard PCB for the first couple of switches. That way you can make sure the switches are fully inserted in to the top plate.
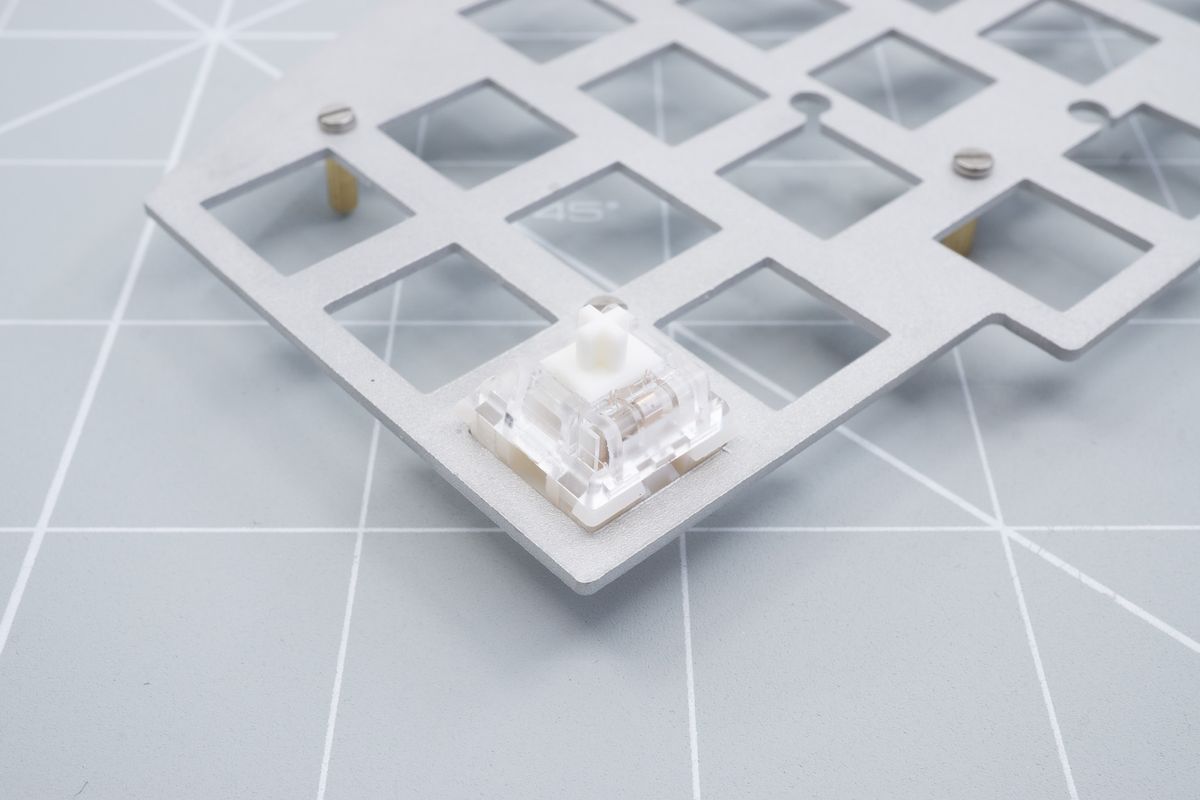
Side view of the positioned switch with the keyboard PCB and sound dampening sheet removed.
Fully press down on the middle of the switch to insert it in the top plate. You may need to support the top plate itself as well.
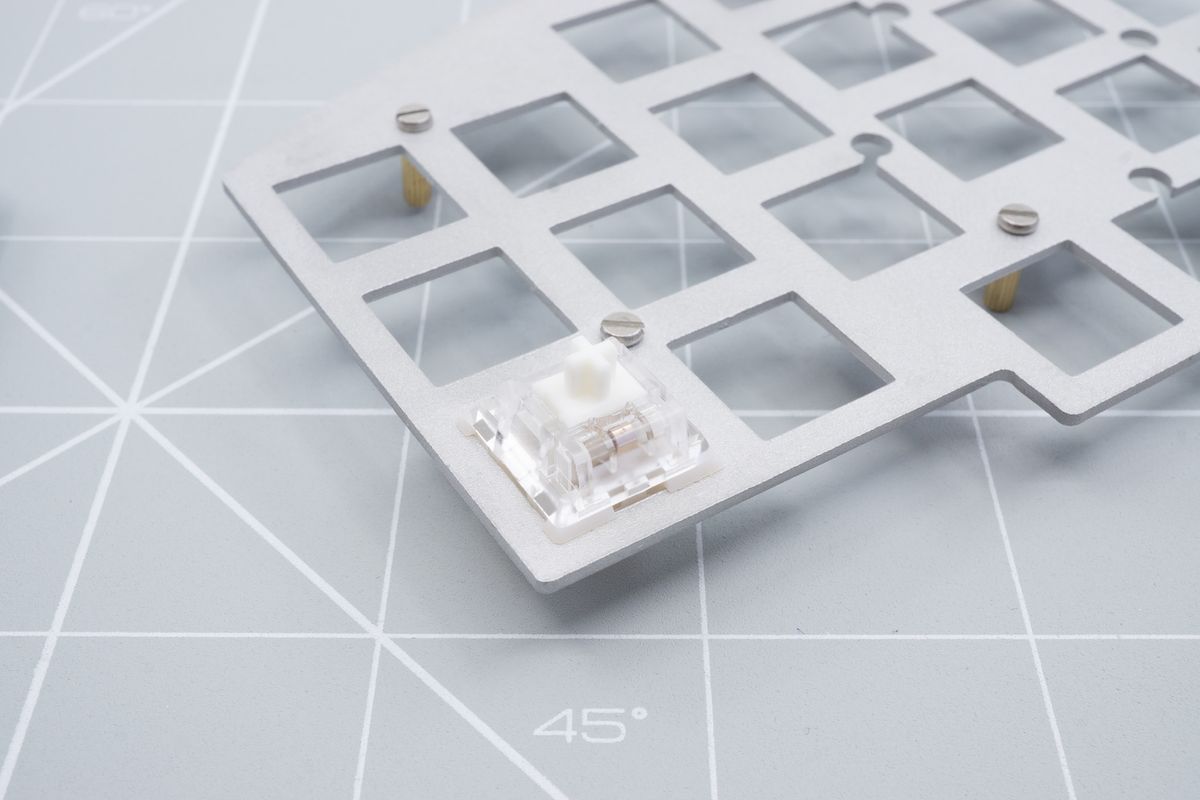
Fully inserted switch in the top plate.
Now insert 3 more switches in each corner of the plate.
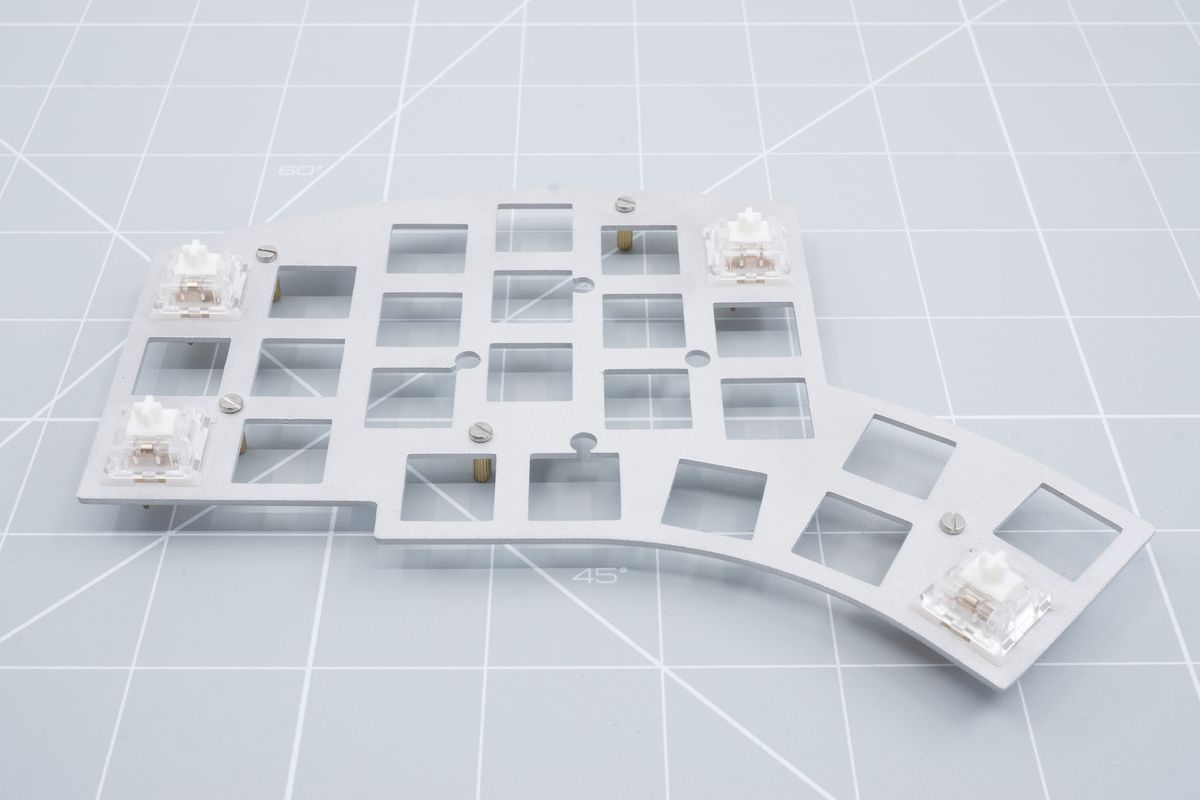
4 switches inserted in to the top plate.
Grab your keyboard PCB with sound dampening sheet again and align them both with each other.
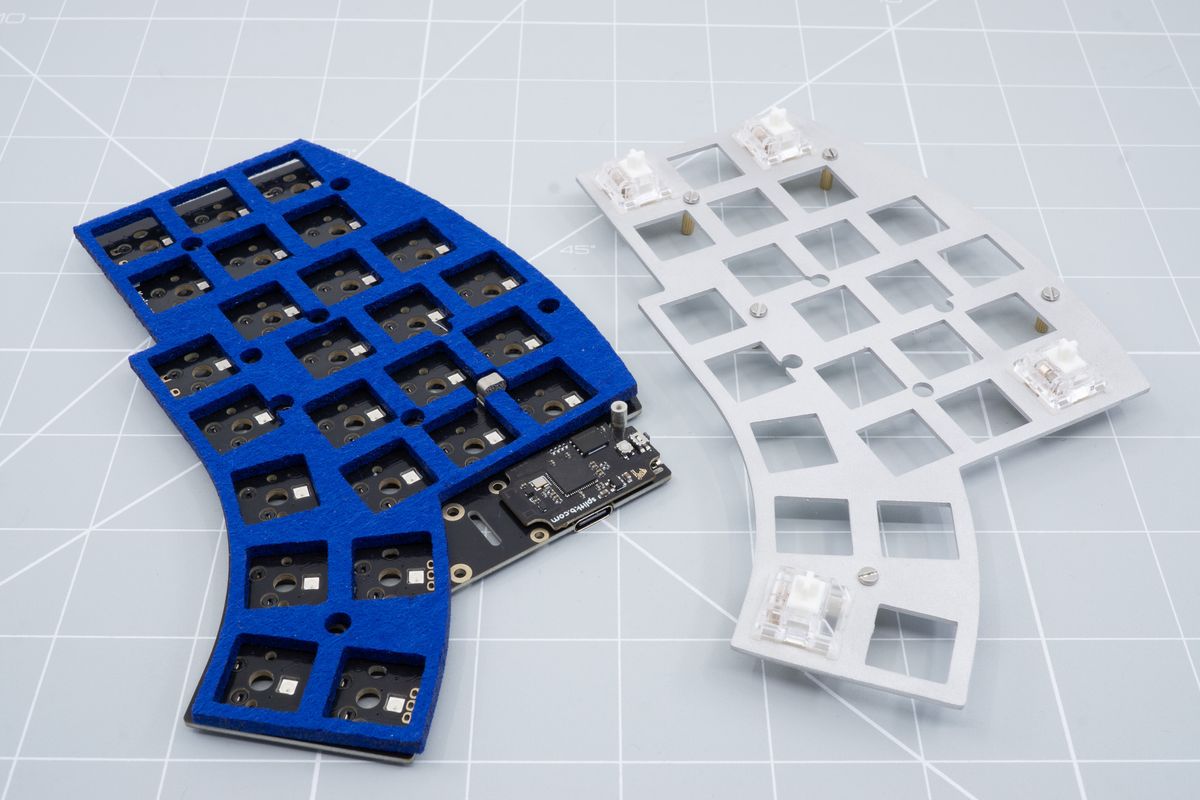
Aligning the top plate and keyboard PCB.
Press down on each switch to insert the switch legs in to the keyboard hotswap socket.
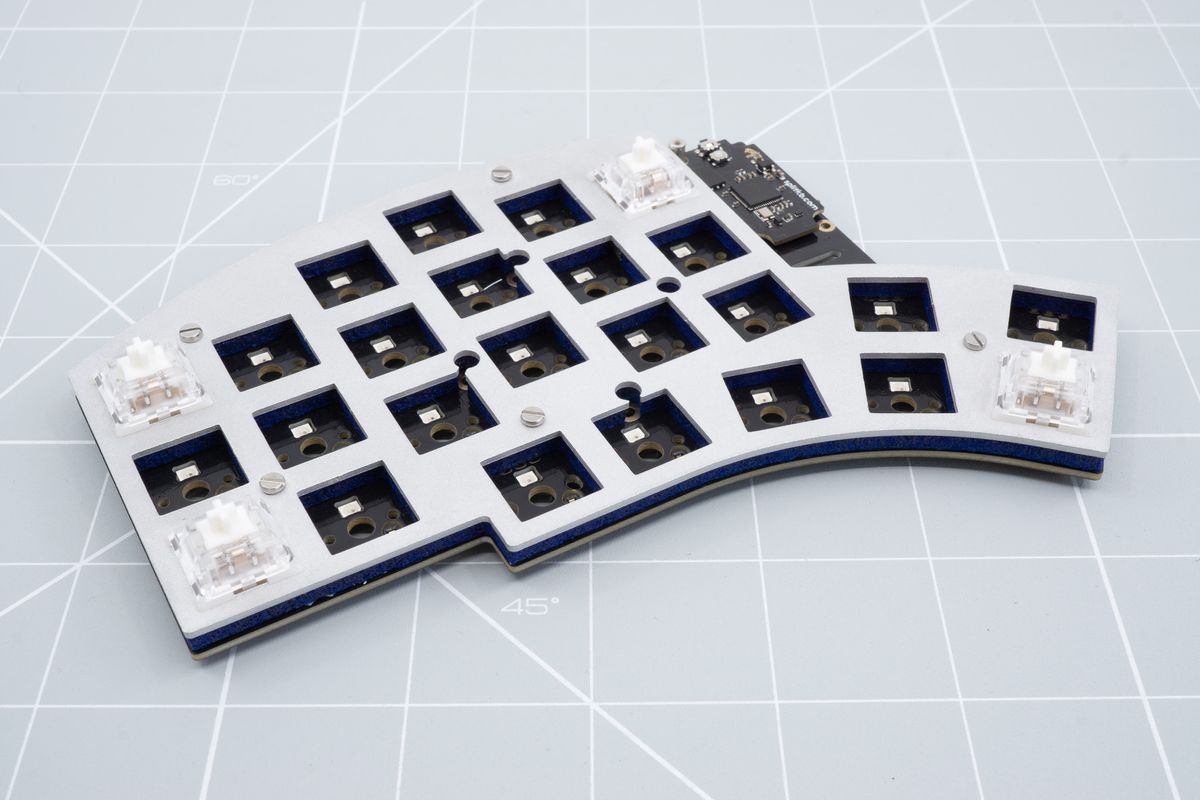
Installed corner switches in to the keyboard PCB.
Make sure that each switch is fully inserted in to the keyboard PCB. You can double check this from the side. Notice how the switch sits flush on the plate.
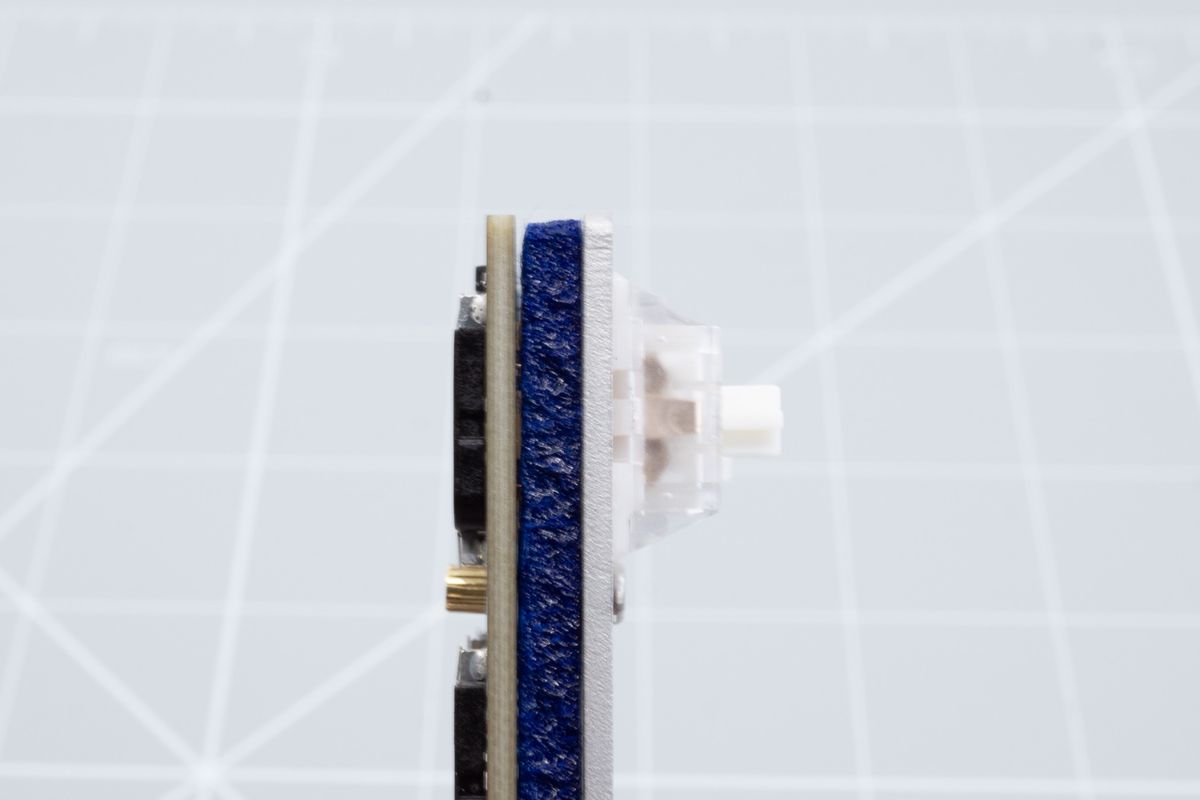
Fully inserted keyboard switch.
Inserting the rest of the switches
Position the rest of the switches just as before.
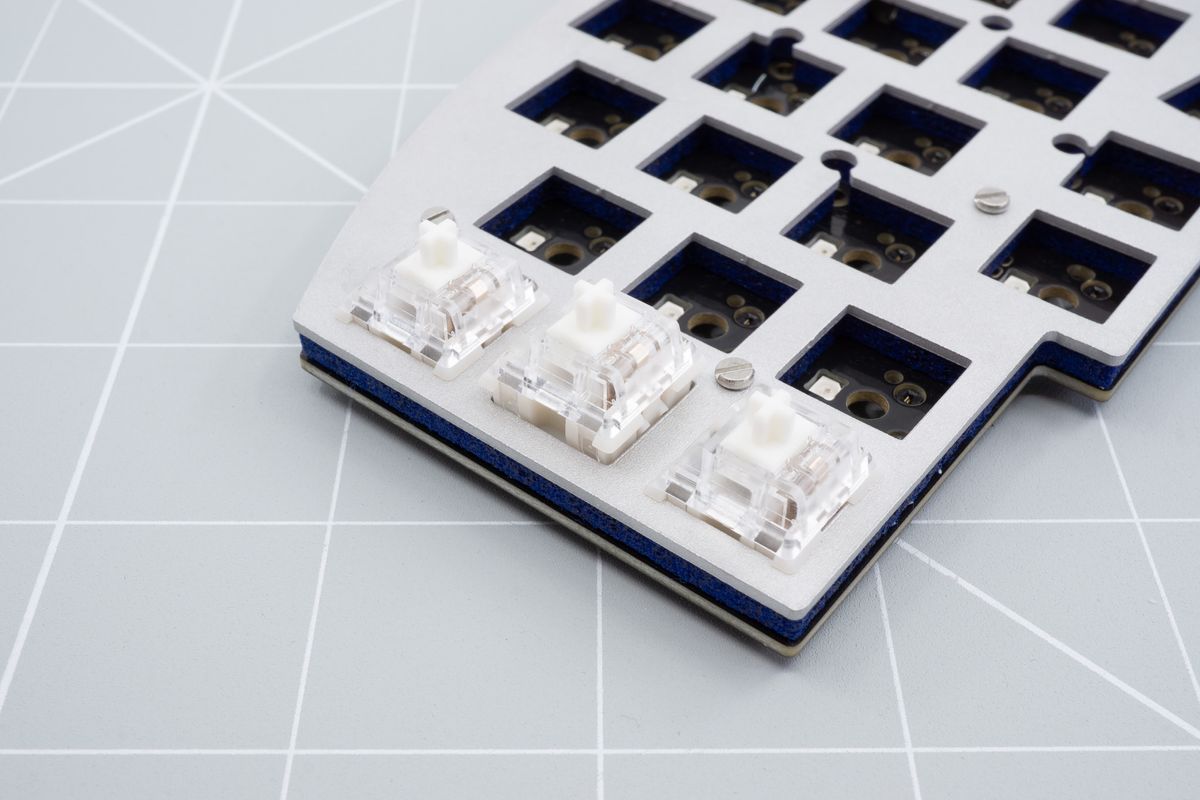
Positioning a switch.
Press down on the switch.
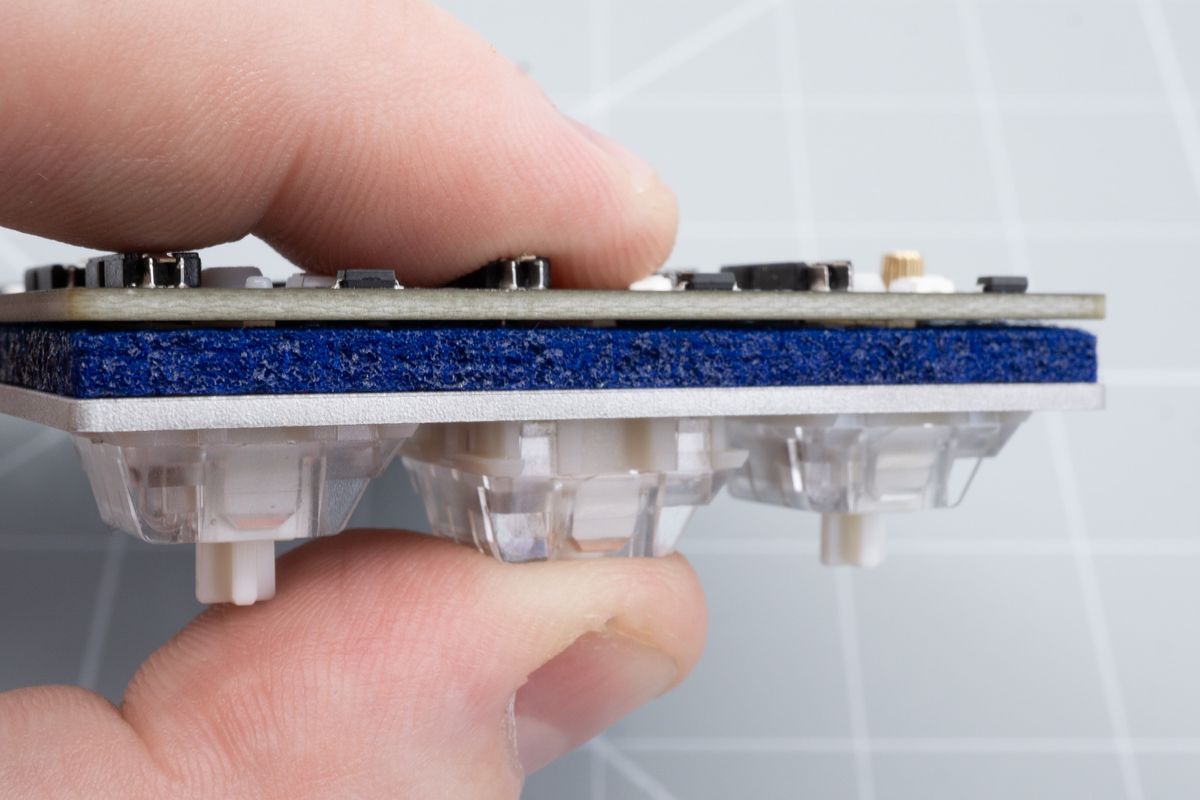
Pressing down on the switch.
Insert the rest of the switches the same way.
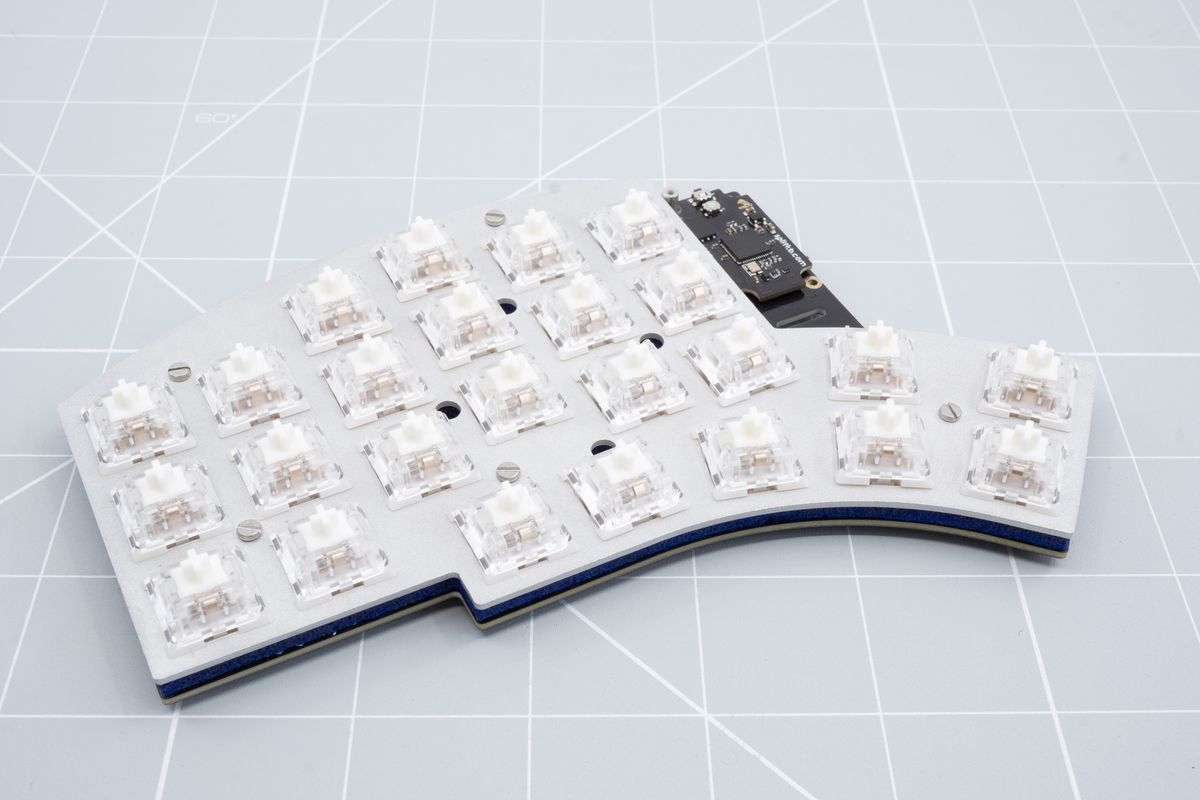
All switches inserted in to the keyboard.
Troubleshooting
You may notice that the switch doesn't fully insert in to the top plate and it deforms the top plate.
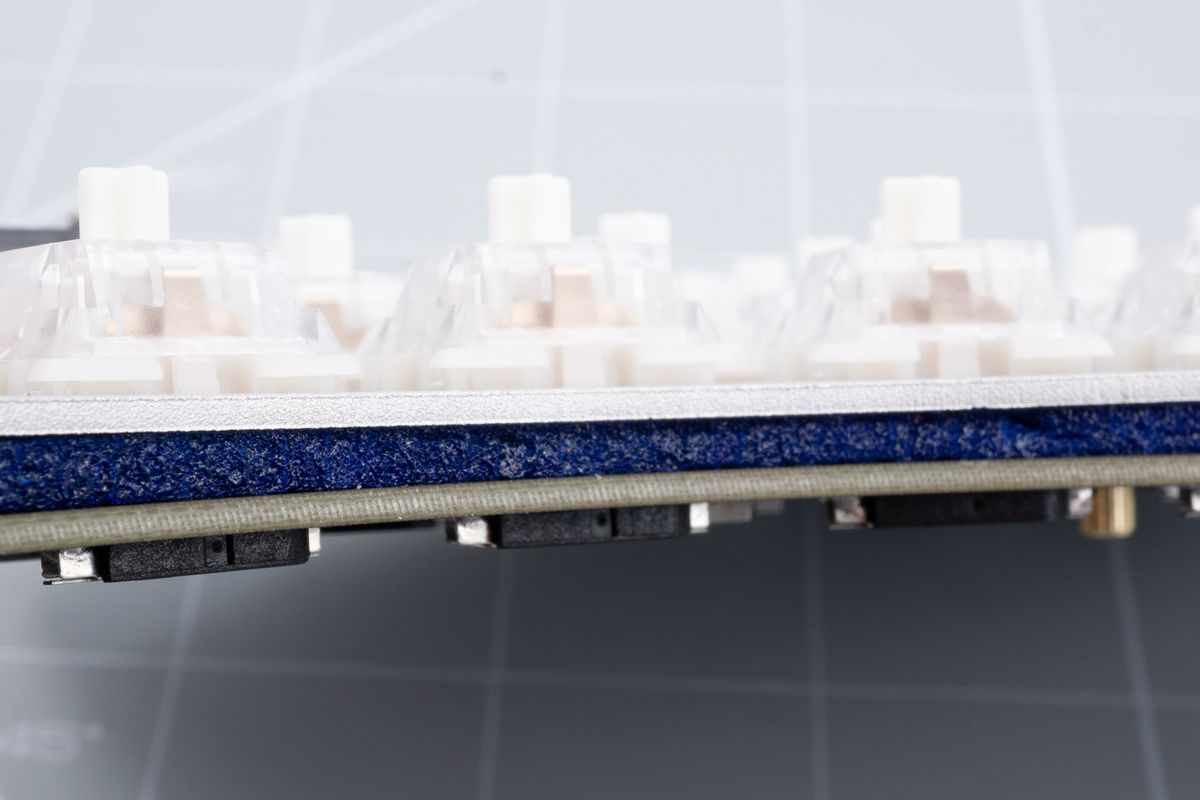
Deformed top plate.
For most switches in the middle of the keyboard it is usually enough to rest the keyboard with it's spacers on the table and apply pressure on the switch directly.
On the edge this is a bit more difficult as the keyboard may just slip away. For this you can use something plastic (to not scratch the top plate), like a pen, to support the side of the top plate while putting pressure on the switch to insert it.
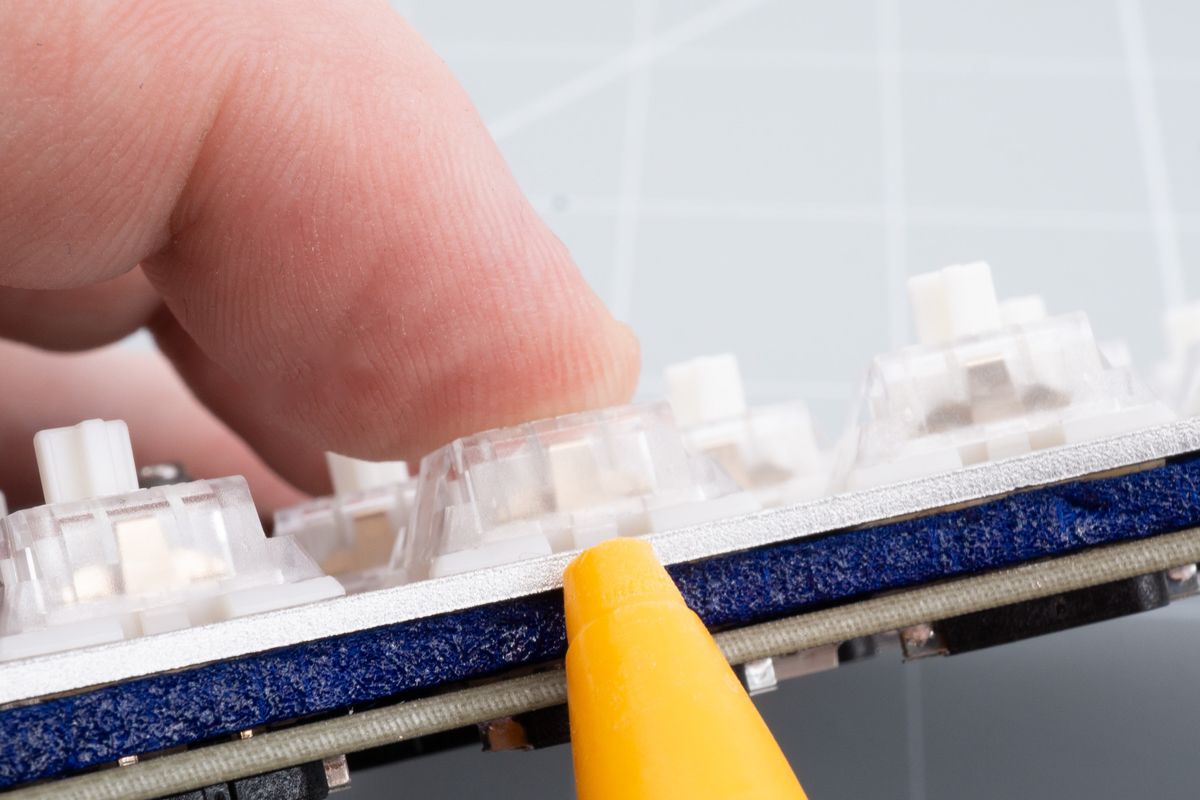
Supporting the top plate with a pen while putting pressure on the switch.
Do this for any switch that has trouble fully inserting in to the top plate. In the end it should look like the following. There should be no gap between the top of the switch and the top plate.
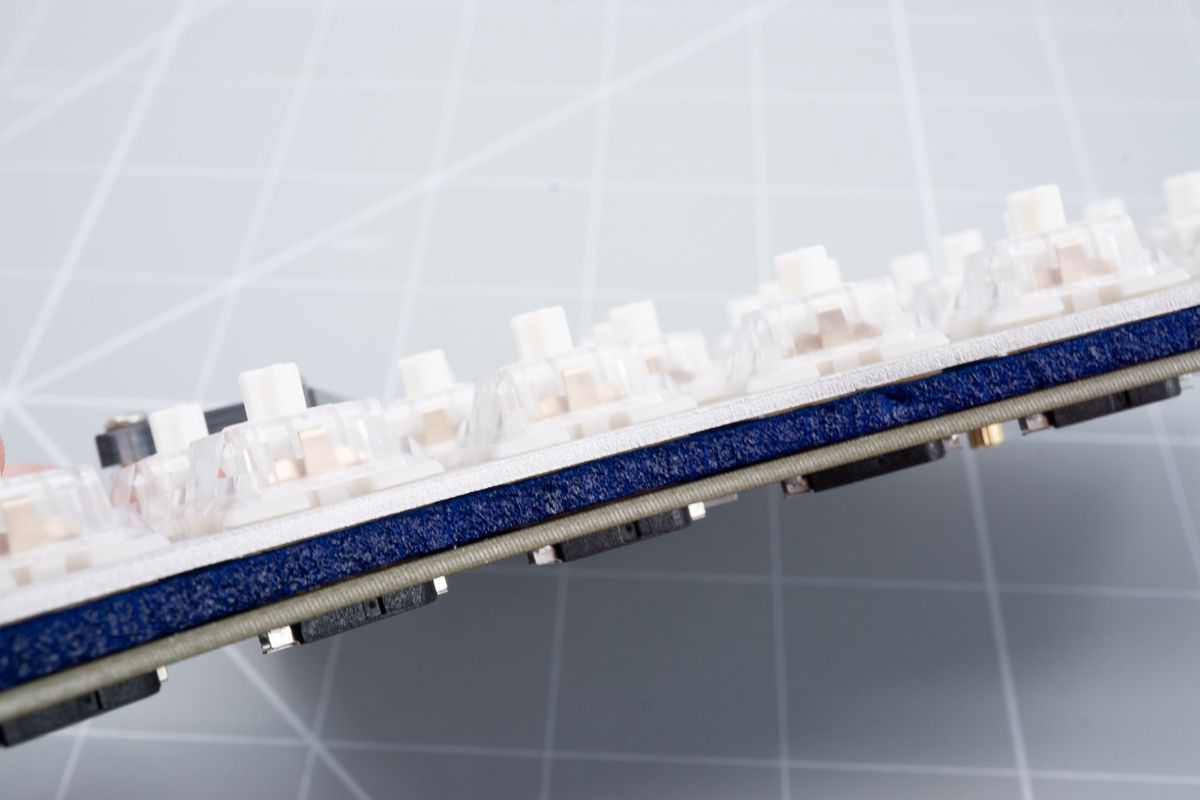
Fully inserted switches in the top plate.
Top plates
Preparing the top plates for your Halcyon keyboard's case.
Halcyon modules
Installing a Halcyon module onto your Halcyon keyboard.

