Tenting puck
You should perform this step if you chose to add a tenting puck. If not, you can go to the next step using the button below.
If you'd like to tent your keyboard using a common camera tripod, you can do so using a tenting puck.
Parts needed
You will need your tenting puck, the keyboard PCB and a flat head screwdriver.
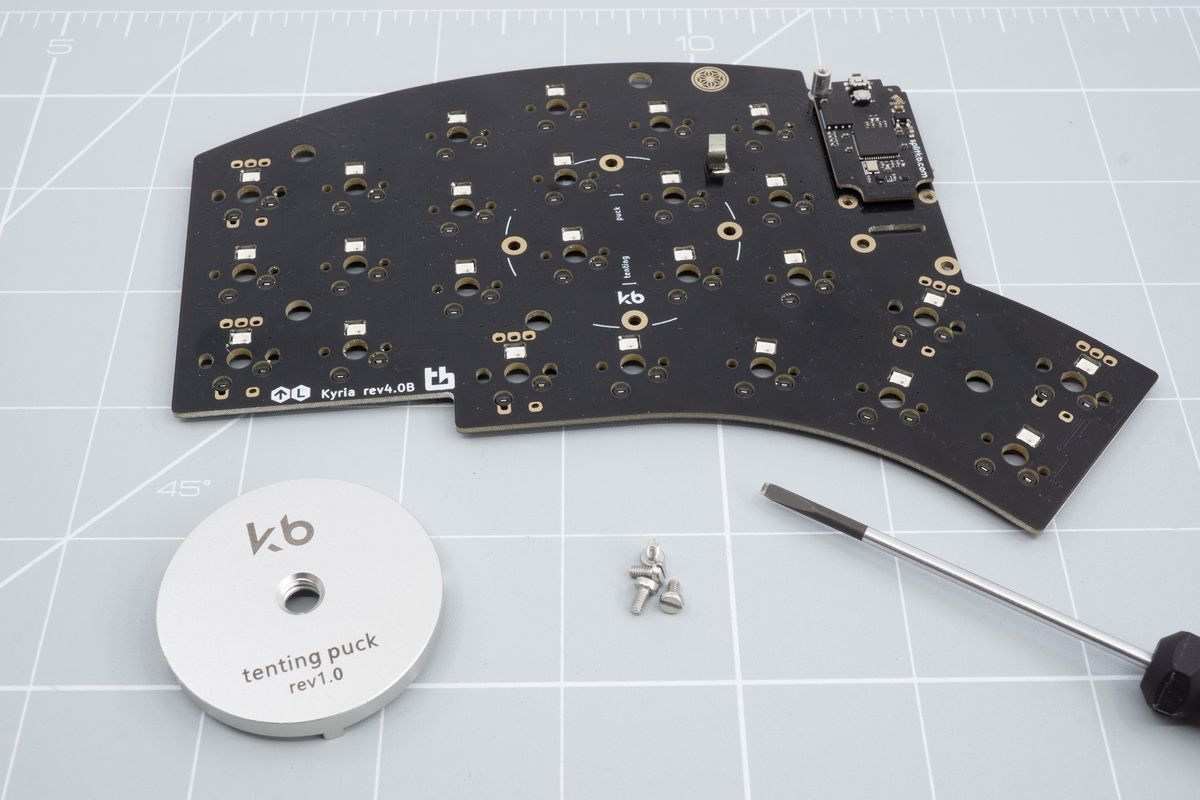
The tenting puck, the keyboard PCB and a flat head screwdriver.
Positioning the tenting puck
Notice the 4 screw holes in around the center of your keyboard.
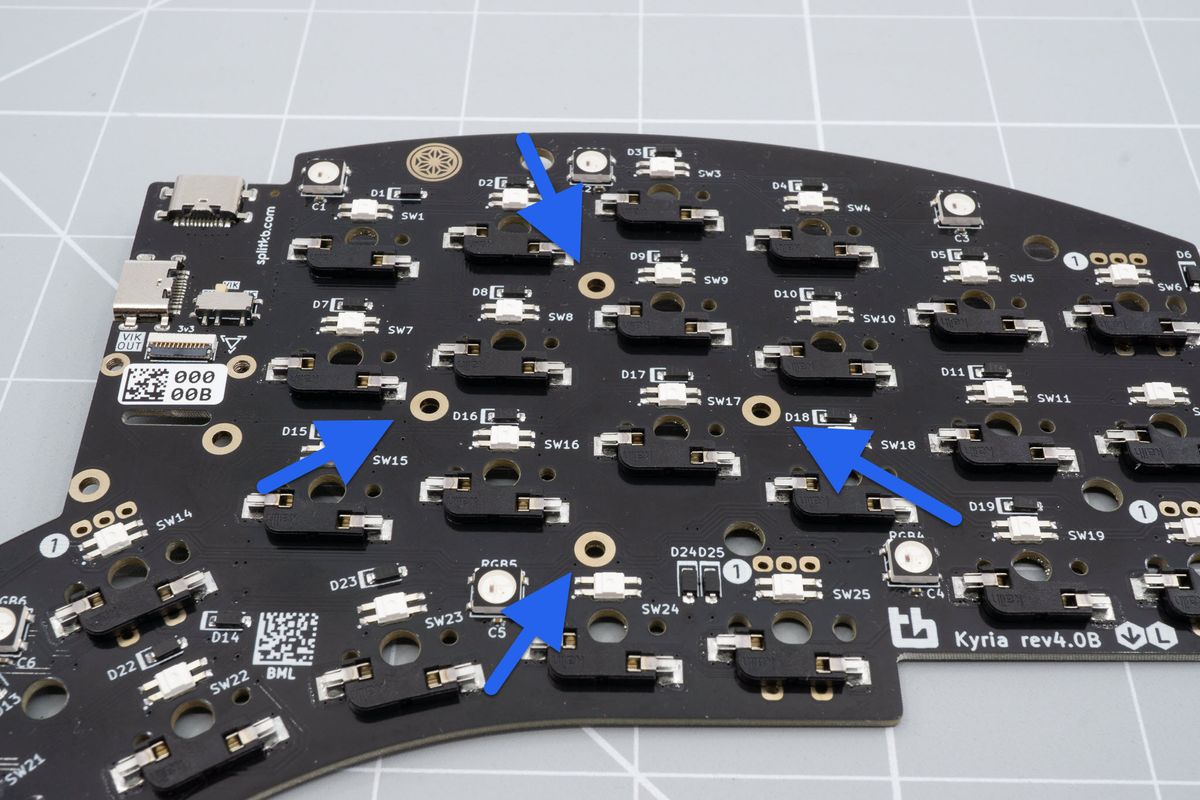
The screw holes.
Align the tenting puck with those 4 screw holes.
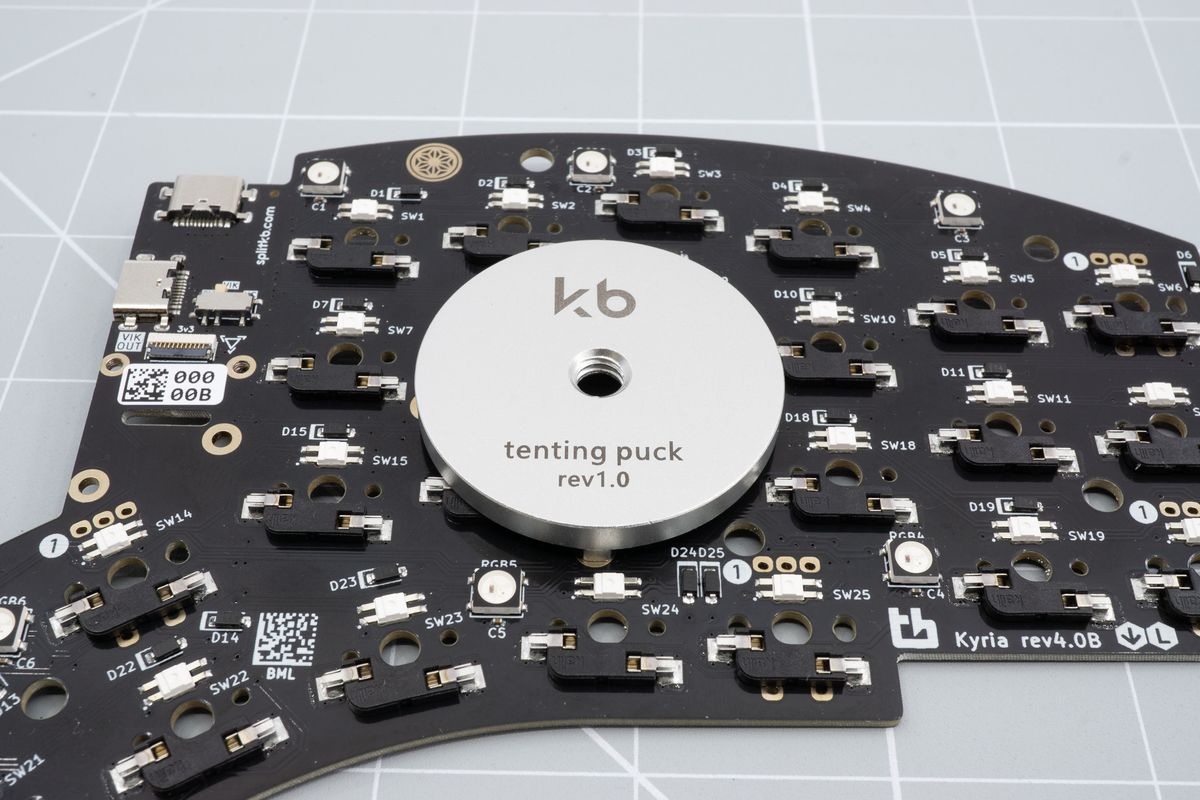
Positioned tenting puck.
Rotate your board and make sure that the screw holes align with the tenting puck.
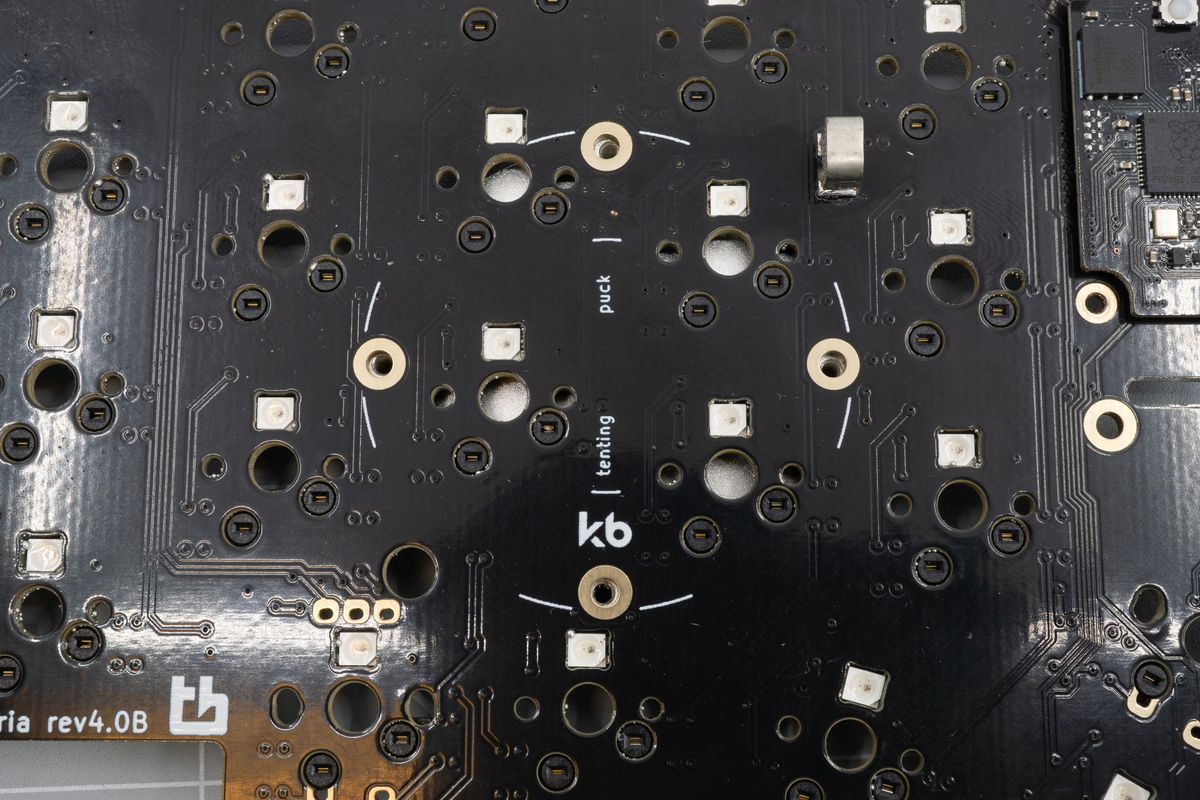
Positioned tenting puck from the top.
Installing the tenting puck
Screw in all the screws using the included screws. First put all the screws in loosely and tighten them in the end.
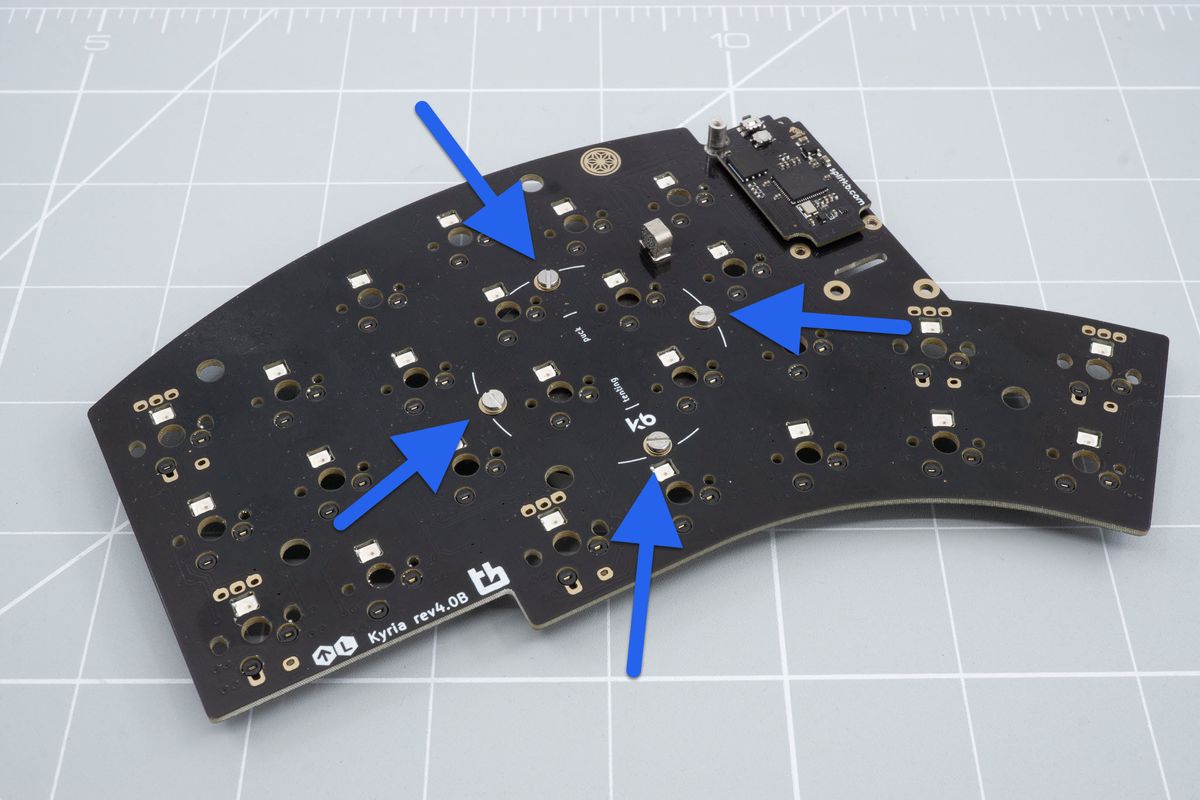
Screwed in tenting puck.
You've successfully installed a tenting puck!
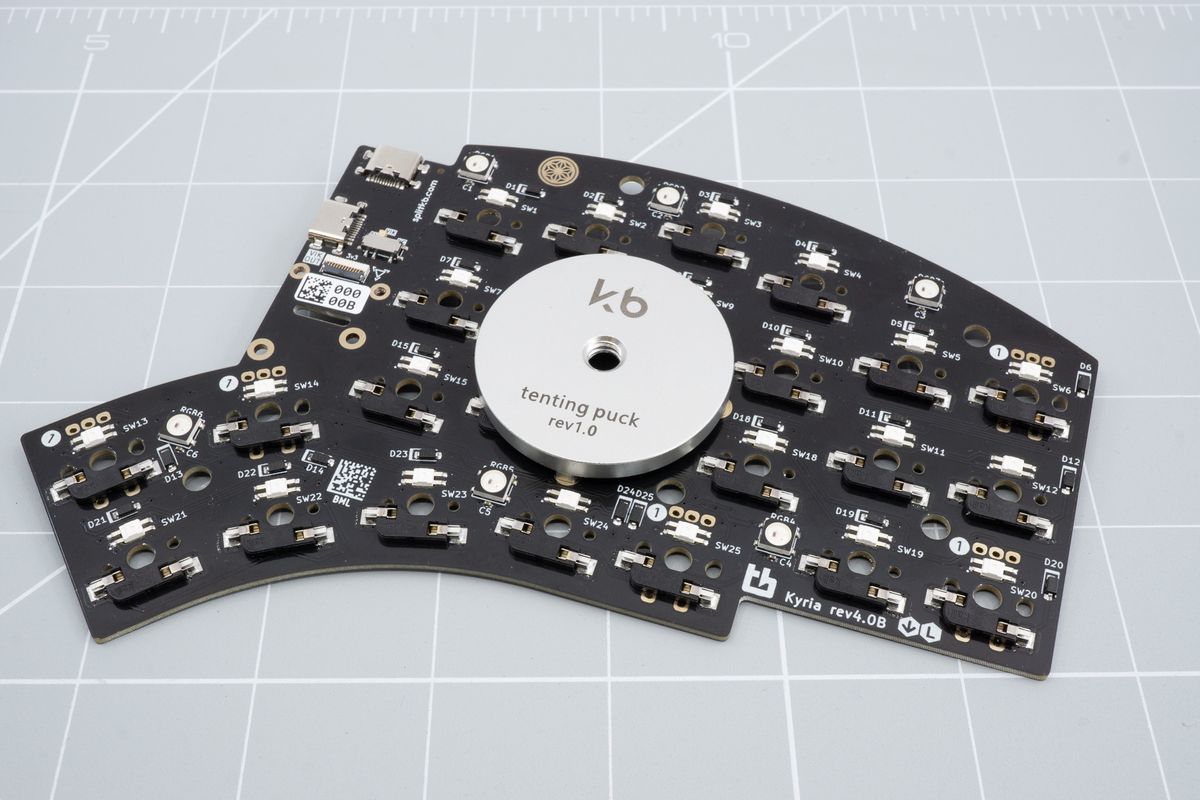
Installed tenting puck.
Soldering an encoder
Solder an encoder to your Halcyon keyboard.
Top plates
Preparing the top plates for your Halcyon keyboard's case.

