Introduction
Welcome! Thank you for purchasing a keyboard kit from splitkb.com. We’ve worked hard to provide the best experience possible. We sincerely hope you’ll enjoy this build and the resulting keyboard.

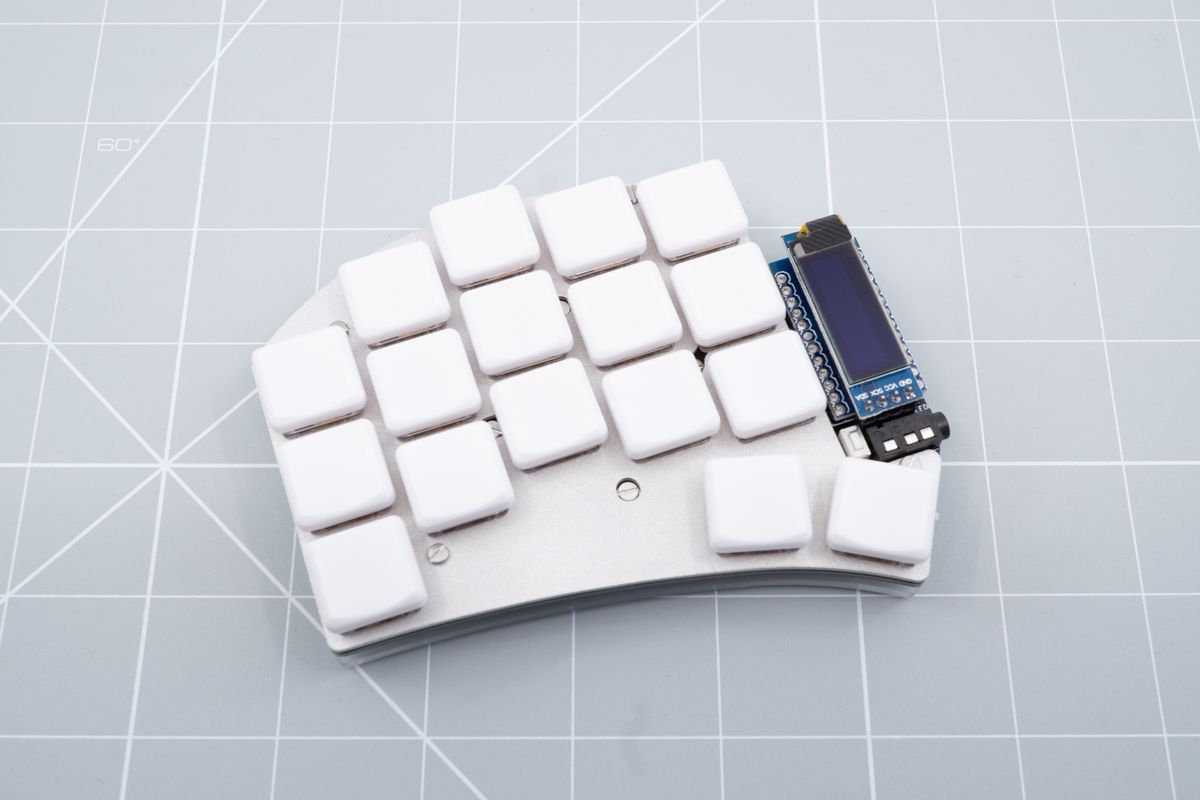
An assembled Aurora Sweep.
We find it useful to skim through the guide first before building your kit, so you know what to expect. If it’s your first build, we highly recommend watching a tutorial on how to solder first. Your first build will usually take around four to eight hours. Patience and asking questions are very good substitutes for experience, so if you get stuck along the way or have doubts on what to do please feel welcome to join our Discord server and ask questions in the #help channel. You’ll be able to chat with staff and other enthusiasts like you who have already built their kit.
Supported keyboards
This build guide applies to all Aurora Series keyboards as well as the Kyria revision 3. This means this guide applies to the following keyboards:
How to Read This Guide
Some steps in this guide are optional. Directly at the top of each page you’ll read whether you can or should skip a step.
We can imagine there’s a lot to take in, and you may choose to skip ahead at times. Take the images as your guide, and refer to the text when you get stuck. Always read the red and blue boxes, as they’re key pointers to your build.
About kits sold at splitkb.com
Most kits we sell at splitkb.com use this same build guide. While developing the Aurora series and the Kyria, we’ve settled on a standardized way to make our kits. Every keyboard we make offers a similar set of features and a similar build experience.
While the layout of your keyboard may differ, the build process will be the same. This guide helps you identify the necessary steps and will help you make your perfect keyboard.
About Aurora
The Aurora series were designed as a homage to open source keyboard kits that have carved their space into the community. Kits that provided something new and unique, kits that resonated with the community and that have both received and gave a lot of love in return.
With the Aurora series, we aim to make these kits available to the community in a way that both honors the original, while also offering the best possible feature set and a consistent, well-documented build experience.
For each kit sold, we give back to the community by donating €1 across the firmware projects we support. This way we support open source projects and benefit everyone using keyboards, whether they use our kits or their own.

