Mill-Max Hot Swap Sockets
This guide is for the Mill-Max type 7305 sockets which are sold on splitkb.com.
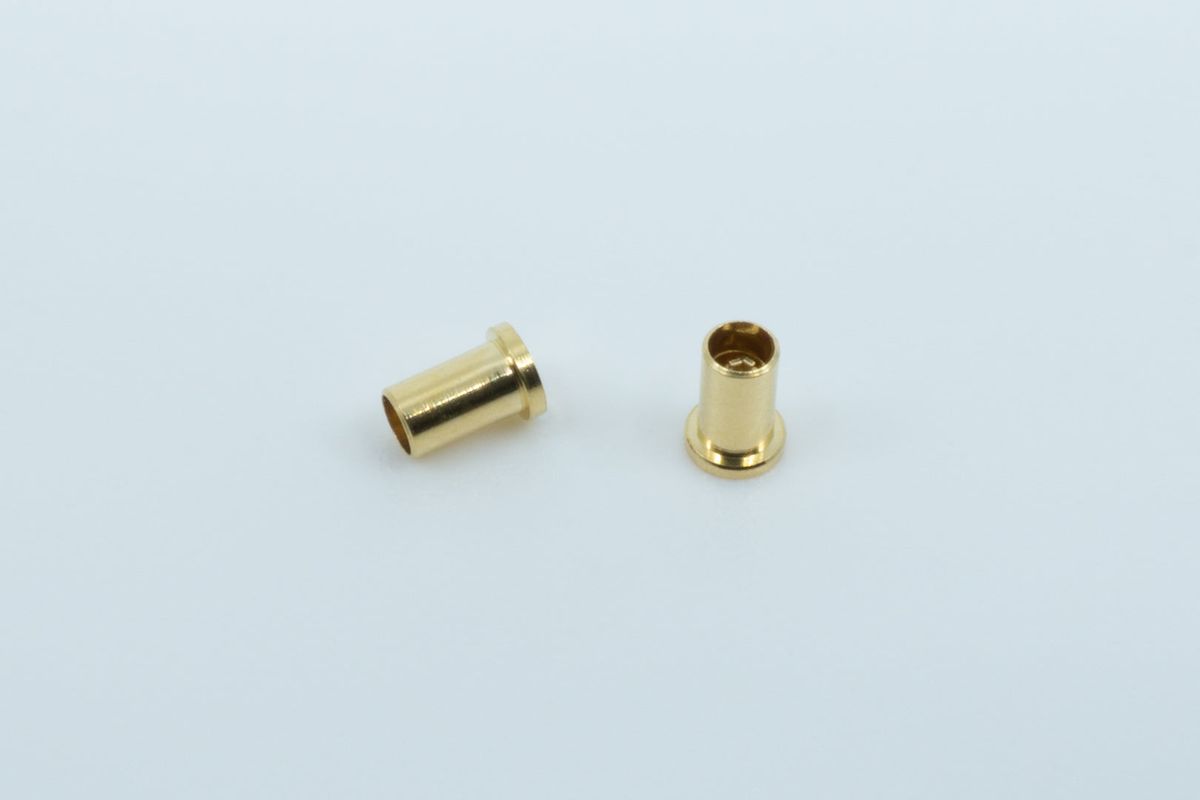
Two Mill-Max hot swap sockets.
On reusing switches
It's best to use switches which have not been soldered yet.
Desoldered switches can work, but there will always be some residual solder left on the switch legs. This will stretch out the socket a little. It won't impact the use with this switch, but if you later replace it with a new switch, it won't have that solder residue (or it'll have the residue in a different spot), which makes the contact with the socket less reliable.
If you want to reuse desoldered switches, we recommend soldering them to your keyboard instead of using hot swap sockets.
Soldering guide
In this guide, you'll find some tips and tricks to installing these little sockets succesfully.
Switch
The first step is to click the sockets in place on your switches. This makes installing the sockets easier. To do so, it's easiest to insert two sockets into the PCB without soldering them, and then placing a switch on top of the two sockets, inserting the switch's legs into the sockets in the process.
You can do this process switch by switch too, and solder the sockets one switch position at a time.
Soldering
Here comes the meat of the action: actually soldering the sockets onto the PCB. Using a very small amount of solder, you can form a joint between the socket and the PCB. Using a thin diameter solder wire, such as 0.5mm, helps to dose the solder.
You solder the sockets from the back of the PCB, on the same side the switch pins are.
To form a strong joint, only a little amount of solder is needed. You might apply two drops evenly spaced, so the solder envelops the side of the socket. There should be no solder on top of the socket, or within it.
Testing the sockets
With the soldering out of the way, it's time to test the sockets, where you check whether the switch can be replaced, and thus is not joined with the socket itself. This is different from testing the switches and the keyboard, where you check if the key does what you expect.
To test, simply pull the switches out. This shouldn't take much force. If you feel you need to strain to pull a switch out, it'll likely be fused to the socket, in which case you need to heat up one or both sockets, pull out the switch while the solder is molten, remove the excess solder and try the installation again.
You should use desoldering braid (also known as desoldering wick) or a desoldering pump to remove excess solder. These are both affordable and useful tools to have when doing any soldering job.
Installing the switches
Now that you've installed the sockets and checked whether the switches can be removed, you can now insert the switches for your build. Check the alignment of the pins - they shouldn't be bent when installing them.
You shouldn't need to apply much force to install the switches, if you feel like you need to strain, look at the orientation of the switch legs, unbend them, and try again.