Power switches
You should perform this step if you are building a wireless keyboard and are using the wireless expansion bundle. If not, you can go to the next step using the button below.
The power switch allows you to fully disconnect the battery from the microcontroller, reducing idle power consumption.

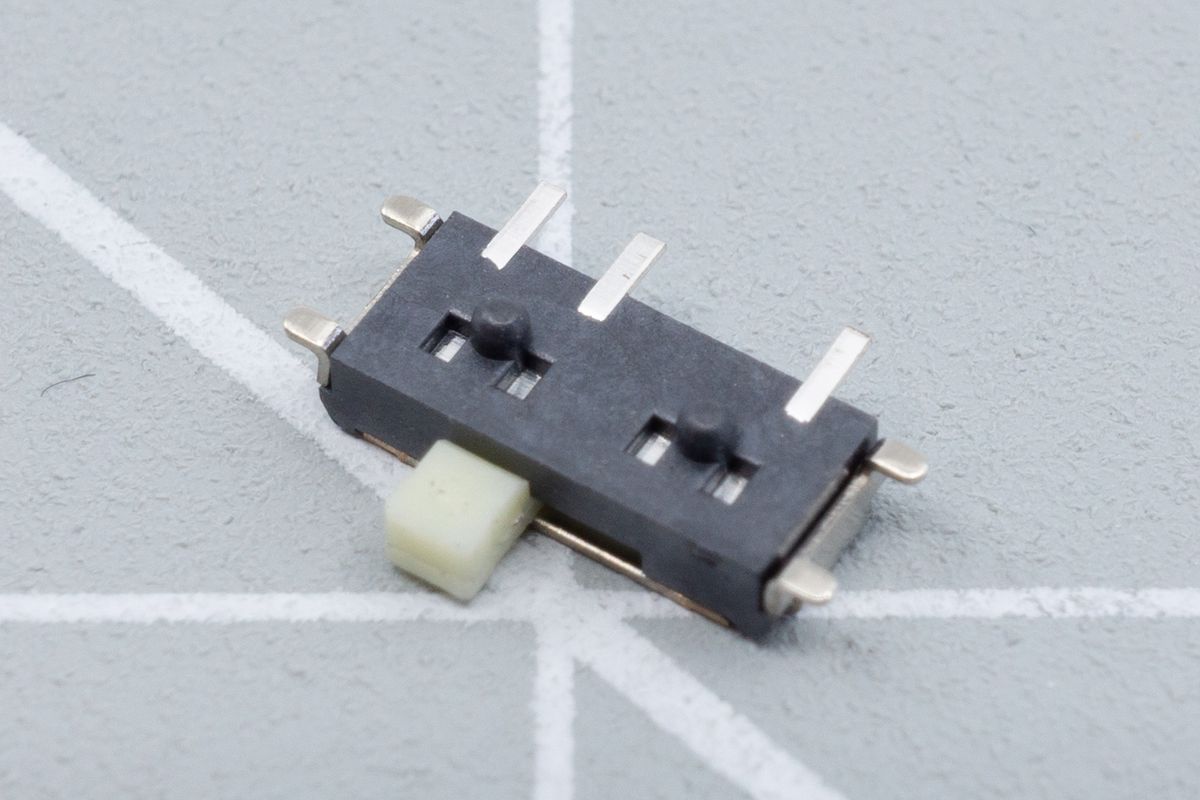
The bottom side of a power switch.
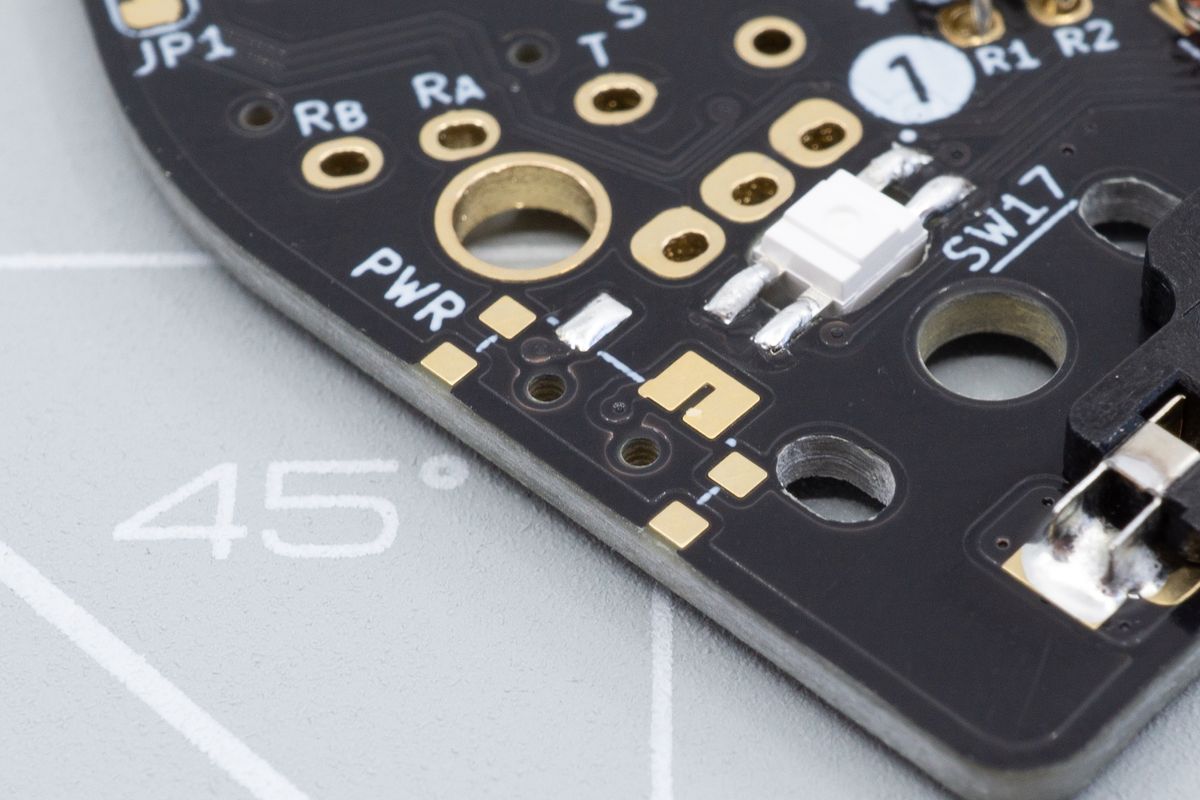
Face the PCB with the power switch footprint toward you: on most keyboards it will be on the bottom, but some keyboards will have it on the top. The footprint is usually near the controller, often even within it near the top edge of the PCB.
Solder some tin on one of the pads of the switch footprint. You won’t need much solder, as the pads are relatively small.

The power switch footprint, with one pad already soldered.
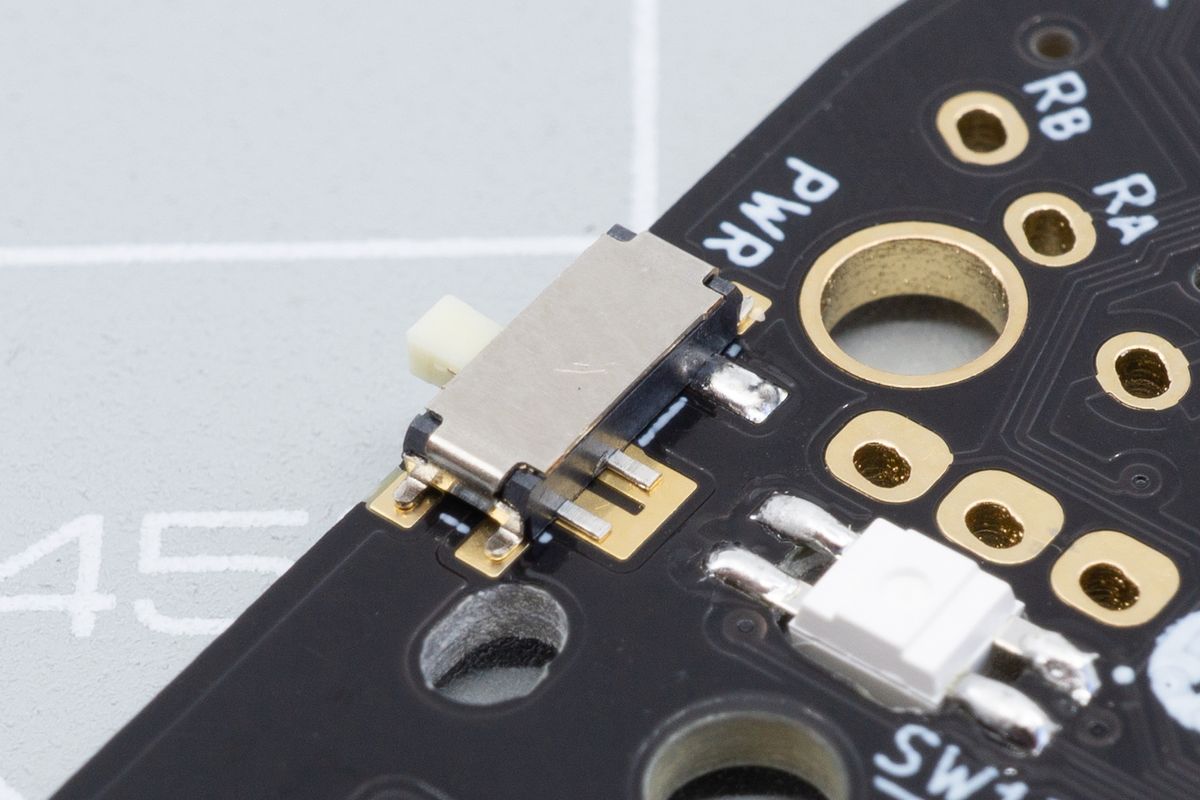
Grab the switch using tweezers in one hand, and use your soldering iron with your other hand. Move the switch in place, and heat up the solder until it melts.
Then, move the switch in place, touching both the switch leg and the pad with your soldering iron until you notice a solder joint form — this usually only takes a second or two.
Remove the soldering iron, wait until the solder joint solidifies. Then release the tweezers.

The power switch with its first leg soldered.
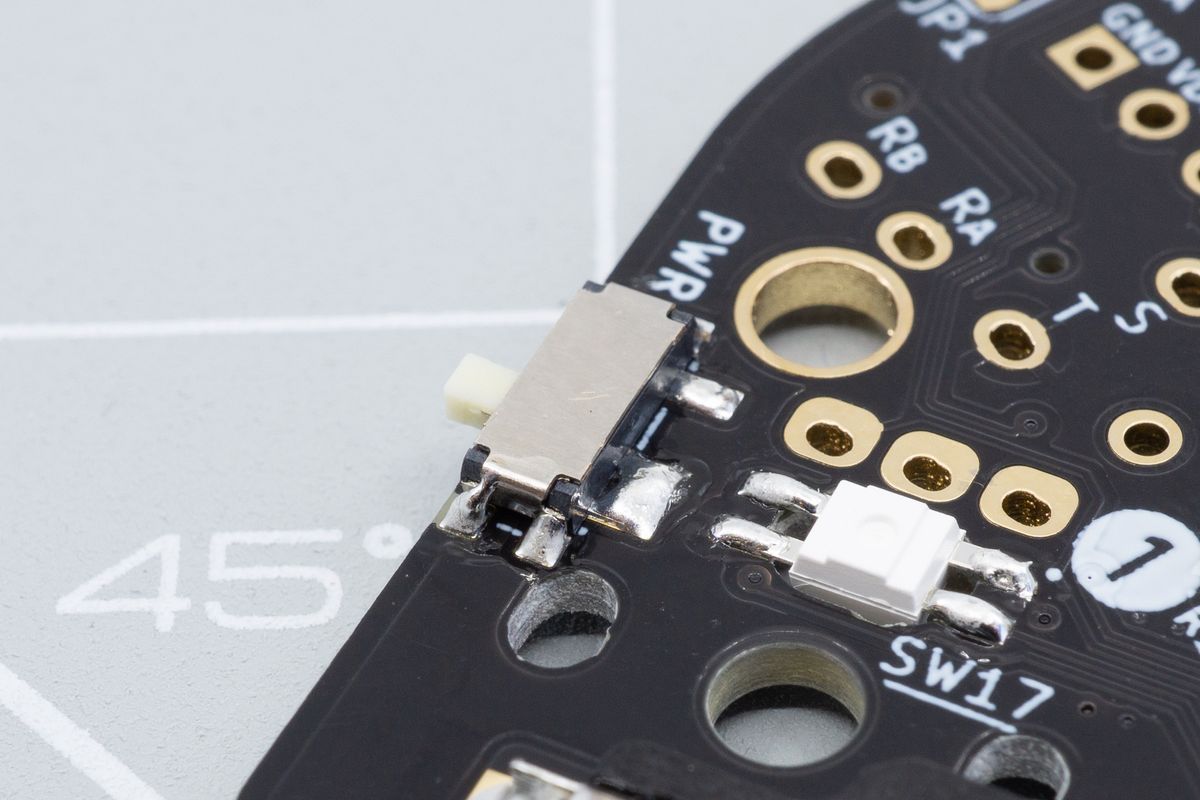
Solder the other joint. This one should go a lot easier as the first one is already holding the switch in place, so you don't need to use tweezers anymore.
Repeat for the other half.

The power switch with all its legs soldered.
When looking at the switch, it is turned off when it is in the right position, and turned on when in the left position.
If you don’t want to use a power switch, you can bridge the pads pads on the back using solder. You could use a small piece of wire or a diode leg to help you bridge them.
Switch sockets
Switch sockets allow for replacing your switches in the future without having to desolder. Here's how you install them.
Resistors
Resistors pull up the I2C connection, enabling I2C accessories to work correctly. Let's solder them!

