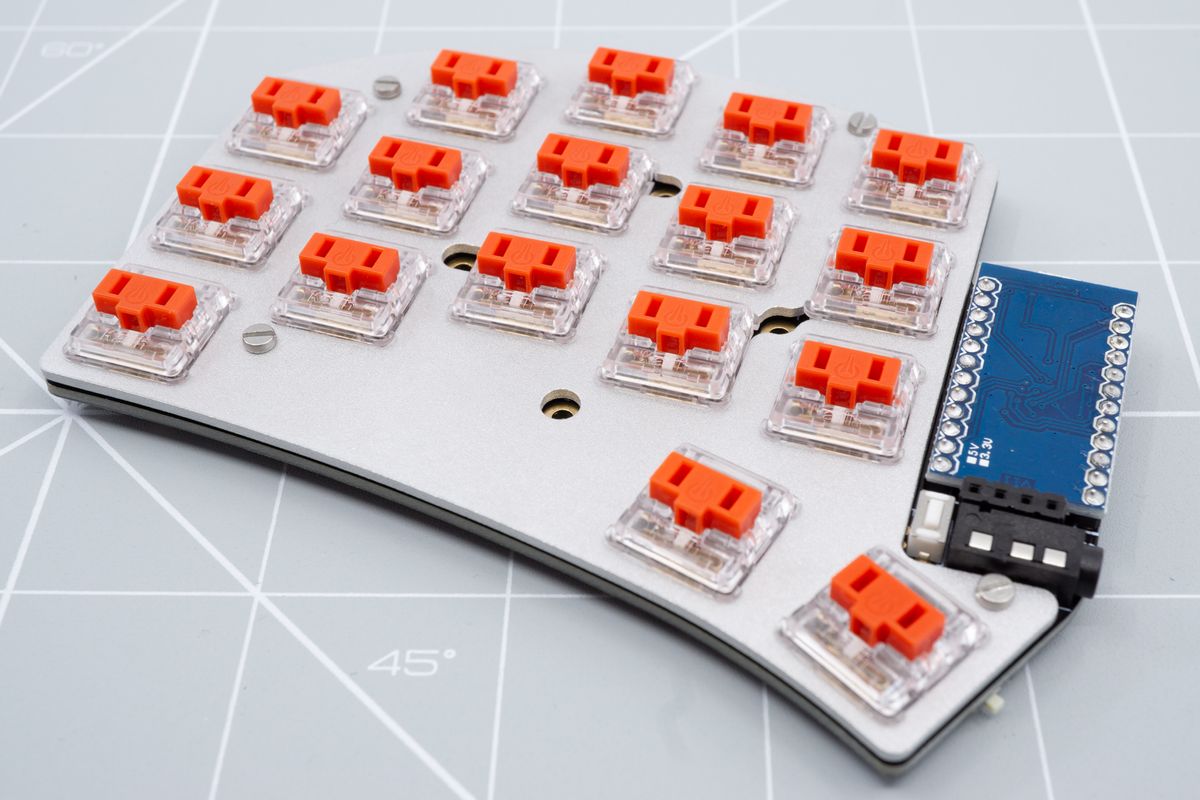
Switches
First things first: straighten up your switches. We receive switches from our manufacturers in bulk, and that means the legs can get bent during transit. That's normal, and thankfully it's not something to stress over: they can be bent back.
You can bend them back with a fingernail or by carefully using tweezers. Try not to bend them many times, bending them back once is sufficient.
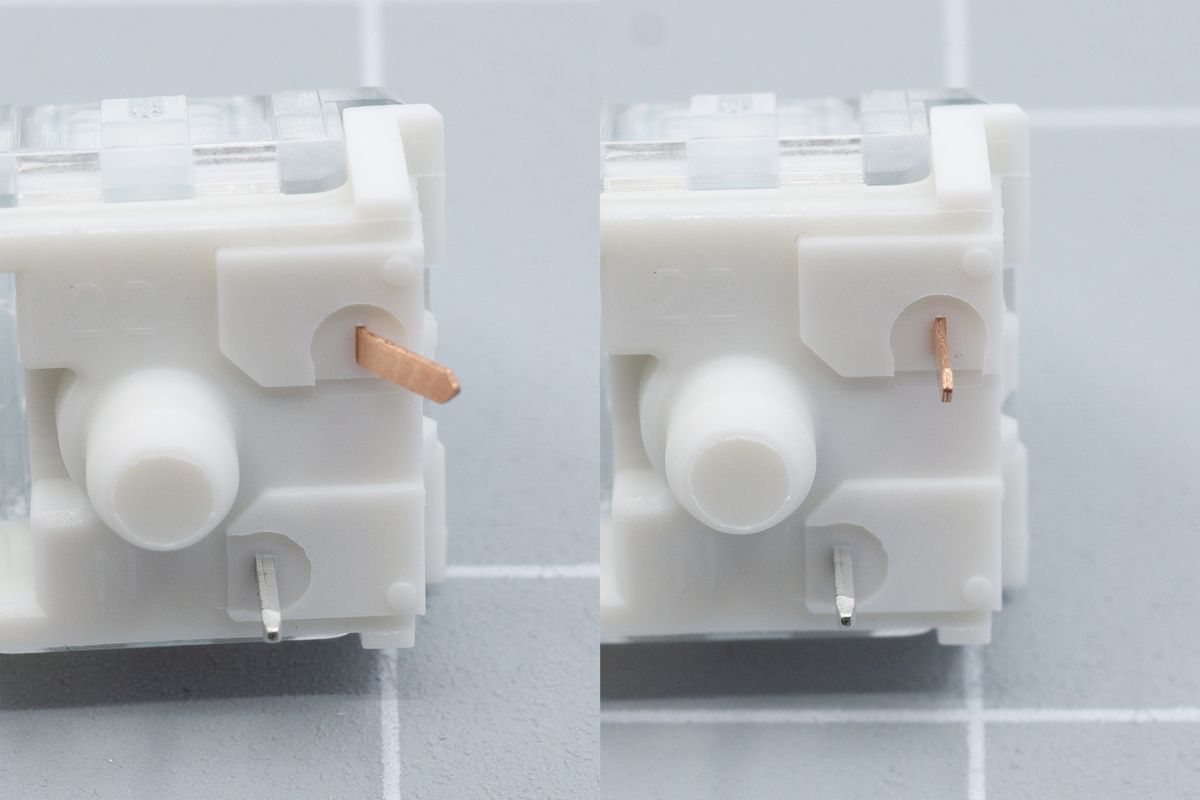
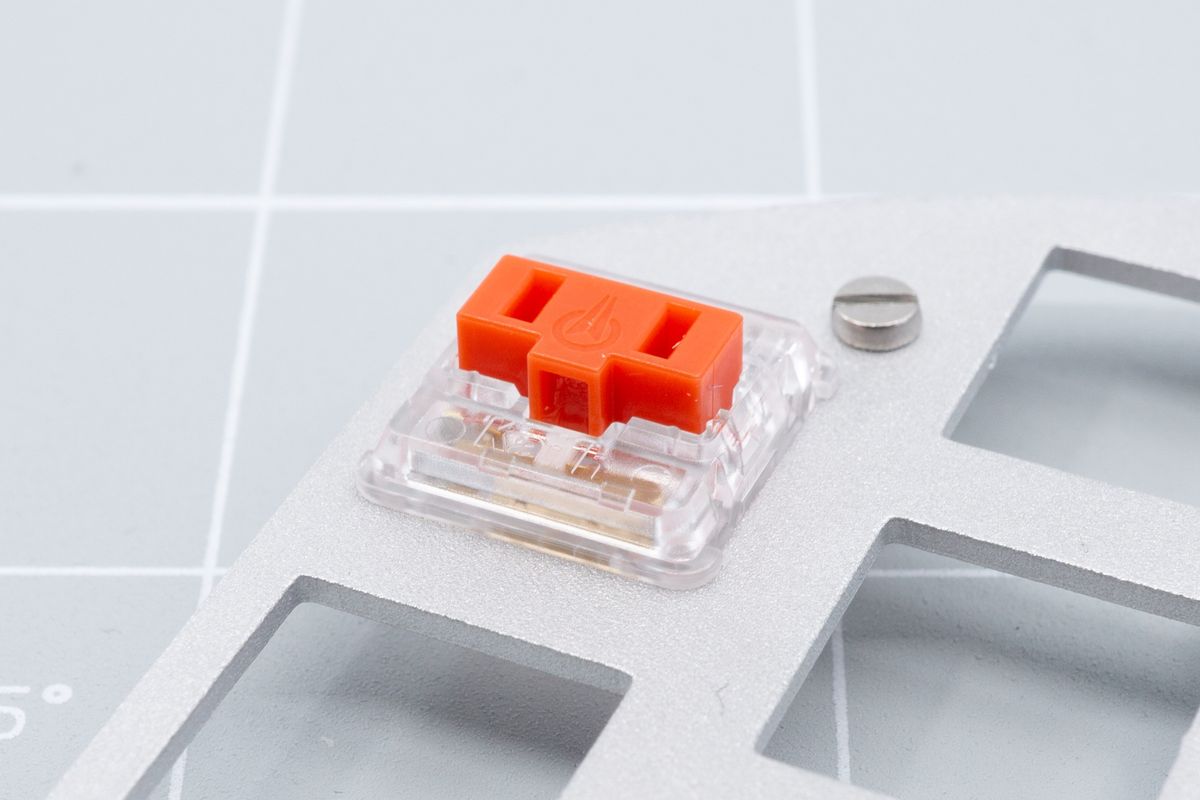
A bent switch leg on an MX switch can be bent back in shape.
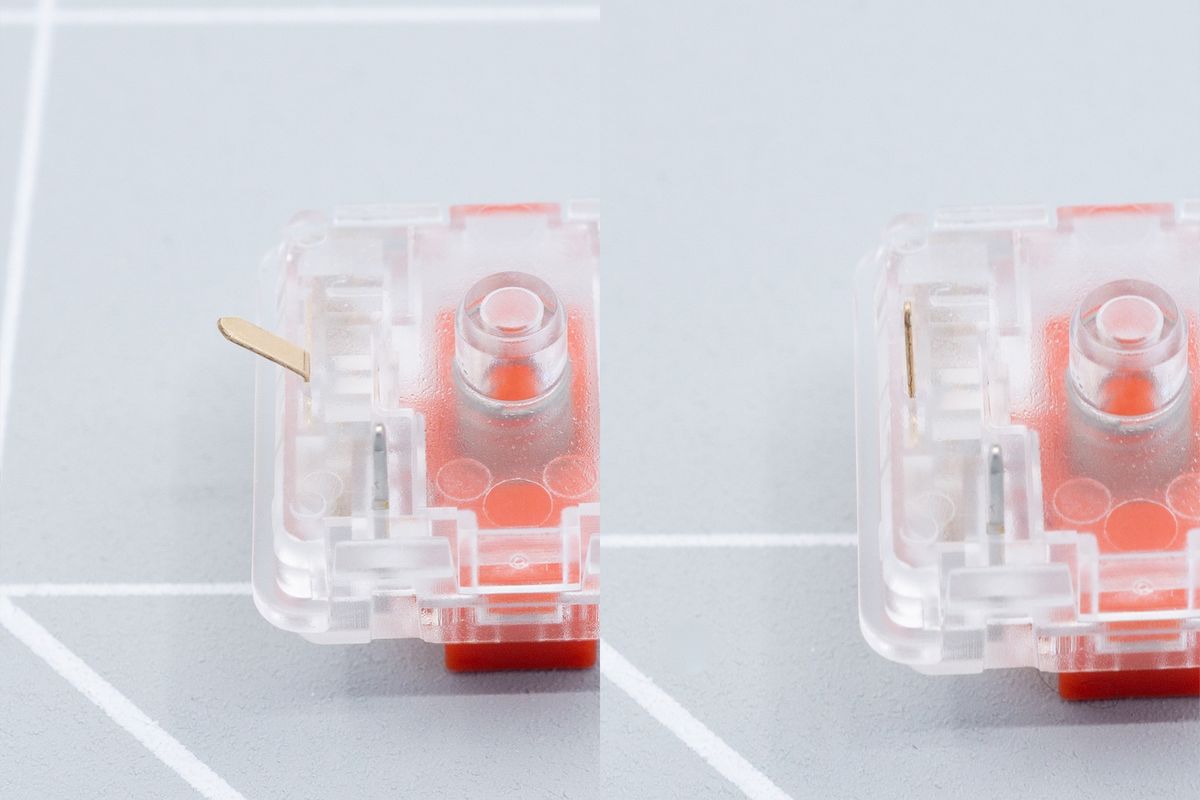
A bent switch leg on a Kailh Choc low profile switch can be bent back in shape.
You can now install the switches when using a case, or install the switches directly onto the circuit board when not using a case.
Using a case
First, when using acrylic plates, remove the foil off of both sides of the acrylic. One side will usually be coloured foil, while the other side will have clear foil. The clear foil can be hard to see, but you'll still want to remove it.

Removing the foil from an acrylic plate.
Put a screw through one side of a mounting hole and thread a spacer onto the screw from the other side.
You should use the following spacers:
- If you're using MX switches with a thin top plate (thickess of less than 2mm), such as an aluminium, brass, copper or FR4 plate, you should use 8mm spacers.
- If you're using MX switches with a thick top plate (thickness of more than 3mm), such as acrylic, you should use 6mm spacers.
- If you're using Kailh Low Profile Choc Switches with any top plate, you should use 6mm spacers. When using acrylic plates with choc switches, you may be able to get by with 4mm spacers too, which are not included by default.
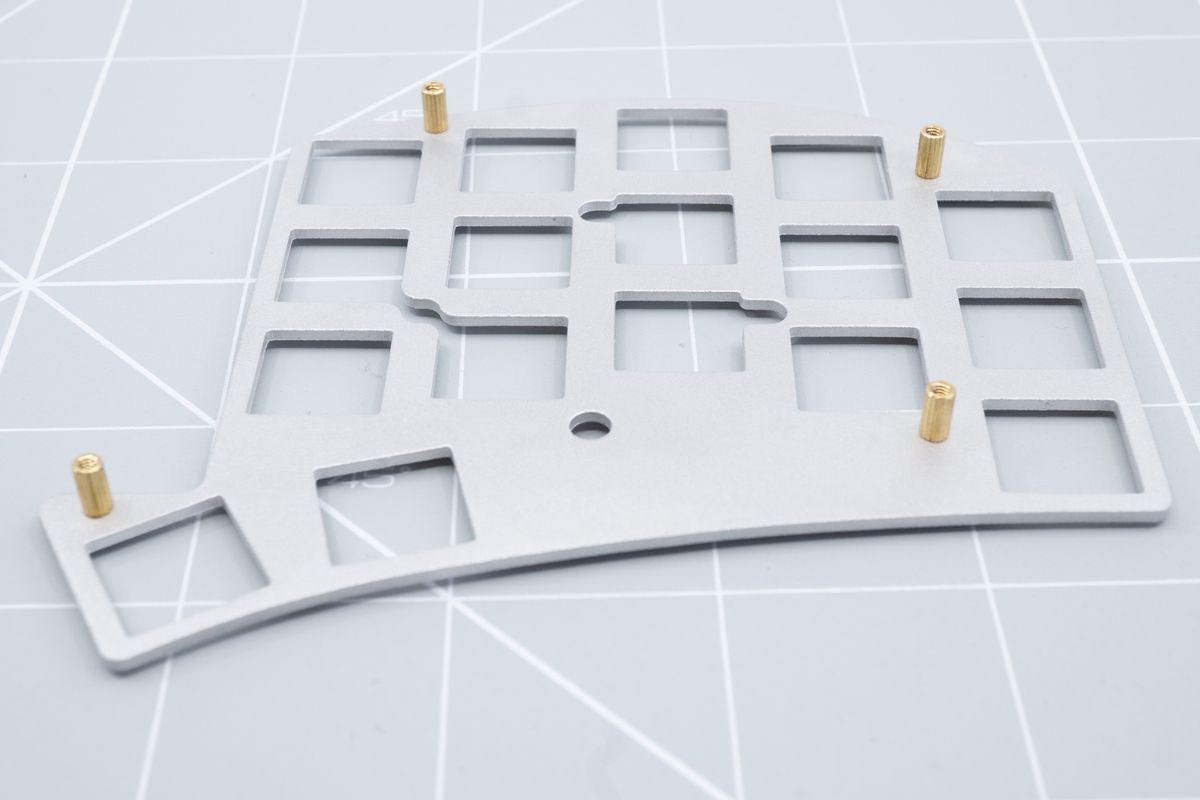
Installing 6mm spacers onto the plate for use with Kailh Choc low profile switches. When using MX switches, use 8mm spacers instead.
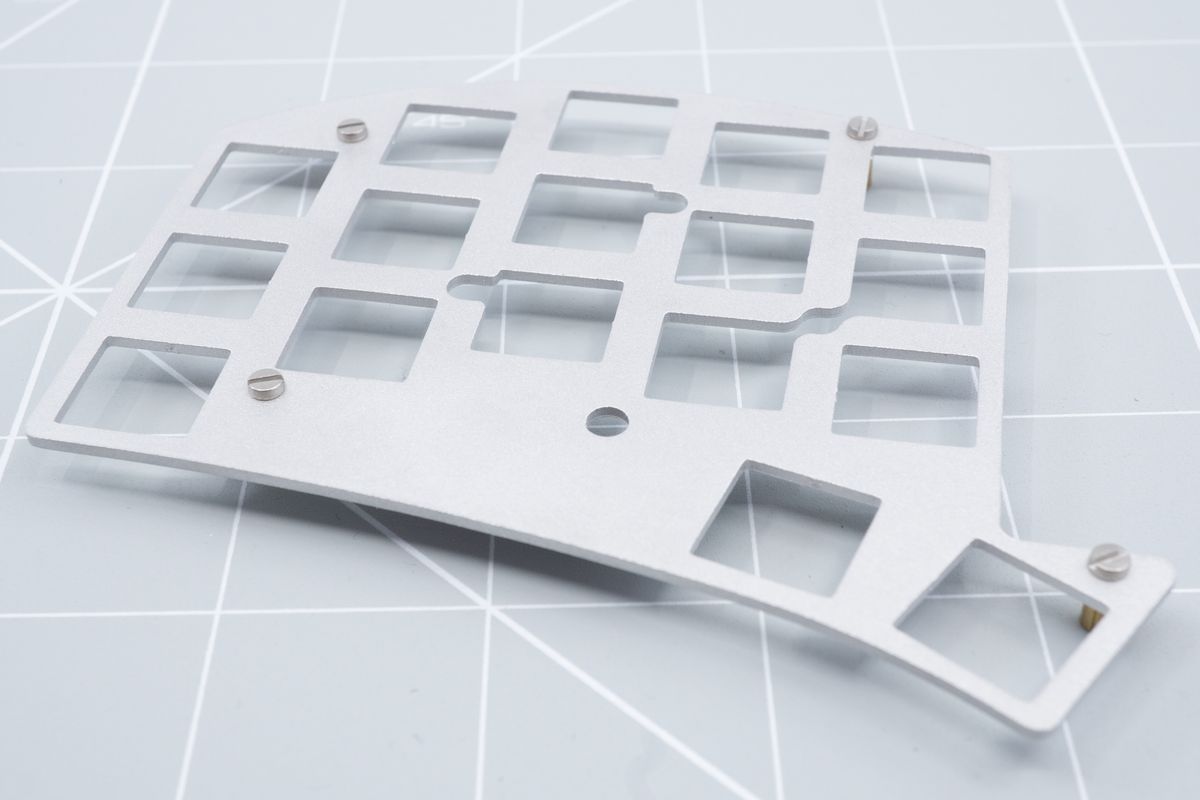
The other side of the plate, with screws holding the spacers in place.
Both plates are symmetrical, so make sure to do it the other way around on the other half so you get two unique halves.
Due to tolerances and their surface finish, metal plates can require switches to be pressed into the plate with significant force before staying seated. Especially with Kailh low profile choc switches, it can help to push the side clips in with your nail or with a tool if pressing them into the plate proves to be difficult.

Aligning a switch with the top plate.
The switch seated into the plate after pushing it down.
Put a switch into two opposing corners of the switch plate and align the plate with your PCB. Carefully insert the switches into their respective hotswap sockets or solder pads.
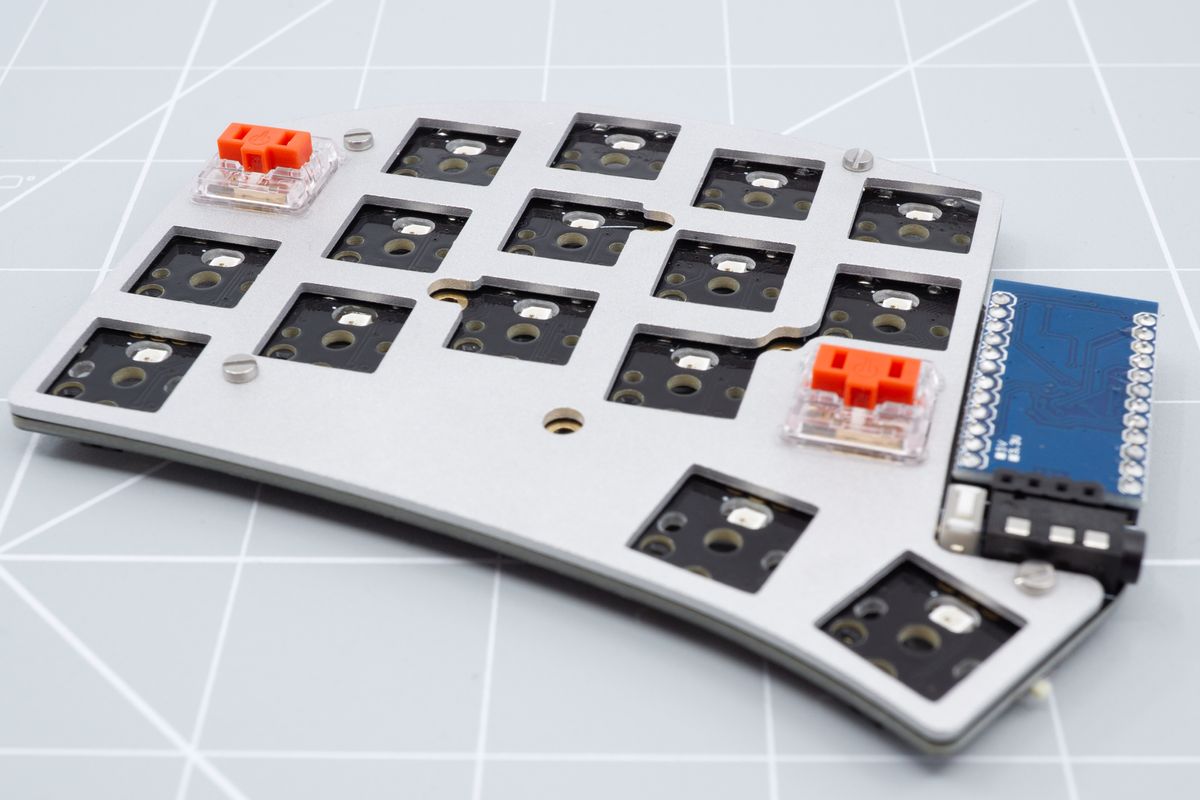
Switches installed in opposing corners of the top plate, which is then seated onto the keyboard.
Then, one by one, insert the switches. Bend their legs back into shape if need be, check if you've got it lined up with the hot swap socket or pads, and push down.
Aligning another switch.
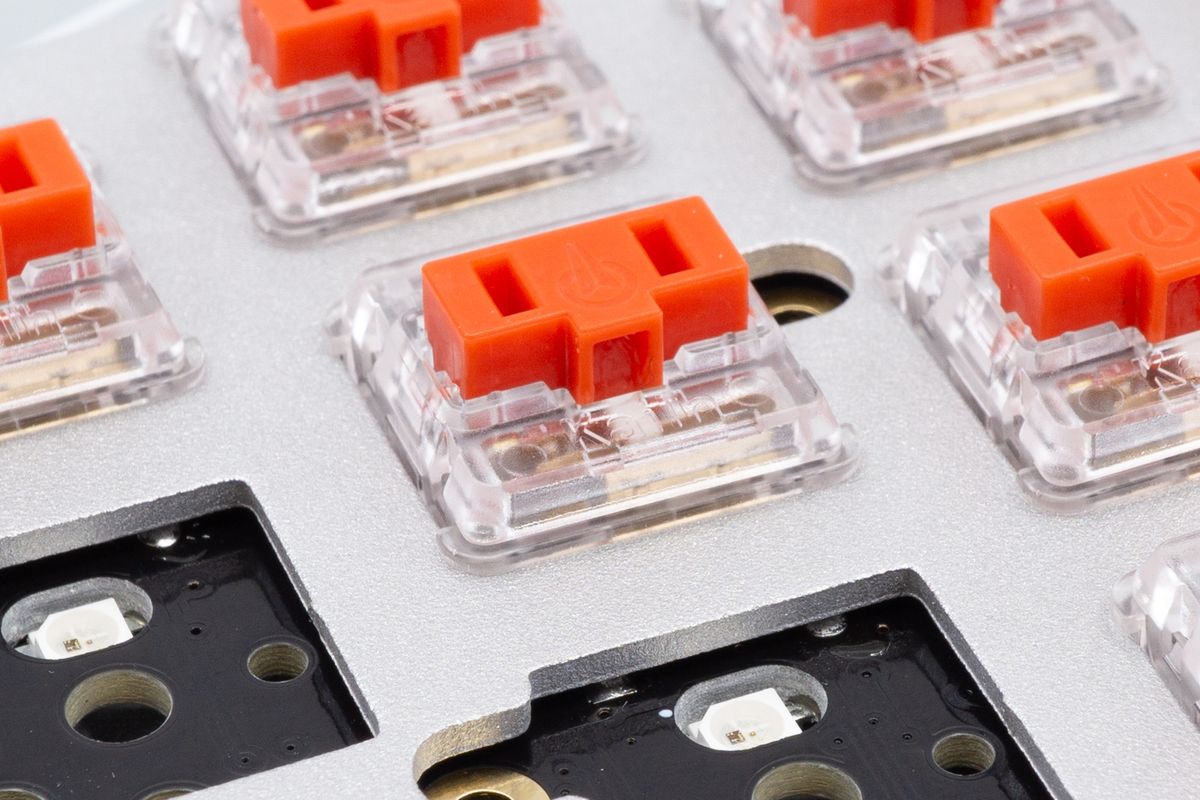
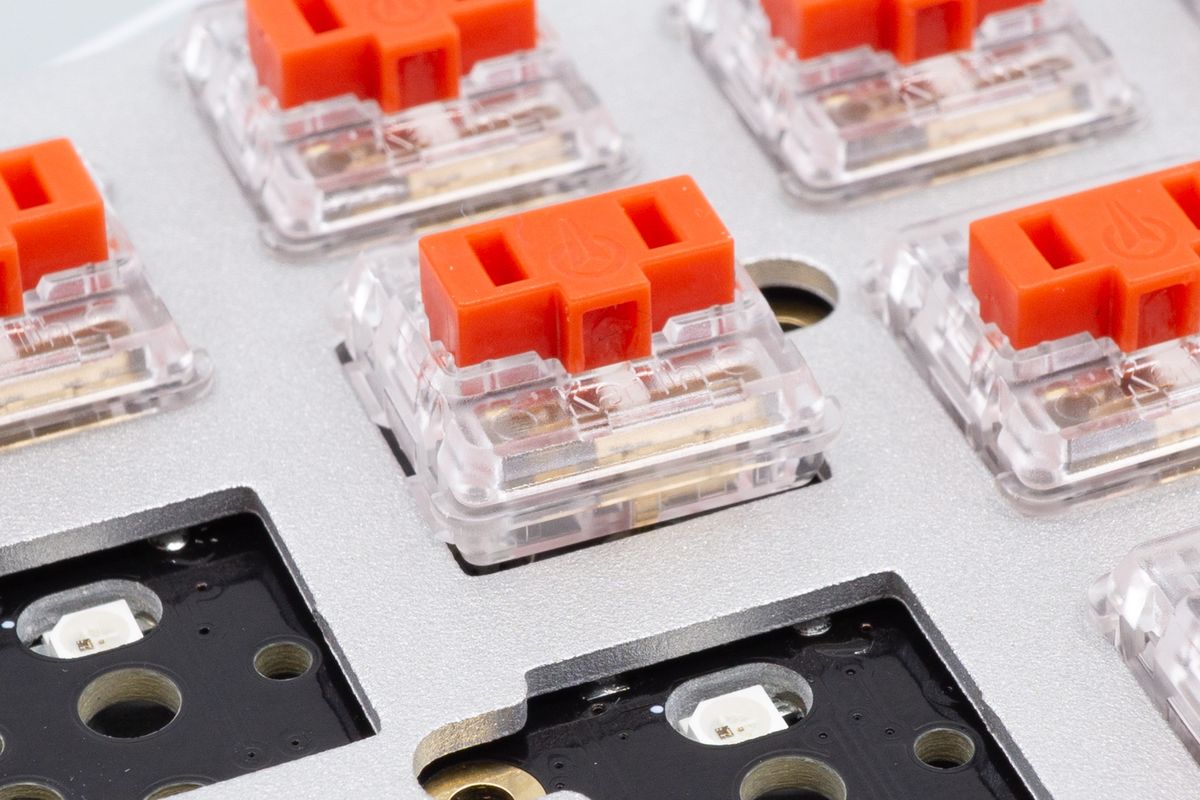
Another switch, seated in the top plate.
All of the switches seated into their sockets through the top plate.
If you're using hot swap switches, you're now done and can proceed with installing the OLED displays. If you're soldering your switches, continue on below.
Soldering your switches
If you have a kit without hotswap sockets, solder the switches from the bottom of the PCB.
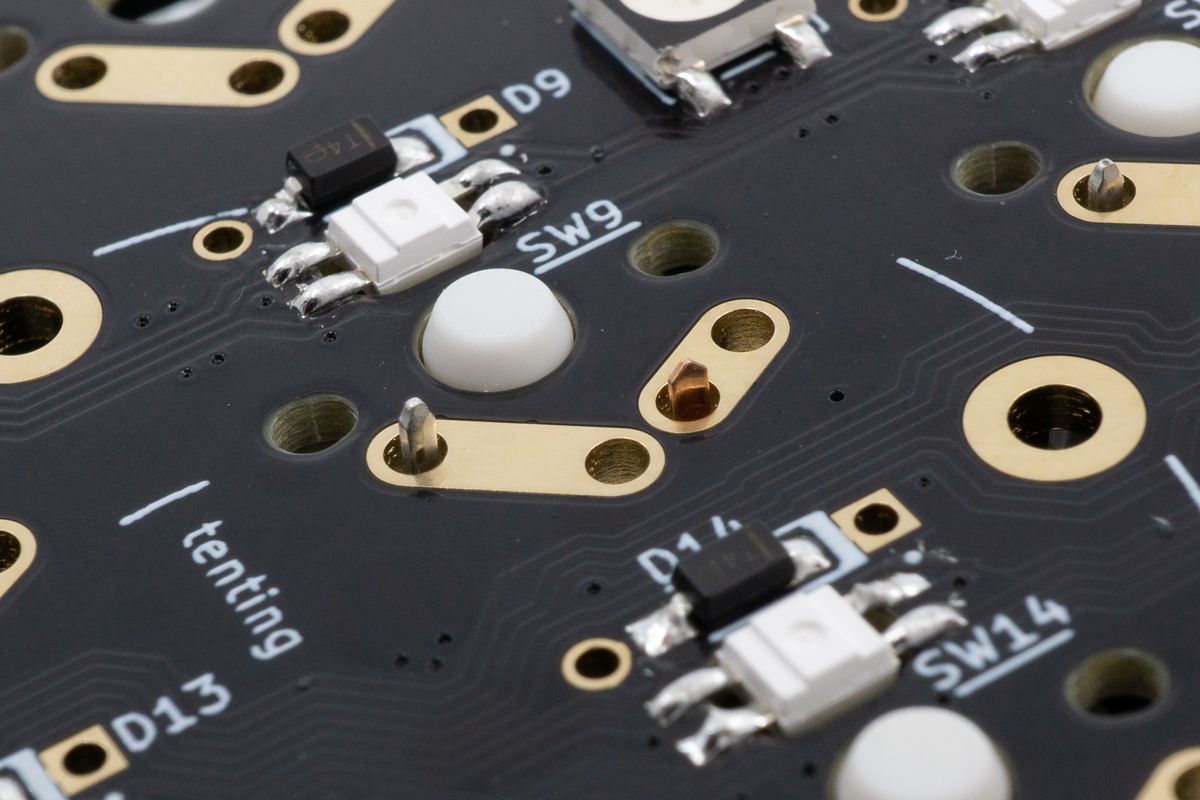
The legs of a switch sticking out the back side of the keyboard.
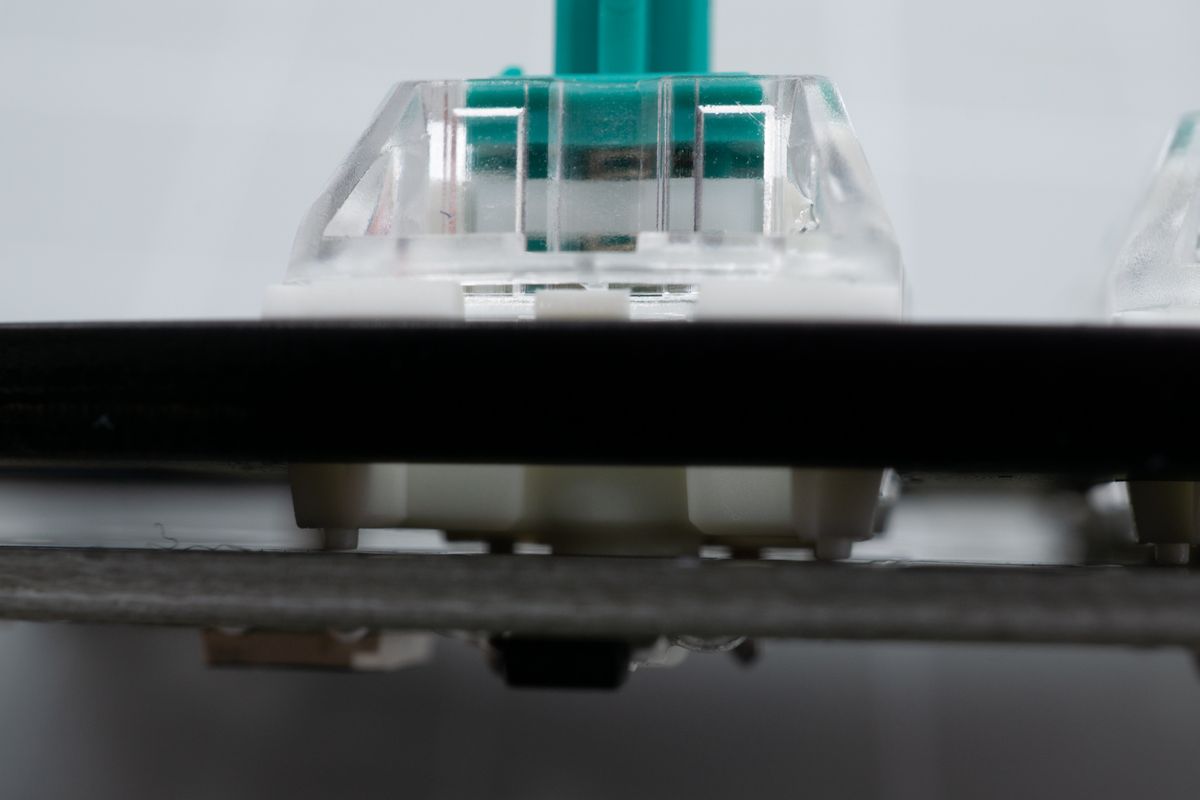
A switch viewed from the side. You can see the body of the switch touching the keyboard PCB, which means it's aligned properly.
The solder pads for switches on Aurora keyboards are quite big. You won't need the solder to cover the entire area: focus on creating a volcano-like shape instead.
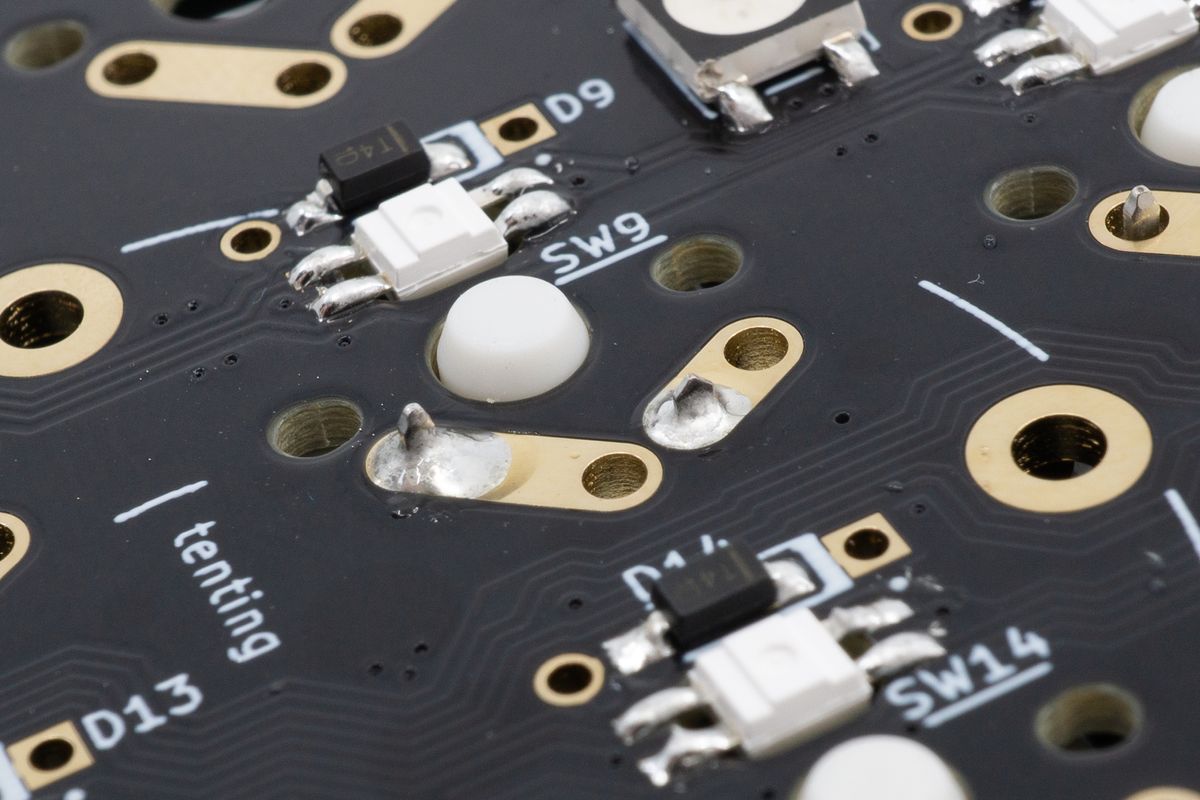
A soldered switch.
Caseless
Not using a case? We recommend using a case to improve the longevity of your keyboard, but if you decide to not use one, here are some tips to install the switches.
To align the switches, solder only one of the switch pins first. Then, after soldering a column of switches, you can heat up the soldered joint and slightly turn the switch into alignment. Solder the second pin after you’re happy with how it looks.
There are tools that can help you align switches in a caseless build, like a switch comb. You can find 3D-printable designs for this online.
Rotary encoders
Rotary encoders allow for both rotation as well as push actions.
OLED displays
Display the status of your keyboard, or personalise it with your own image.