Microcontrollers
First things first: you'll want to test your microcontrollers before doing any soldering on them. You can find the instructions on how to flash your controller on the Flashing Firmware page.
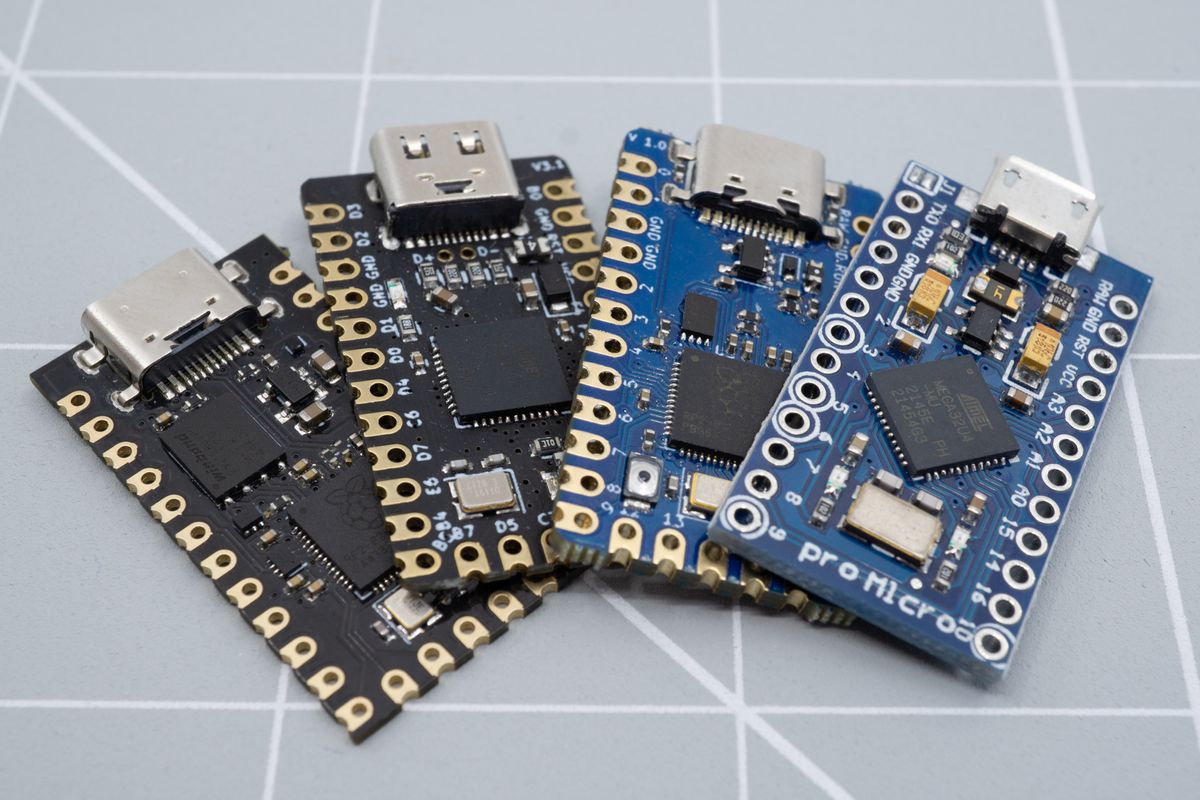
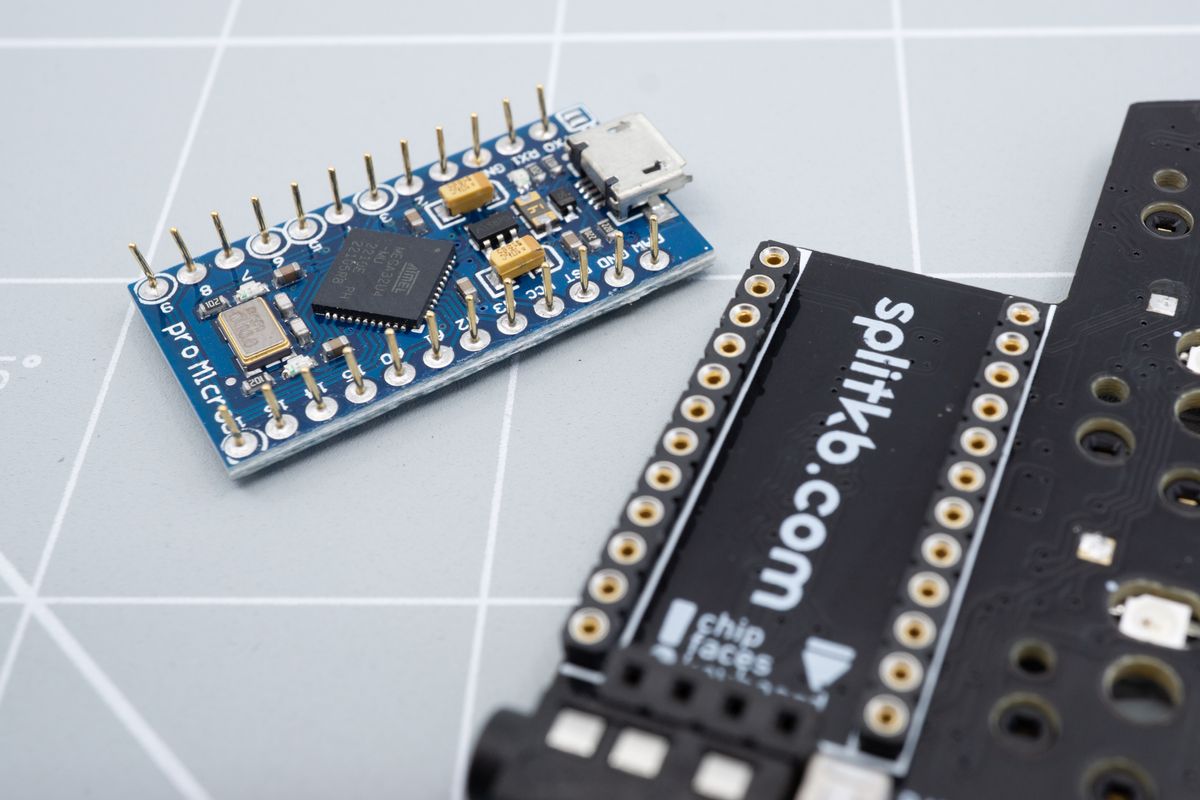
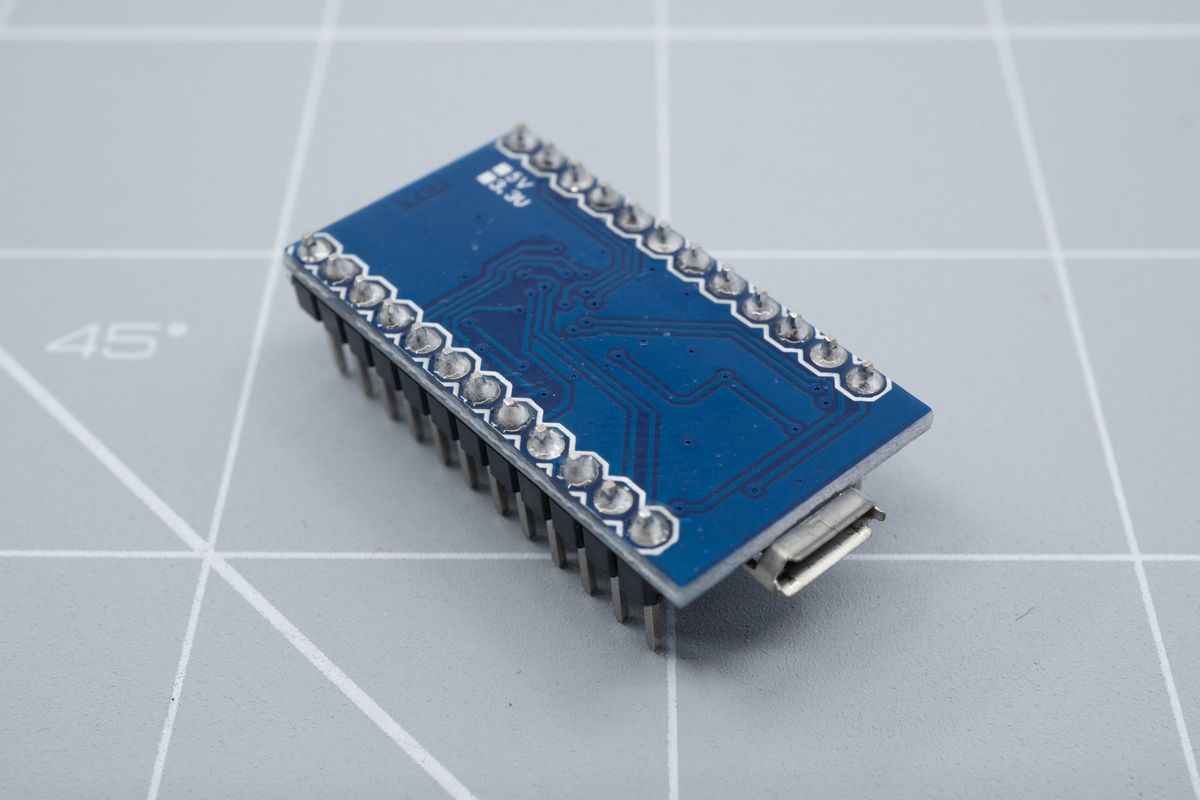
Various microcontrollers in a Pro Micro form-factor.
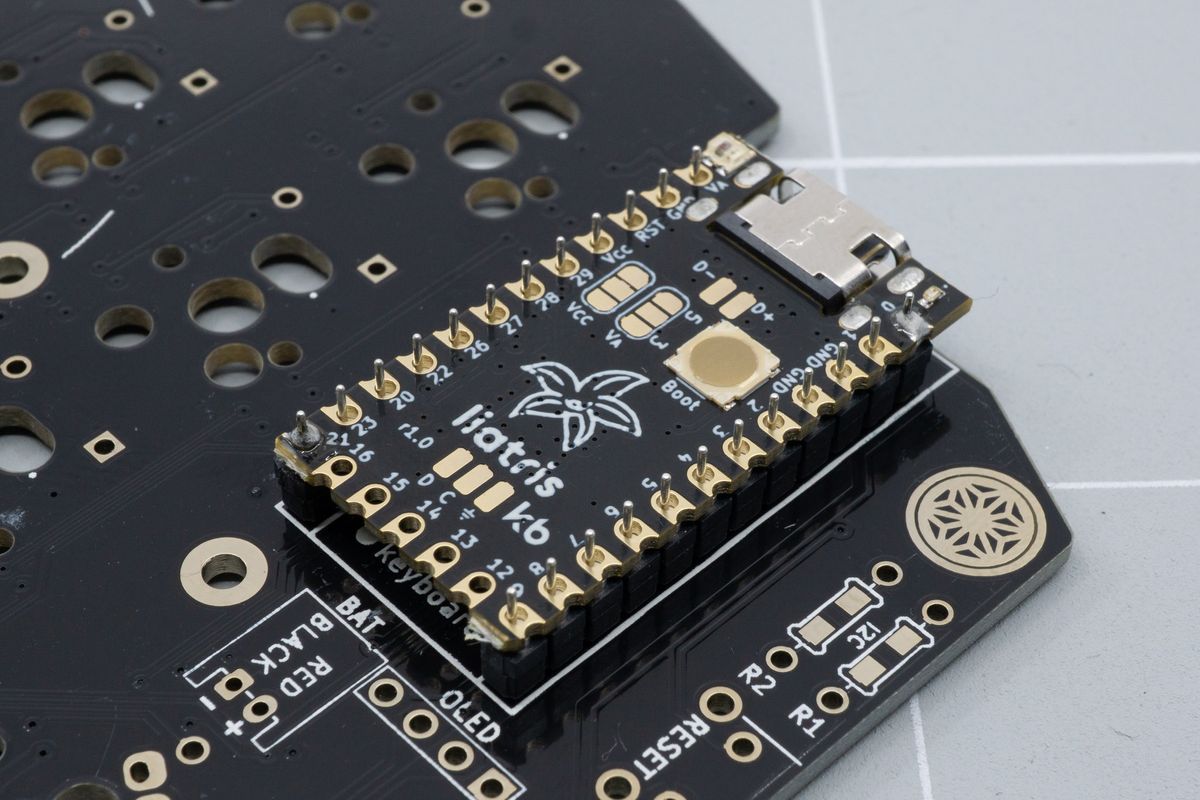
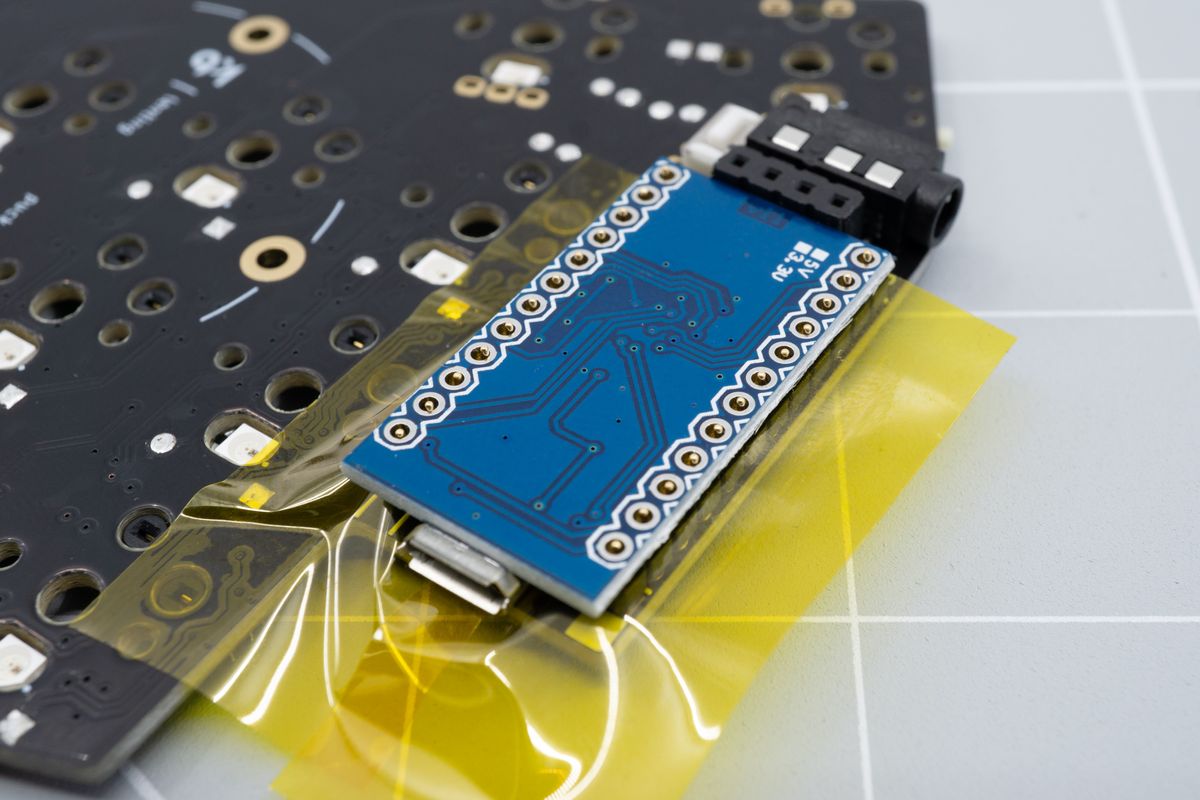
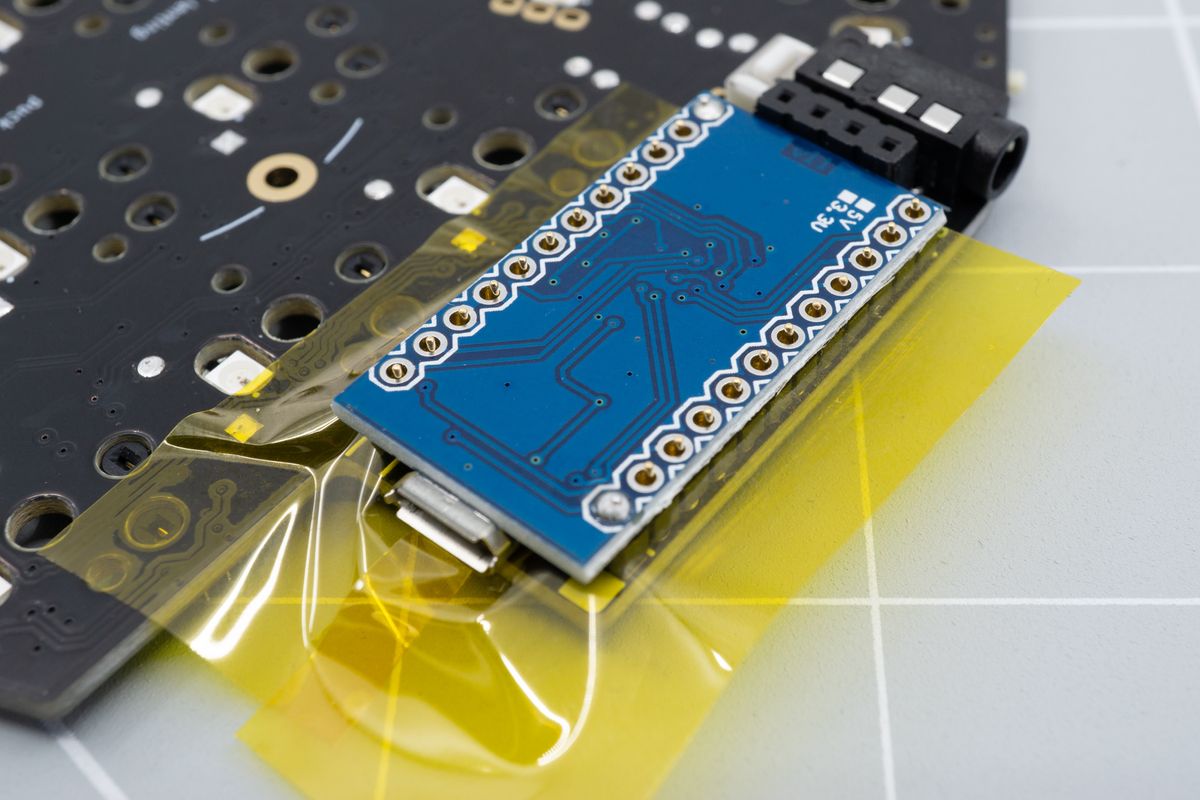
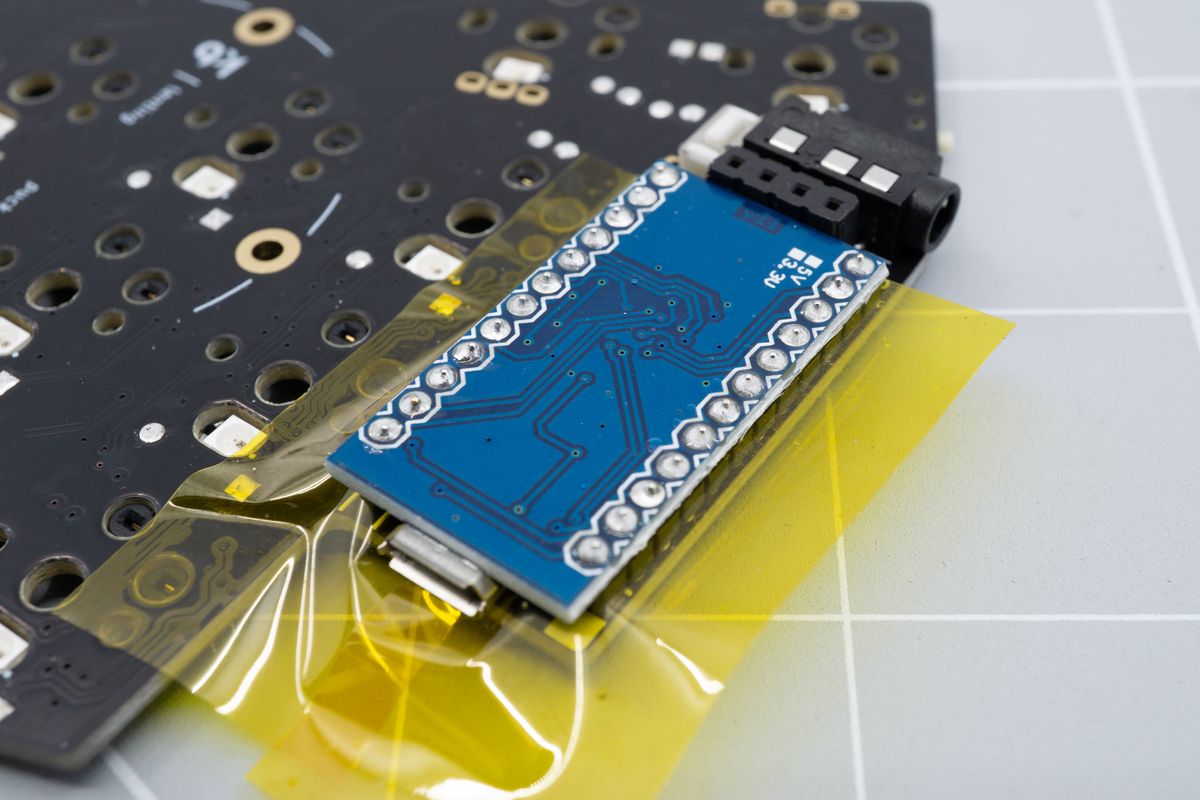
Your controller has a top side and a bottom side. The top will have its chip and most other components on it, while the bottom is usually bare (and will often have a logo or other graphic on it). On Aurora kits, the controller will always face with it its chip facing toward the keyboard PCB, so the controller’s back side is facing toward you.
Using sockets
Sockets allow you to remove the controller after having soldered it, which enables you to reuse or replace the controller if need be. Controllers are quite difficult to remove, so we highly recommend socketing them.

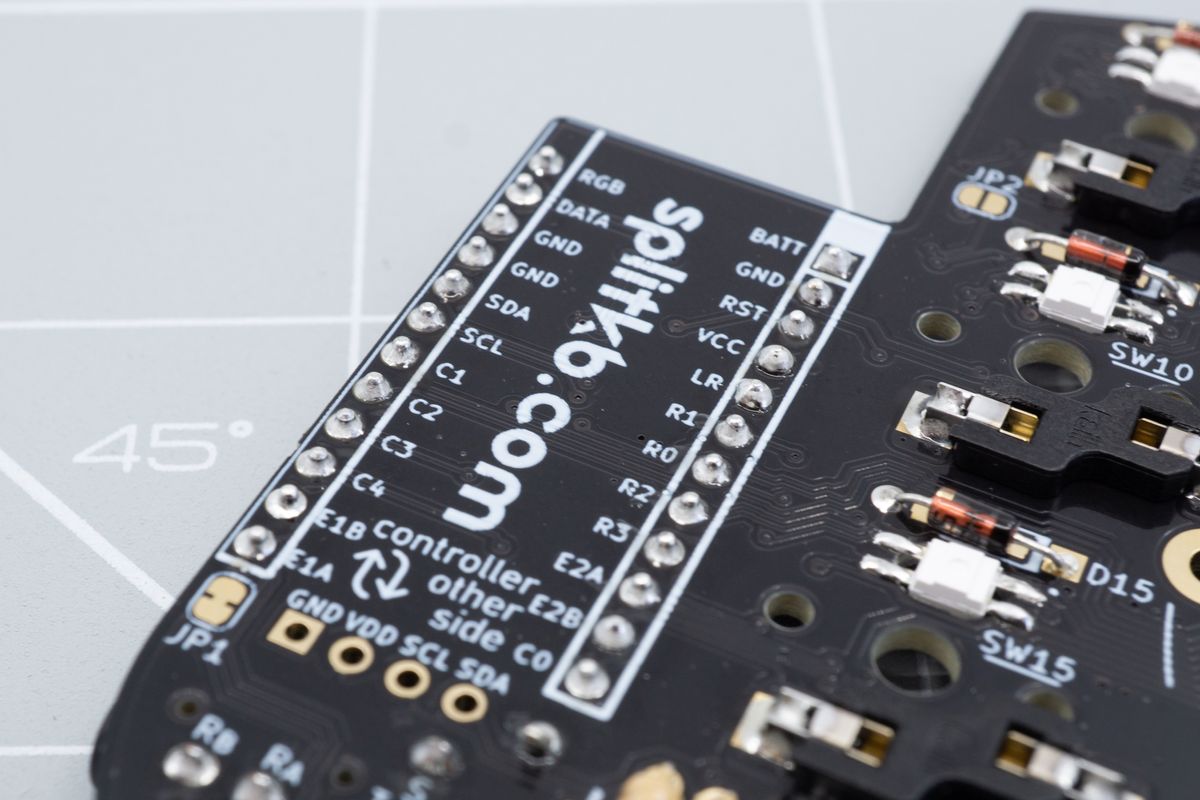
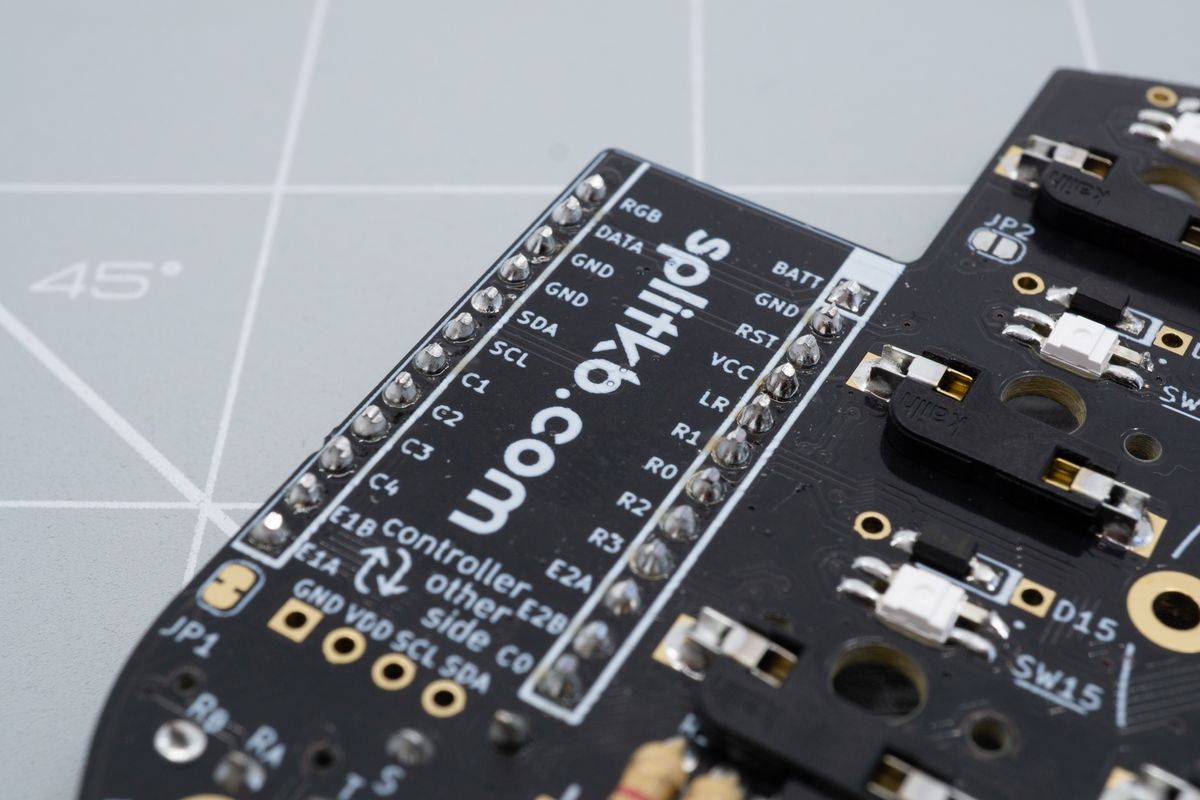
The controller area on an Aurora keyboard, indicating which side the controller should face.
Place the sockets into the outlined areas on the top side of the keyboard. There's no soldering just yet.
The sockets are placed on the top side of the keyboard.
Add tape to hold the sockets in place during soldering. We used Kapton tape, but any tape will do.
A piece of Kapton tape will keep the sockets in place while you work.
Solder one pin on each socket first, and check the alignment. It's easy to fix the alignment by reheating the single soldered joint. Once you're happy, solder the other outer pins.
The sockets with the pins facing the corners soldered.
With the sockets nicely aligned, you can solder the rest of the pins.
The sockets with all of their pins soldered.
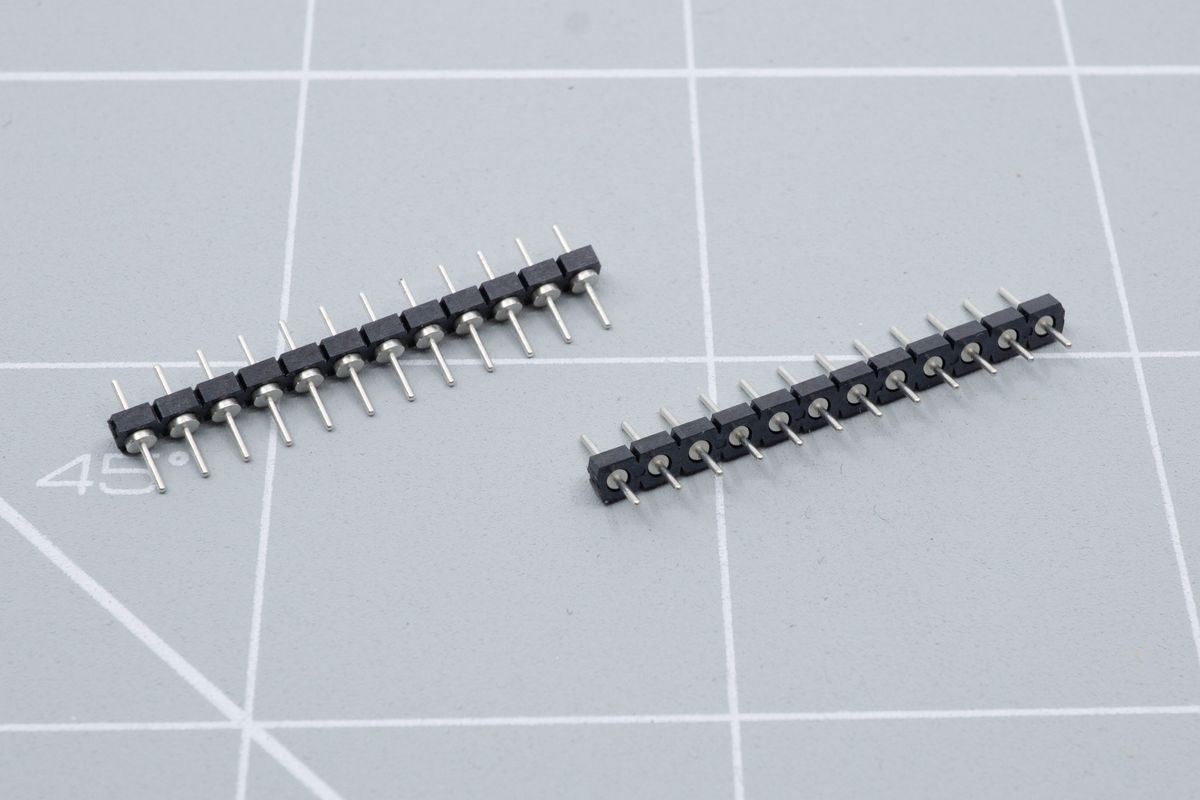
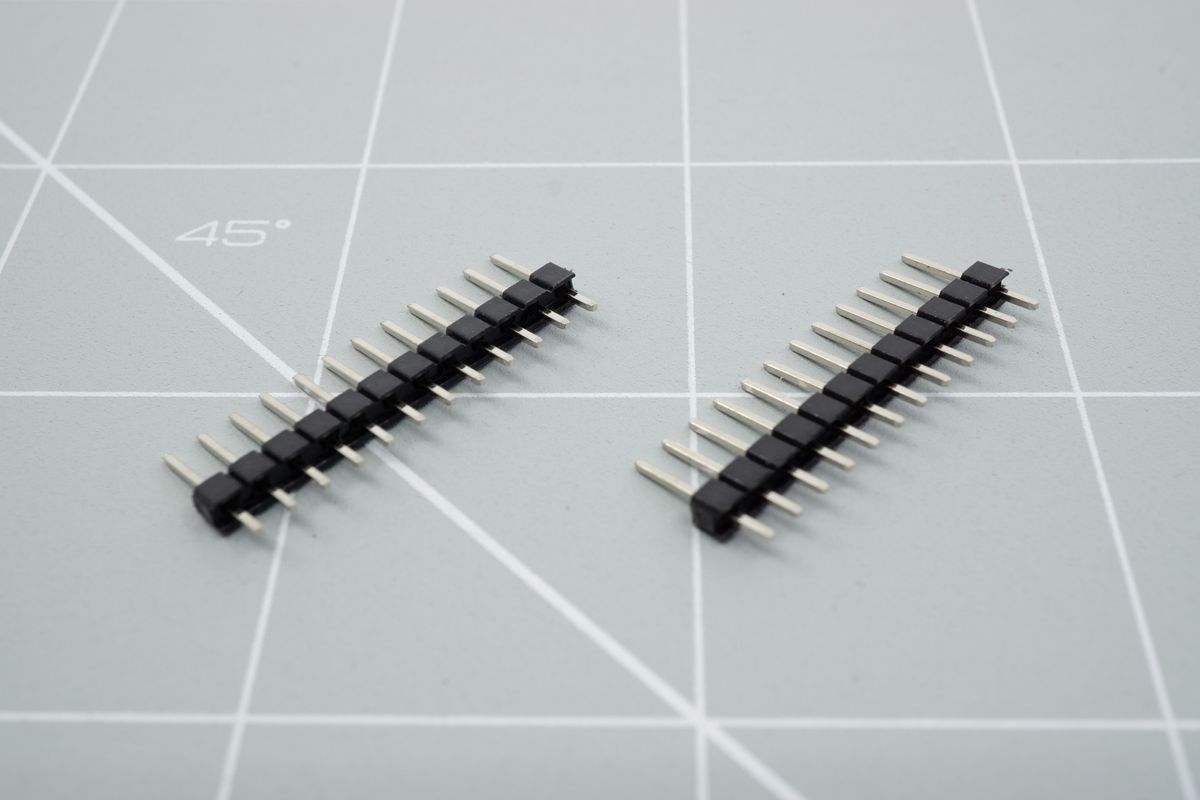
You'll have received square header pins with your microcontroller. When using sockets, you'll want to discard these. Instead, you'll use any of the following:
Using Samtec socket headers
Socket headers are straightforward to install. The plastic strip and metal disks will prevent solder from leaking into any sockets while you solder.
A set of Samtec socket headers.
The metal disks will be facing down toward the keyboard PCB. Align the legs with the sockets and press down evenly. You can slot your controller into it from the top to apply pressure more easily.
Inserting the headers into the sockets, with the metal disks facing down.
Placing the controller on top of the headers makes them easier to push down into the sockets.
You'll notice a sort of "click". The headers will sit flush with the sockets.
After pushing, the headers sit flush with the sockets.
You can then solder the header pins to the controller. Make sure to touch both the pin and the controller pad at the same time, like any solder joint. Once you've soldered all 24 pins, you're done with the controller and can move on to the next controller, or the next step!

A soldered Liatris controller.
Using Mill-Max pins
Mill Max pins are small, sturdy pins that mate with the low-profile controller sockets.
First, add tape to the sockets. This prevents solder from seeping into the socket during the pin soldering. We used Kapton tape, but you can also use painter's tape. Don't use scotch tape, though, as it'll melt almost instantly and thus won't provide any benefit.
Tape applied to the sockets.
Next up, insert the pins into the sockets, one by one. Use pliers or tweezers to do this.
It can be a little tricky to determine how deep you need to push the pins. Compare your work to the images below to see if you have inserted them completely.
The first two pins pressed down into a socket, through the tape.
Push the pins until you feel a distinct difference in resistance: it'll sort of "click" in place. You might need to push harder than you'd expect, though you need not use excessive force. Be sure to push down straight, to prevent bending the pins - they're sturdy, but still small.
All of the pins inserted into the sockets.
With the preparation completed, you can now place and solder the microcontroller.
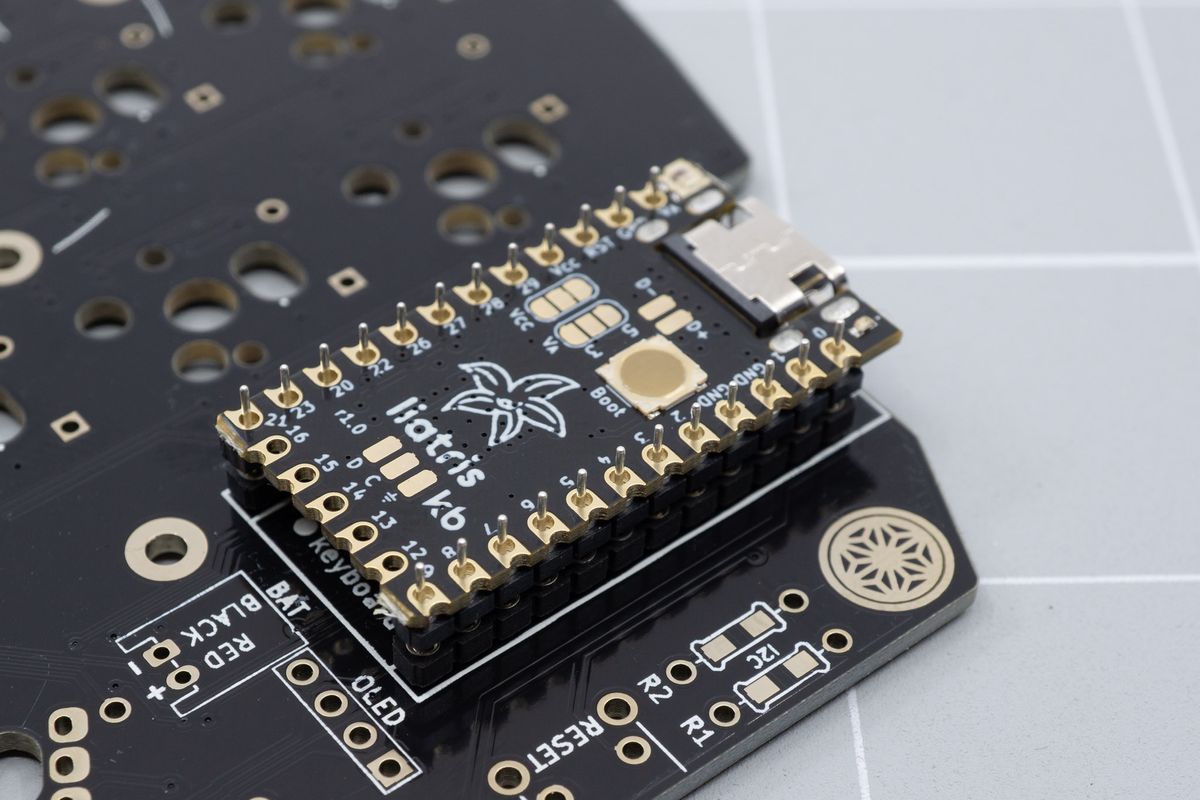
A Pro Micro controller seated onto the sockets and pins. If you're using a nice!nano, notice that it'll have two additional holes where the Pro Micro has bare circuit board instead.
Solder a single pin on two opposing corners. That way you can fix the alignment of the controller if needed.
Two soldered opposing corners.
Once you're happy with the alignment, solder the other pins.
A soldered microcontroller.
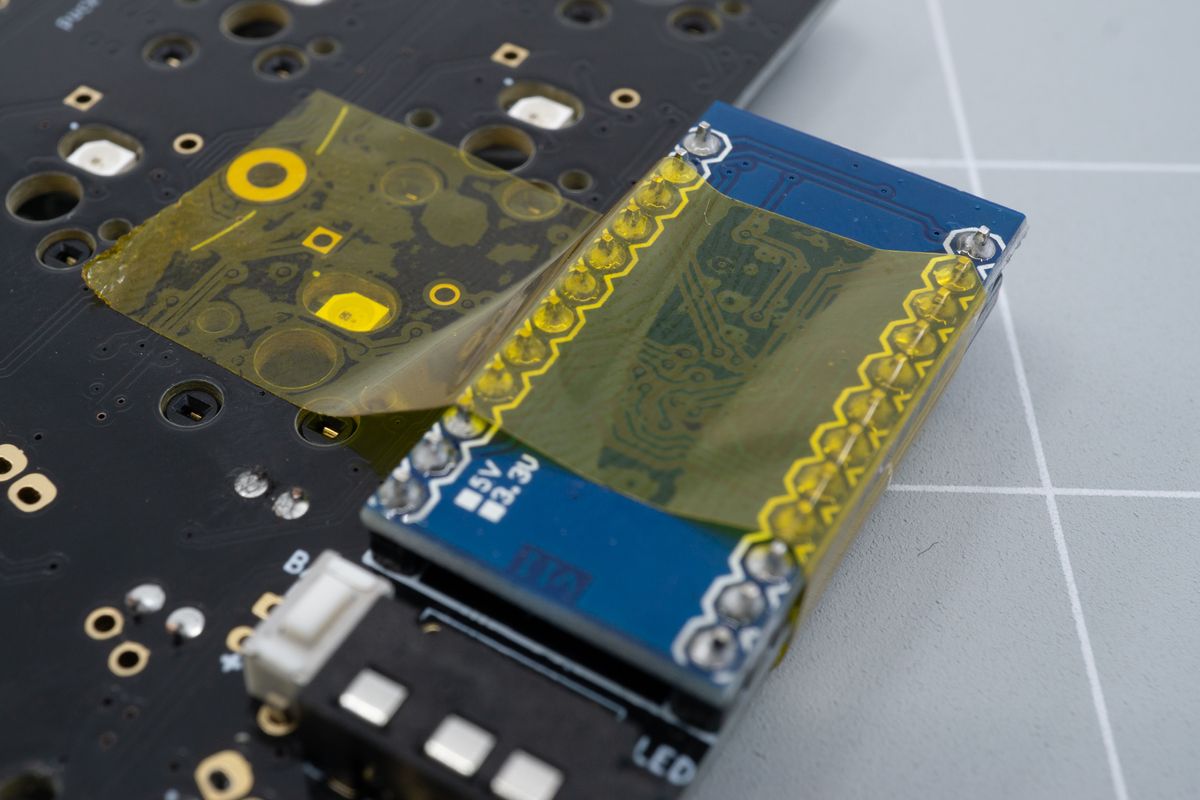
While the picture shows the microcontroller being removed, you can usually rip the tape out from the sides. You might not need to remove the microcontroller.
If you do need to remove the microcontroller: wedge a tool such as a plastic spudger between the microcontroller and the PCB, and wiggle it up. Alternate between the top and bottom opening as to not bend the pins while removing the controller. If you don't have a plastic tool, metal tweezers or a screwdriver can work too, but be careful to not damage the components on the controller, or the traces and components on the PCB.
A once-socketed controller, removed from its sockets.
Using diode legs
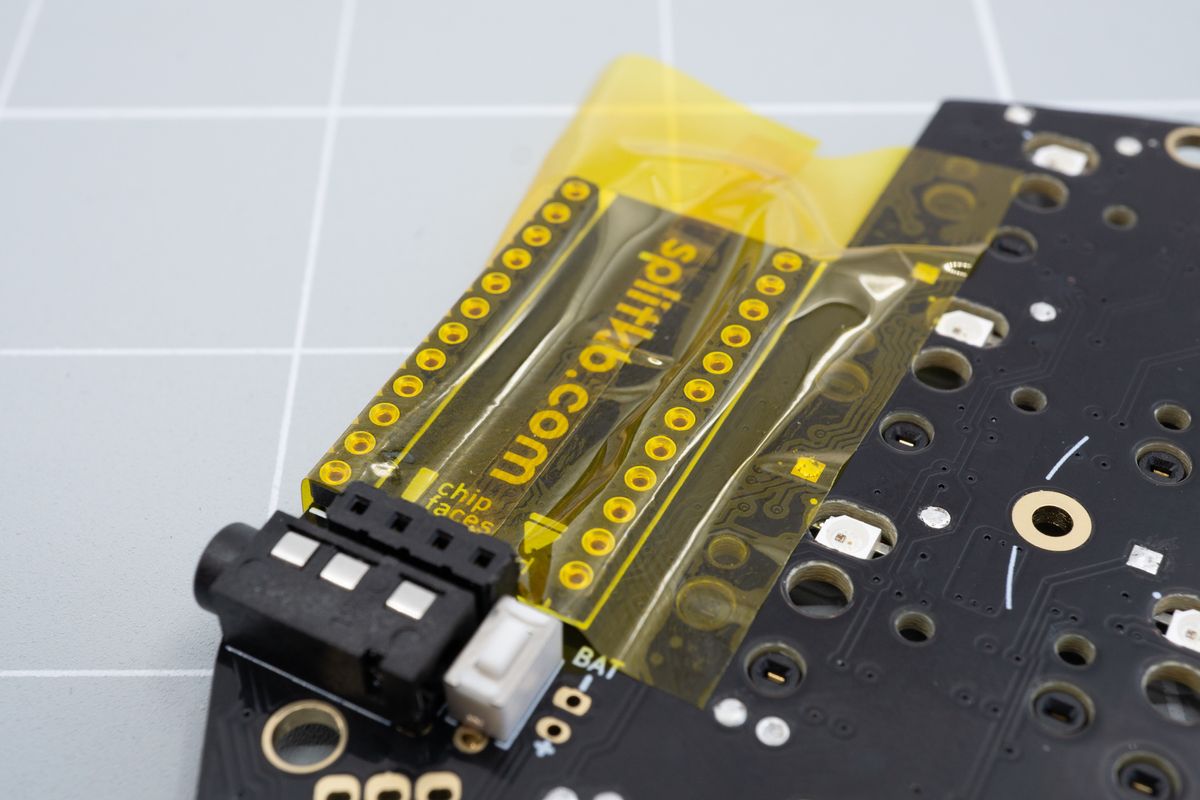
First, add tape to the sockets. This prevents solder from seeping into the socket while soldering the legs. We used Kapton tape, but you can also use painter's tape. Don't use scotch tape, though, as it'll melt almost instantly and thus won't provide any benefit.
Tape applied to the sockets.
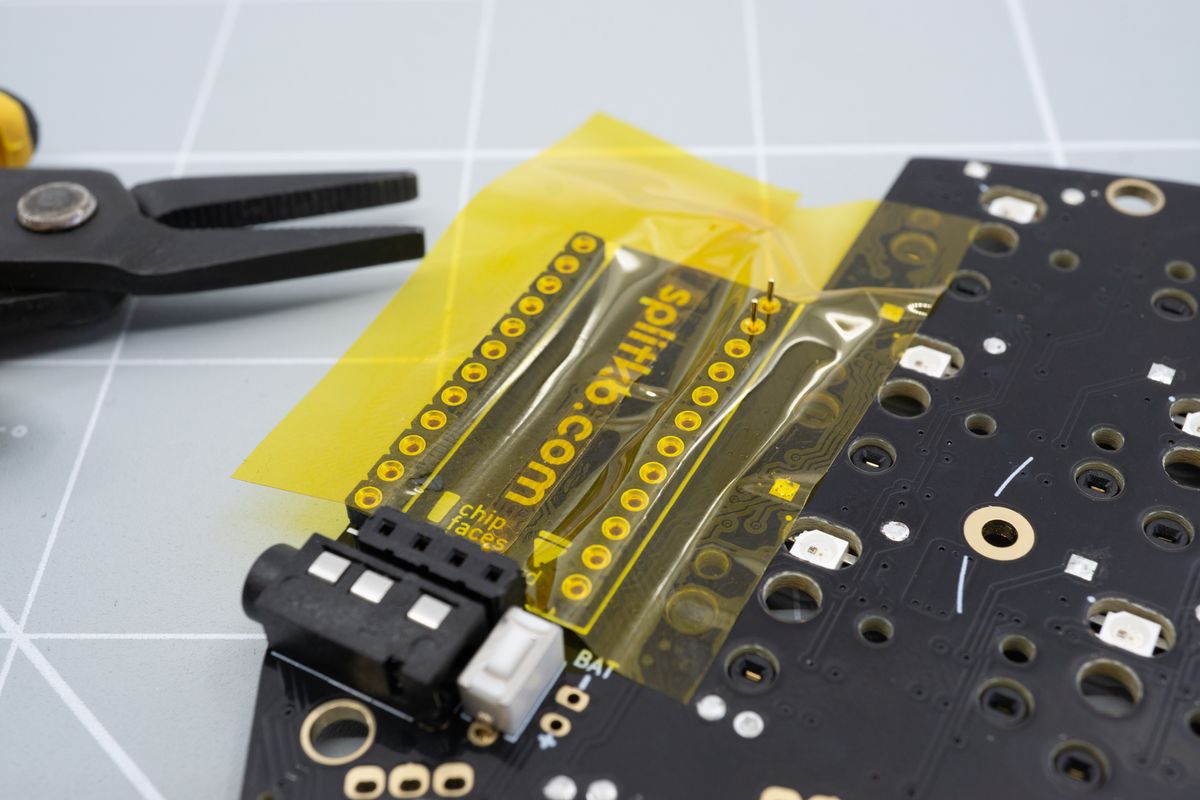
Next up, insert the legs into the sockets, one by one. Use pliers or tweezers to do this.
Push the legs until you feel a difference in resistance: it'll sort of "click" in place. You might need to push harder than you'd expect, though you need not use excessive force. Be sure to push down straight, to prevent bending the legs - they are fragile.
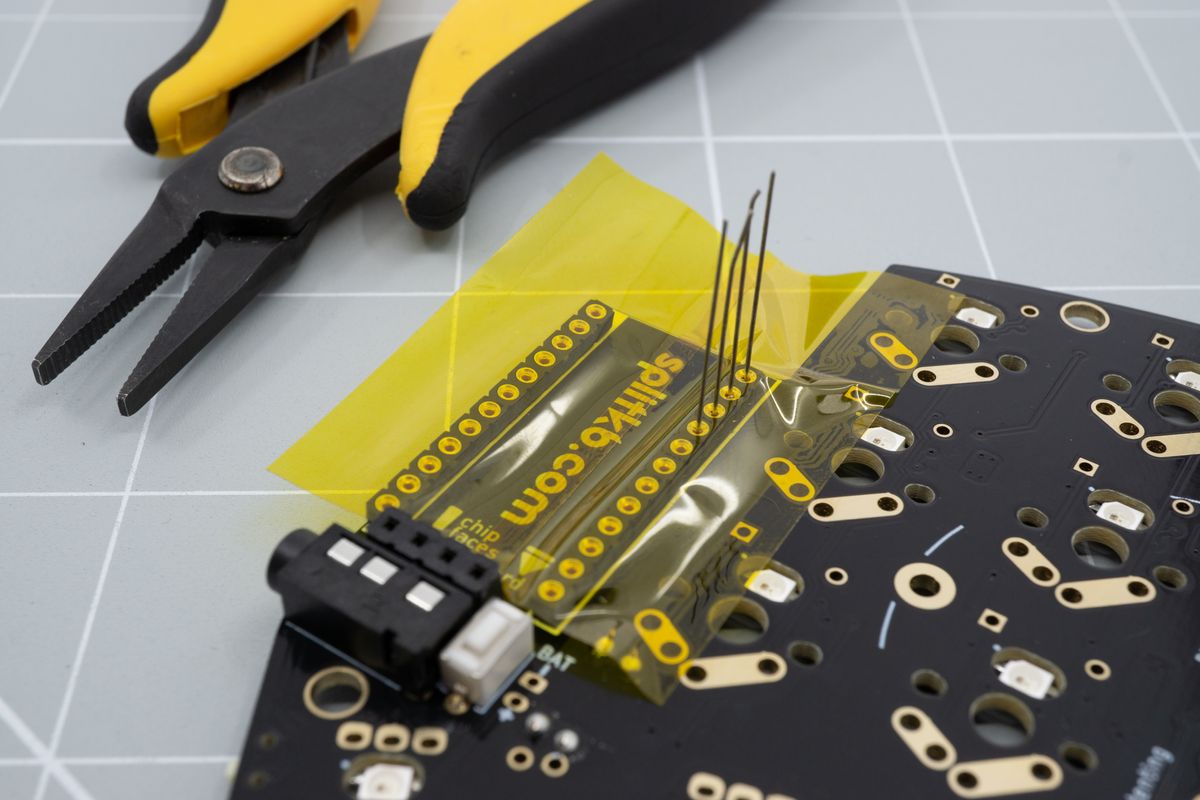
The first few legs inserted into the sockets through the tape.
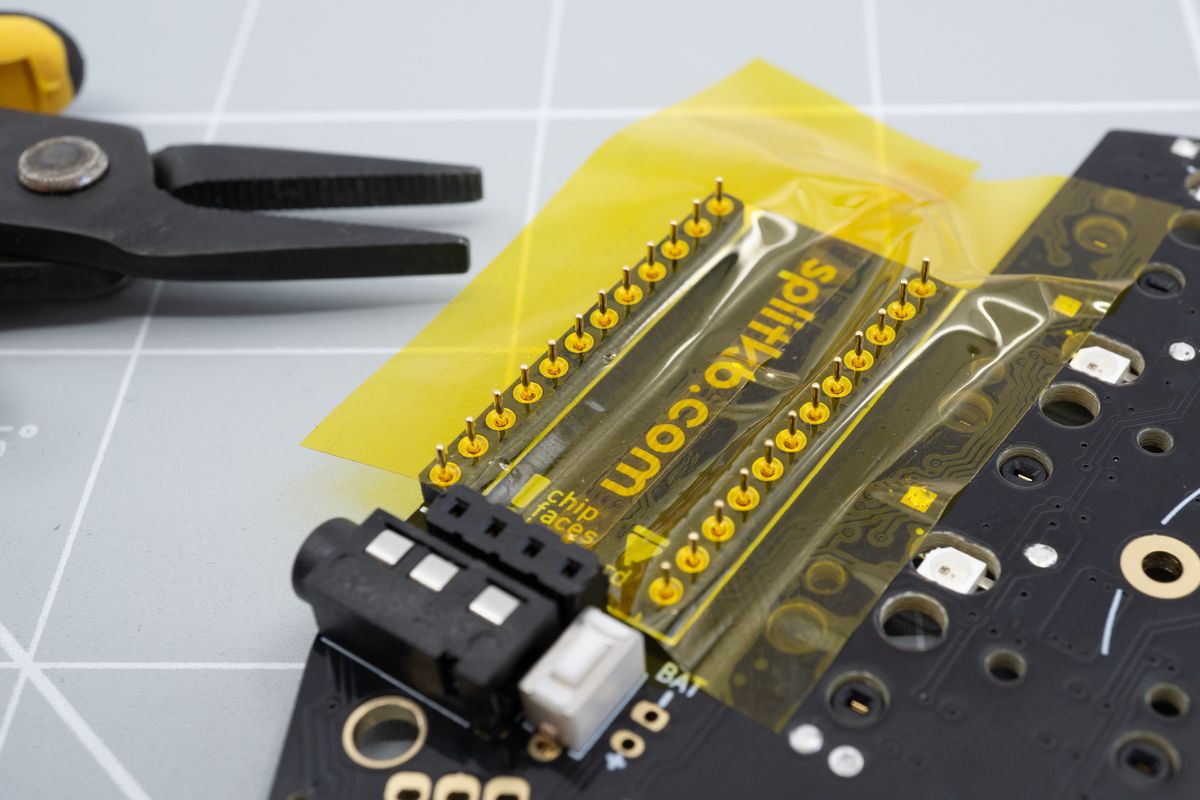
The picture shows us adding the legs first, and then the controller can be slid over them. However, it can be a bit finicky, and alternatively you can put a few corner legs in first, slide the controller on, and then insert the remaining legs through the controller.

All of the legs inserted into the sockets. It's probably wiser to install the legs through a controller you'd place onto the sockets first.
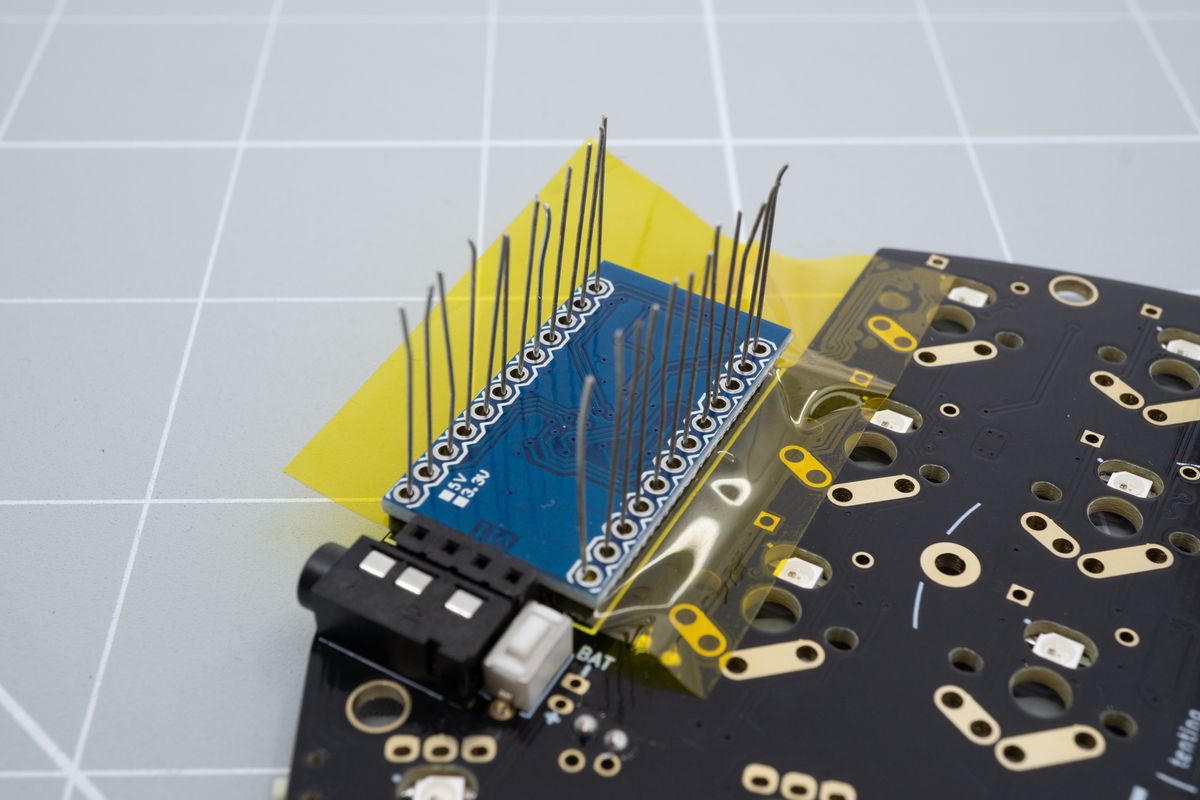
The controller, placed onto the legs.
Next up: soldering! Solder two opposing corners first, so you can still easily change the alignment. Once you're happy with the alignment, solder the remaining legs.
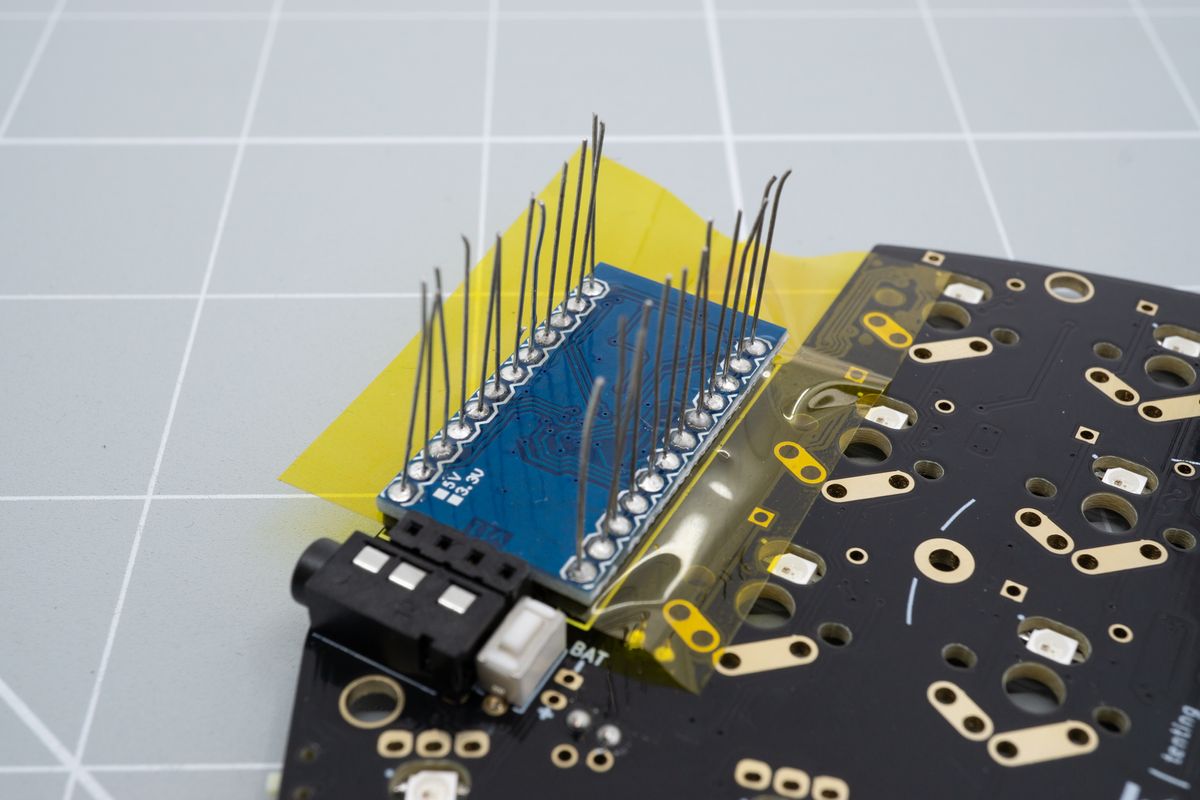
All legs, soldered.
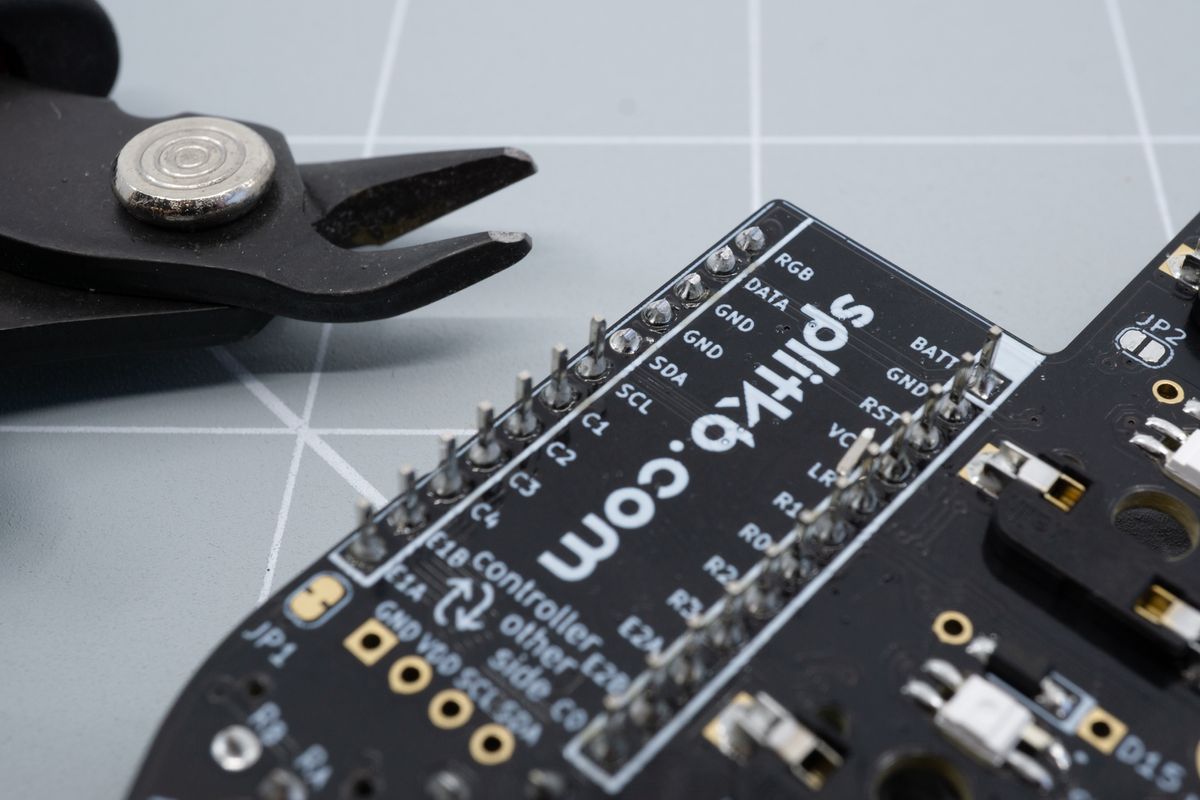
Trim the legs by snipping them off with a pair of flush cutters. Perform the snip slightly above the solder joint: if you snip off (part of) the joint, you'll break it. These breaks usually aren't visible, but can cause a row or column of keys to not work until you repair the joint by reflowing it.
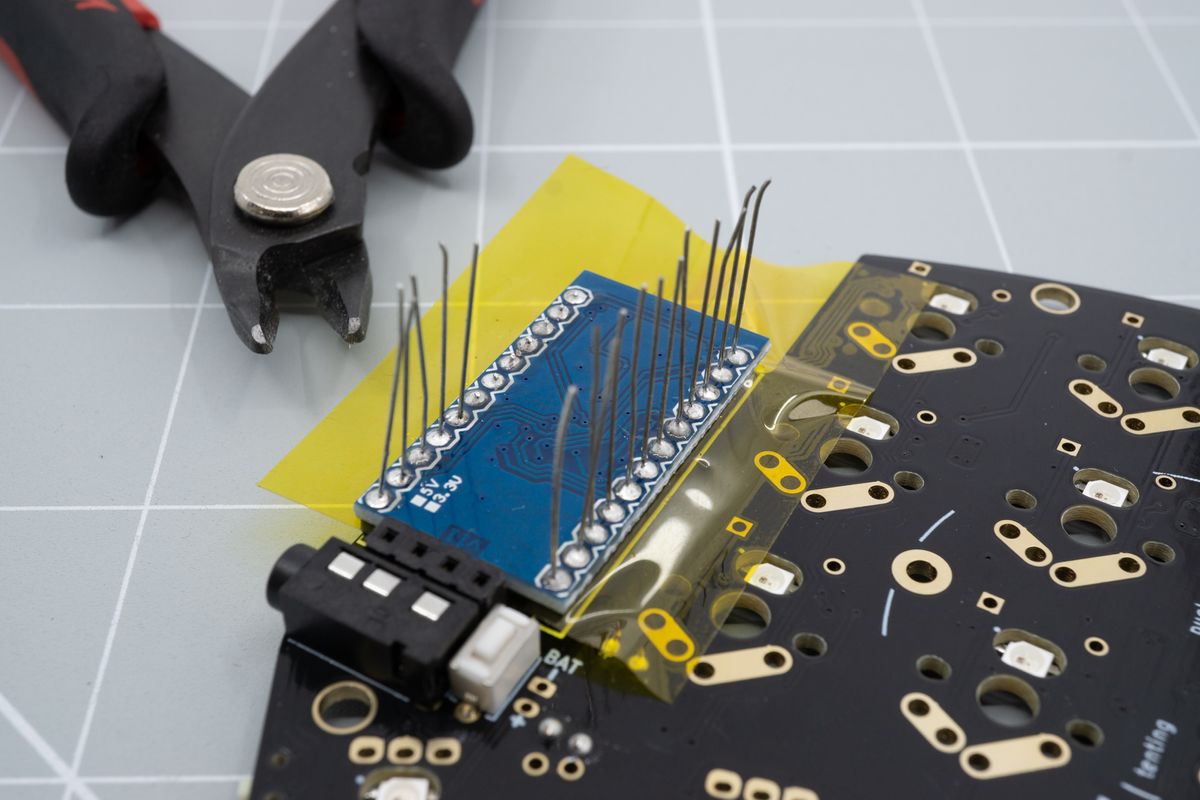
Starting off with the trimming.
All legs, nicely trimmed flush with the joints.
While the picture shows the microcontroller being removed, you can usually rip the tape out from the sides. You need not remove the microcontroller.
If you do need to remove the microcontroller: wedge a tool such as a plastic spudger between the microcontroller and the PCB, and wiggle it up. Alternate between the top and bottom opening as to not bend the pins while removing the controller. If you don't have a plastic tool, metal tweezers or a screwdriver can work too, but be careful to not damage the components on the controller, or the traces and components on the PCB.
A once-socketed controller, removed from its sockets.
Using headers
Headers are included with every microcontroller. While they don't allow you to easily remove them if needed, they're affordable and easy to solder.
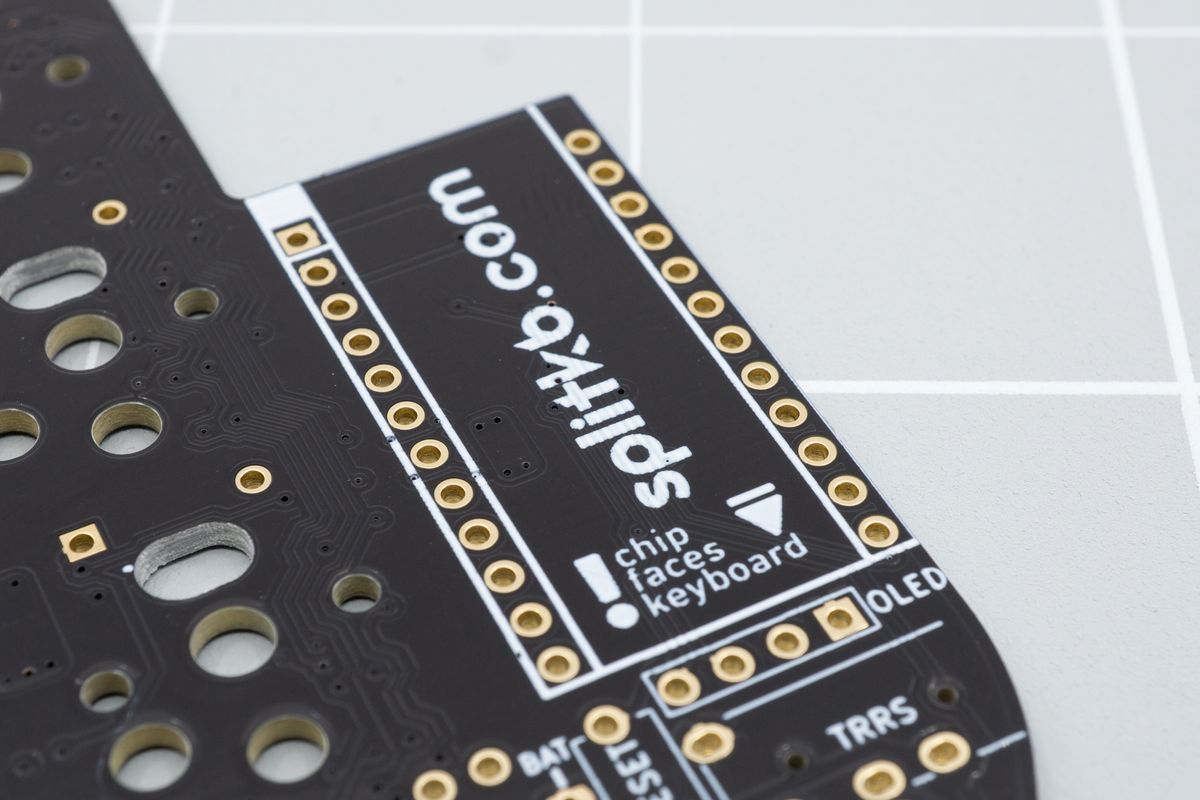
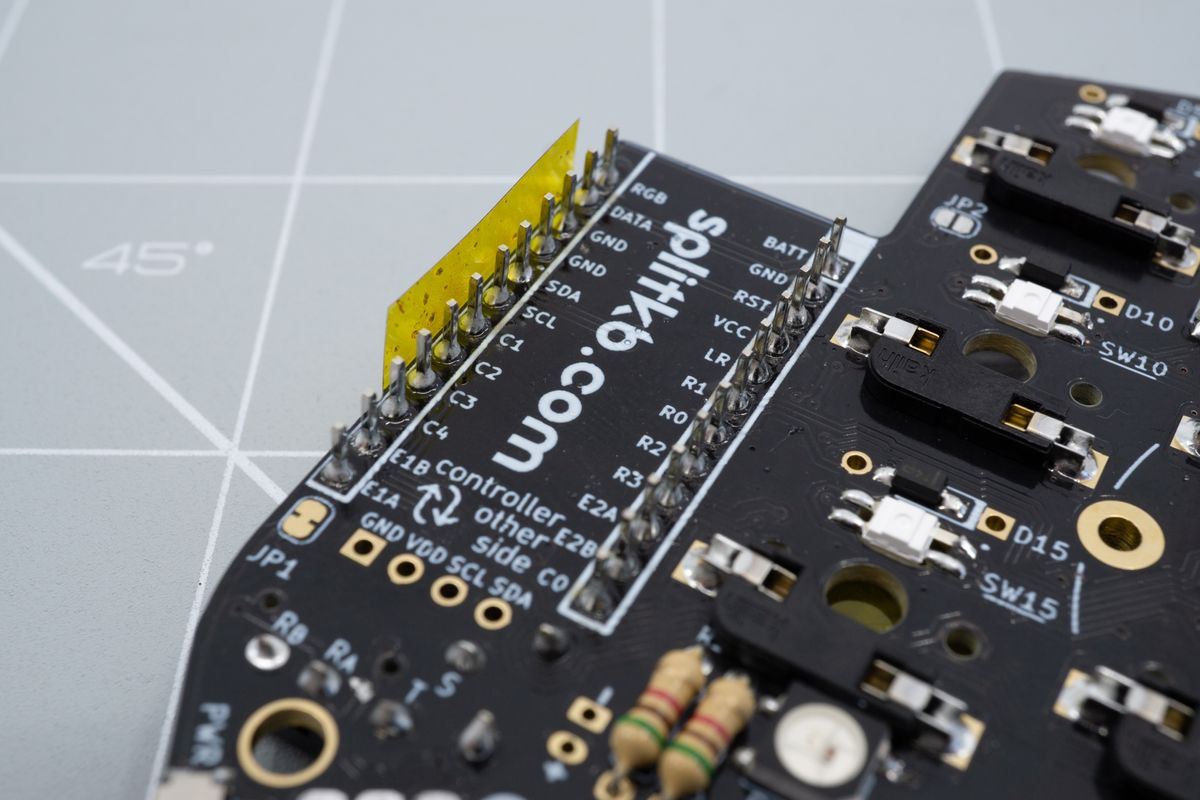
The controller area on an Aurora keyboard, indicating which side the controller should face.
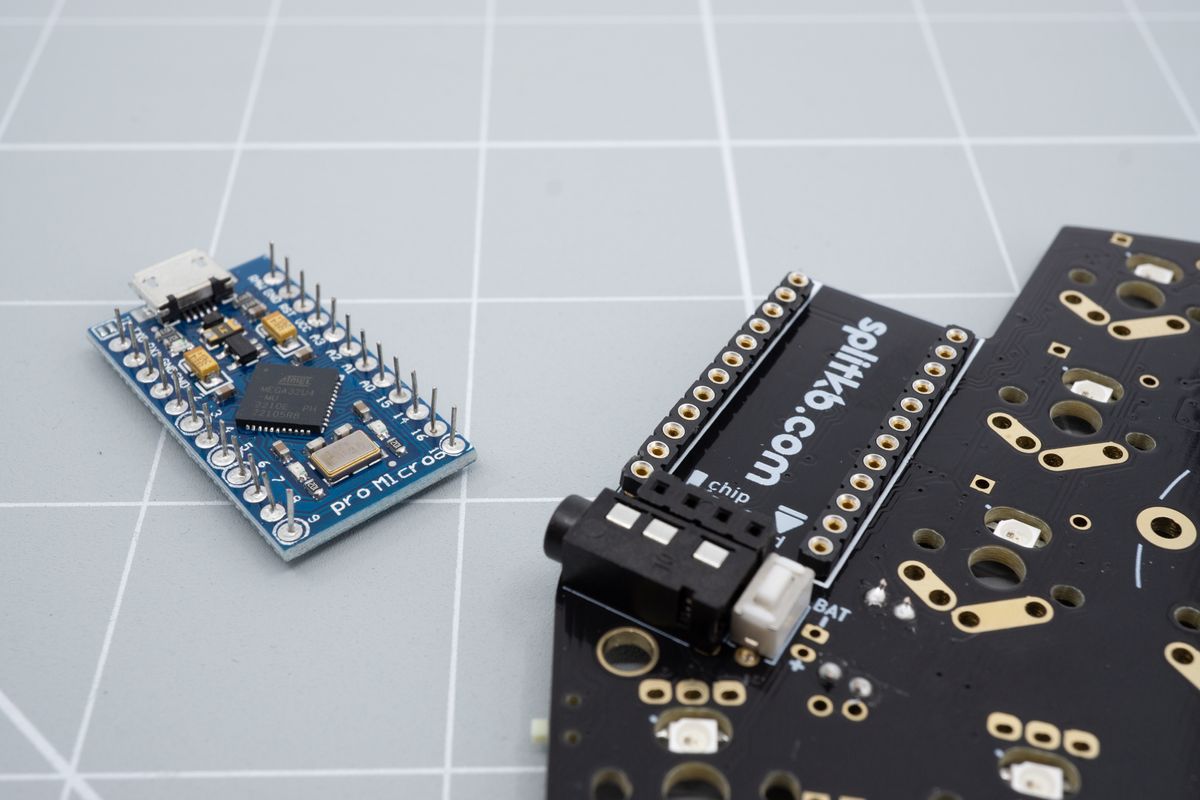
These are the header pins included with your controller. Some controllers will also include a third, much smaller set of headers - they're not used on Aurora kits.
A pair of controller headers.
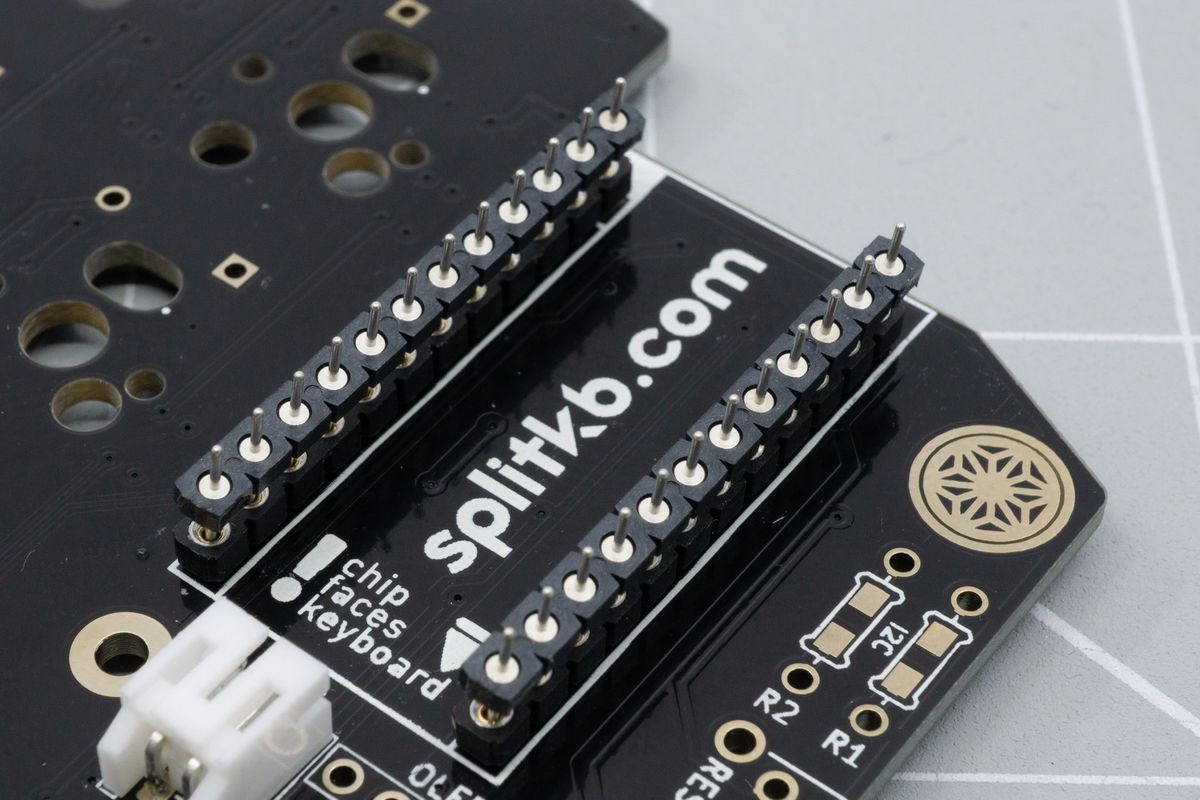
Insert the headers into the marked areas on the keyboard, then place the microcontroller on top of the headers, with its rear side facing toward you.
Solder the header pins to the microcontroller first.
The orientation of the header pins doesn't matter. In this guide, we placed the tall part of the headers facing toward the keyboard PCB. The tall parts will be trimmed off at the end.
Headers soldered to a controller.
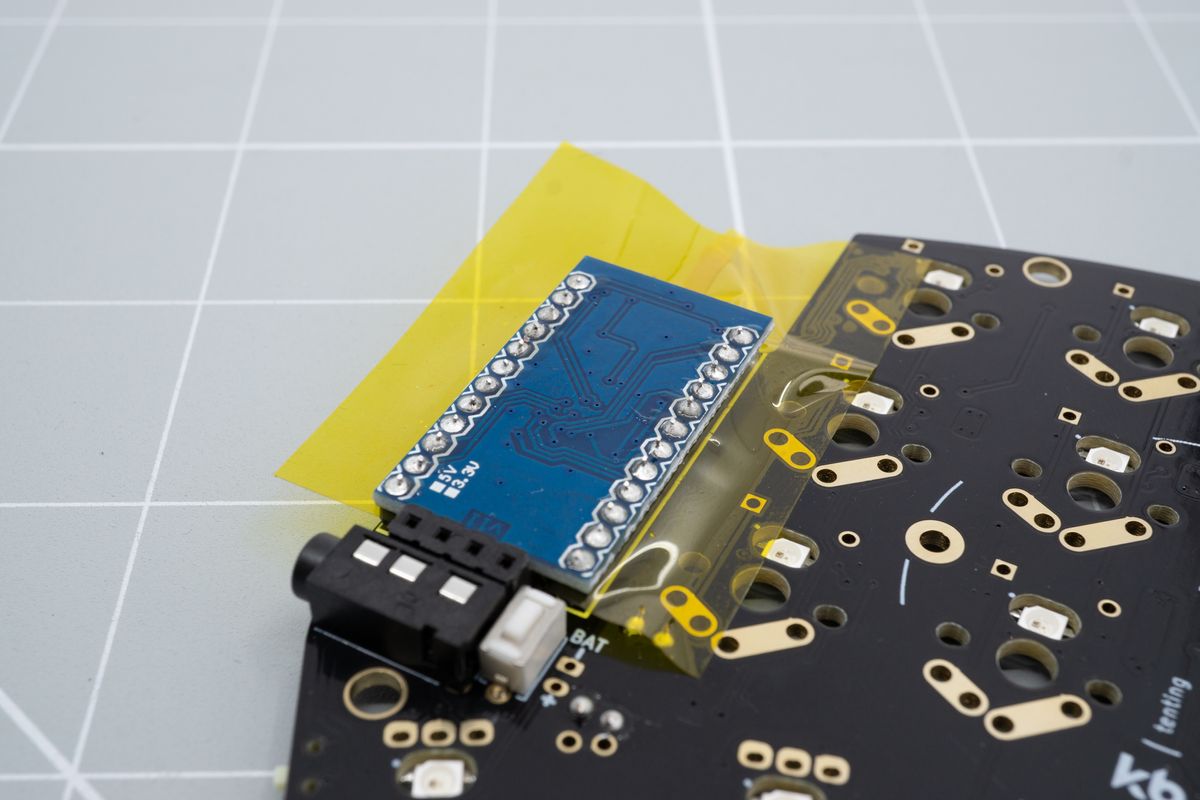
You can tape the controller with assembled headers so that it won't move around.
Holding the controller in place with some tape, before flipping the keyboard over.
Then, solder the headers to the keyboard PCB.
Soldered headers.
The header legs will be sticking out quite a bit. Trim them using a flush cutter.
A few of the legs trimmed.
All of the legs trimmed, all done.
After clipping the legs, inspect the joints. If you made the cut too close to the joint, reflow it to repair any possible damage to the joint.
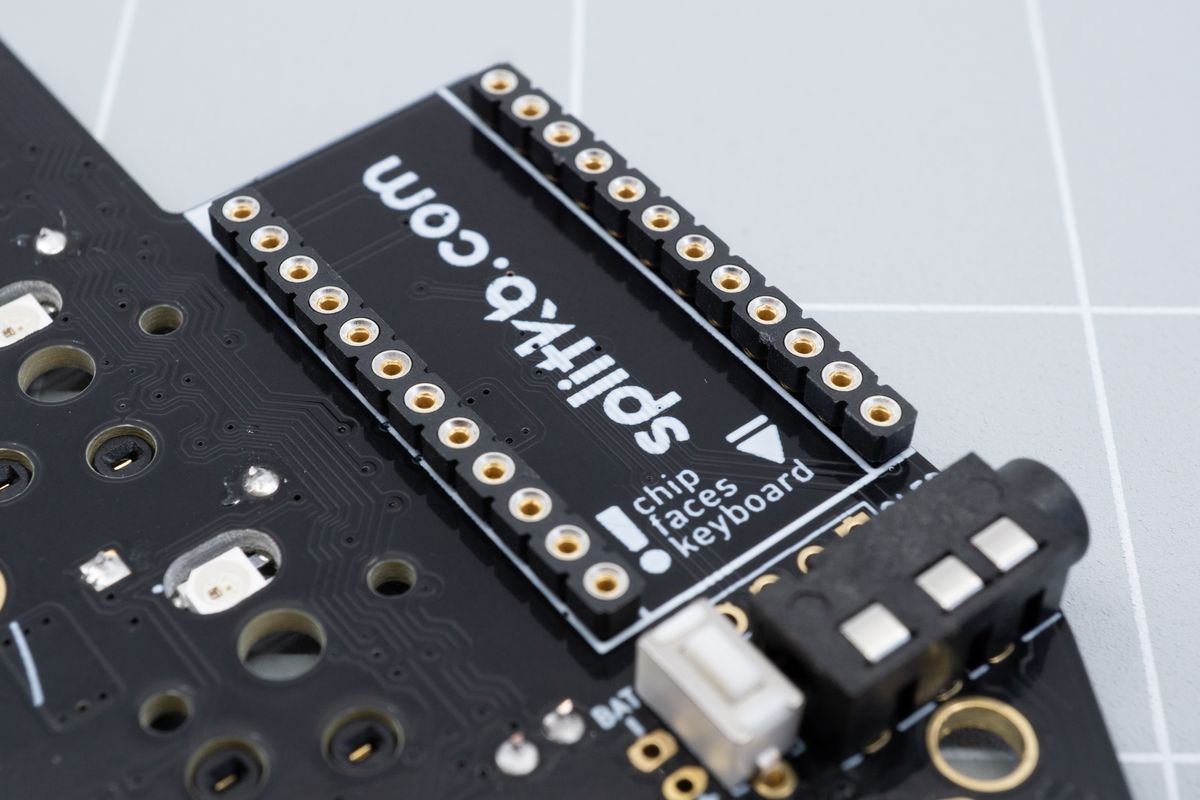
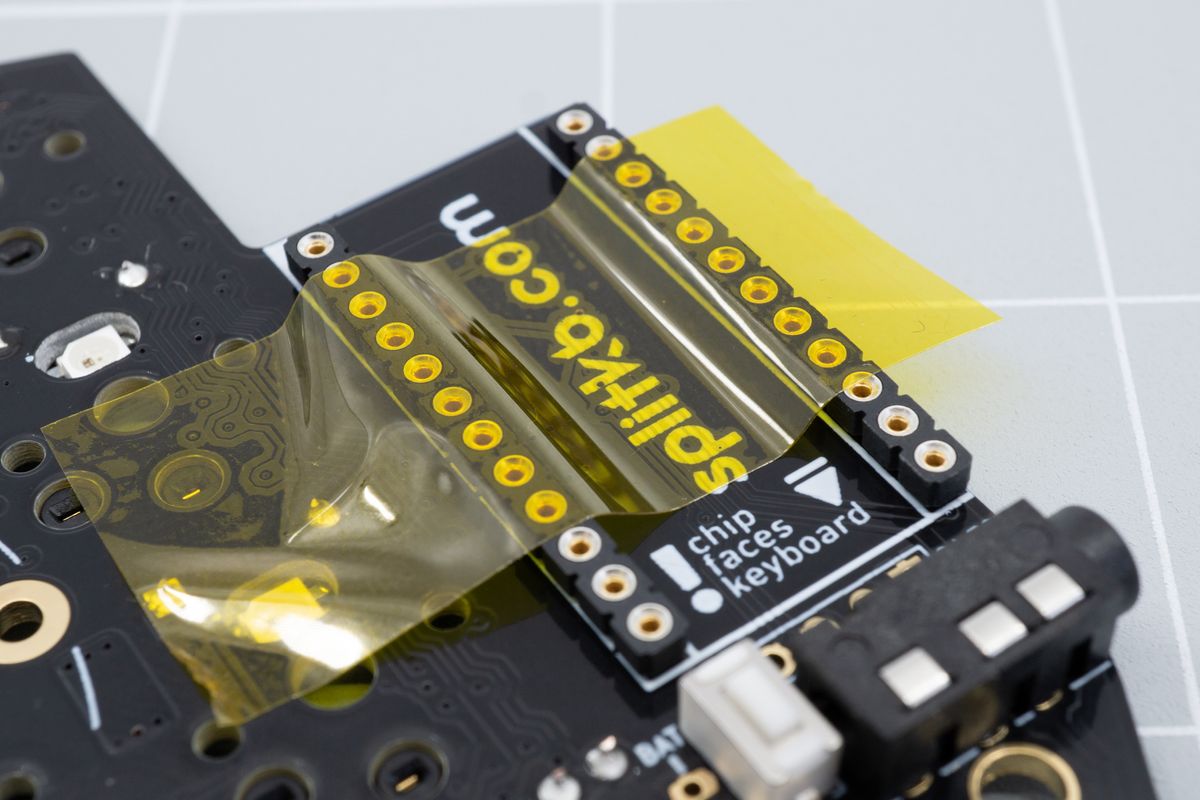
OLED sockets
OLED sockets allow you to remove the display without desoldering.
Batteries
Batteries are used to power a wireless controller.