

Battery boards and modules
Installing the battery boards
To install a battery board you will need the battery board, a non-conductive tool and the FFC cable. While the coin cell battery board is pictured here, the steps will be the same for the LiPo battery board.
You will need your battery boards and the slim FFC cable. You will also need a non-conductive tool to open and close the battery connector. This can be a spudger, guitar pick, plastic screwdriver, your fingernail or something similar.
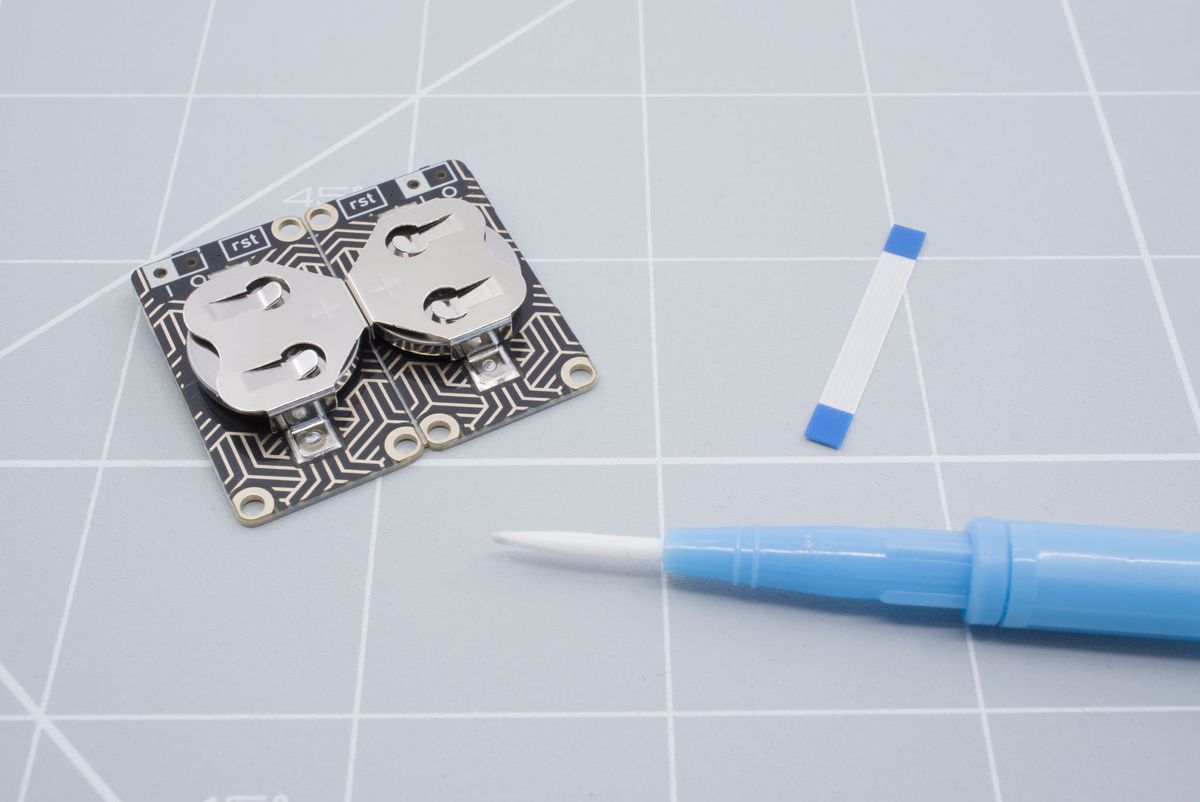
Battery boards with the FFC cables.
First we will prepare the battery boards for installation. Break the board in the middle to separate the two halves. Use the board, indicated one the bottom, with L for the left side and R for the right side.
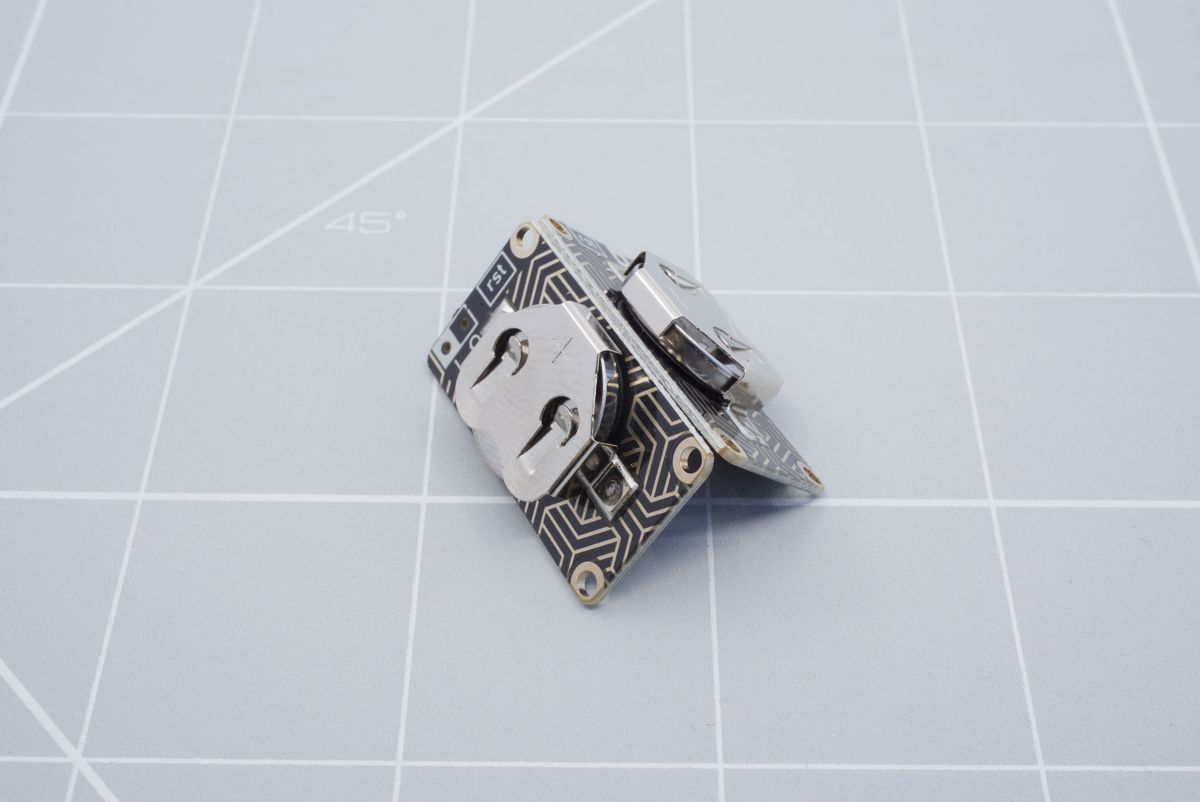
Breaking the battery boards in half.
Double check if the battery switch is set to off (o). Change the position of the switch if this is not the case.
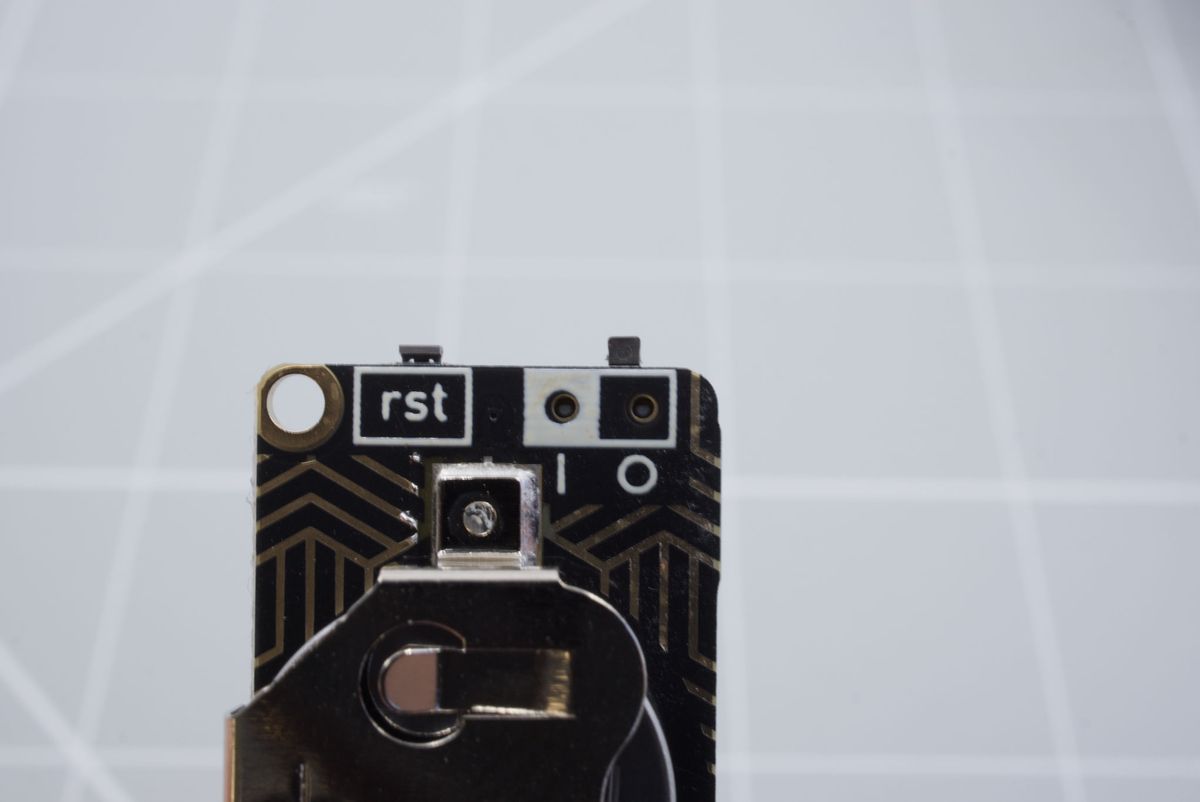
Setting the battery switch.
Lift up the tab from the battery connector.
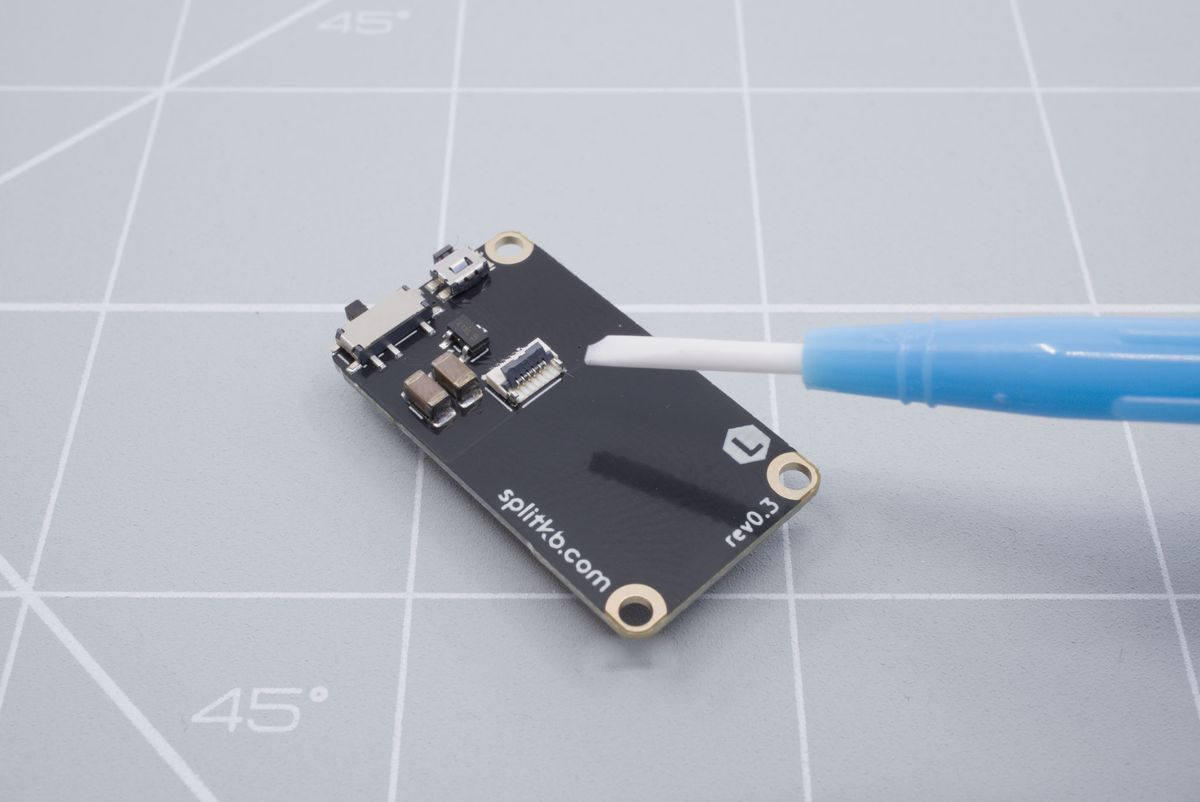
Lifting up the battery connector tab.
Insert the slim FFC cable in to the battery board.
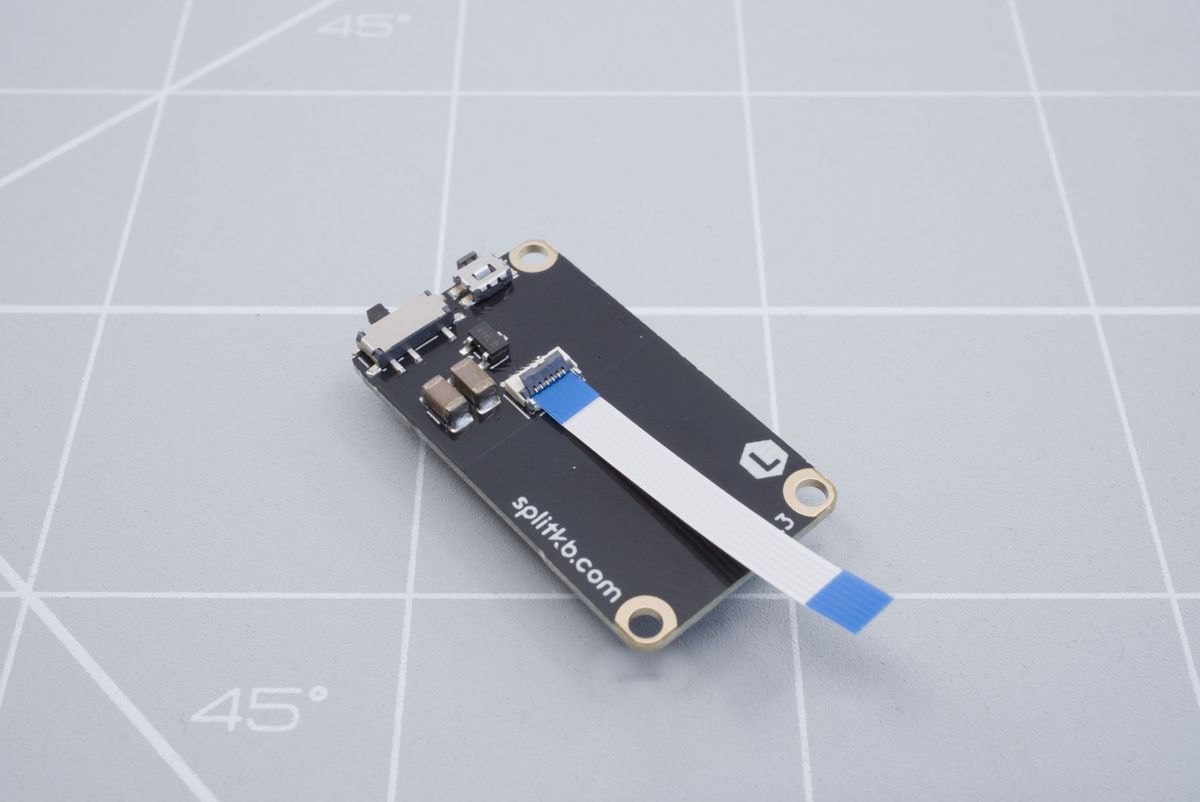
Inserting the FFC cable.
Lower the tab back down with the non-conductive tool.
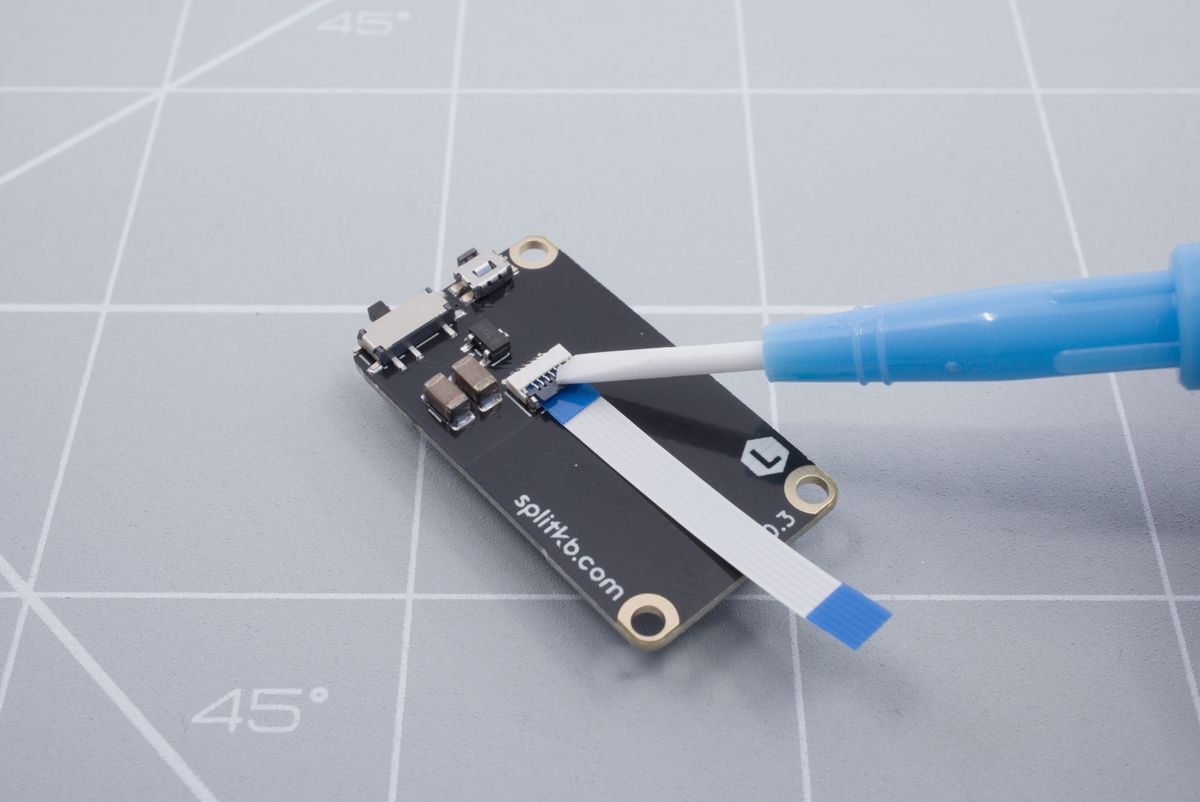
Lowering down the battery connector tab.
Depending on which module you're planning to install, the instructions for the battery board will also be different. Please go to the module page using the button below. Not installing a module? See the section below.
With modules
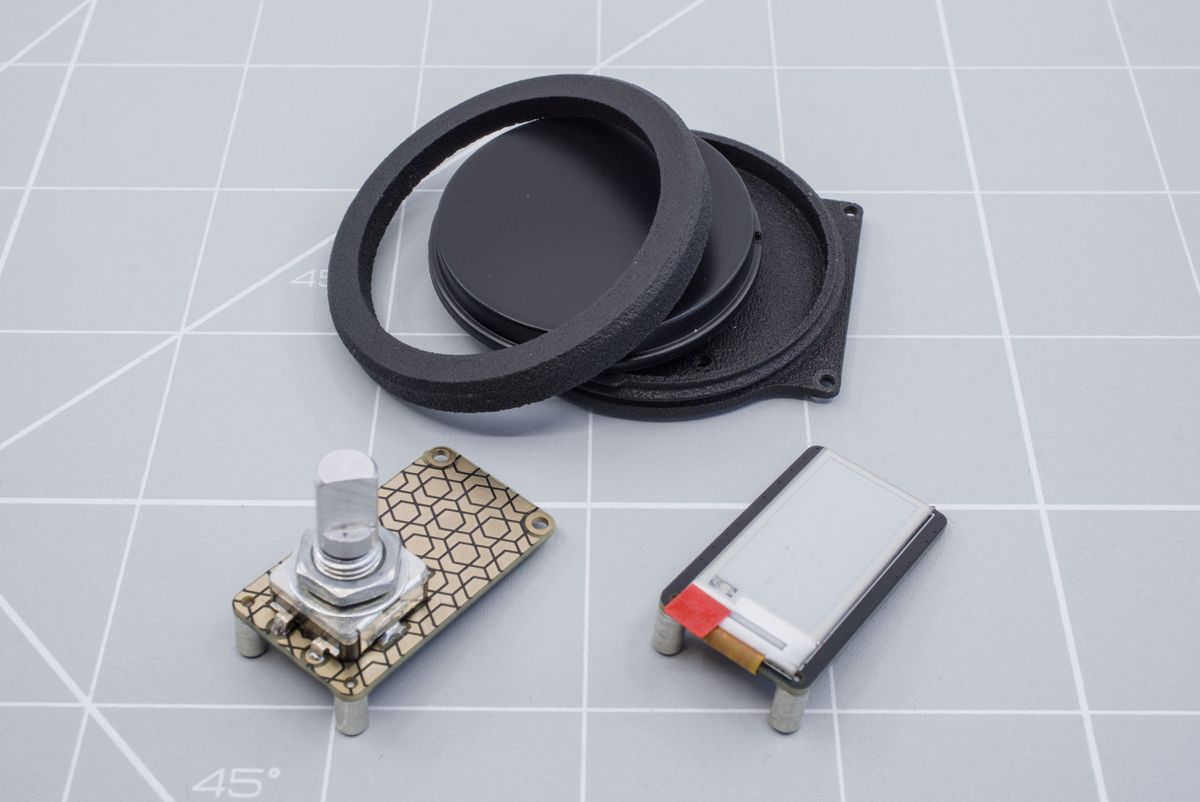
All of the modules on release.
When installing a module it's always important to check the VIK voltage selector. On each module installation page you will find on which position you need to set the VIK voltage selector and how to change the selector.
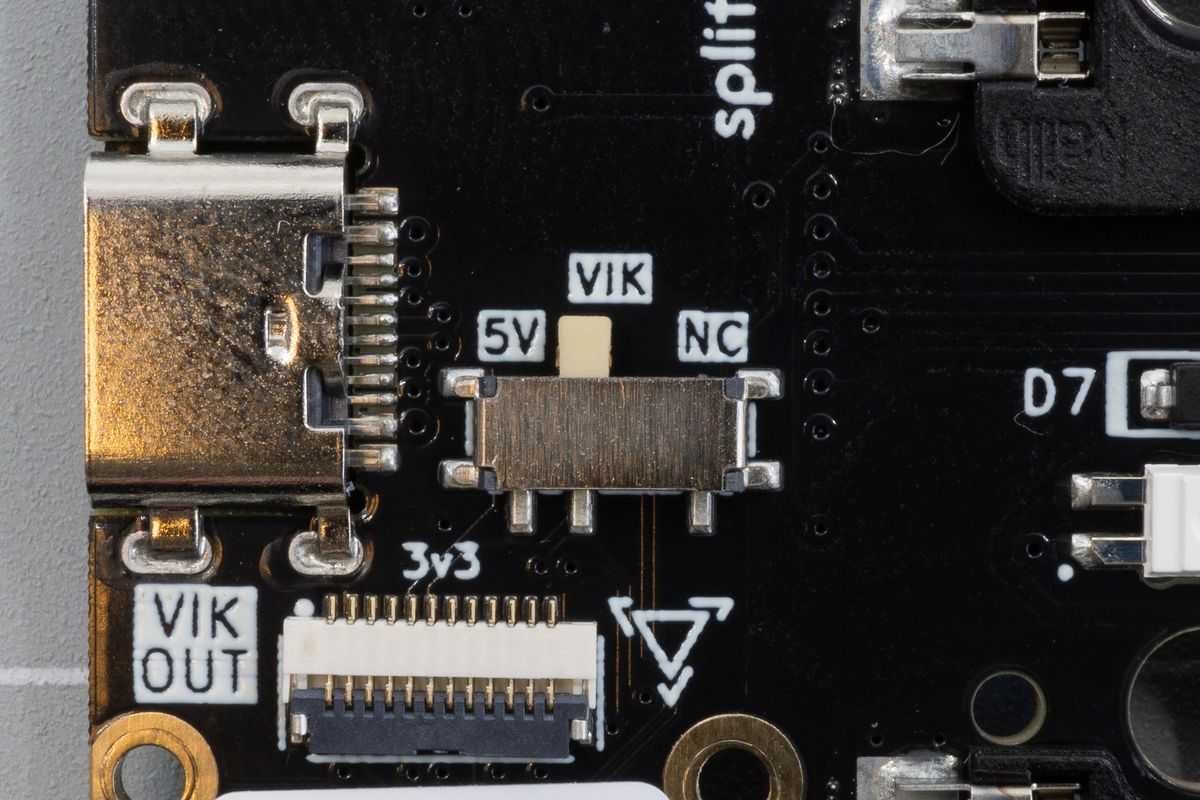
The VIK voltage selector.
For each module we refer to the separate module documentation. You can find the installation instructions on installing the battery board and Halcyon module for each module there. After installing the battery board and Halcyon module you can return to this main guide.
Go to the modules pageWithout modules
To install a battery board without modules you will additionally need a flat head screwdriver, the black 3mm hex screw, the included 1.5mm Allen key, two 4mm screws, two 3mm screws and two 6mm spacers. While the coin cell battery board is pictured here, the steps will be the same for the LiPo battery board.
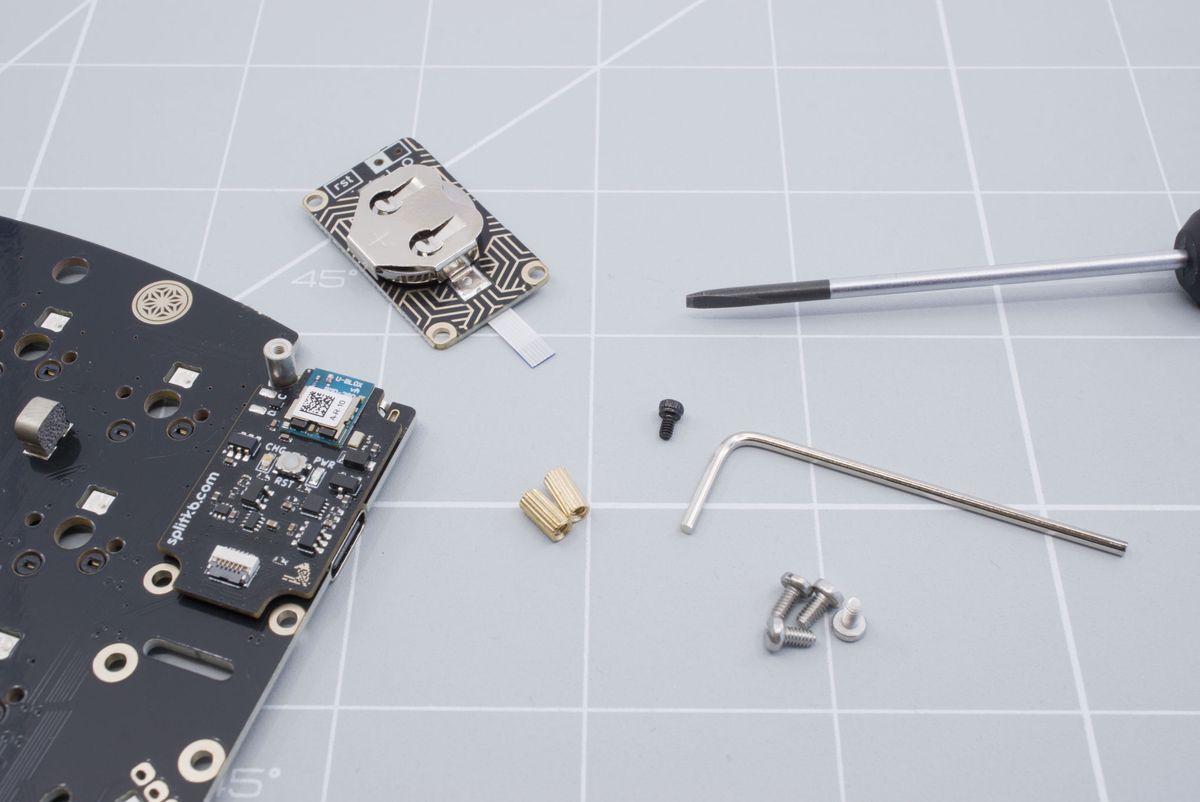
Required parts.
Using your flat head screwdriver, screw in the spacers to the keyboard using the 4mm screws.
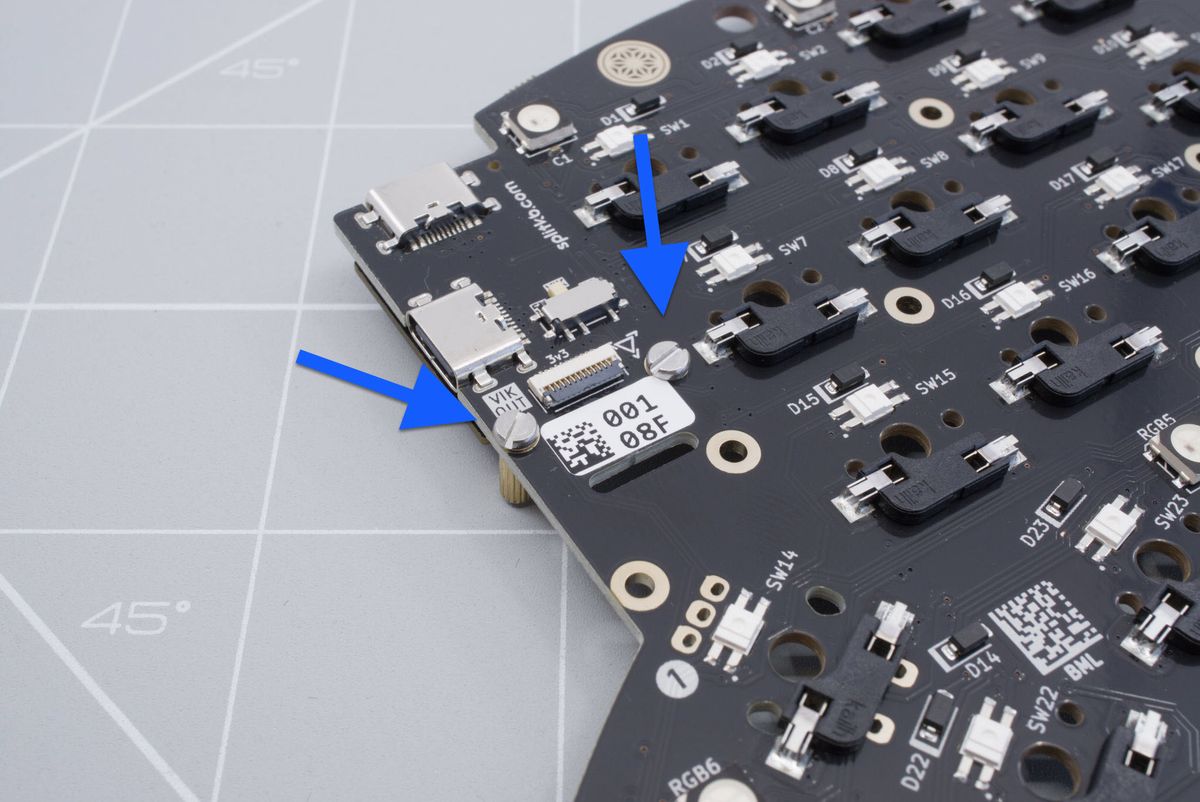
Screwing in the spacers.
Confirm that the spacers are screwed in completely on the top side.
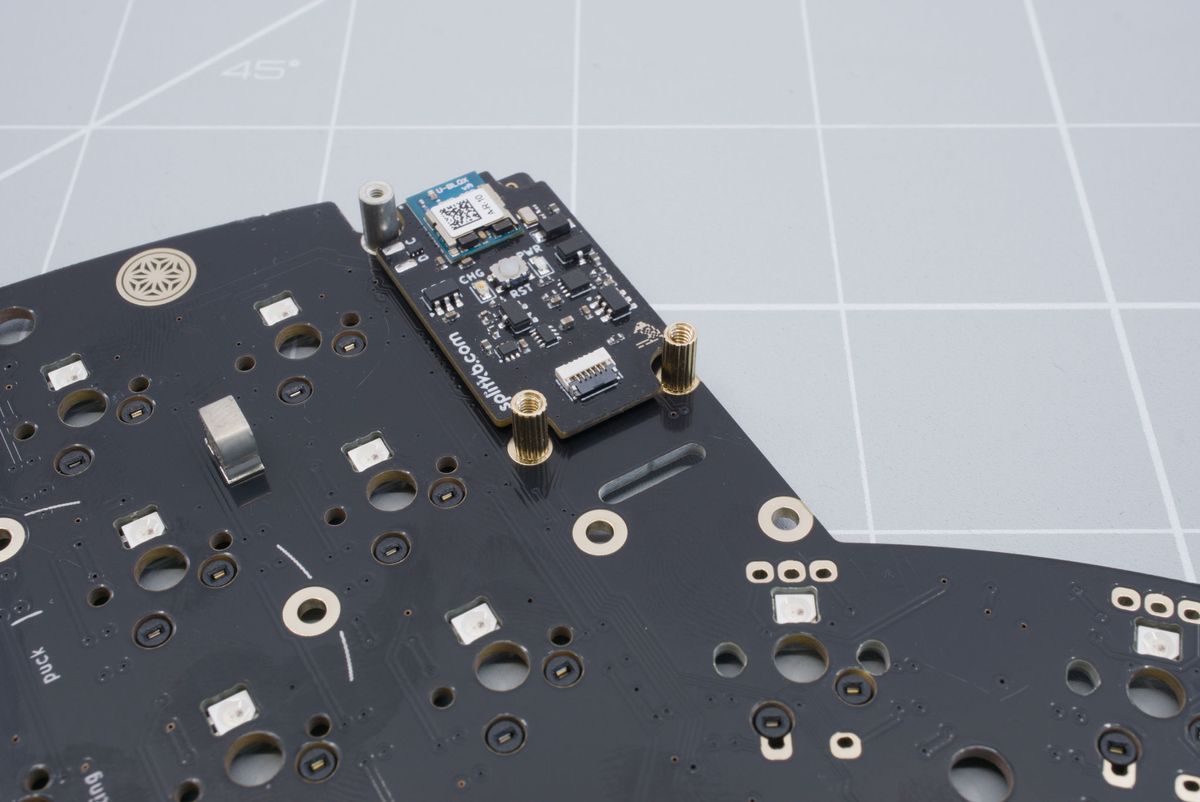
Top side of the keyboard with the spacers installed.
Lift up the tab from the battery connector with the non-conductive tool.
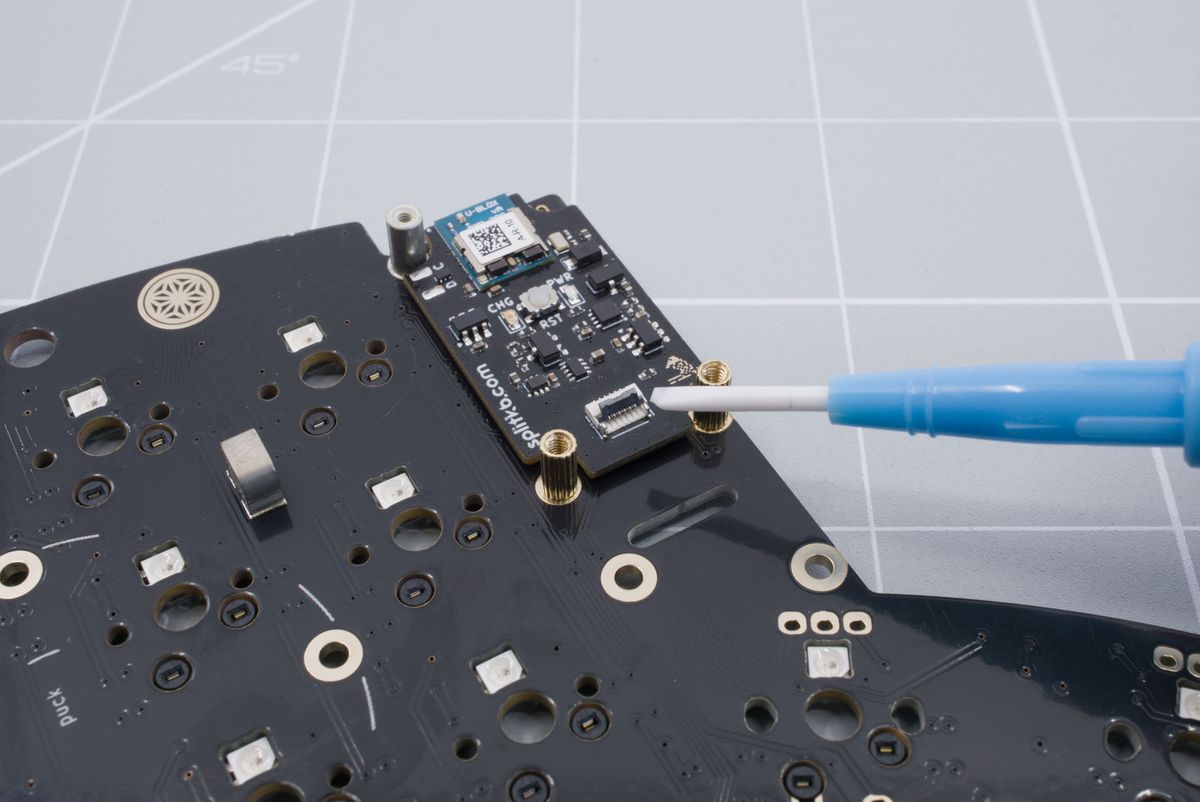
Lifting up the battery connector tab.
Insert the slim FFC cable in to the battery board.
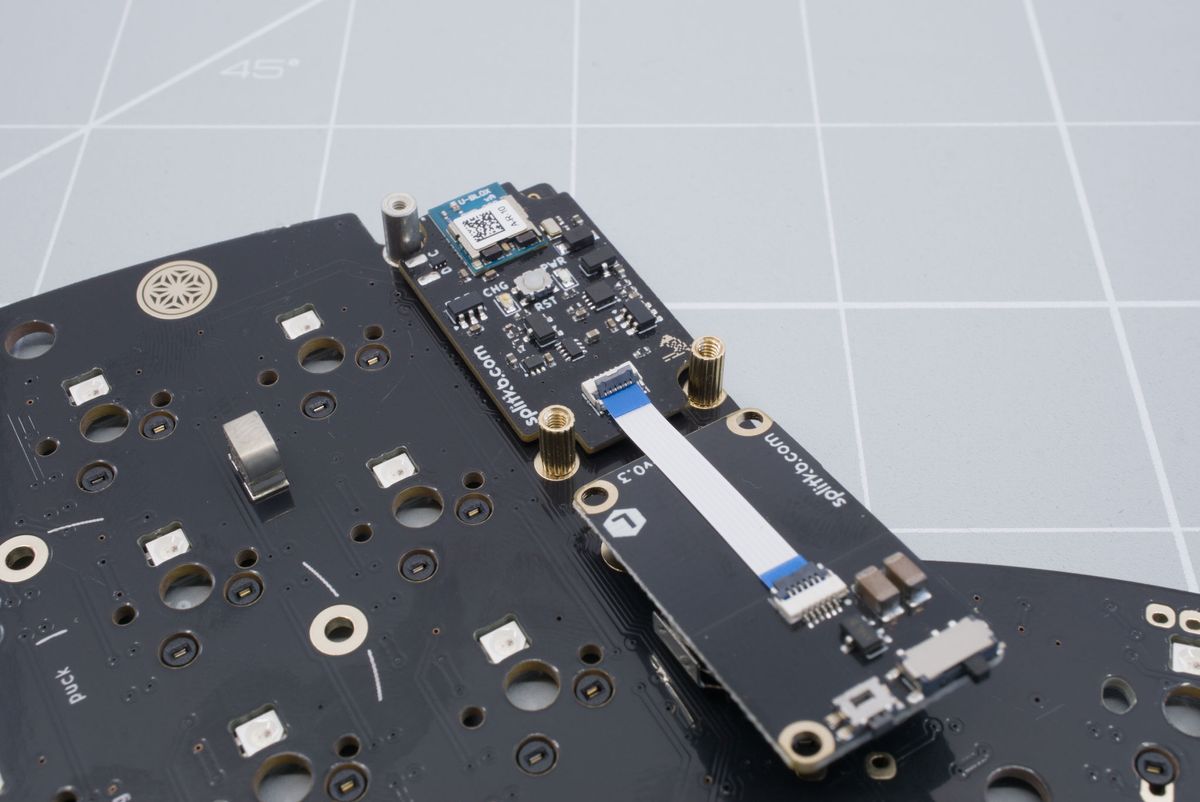
Inserting the FFC cable.
Lower the tab back down.
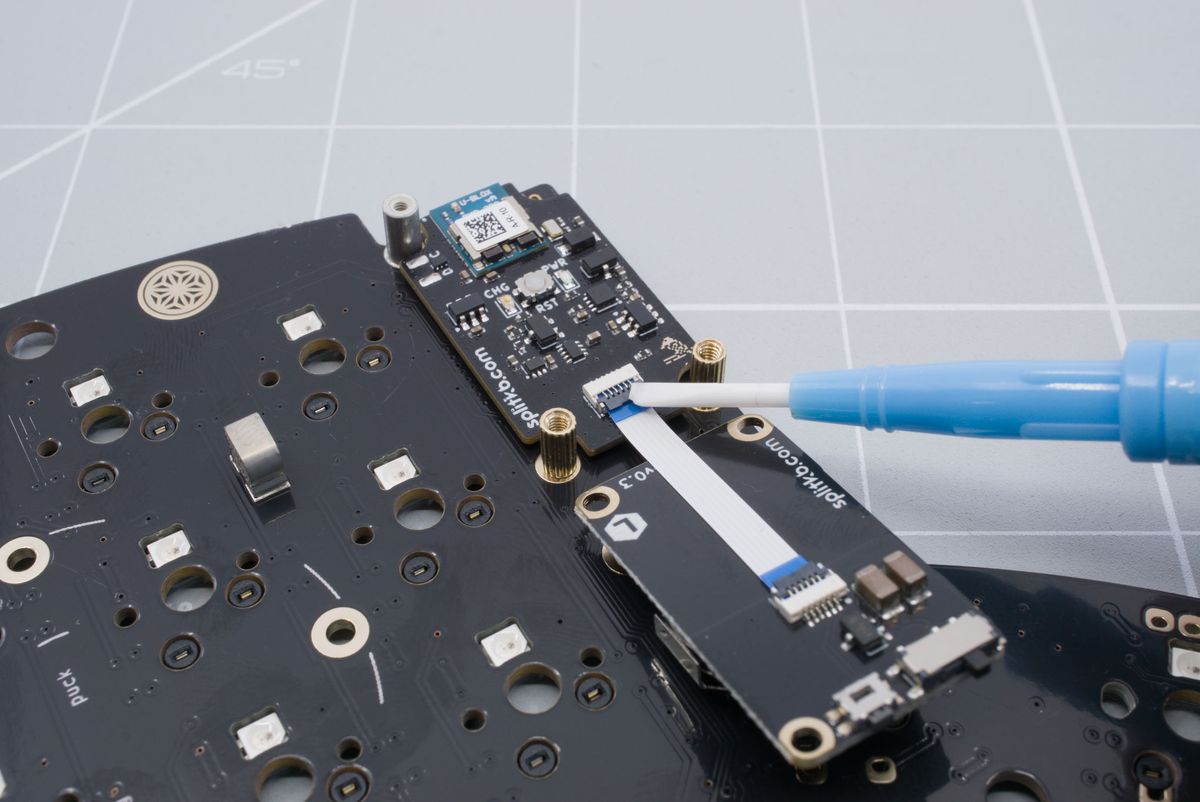
Lowering down the battery connector tab.
Position the battery board on top of the controller and screw the board on to the previously installed spacers.
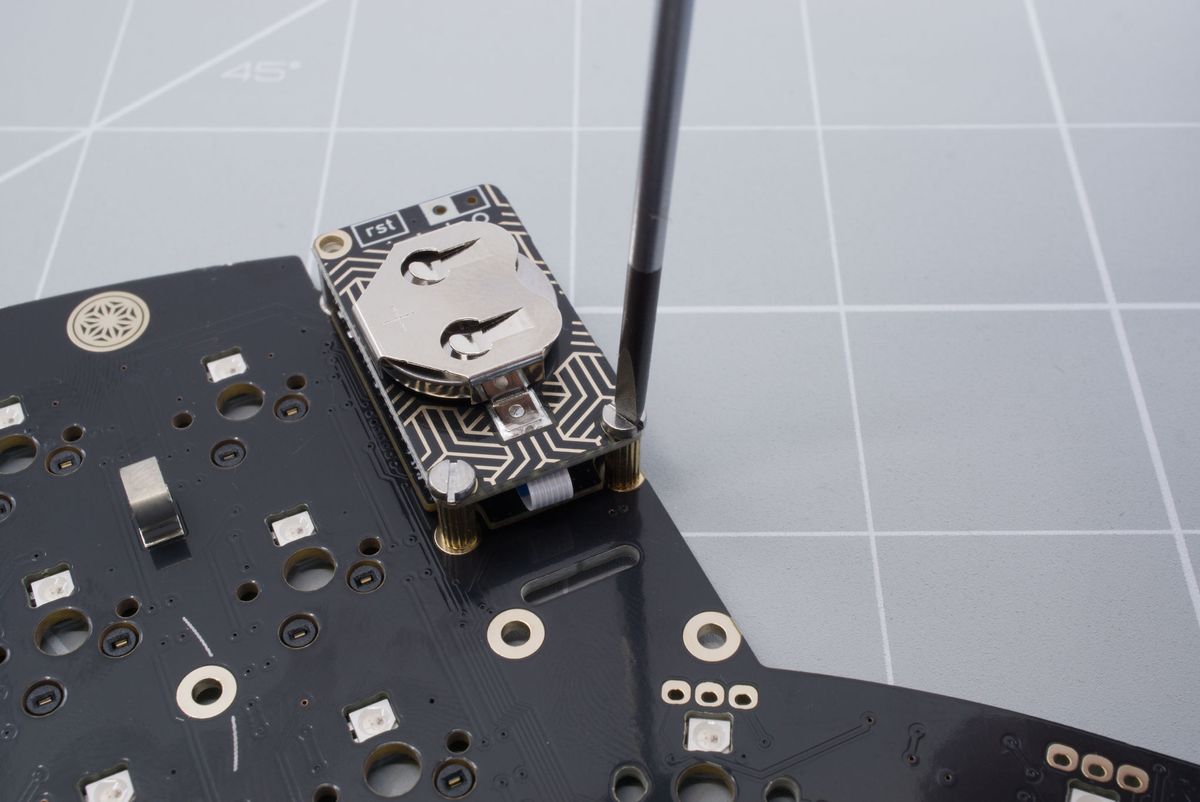
Screwing in battery board.
Finally screw in the little screw on top.
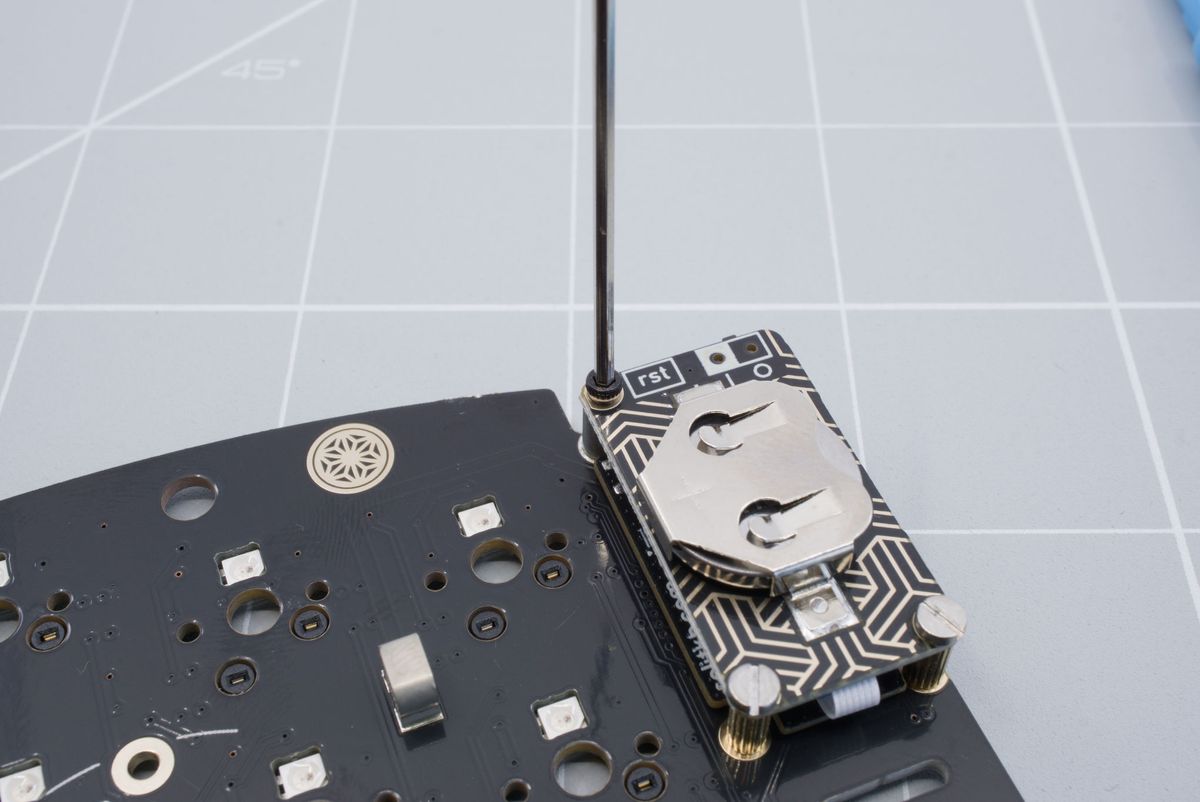
Adding the last screw.
You've successfully installed the battery board! You can now continue with the build guide.
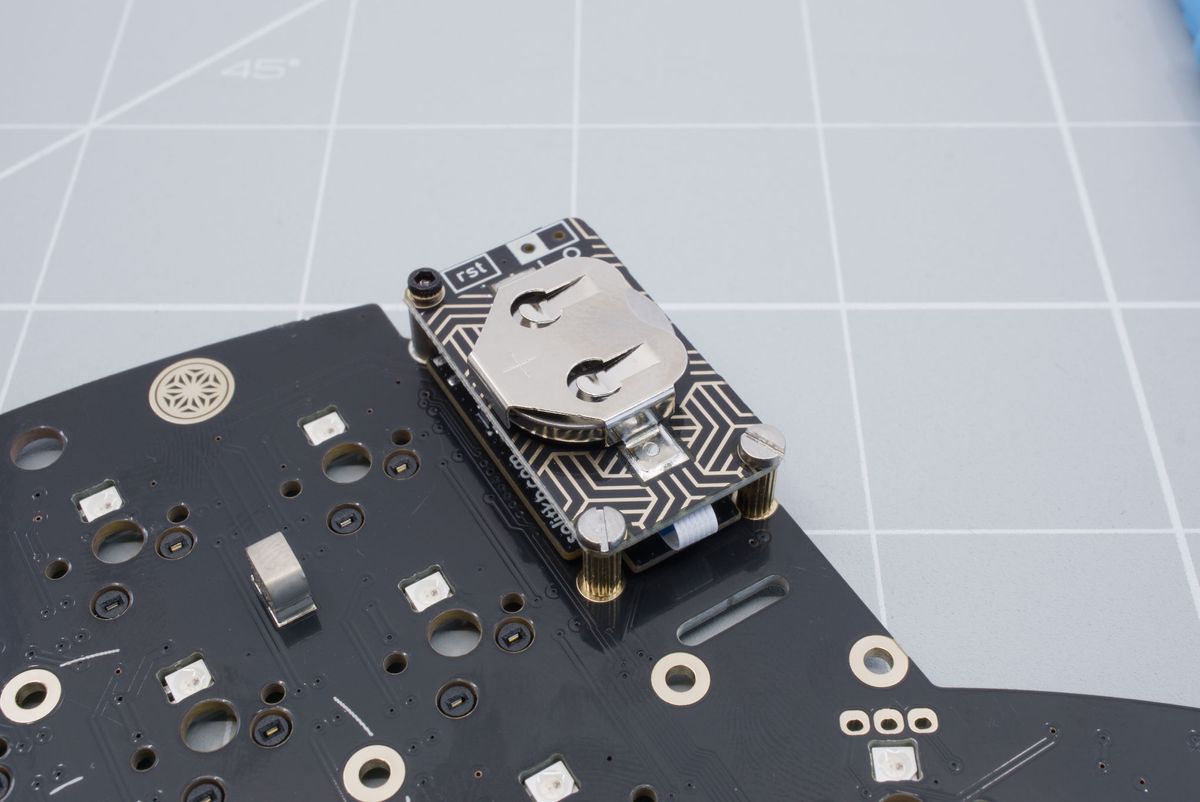
Installed coin cell battery board.
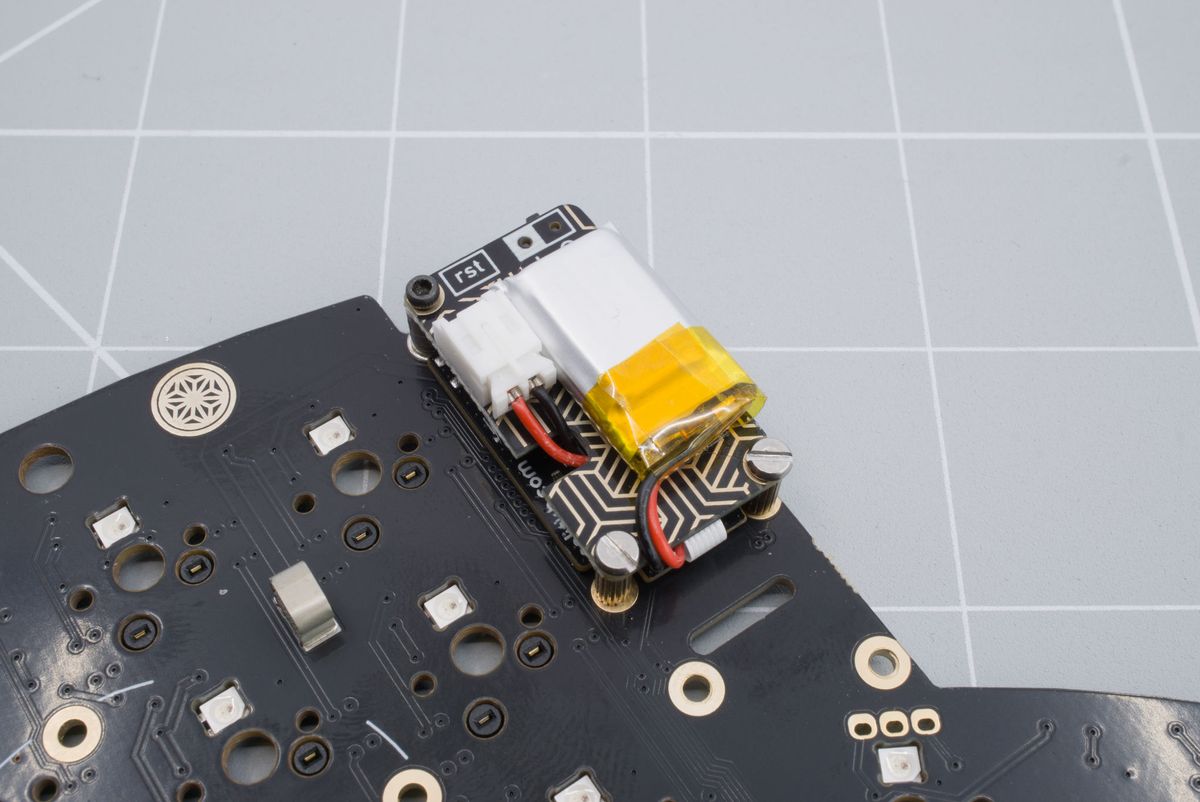
Installed LiPo battery board.
Preparing LiPo battery board
If your LiPo battery didn't come with a JST connector attached, please see the following page on how to add a JST connector.
You will need your LiPo battery and LiPo battery board.
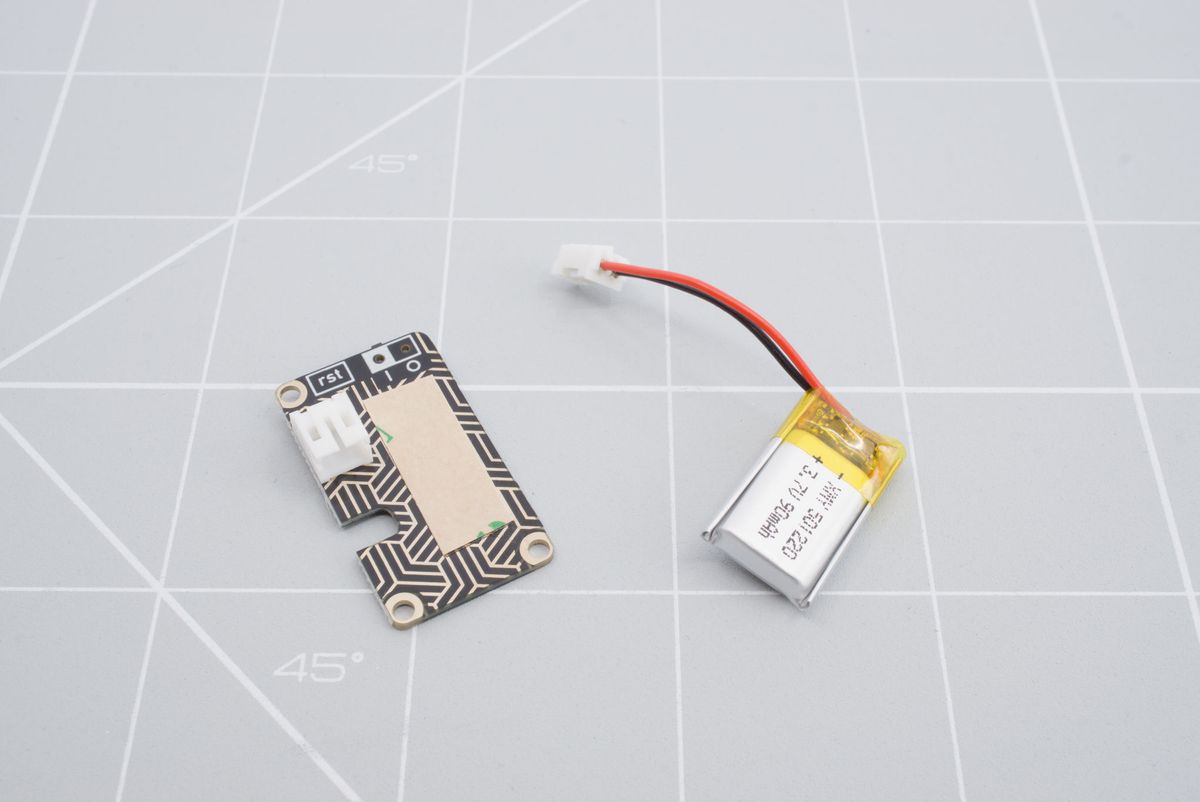
LiPo battery and LiPo battery board.
Remove the film on top of the double-sided tape.
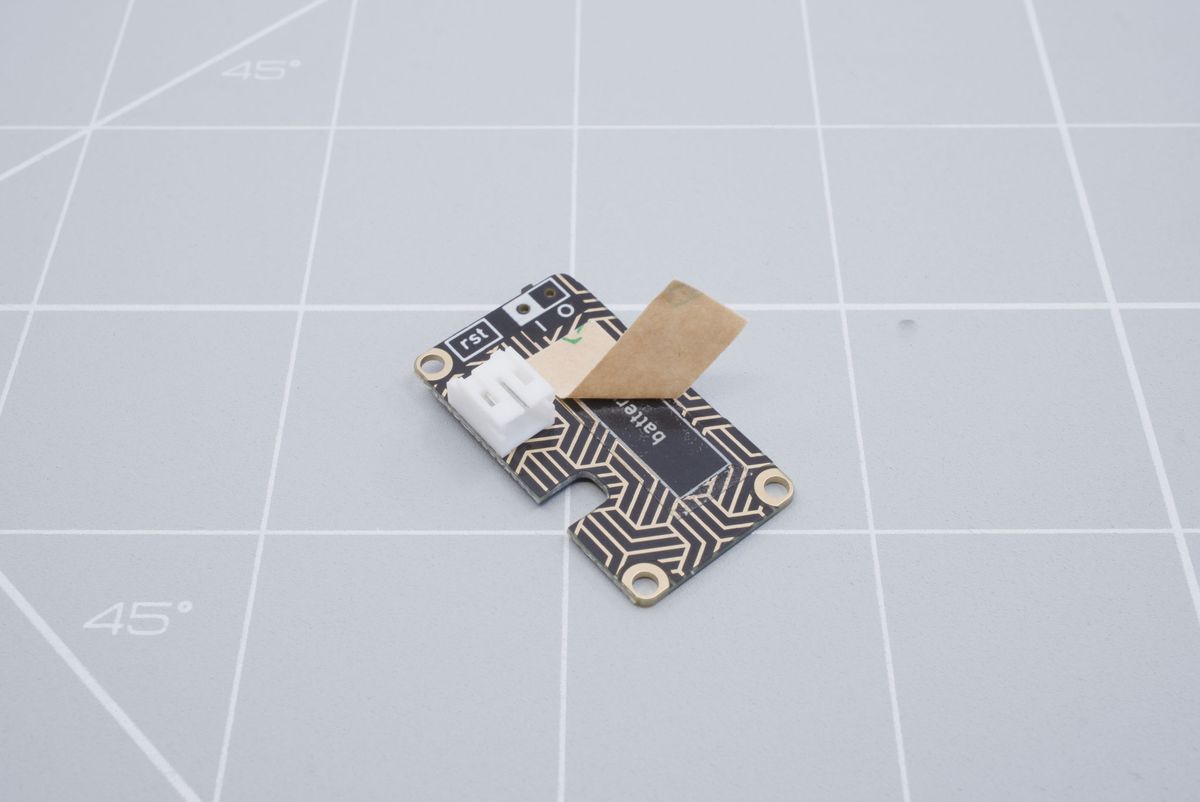
Removing the film of the double-sided tape.
Align the battery so the cable points in to the direction of the battery connector.
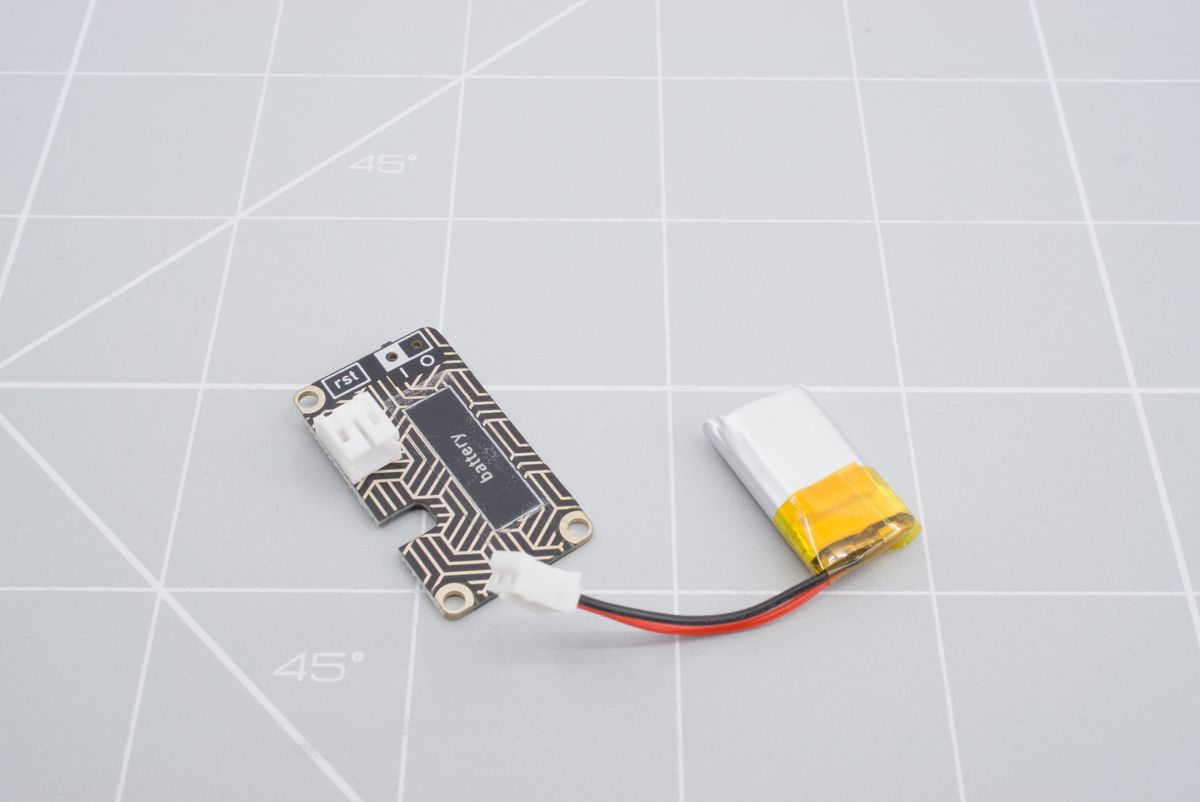
Aligning battery.
Now stick the battery on the battery board. Make sure to keep the mounting holes clear. If you're installing a different size battery, please see the instructions below.
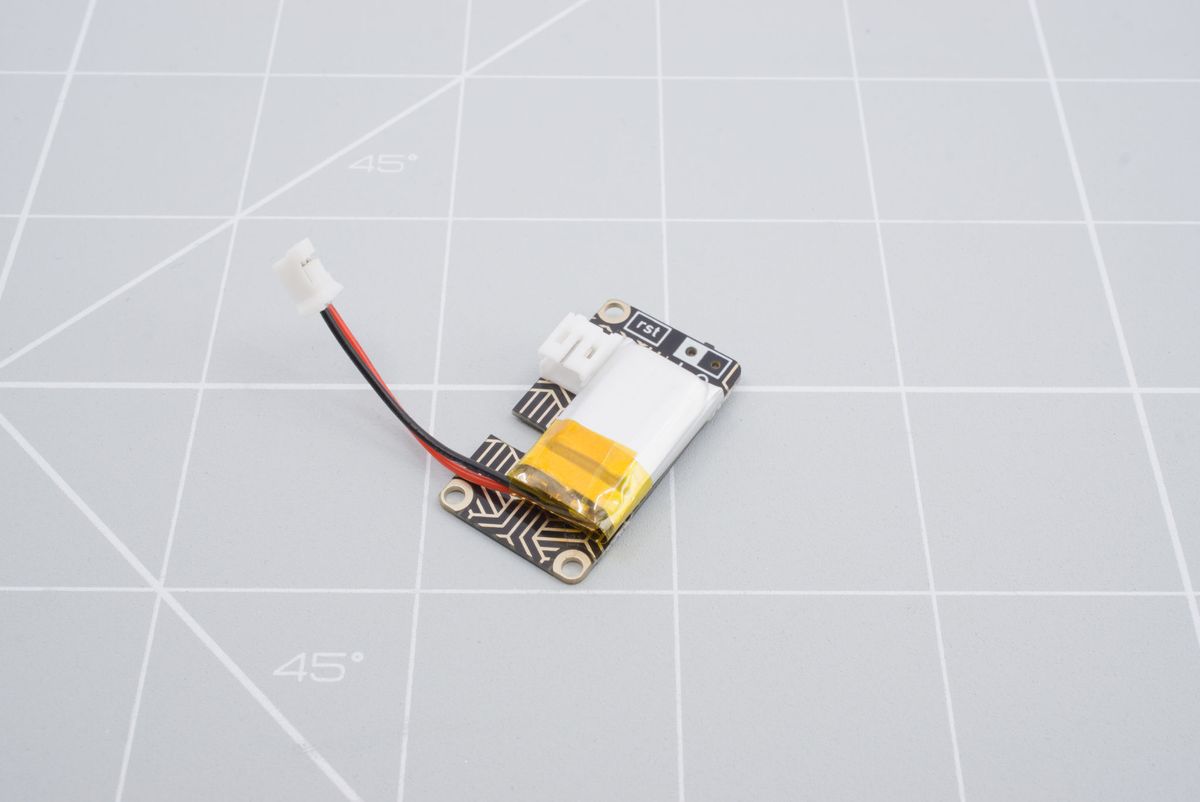
LiPo battery on the battery board.
You now can route the cable through the little slot.
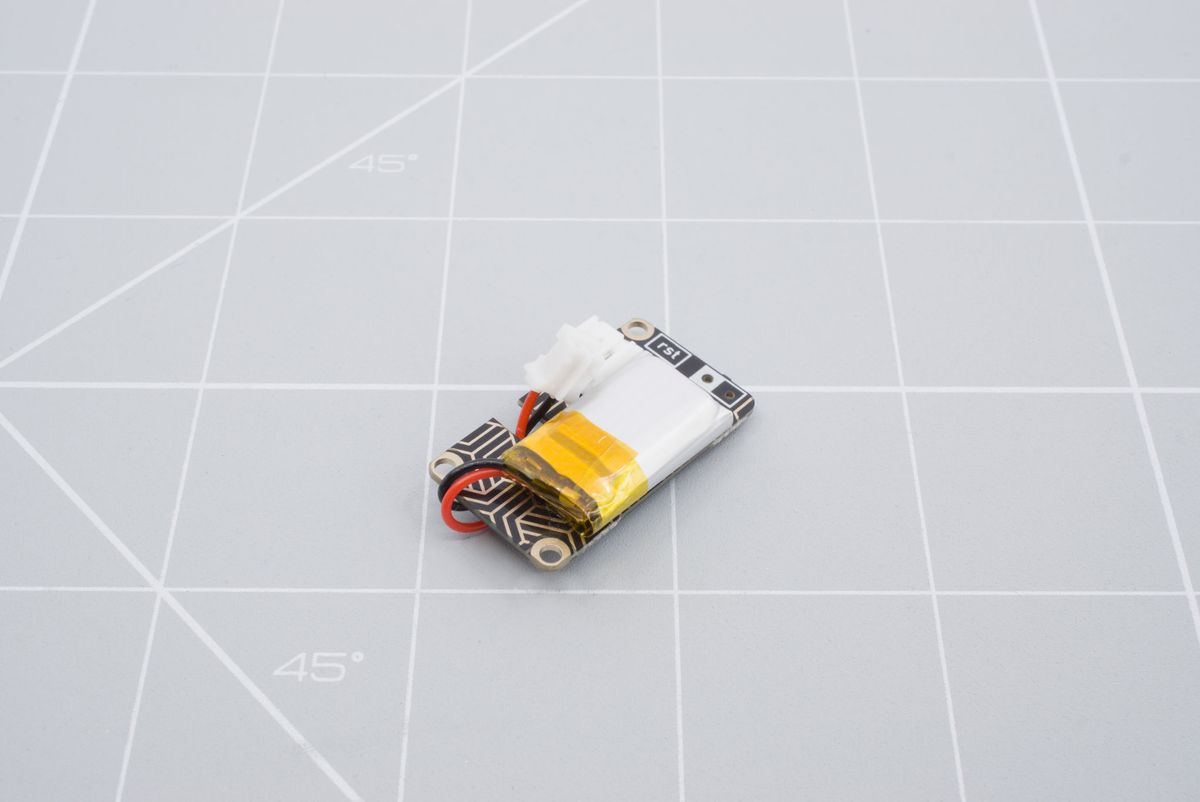
Routing the LiPo cable in to the battery board.
Before installing the battery completely, double-check the polarity. The black cable should go to the minus (-) and the red cable should go the plus (+).
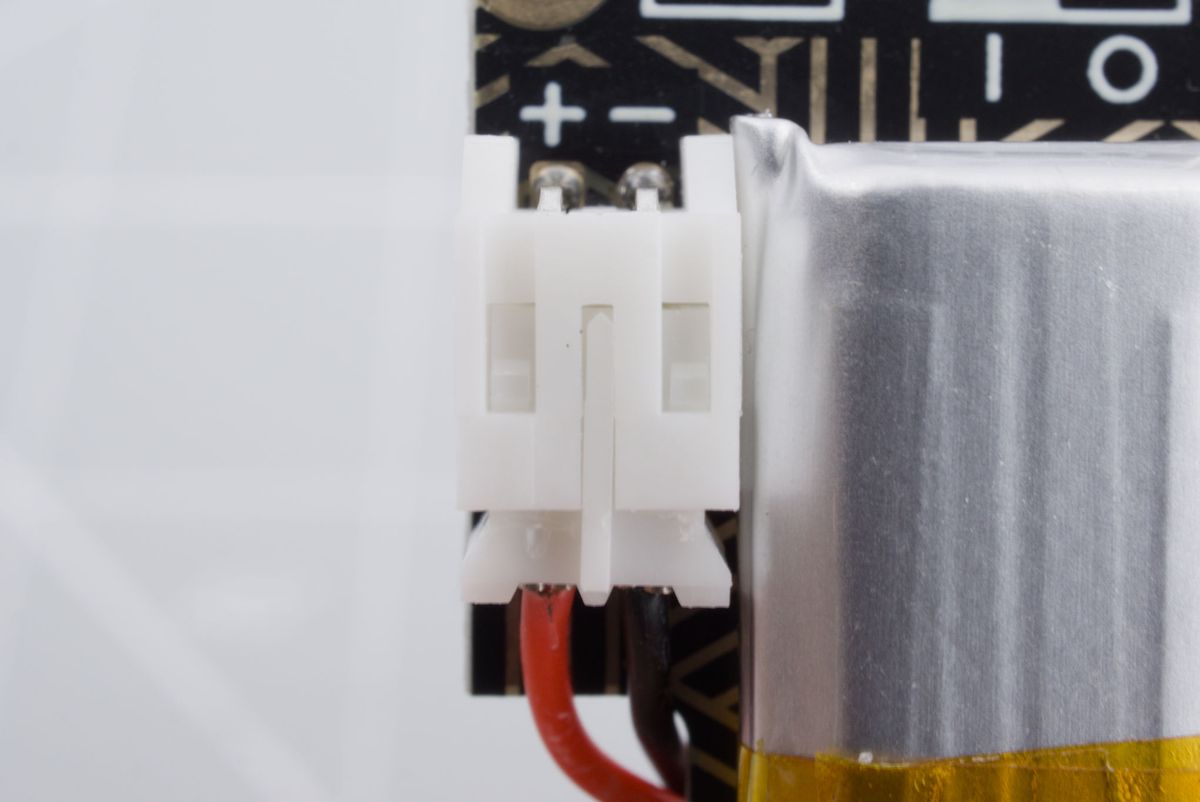
Double checking the polarity.
You've successfully installed the LiPo battery. You can now return to the top of this page.
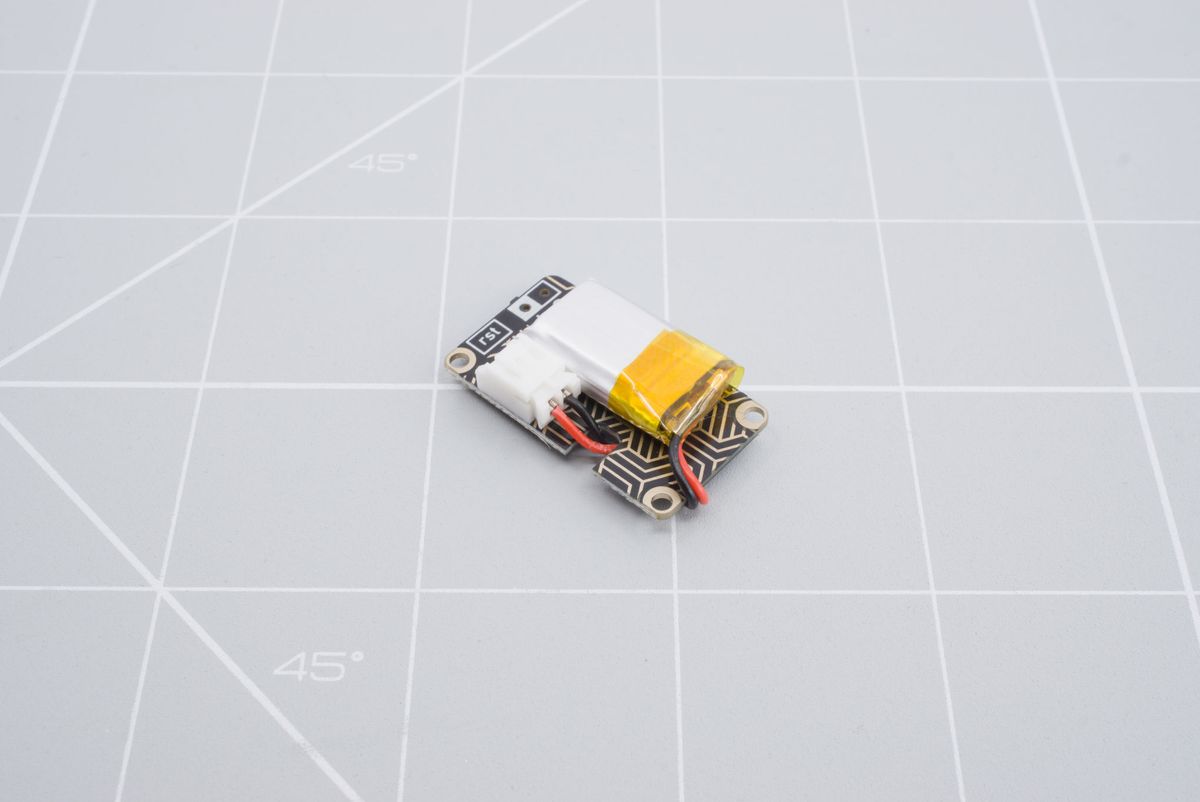
A 501220 battery installed on the LiPo battery board.
Installing another size battery
A 301230 battery, commonly used with the nice!nano microcontroller, can also fit on the battery board, albeit with a bit of an angle. You need to make sure the mounting screws are still accessible.
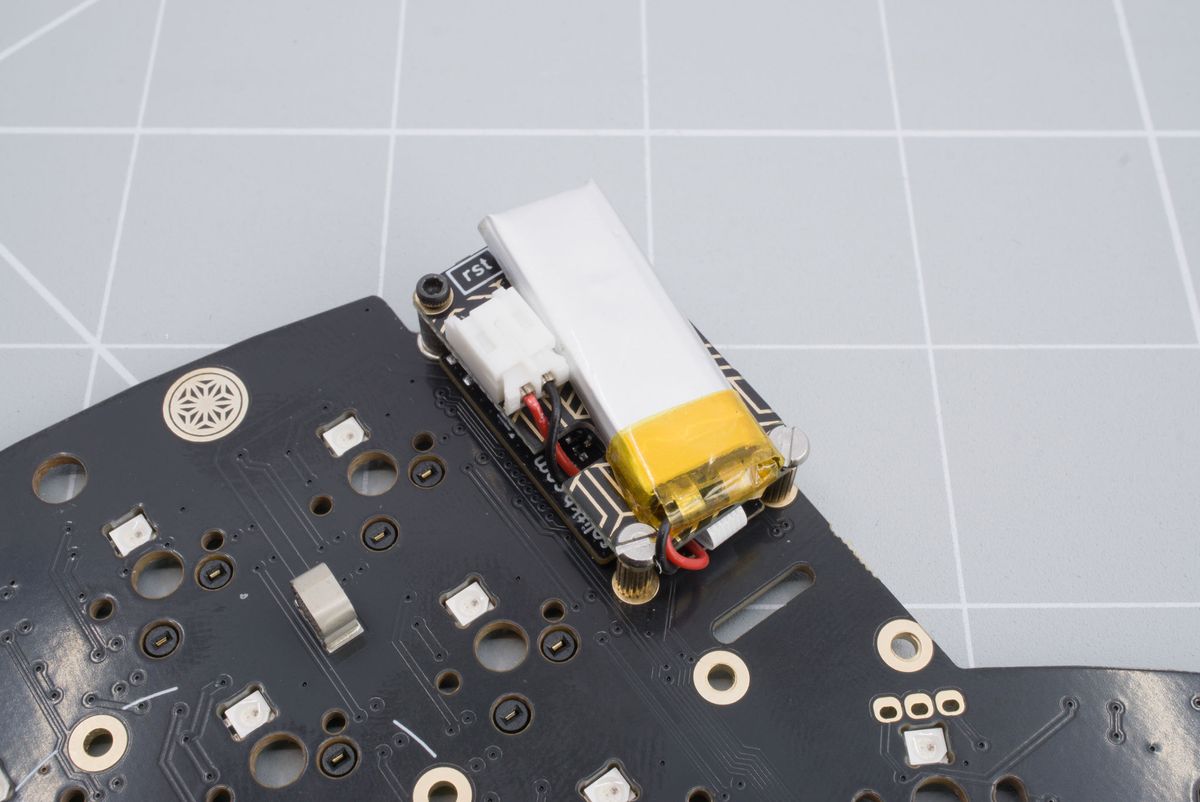
A 301230 battery installed on the LiPo battery board.
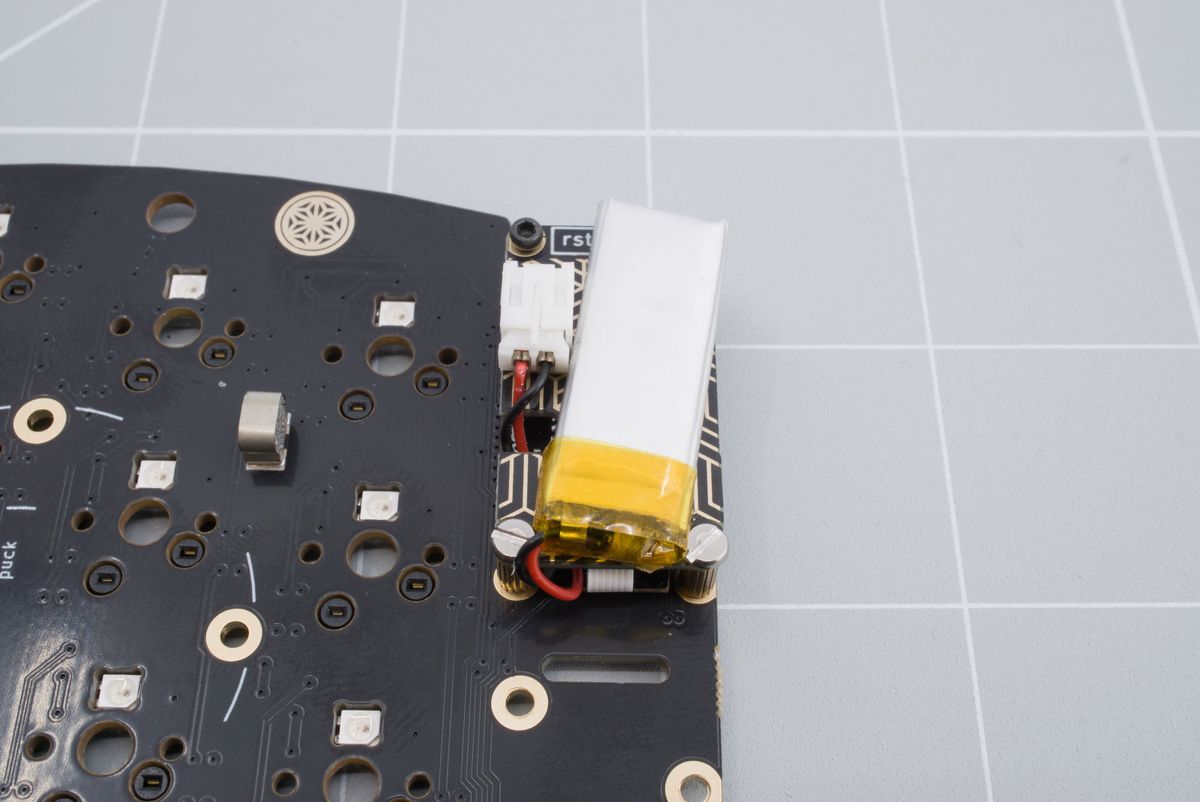
The angle of a 301230 battery installed on the LiPo battery board.
Controller
The first step to building your Halcyon keyboard.
Tenting puck
Add a tenting puck to your Halcyon keyboard.