

Installing the adapter and modules
Next we will install the modules, adapter and controller. First we will prepare the adapter with the controller and any halcyon modules before we install it on to the keyboard.
Installing controller
To install the controller on to the adapter board, please follow the instructions for your respective build. For the wireless build you will also be guided to attach a module and battery board in this step.
The main difference compared to the keyboard build guide is that you will install everything to the adapter board, the steps are completely the same for the rest!
Wired
When building a wired keyboard:
Go to the wired keyboard build guide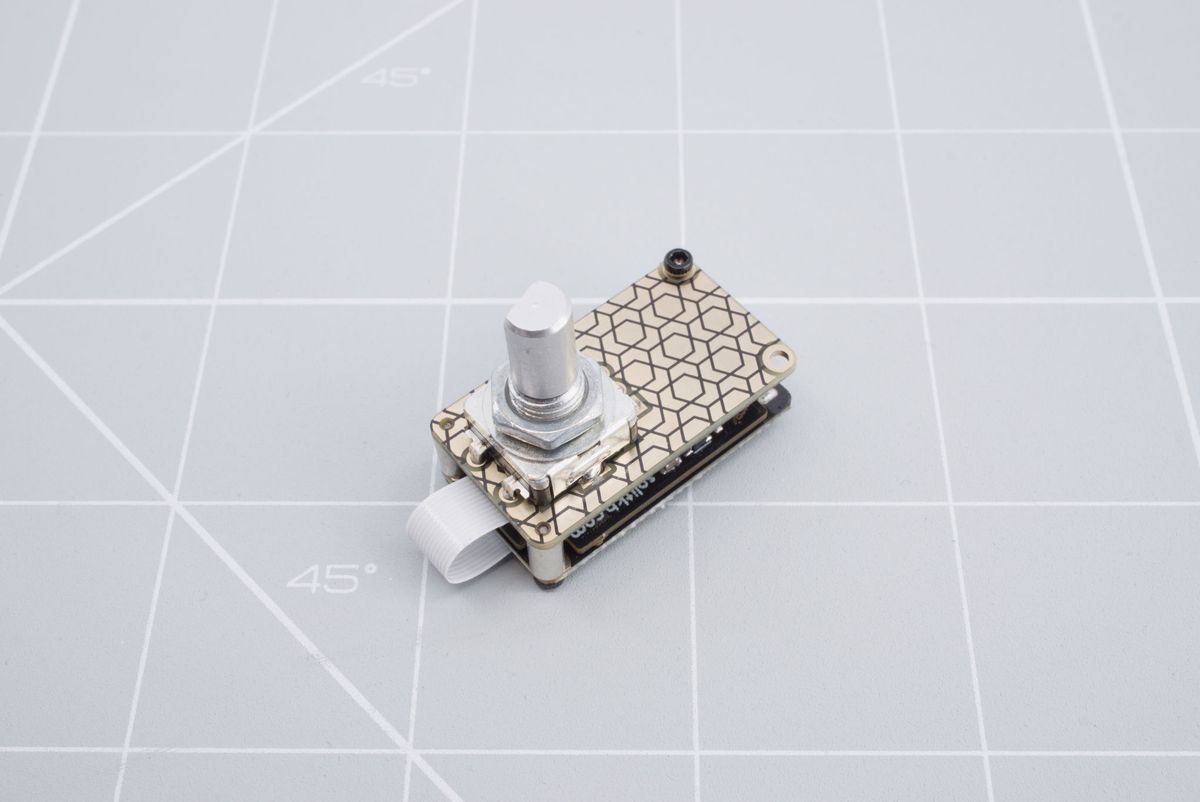
Prepared adapter board with the wired controller and a Halcyon encoder.
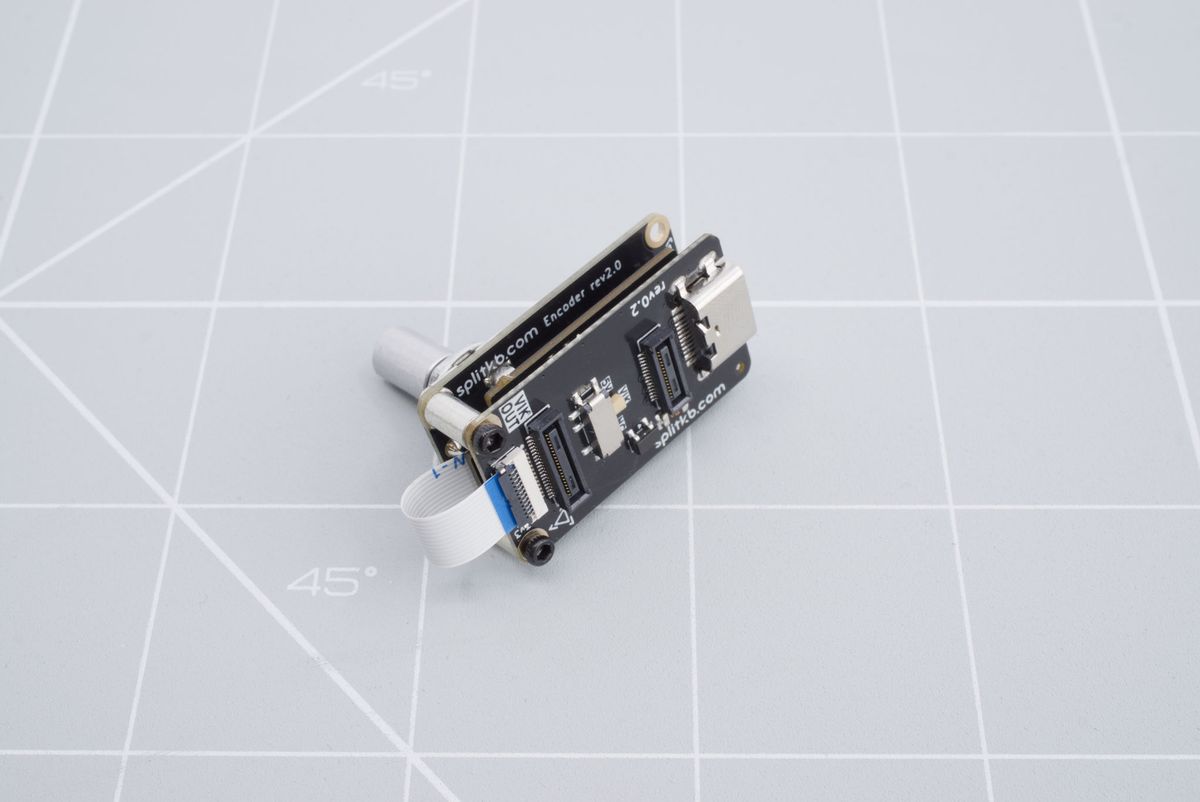
Bottom side of the prepared adapter board with the wired controller and a Halcyon encoder.
For the wired build, please also follow the appropriate steps in the wired modules guide.
Wireless
When building a wireless keyboard:
Go to the wireless keyboard build guide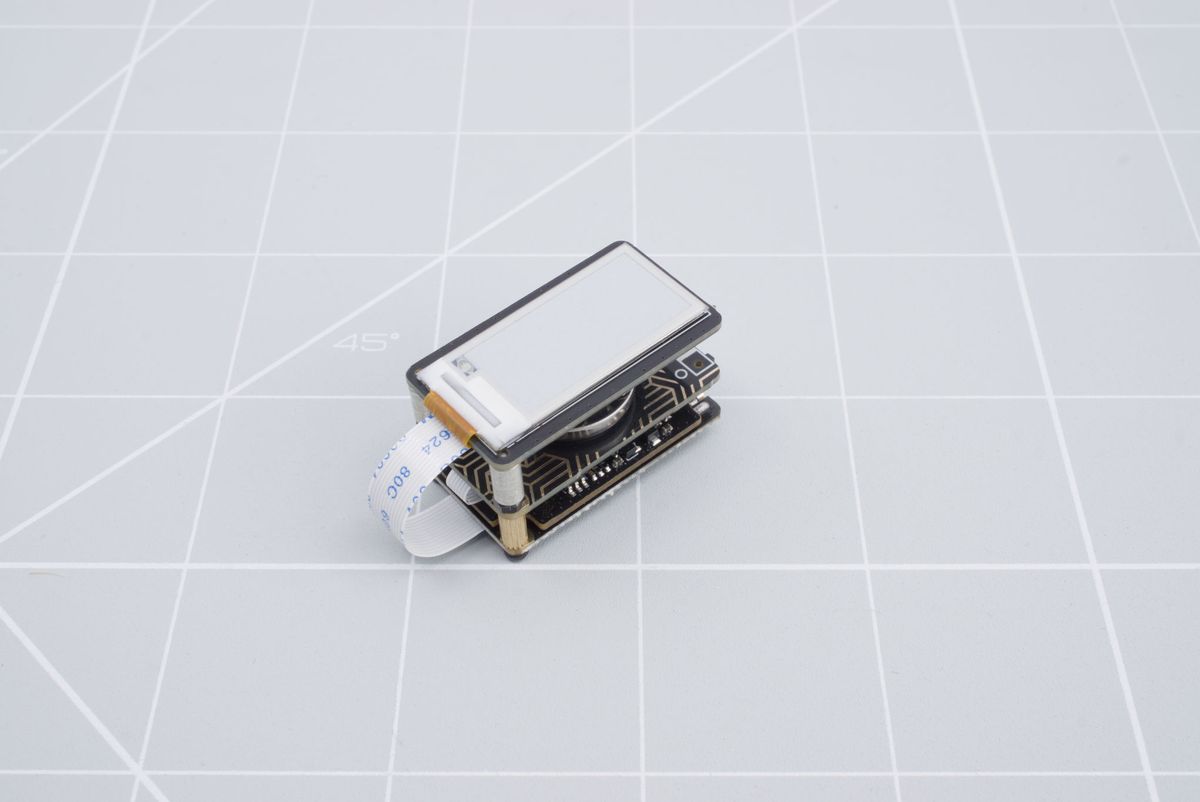
Prepared adapter board with the wireless controller and a Halcyon epaper display.
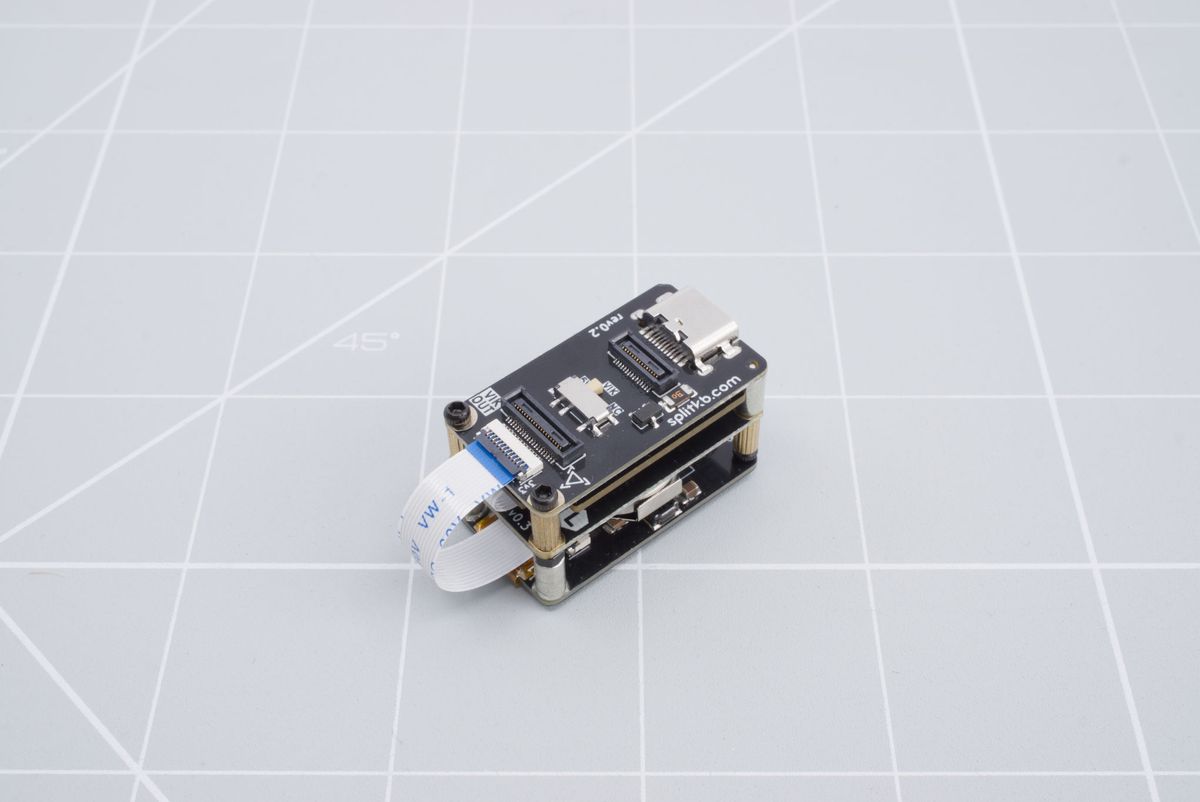
Bottom side of the prepared adapter board with the wireless controller and a Halcyon epaper display.
Installing adapter
Align the adapter with the connectors on the keyboards. The USB-C connector should be facing the north side. You can also notice that from the bottom view, the top connector is smaller than the bottom connector - the adapter will only fit in one orientation. You can't go wrong! Use the board indicated with L for the left side and R for the right side.
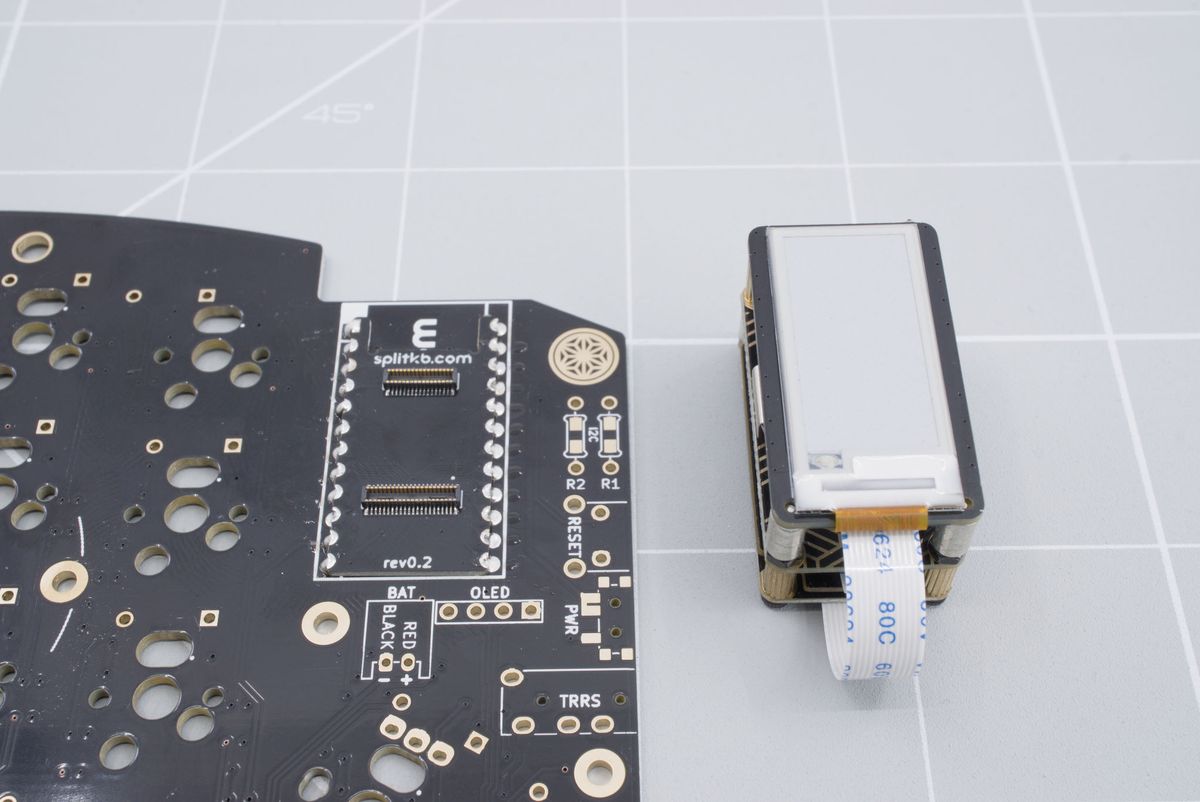
Aligning adapter board.
Place the adapter on top of the freshly soldered connector on the keyboard.
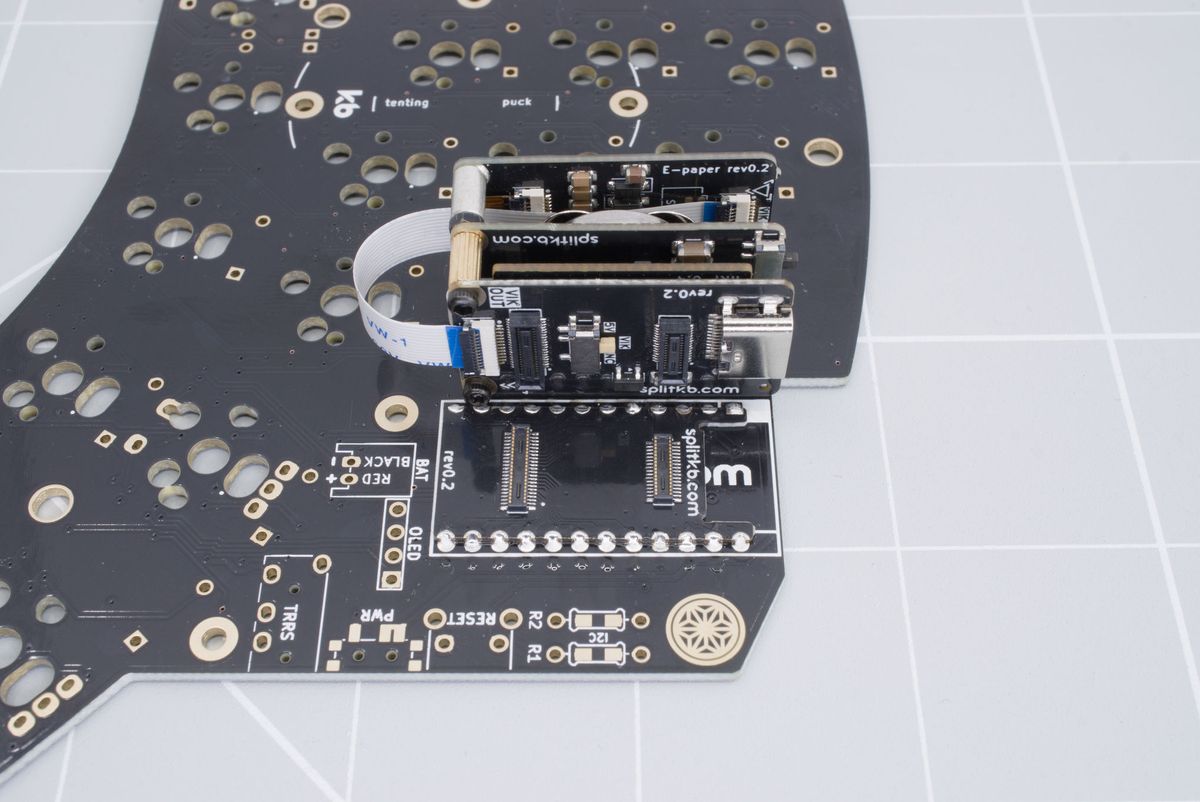
Placing adapter board.
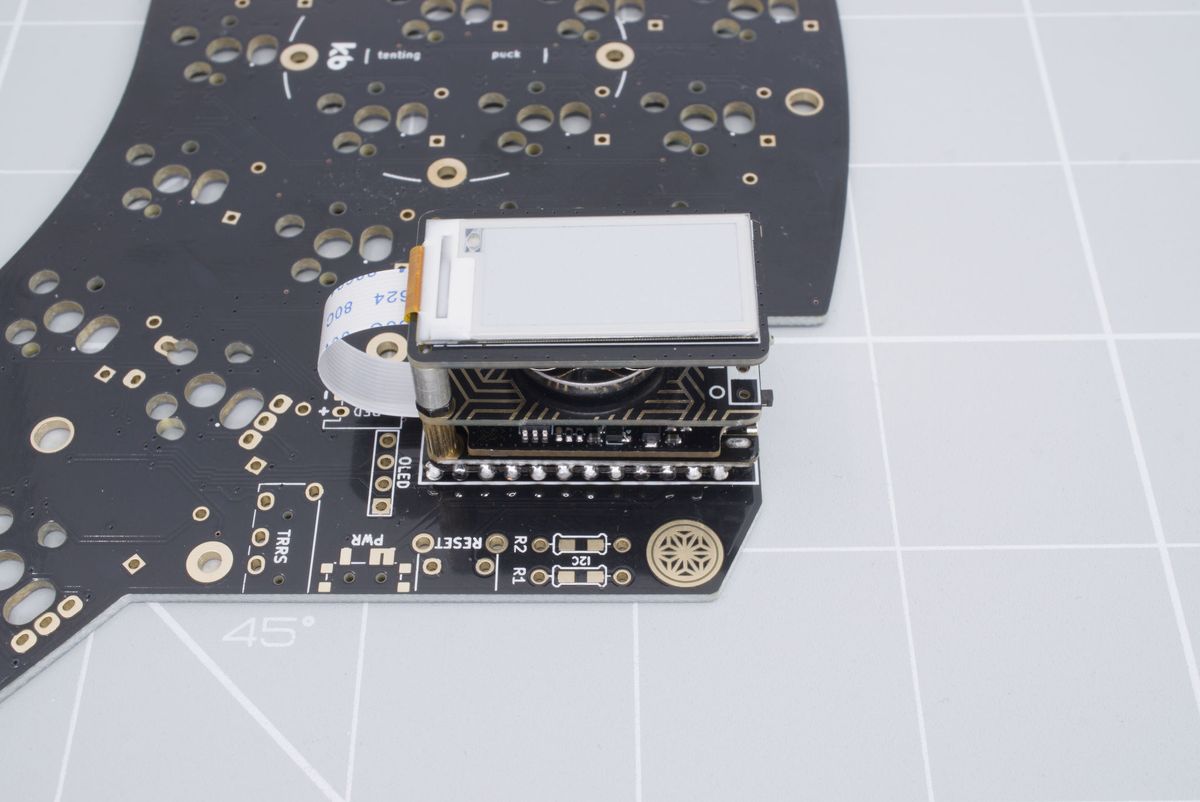
Placing adapter board.
Grab the adapter board from its sides and press down the adapter until you hear it click. You may hear two clicks if one of the connectors snaps in place before the other. These clicks might not be loud. We'll check whether the connectors mated correctly in the next step.
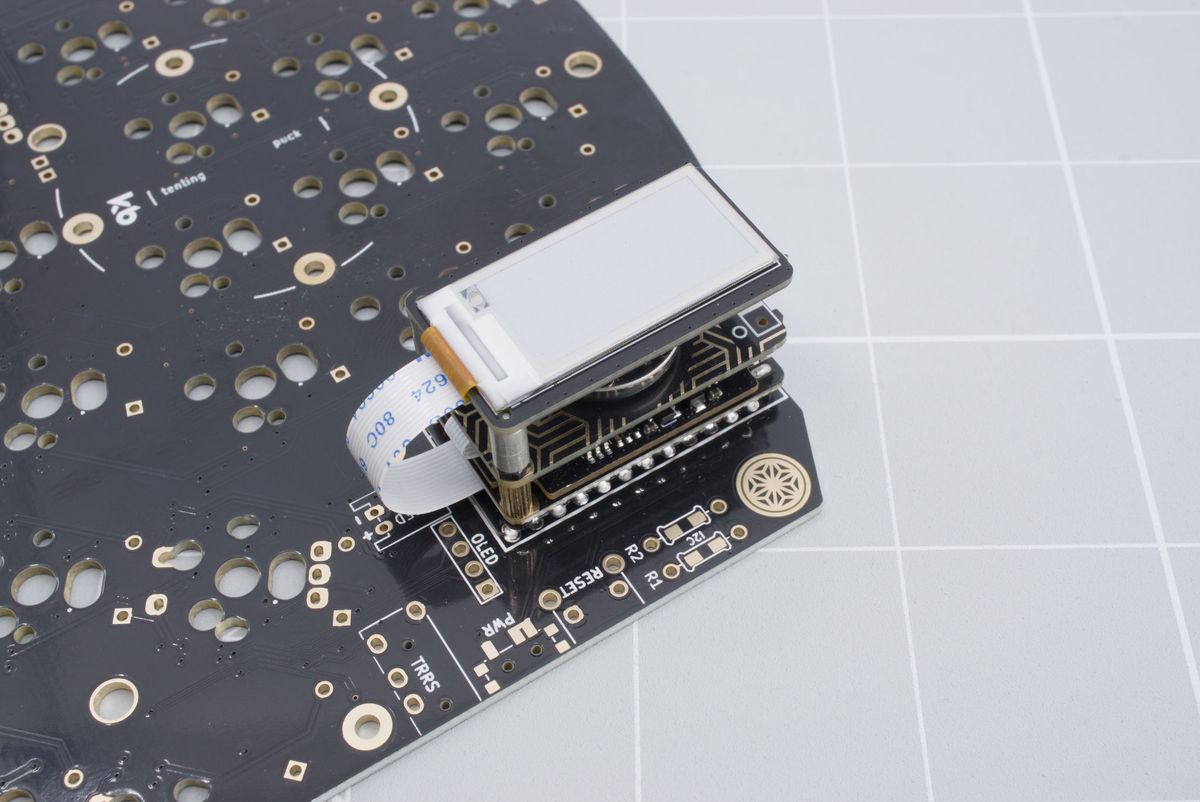
Installing adapter board.
You can confirm if the adapter is placed correctly by looking at it from the side. The connectors should be fully inserted. The adapter will be oriented parallel to the keyboard, with an even distance to the keyboard all along its edge.
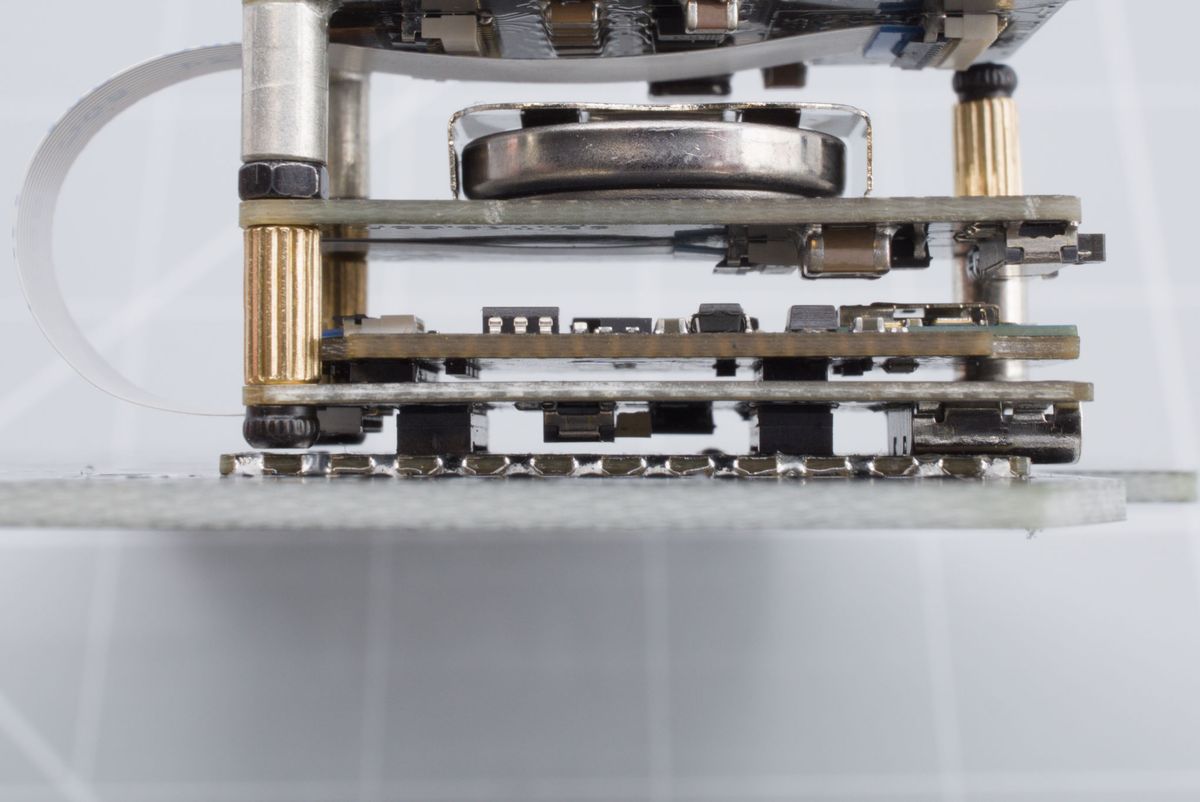
Confirming placement of the adapter board.
This is how it's not supposed to look like. Notice how there is some space between the adapter and the connector PCB. You'll see the adapter sitting at a bit of an angle: this means one of the connectors isn't seated fully. Press a little harder on the connector to get the connector to snap in place.
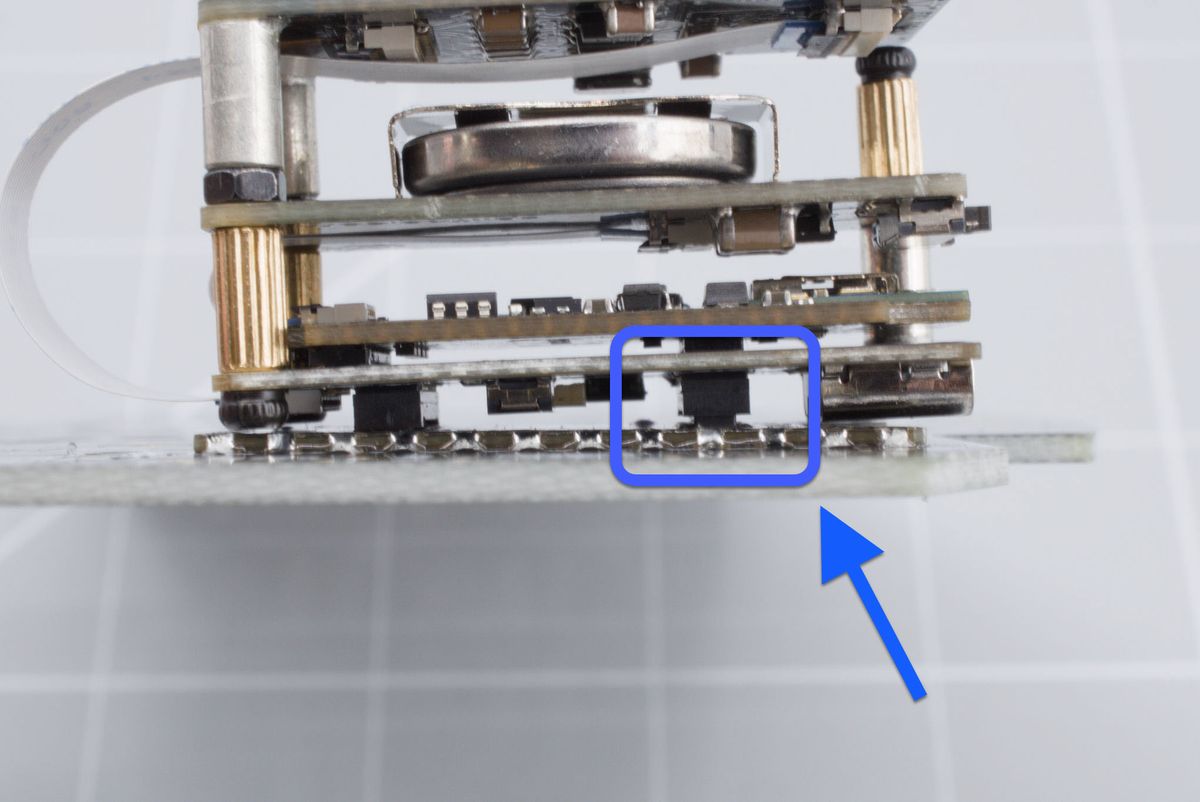
Wrong installation of the adapter board.
Soldering the connector
Solderering the Halcyon to Pro Micro connector to your Pro Micro-based keyboard.
Firmware
How to modify the firmware to allow for Halcyon modules.