

Cirque trackpad module
Setting the VIK voltage selector
For this module you will need to set the VIK voltage selector to NC.
Using a non-conductive tool, this can be a spudger, guitar pick, plastic screwdriver, your fingernail or something similar, Set the VIK voltage selector to NC
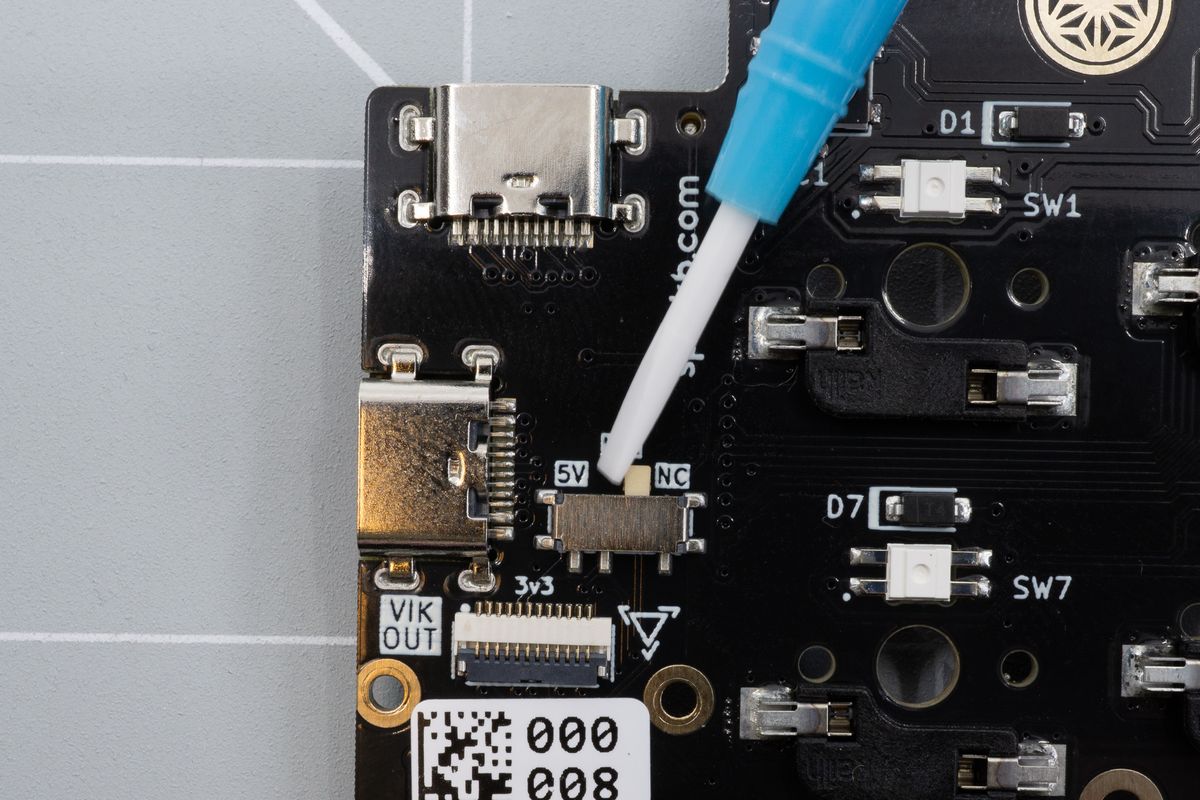
Setting the VIK voltage selector.
Installing the battery board
To install the battery board you will need a flat head screwdriver, two screws, two 6 mm male to female spacers and two 6 mm female spacers. While the coin cell battery board is pictured here, the steps will be the same for the LiPo battery board.
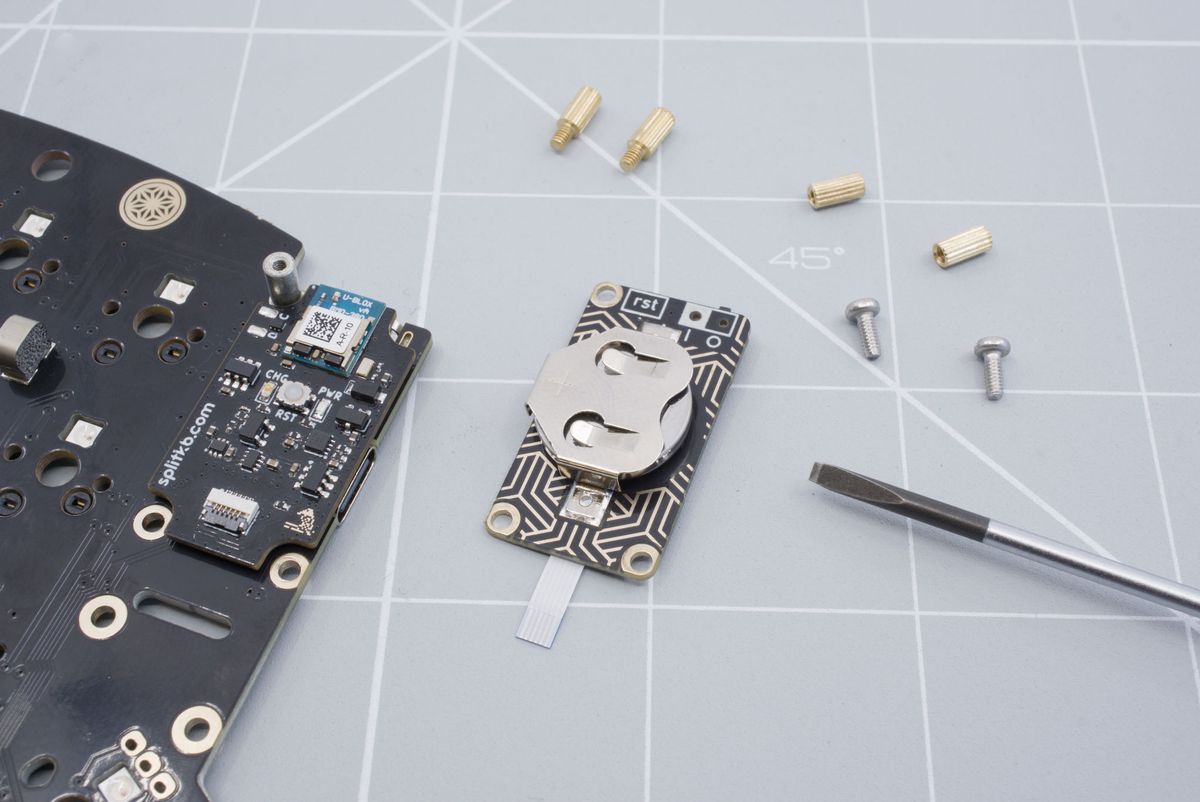
Required parts.
Using your flat head screwdriver, screw in the spacers to the keyboard.
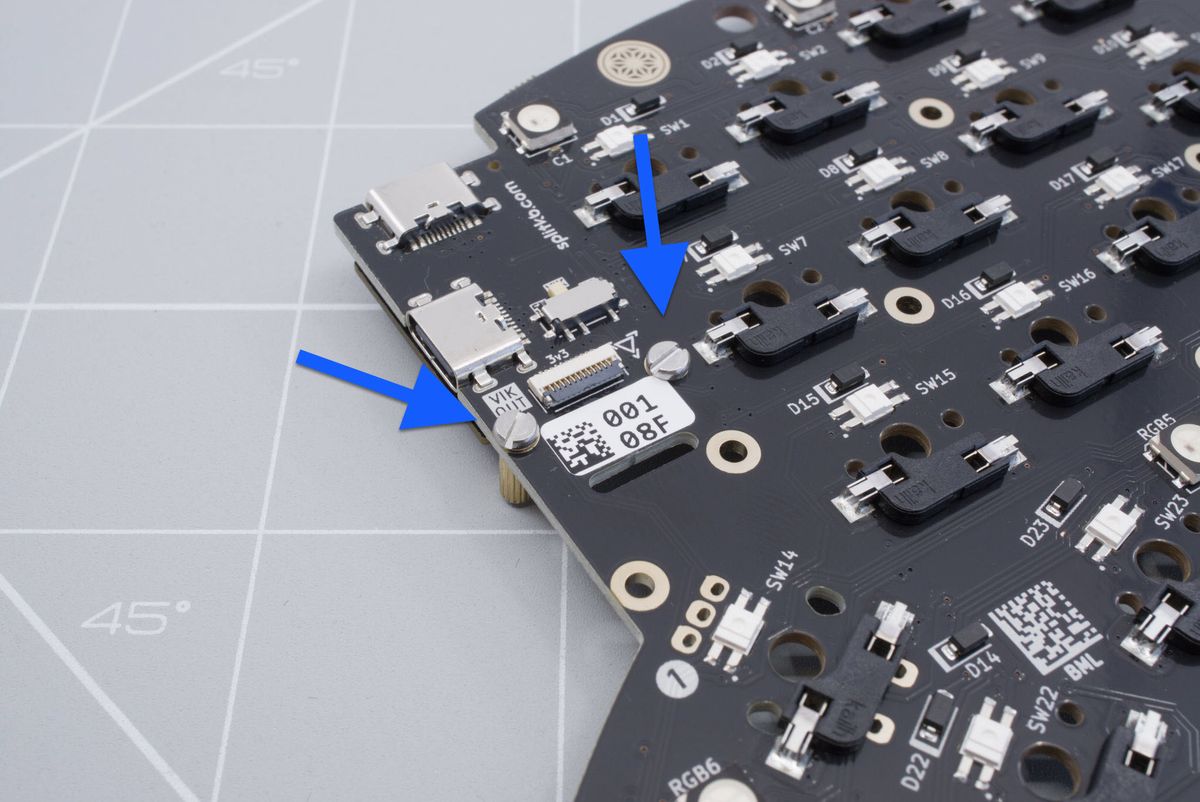
Screwing in the spacers.
Confirm all the spacers are screwed in completely on the top side.
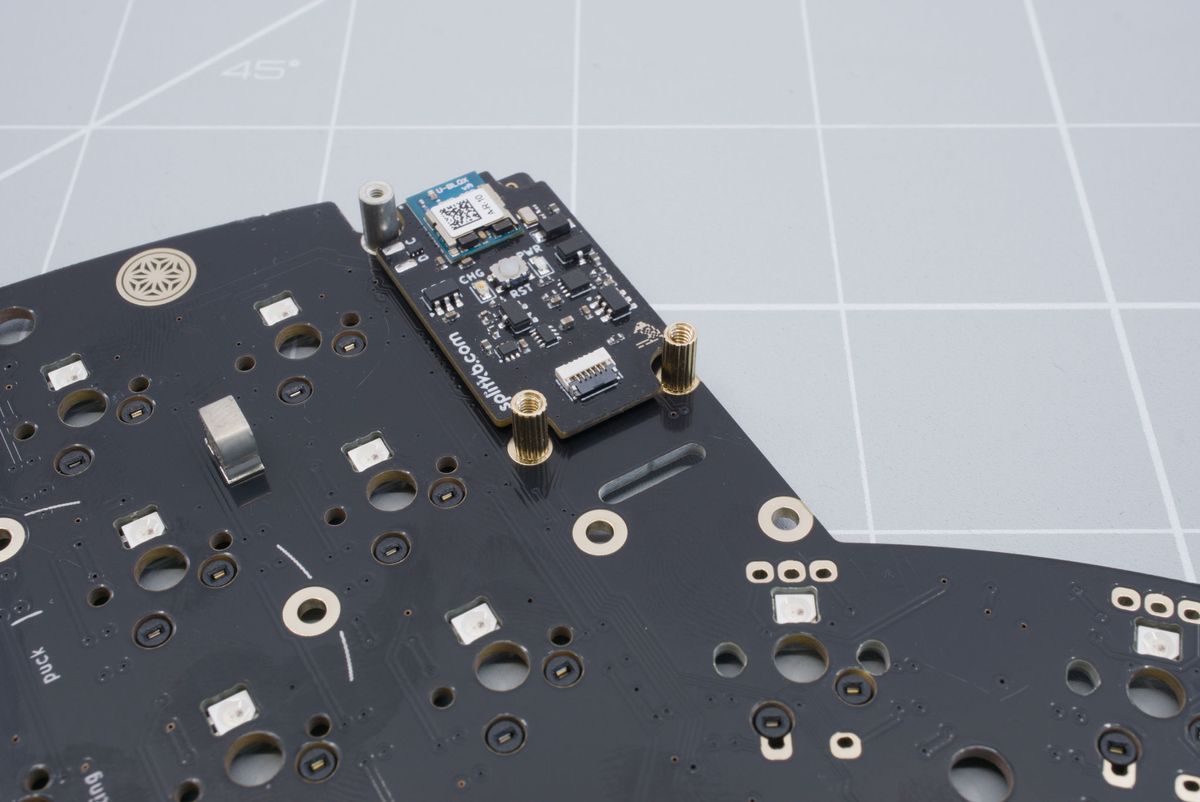
Top side of the keyboard with the spacers installed.
Lift up the tab from the battery connector.
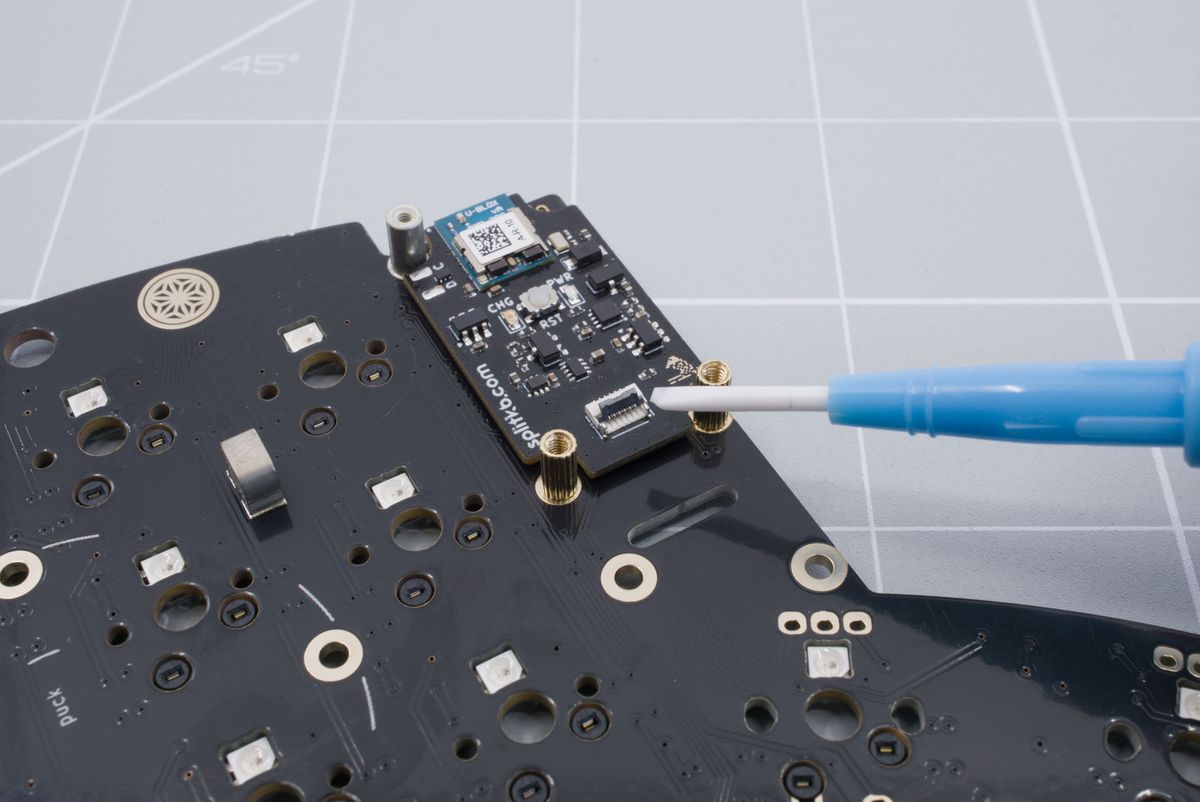
Lifting up the battery connector tab.
Insert the flat cable with the blue part sticking up. Push the cable in as far as possible in to the connector.
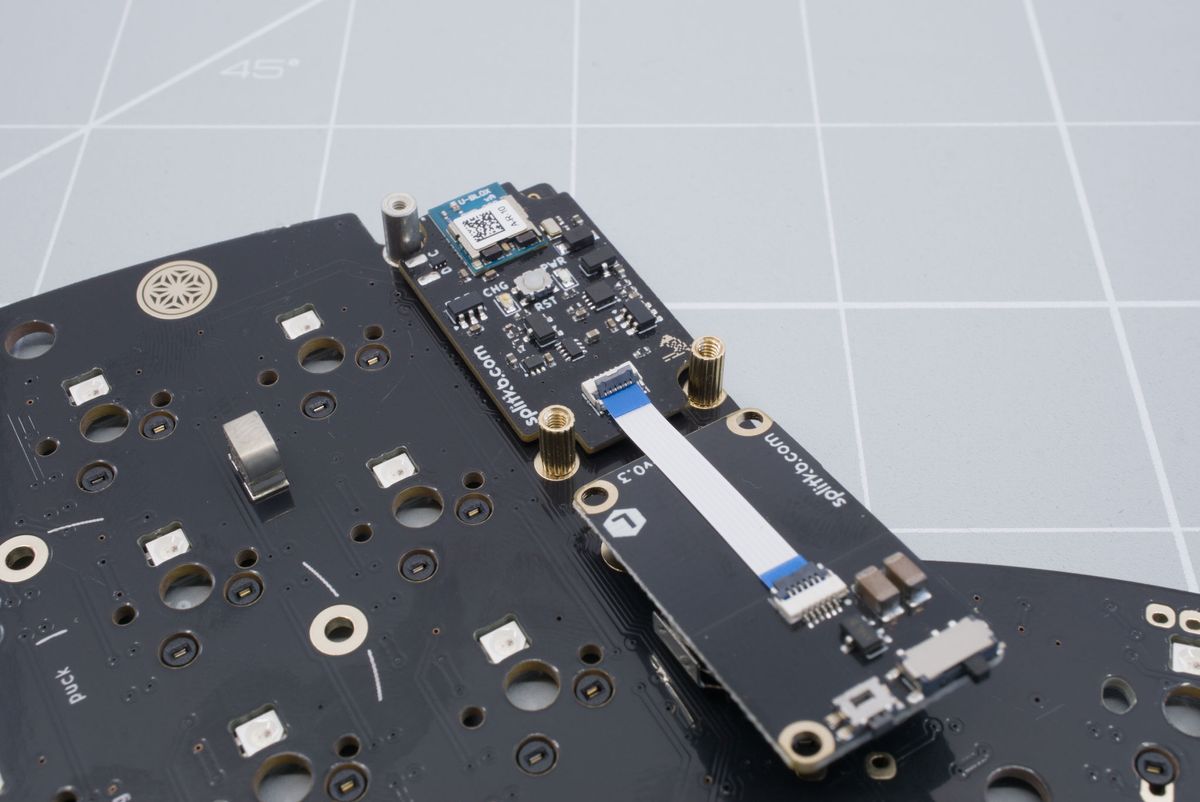
Inserting the FFC cable.
Lower the tab back down with the non-conductive tool. You can lightly pull on the cable to see if it's in securely.
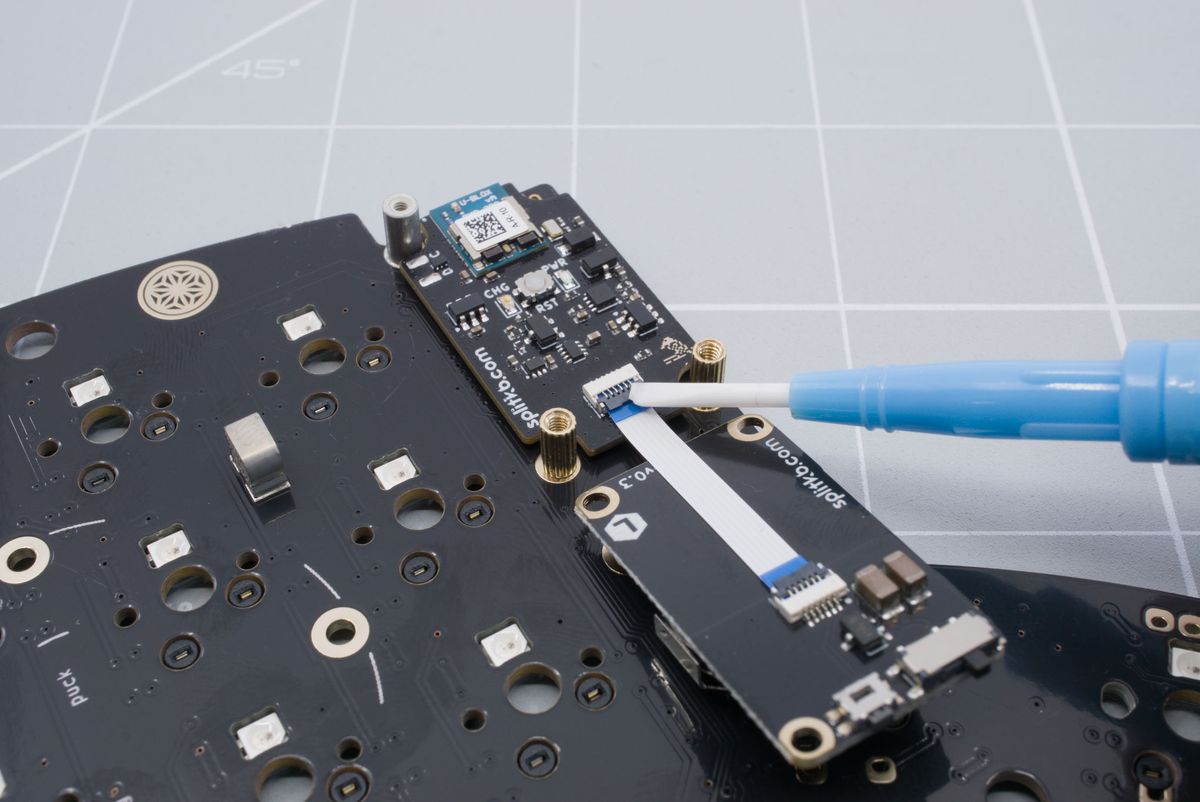
Lowering down the battery connector tab.
Position the battery board on top of the controller and using the male to female spacers screw the board on to the previously installed spacers.
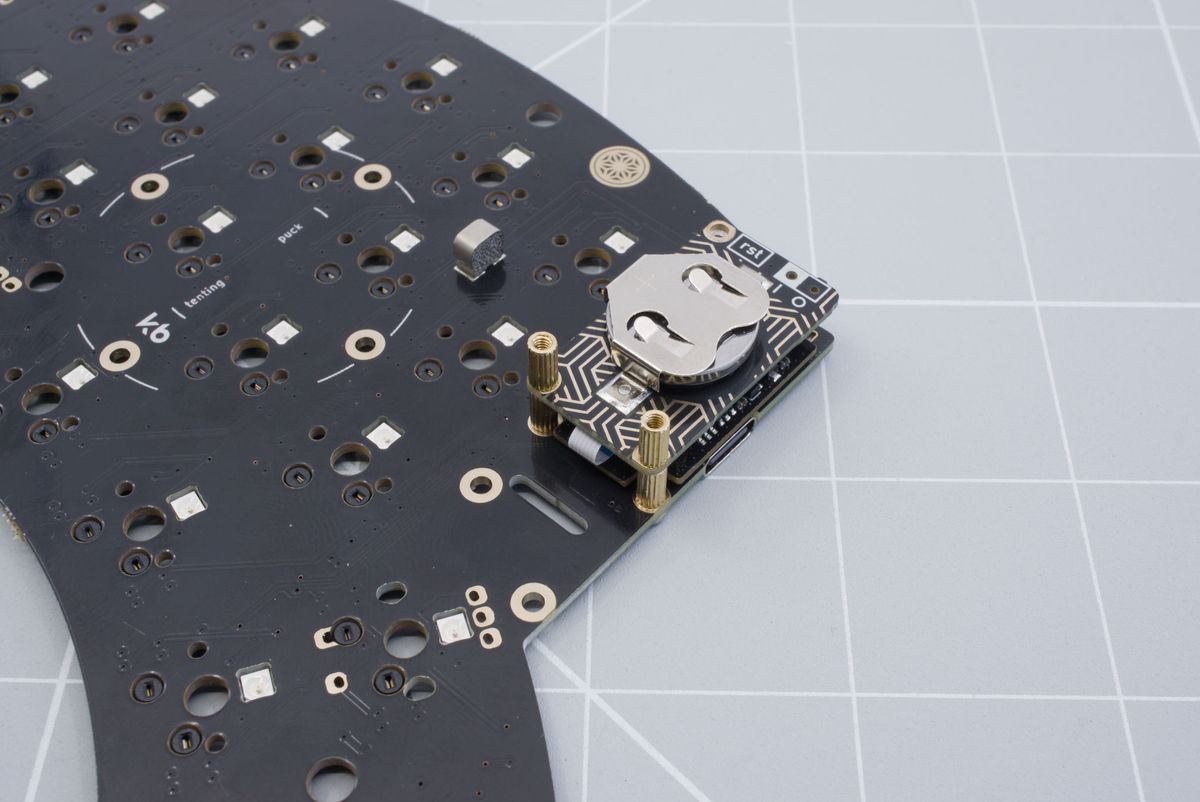
Screwing in battery board.
Preparing the module
Grab the Cirque touchpad, mounting kit and the long flat cable from the wireless module connection kit.
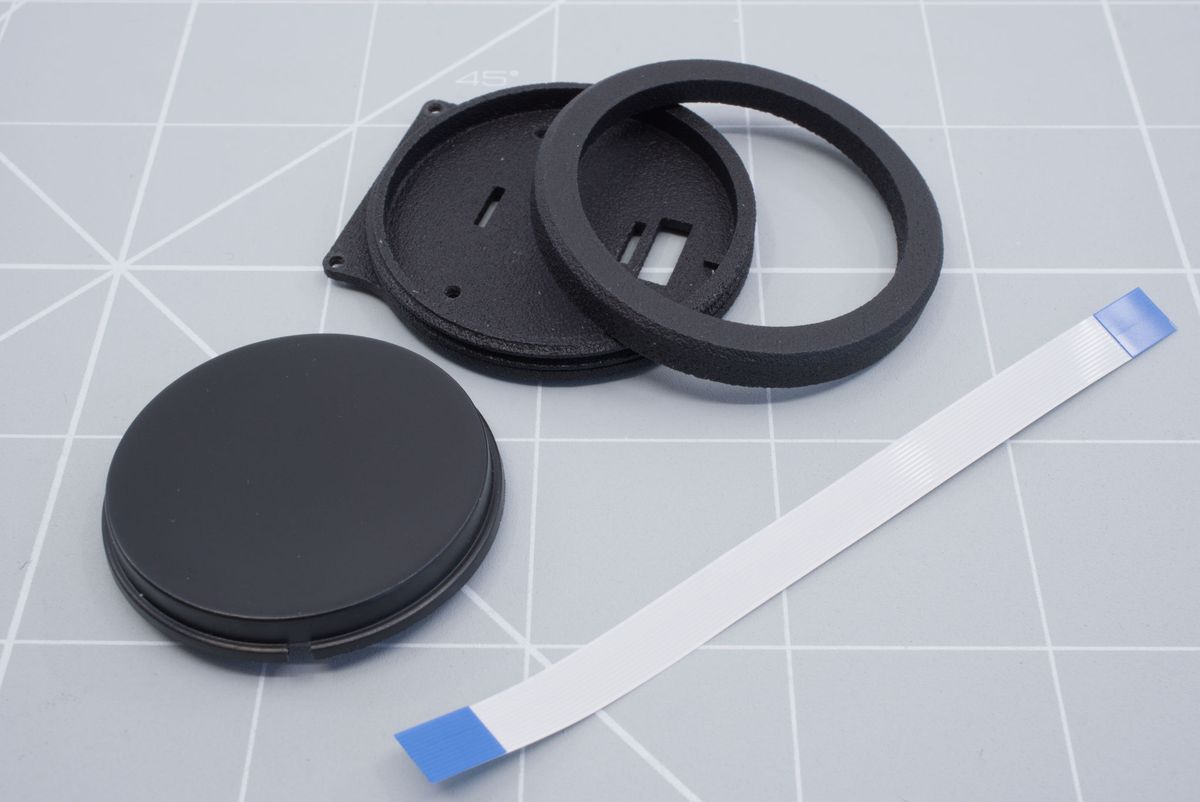
The flat cable and mounting kit.
Start by threading the cable from the bottom through the first hole. Make sure the blue tabs are faced up.
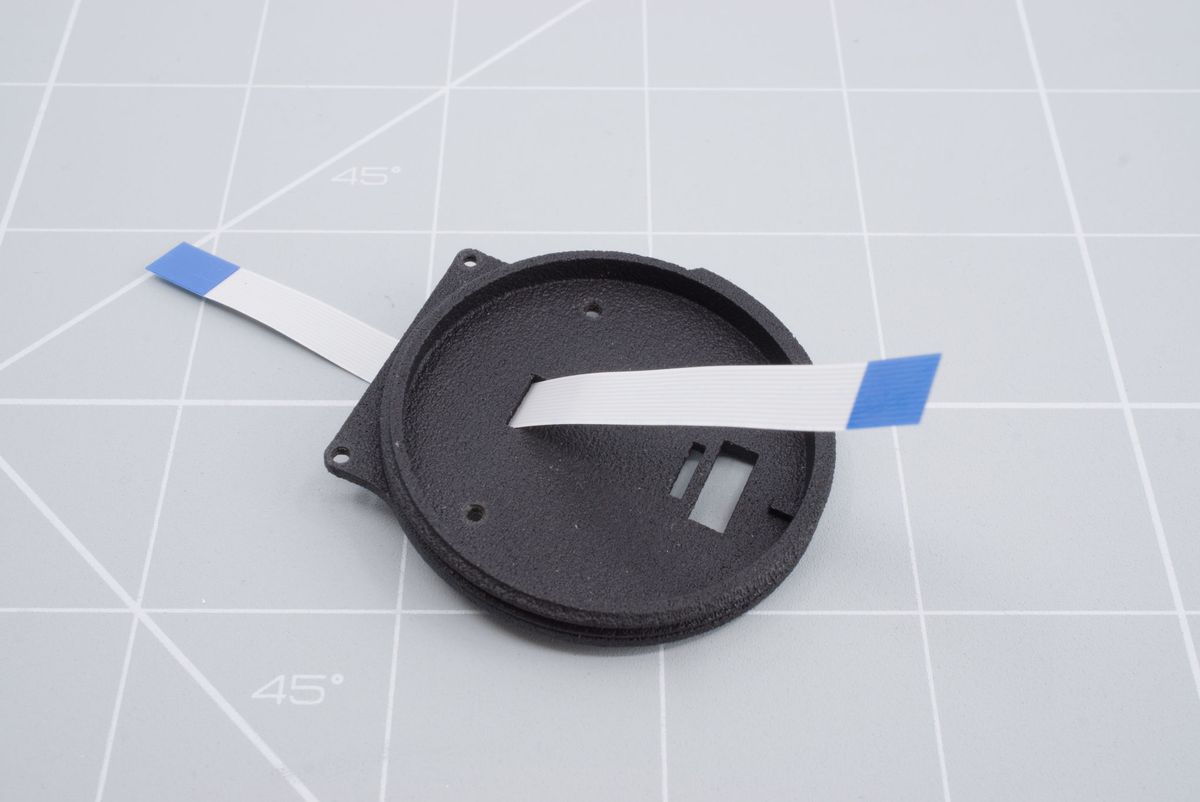
Threading the cable through the first hole.
Now thread the cable to the second small hole from the top.
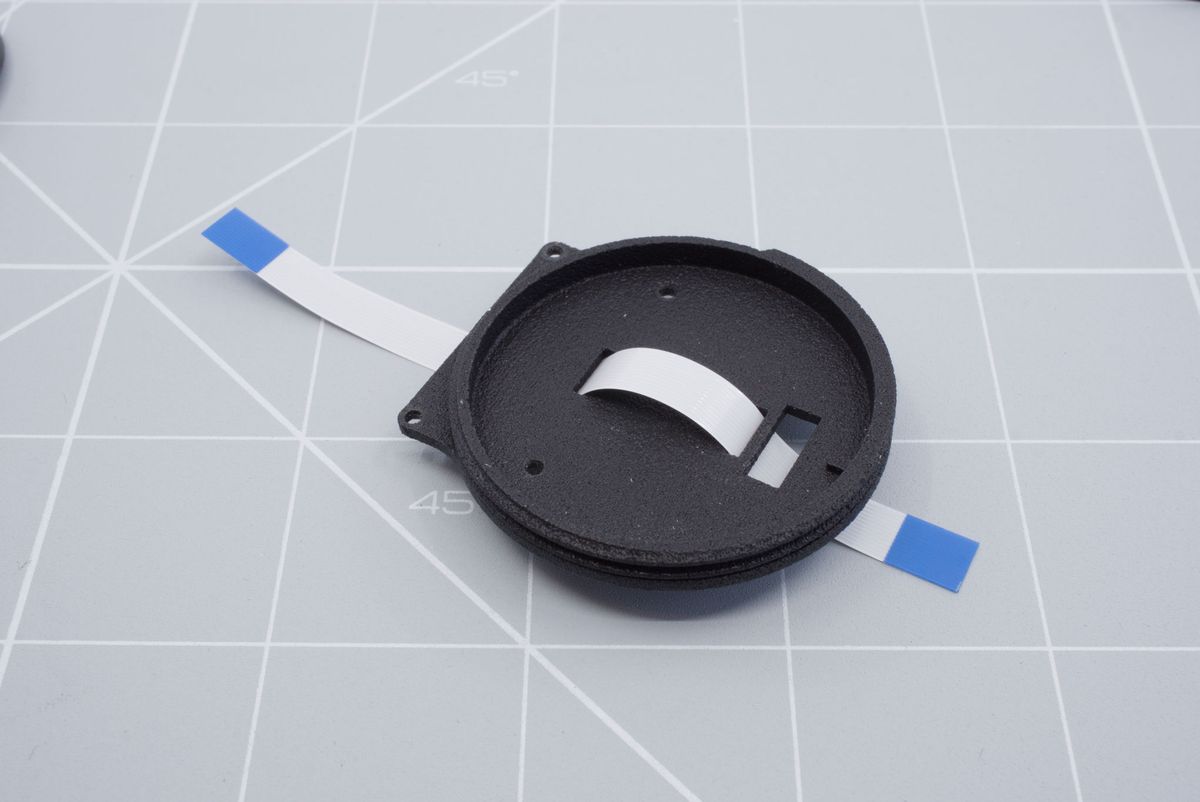
Threading the cable through the second hole.
Grab the actual Cirque trackpad and align it with the mounting kit. Notice the little notch in the Cirque trackpad and our mounting kit. Align that with each other.
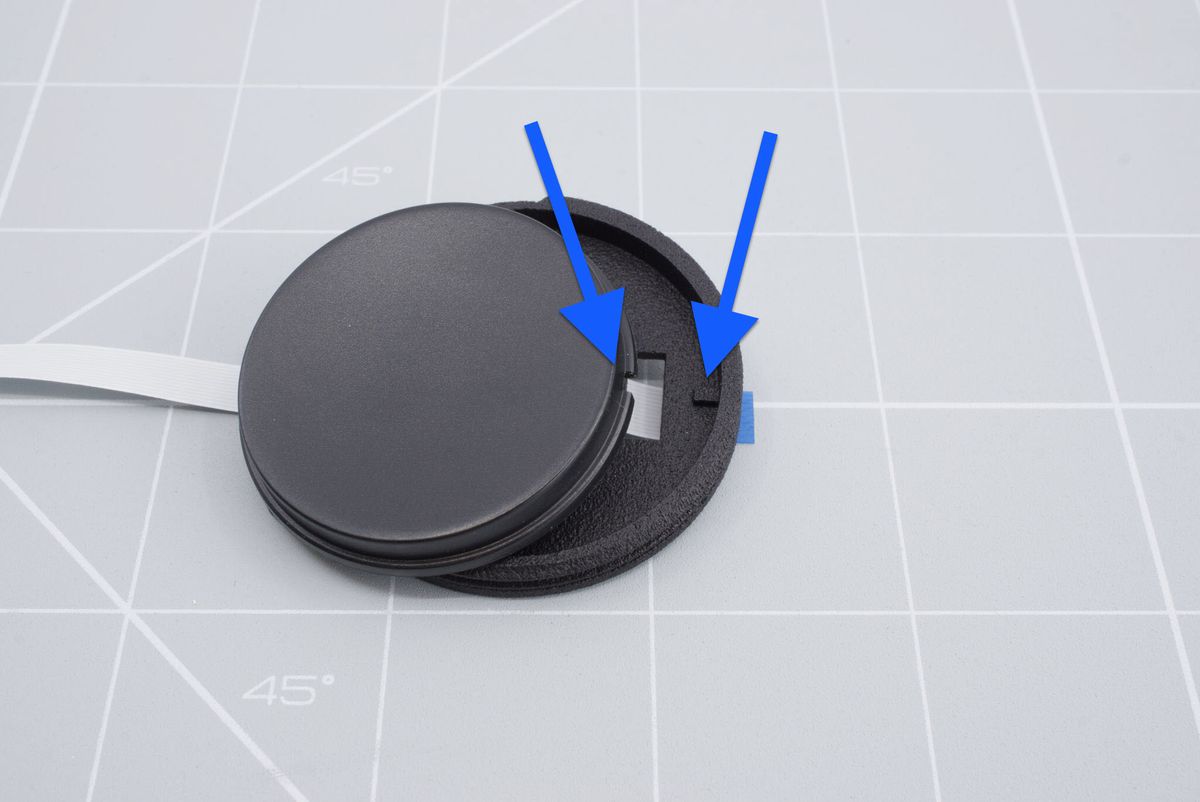
Aligning the Cirque trackpad.
Insert the Cirque trackpad and grab the locking ring.
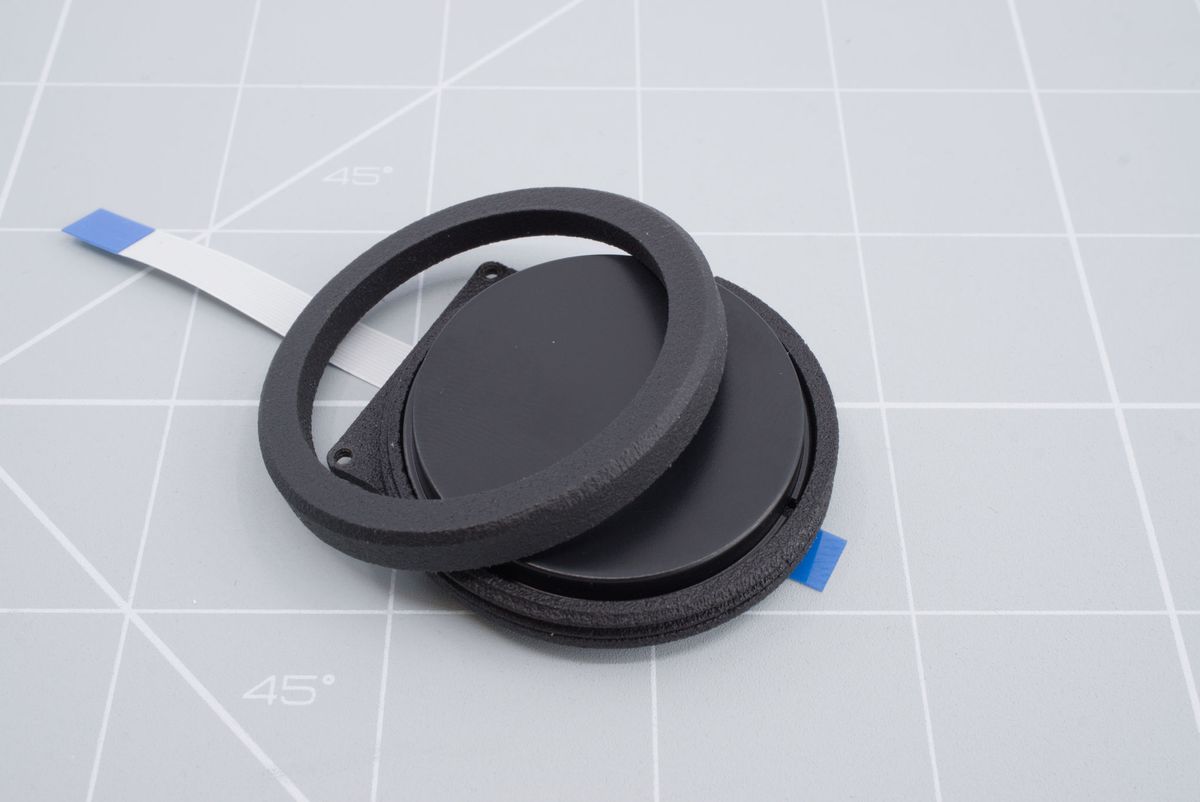
Cirque trackpad and the locking ring.
Put the locking ring on top of the Cirque trackpad and rotate clockwise. Don't screw it in all the way just yet.
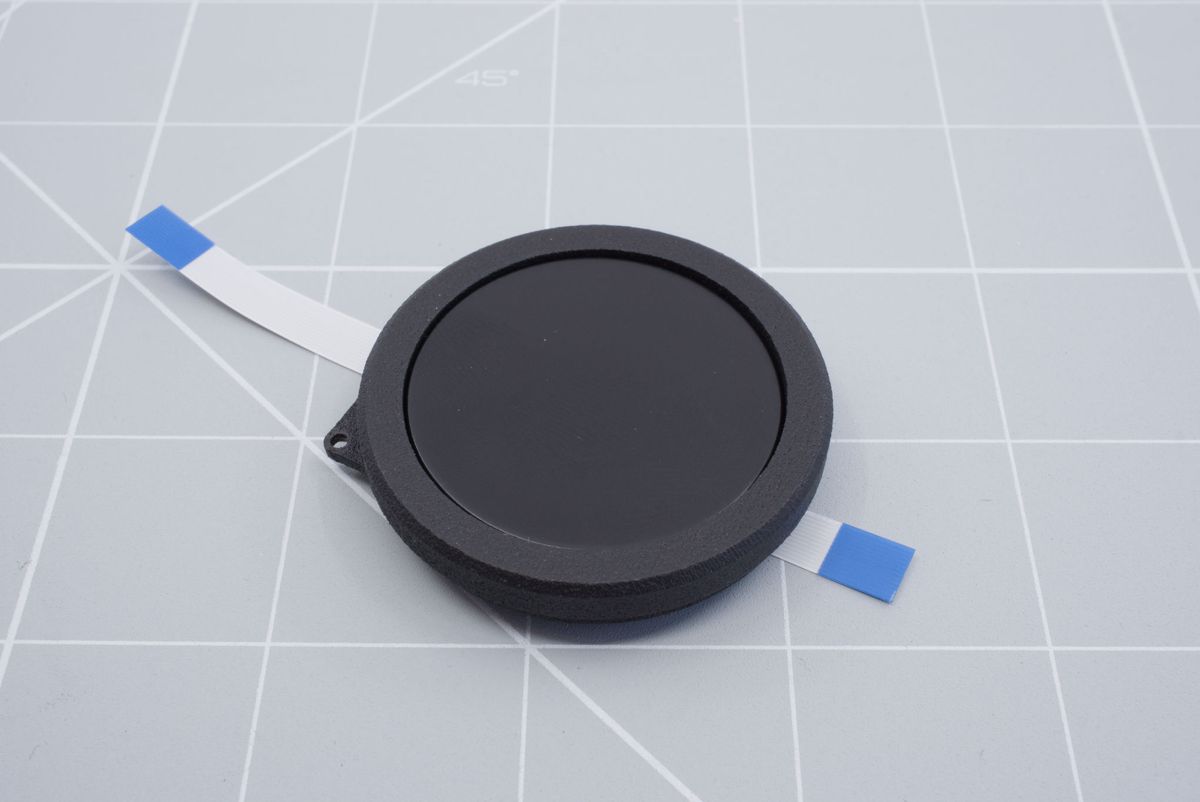
Screwing on the locking ring.
Flip over the module.
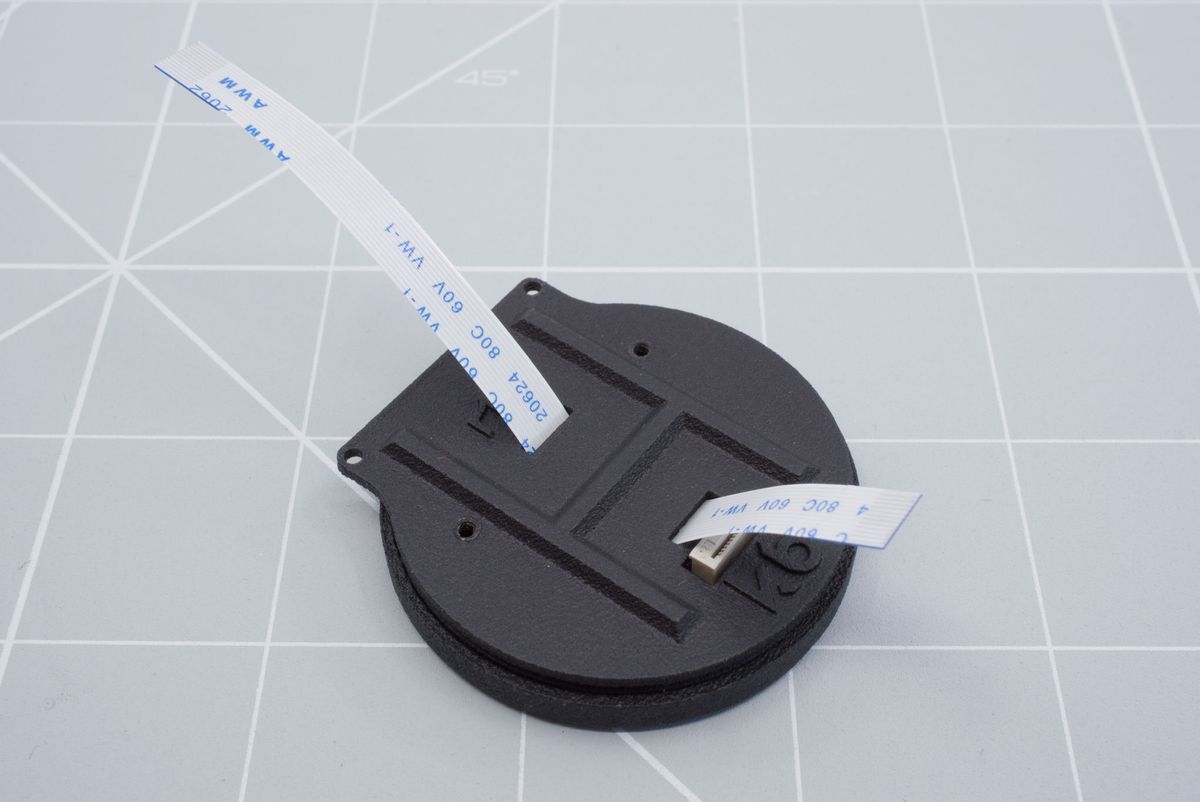
Flipped module.
Insert the cable in to the Cirque trackpad. Push it all the way down until it can't go any further.
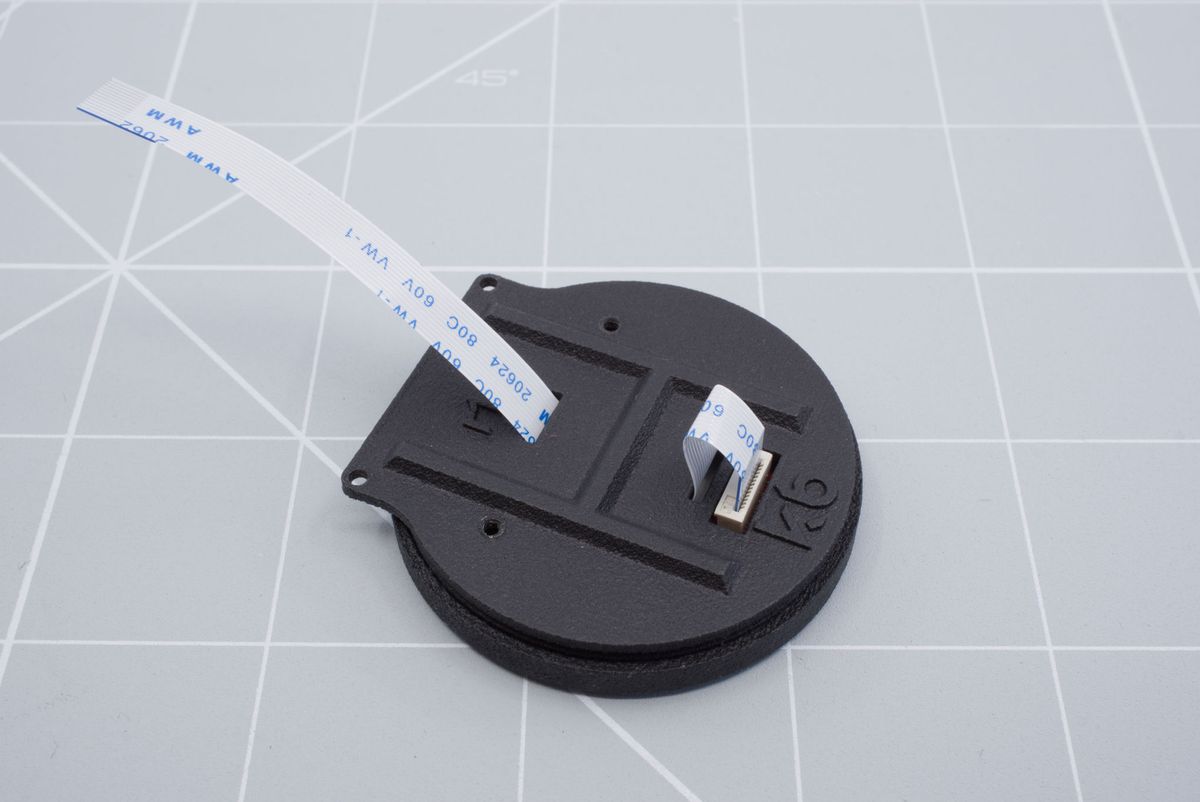
Inserting the cable in to the Cirque trackpad.
Pull on the loose end of the cable. It should look like this in the end.
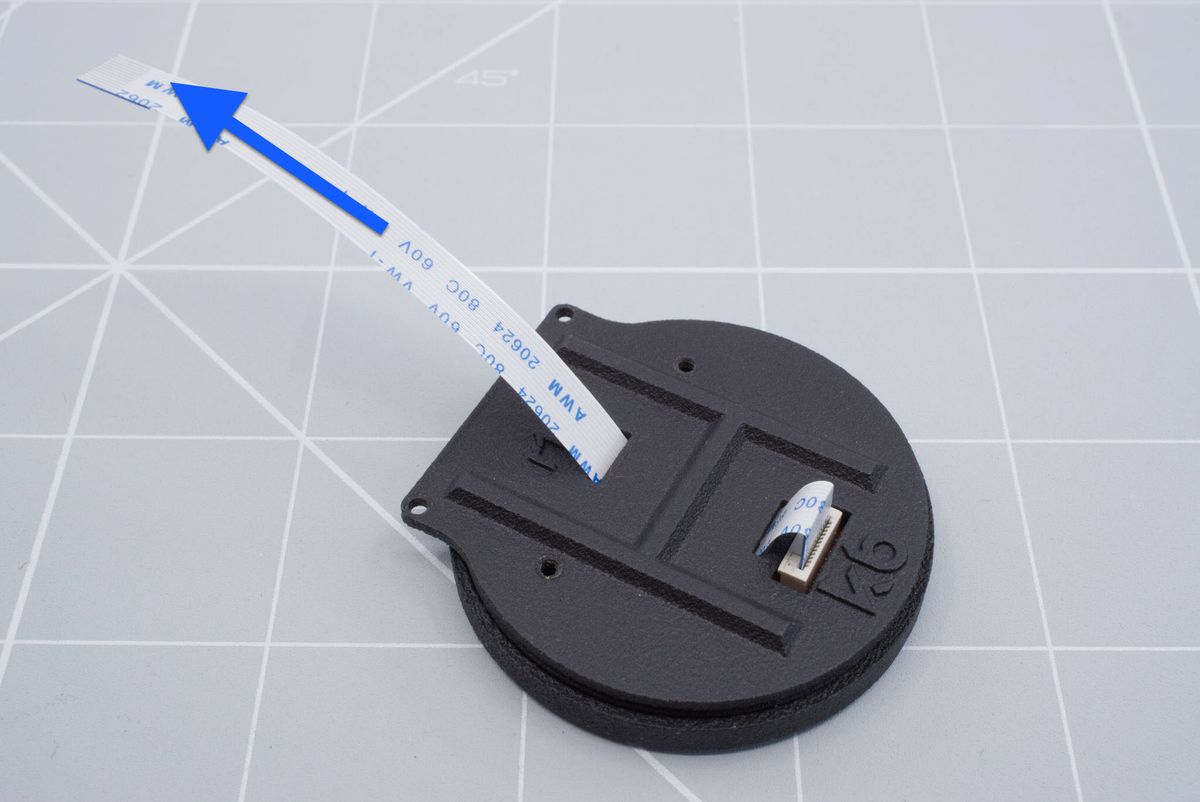
Pulling on the cable.
Now we need to bend the cable. Depending on where you are planning to place the Cirque touchpad, you will need to bend the cable in a different direction. The pictures below are for installing it on the left side.
To bend the cable, just use your fingers. The screwdriver is pictured here only to more clearly show the folds.
For placing the Cirque touchpad on the left: Start by bending the cable up. This might not be intuitive but it has to do with the positioning of the cable. The cable should roughly end up in between the mounting holes.
For placing the Cirque touchpad on the right: Start by bending the cable down. The cable should roughly end up in between the mounting holes.
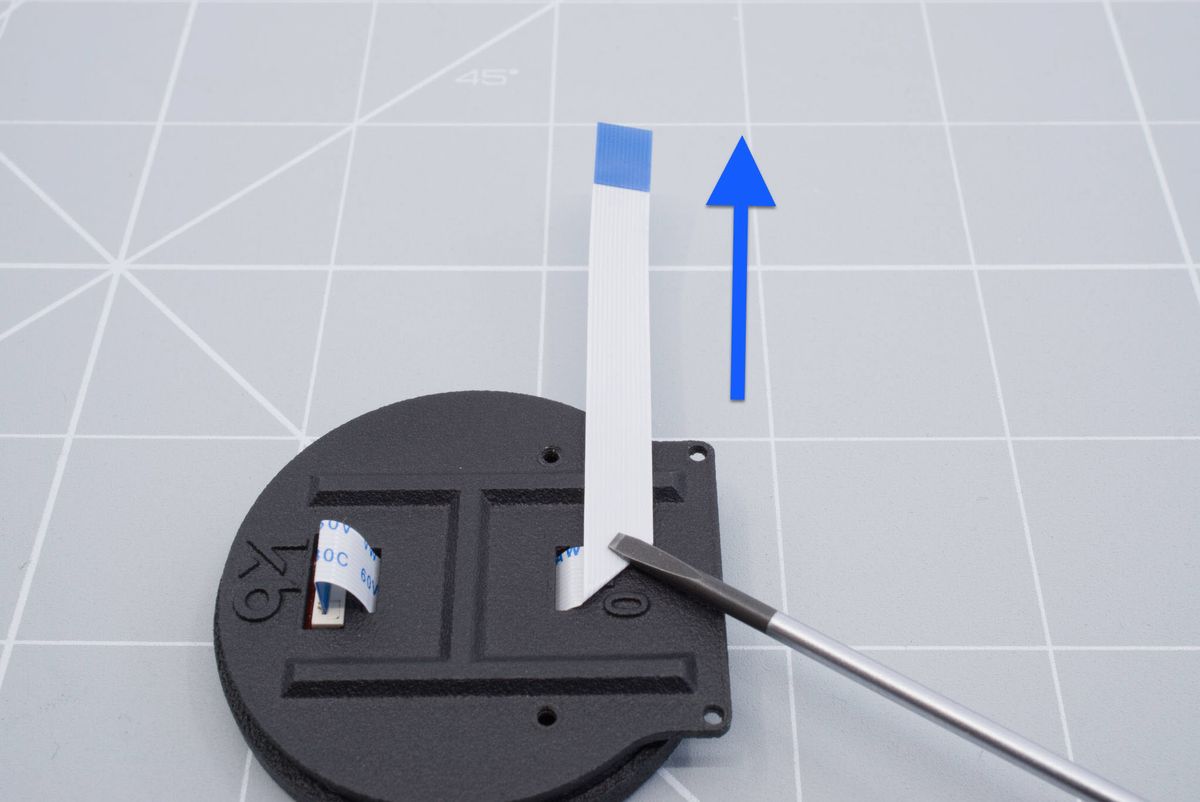
Bending the cable up for installing it on the left half.
For placing the Cirque touchpad on the left: Now bend it directly down. The pins should now be exposed.
For placing the Cirque touchpad on the right: Now bend it directly up. The pins should now be exposed.
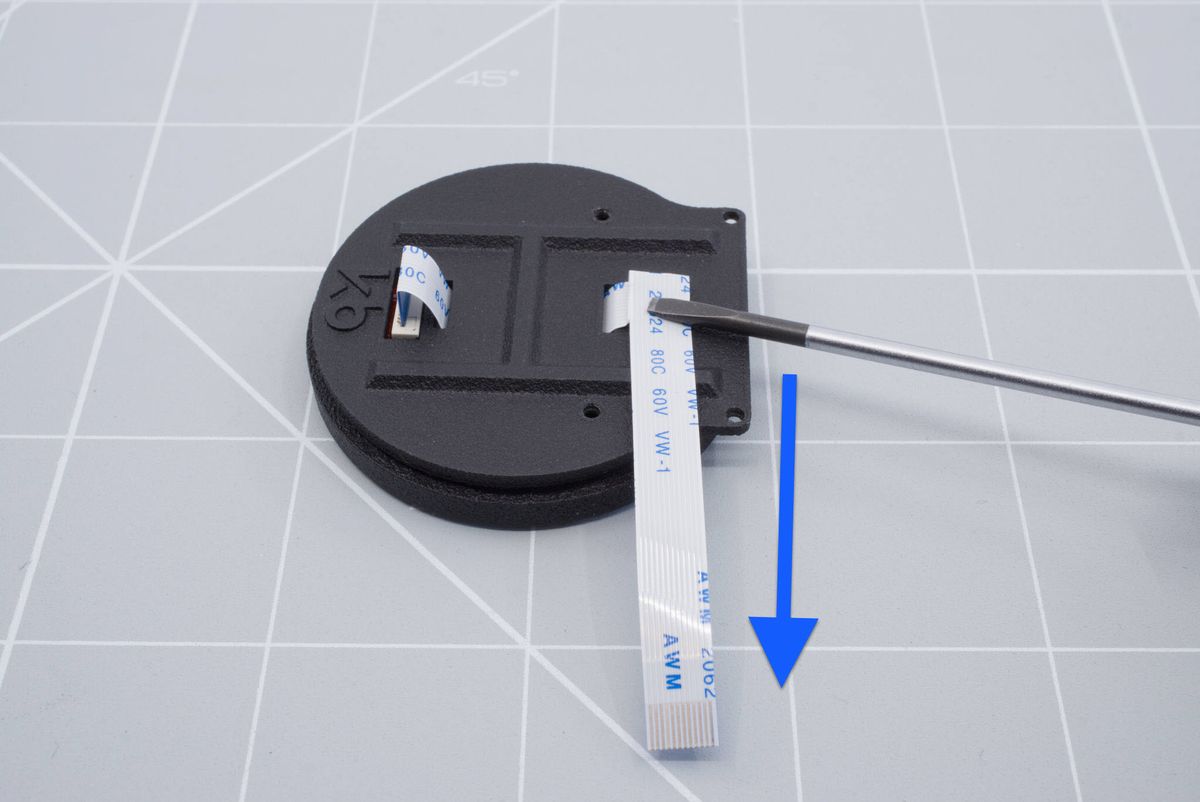
Folded cable for installing it on the left half.
Temporarily remove the cirque touchpad out of the touchpad holder, this is so we can install the screws in to the keyboard. First remove the cable out of the cirque touchpad.
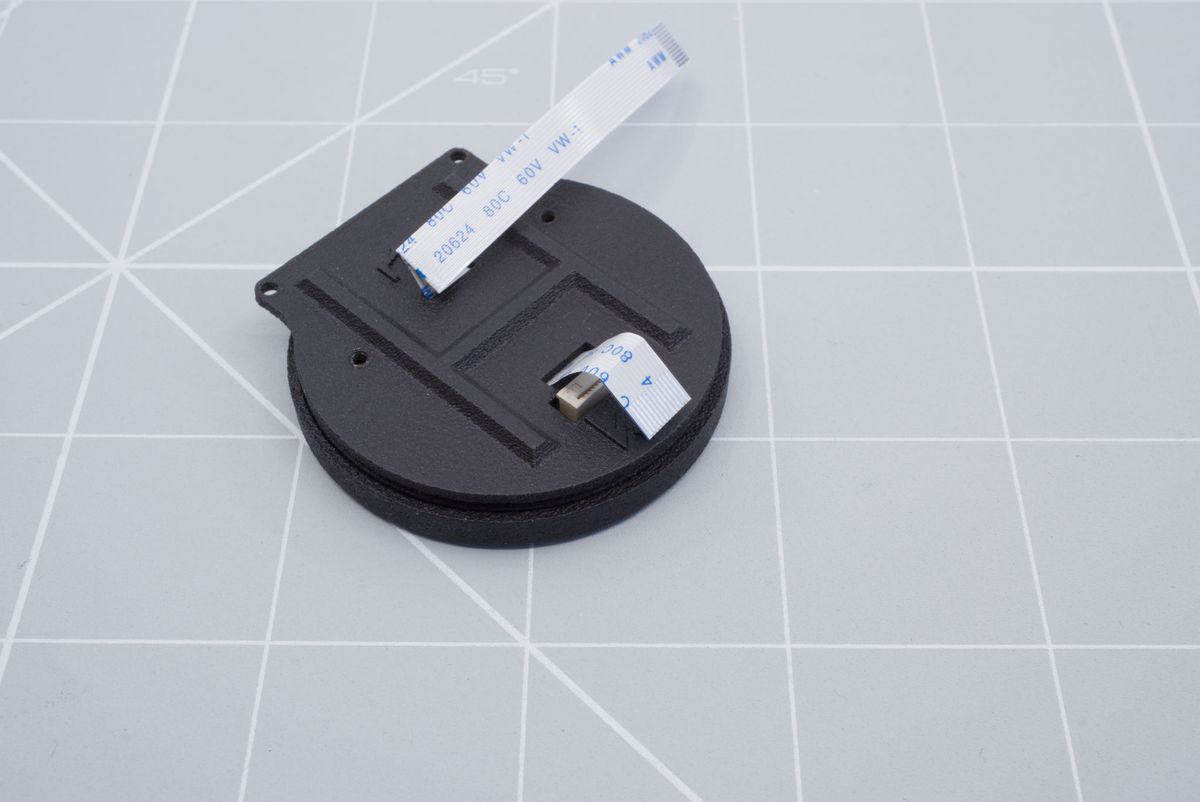
Pull out the cable.
Then unscrew the top ring and remove the cirque touchpad
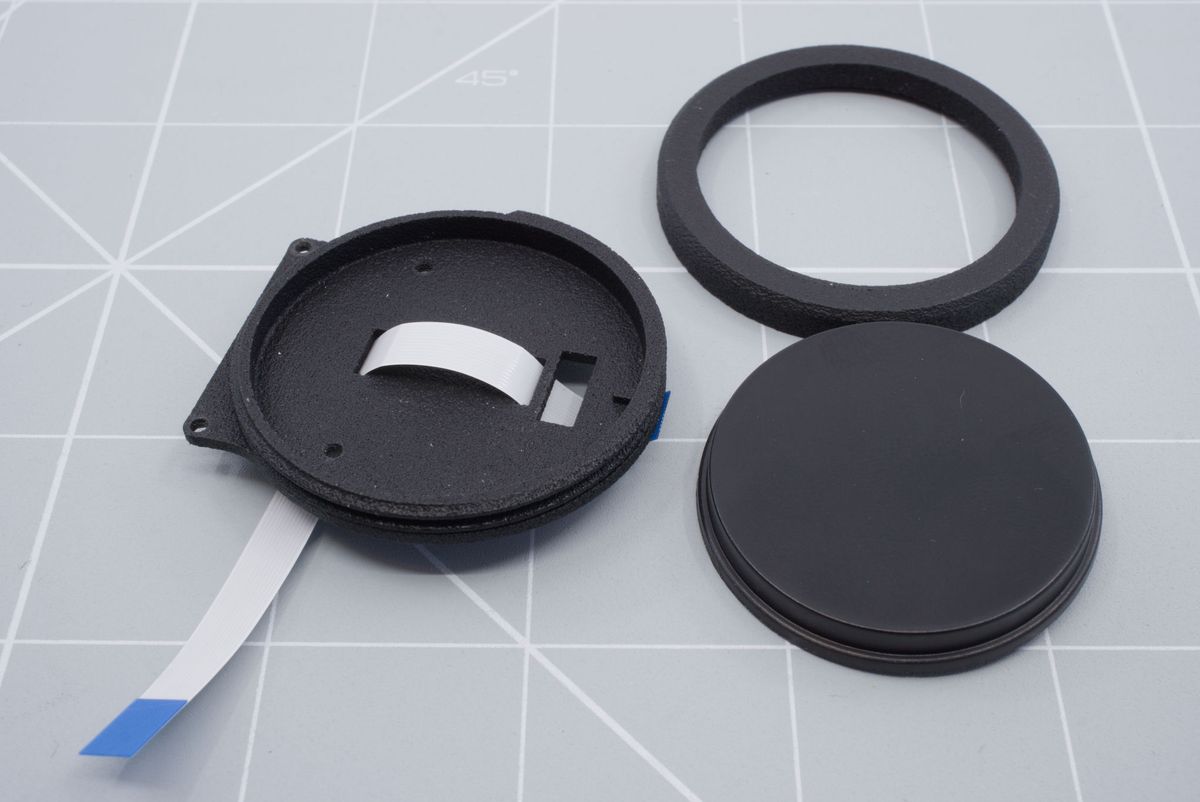
Removing the cirque touchpad.
Installing the module to the keyboard
Now you're finally ready to install the module on to your keyboard. You will additionally need a 10mm hex screw, 6mm spacer and two flathead screws.
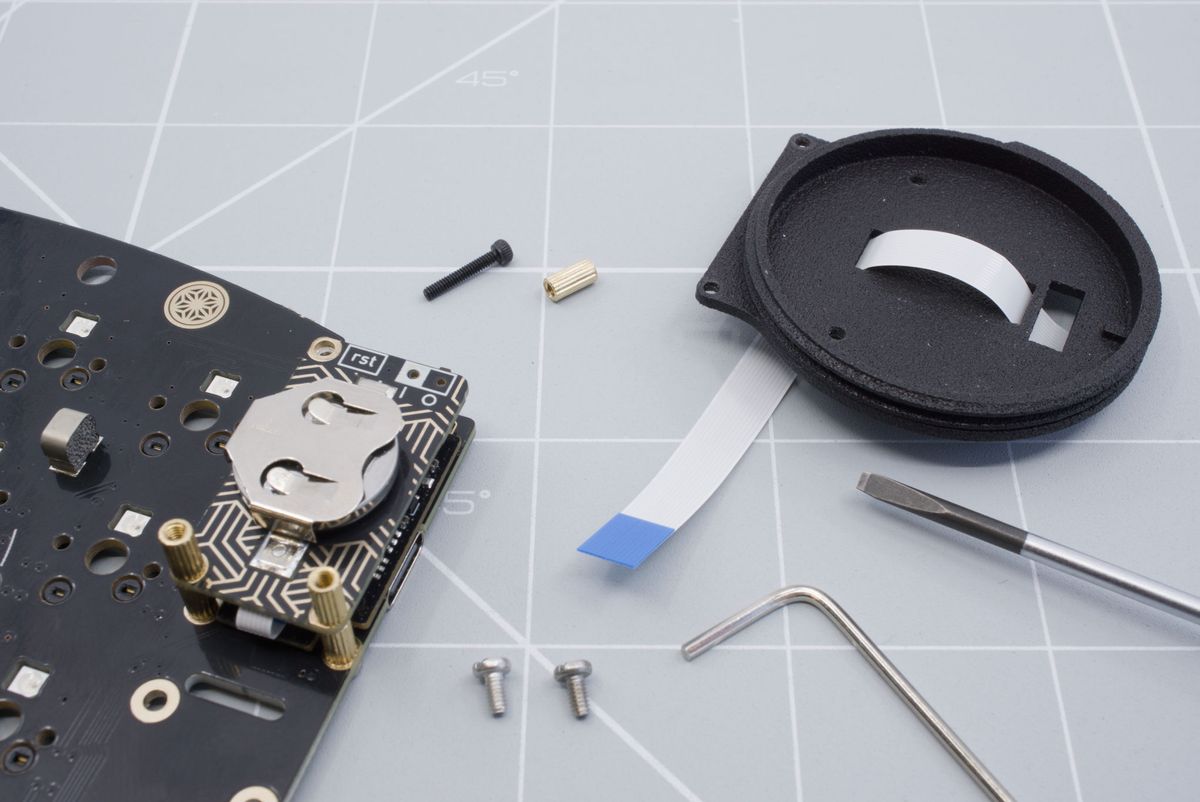
Module with the battery board attached and the keyboard.
Align the module with the keyboard. Make sure the cable is pointing down.
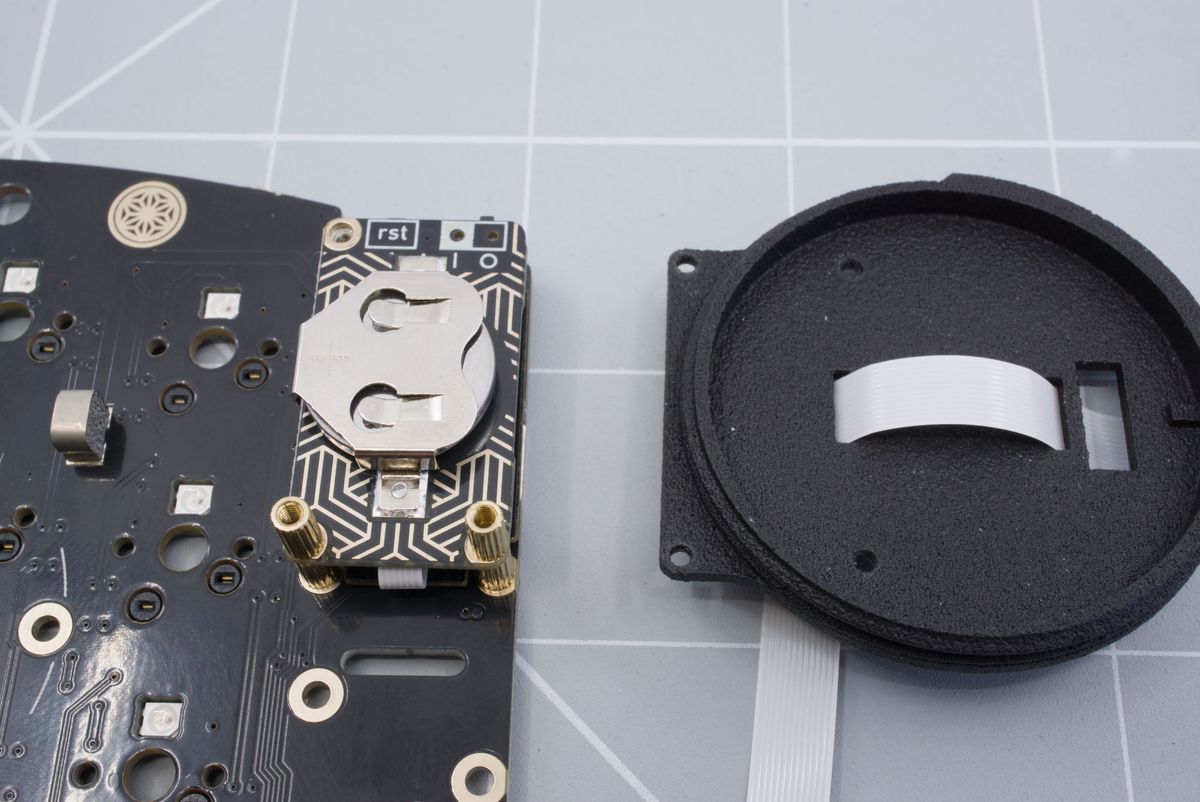
Aligning the module.
Insert the 10mm hex screw through the outer topmost hole of the cirque touchpad holder and add a 6mm spacer to it.
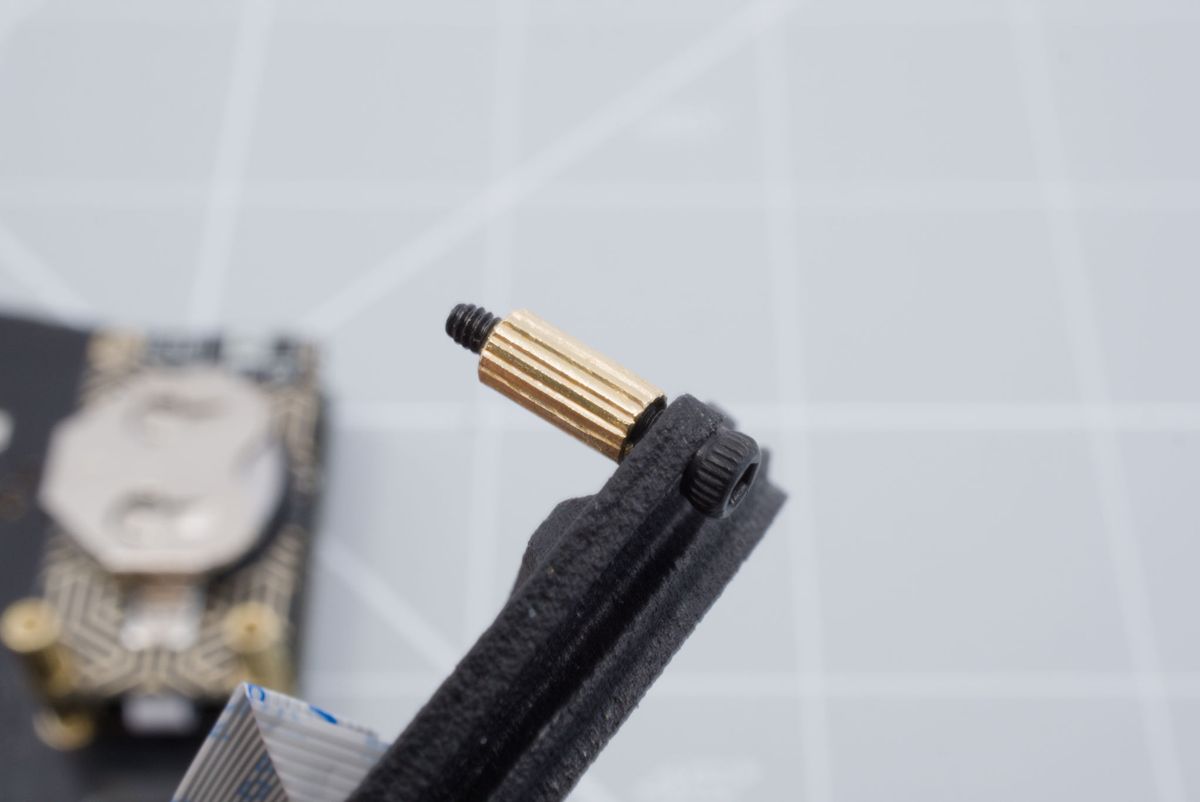
Cirque touchpad holder with the screw and spacer.
Align the cirque touchpad holder and screw the top screw in to place. Make sure to insert the FFC cable in to the hole of the keyboard.
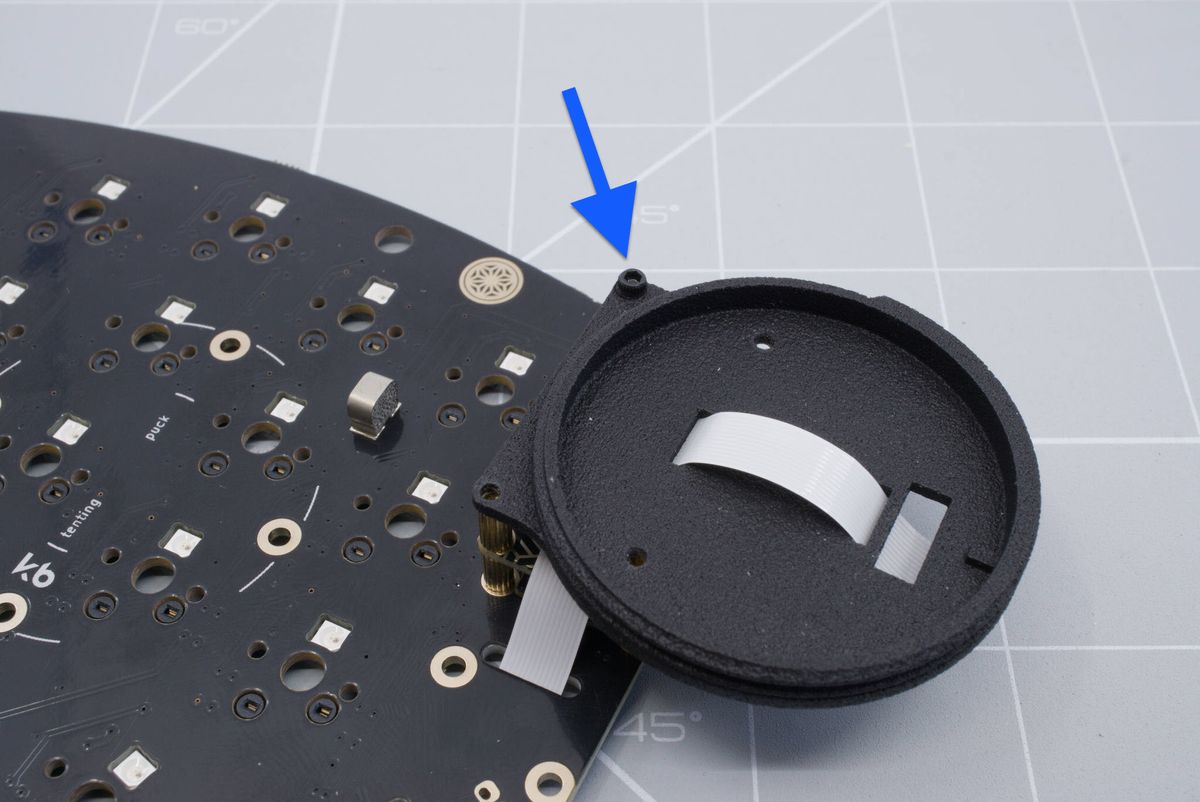
Screwing in the top screw.
Now using two screws, screw down the bottom as well.
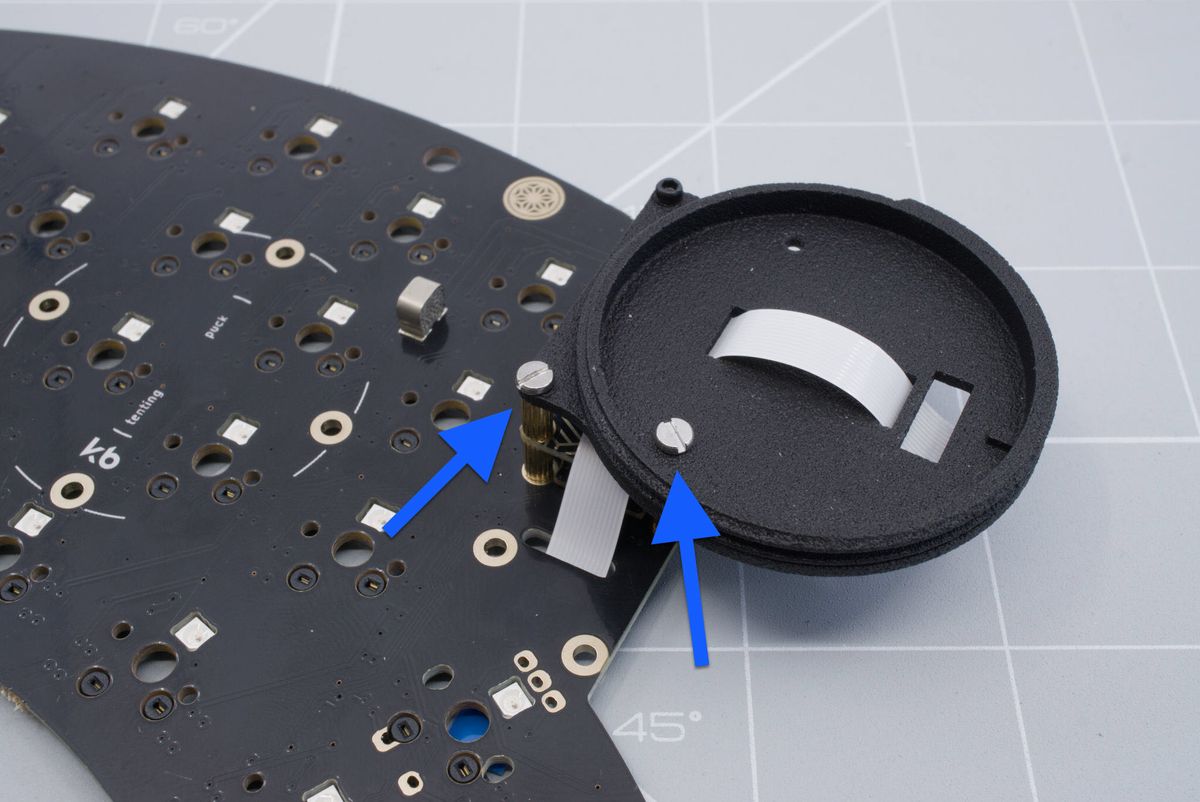
Screwing down the bottom.
Re-insert the cirque touchpad.
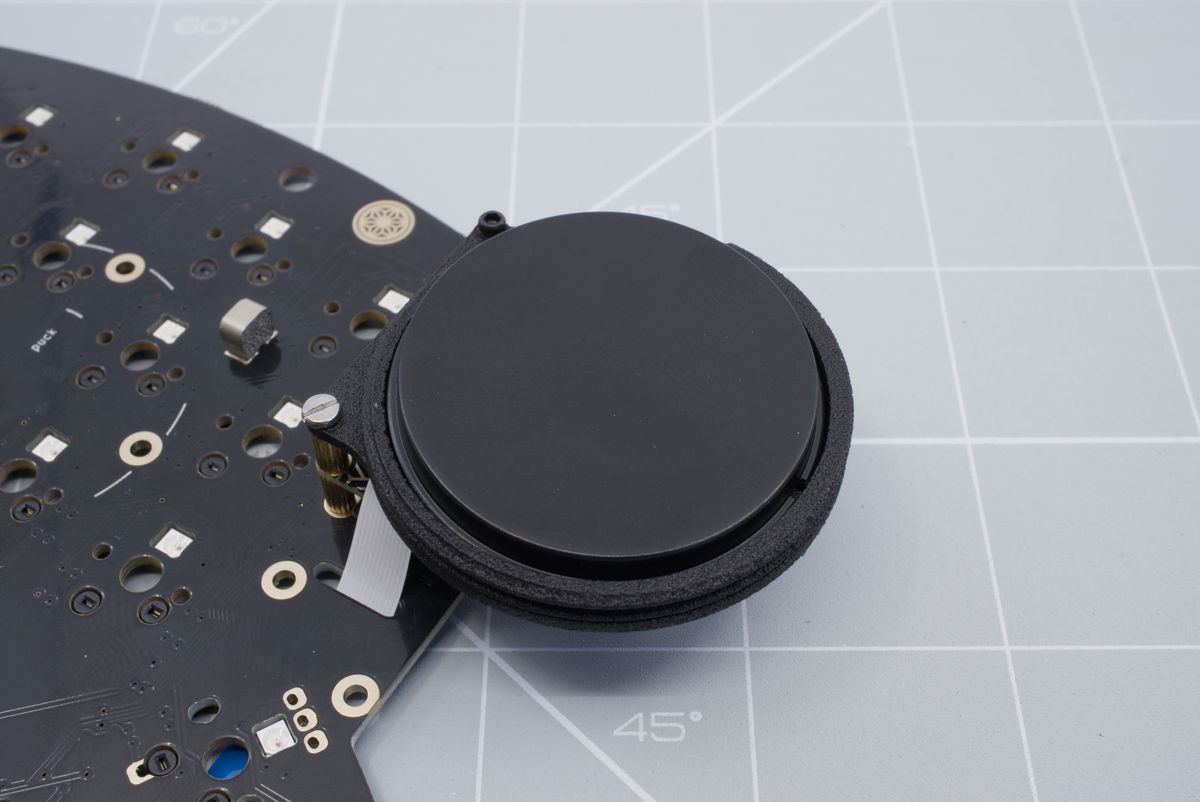
Re-insert the cirque touchpad.
Also re-add the locking ring. You can now screw this all the way down.
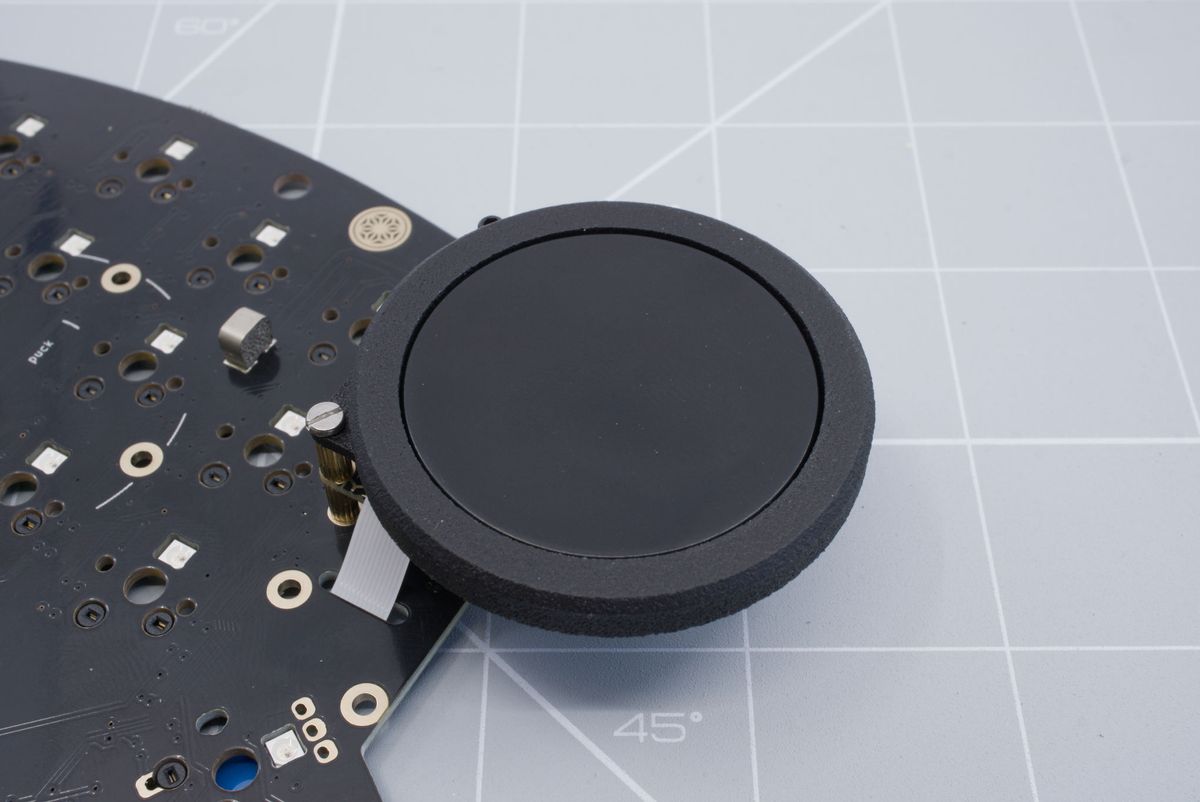
Screwing down the locking ring.
Flip the keyboard around.
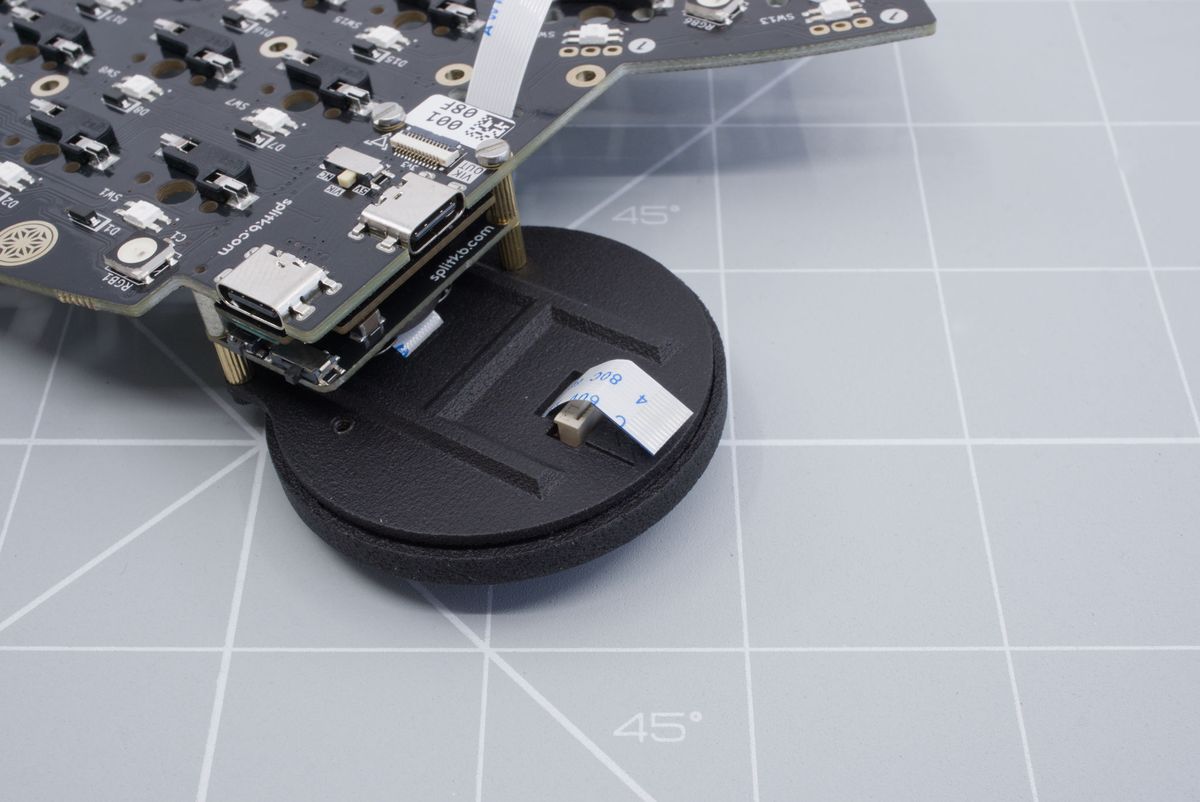
Keyboard flipped.
And re-insert the cable.
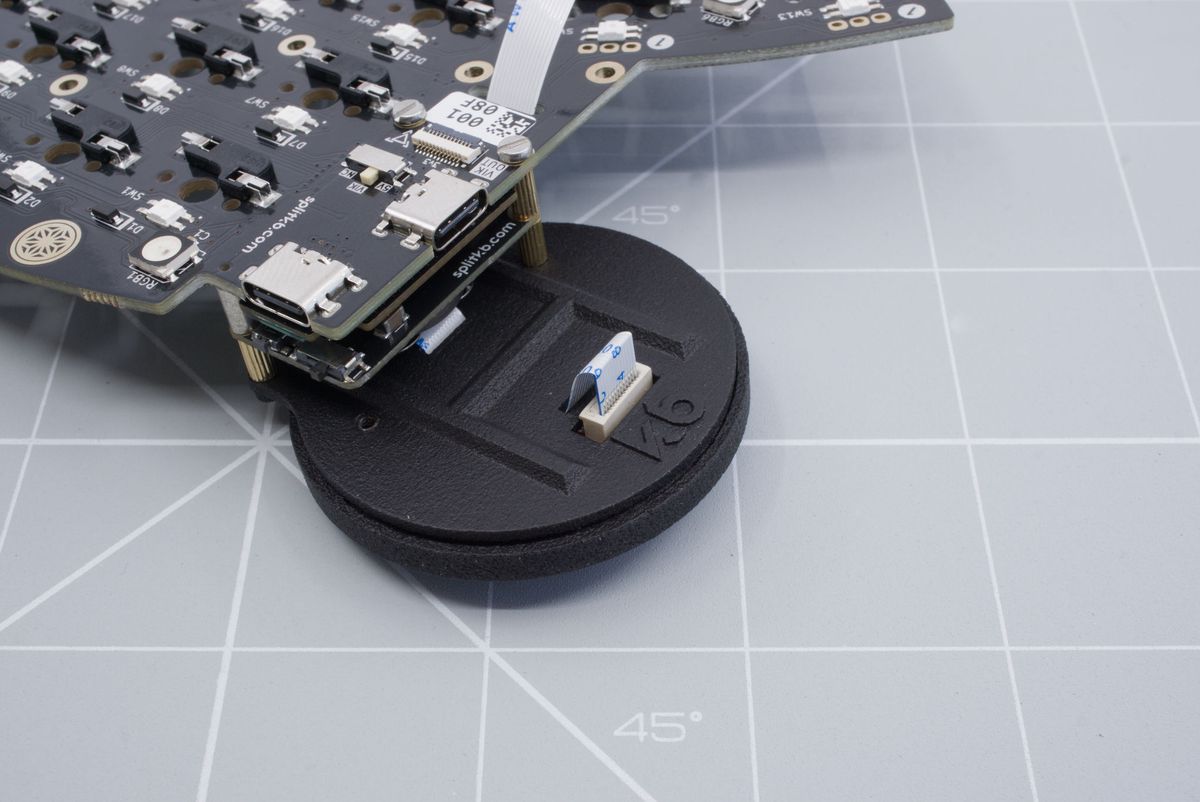
Re-inserting the cable.
Now lift the tab up from the VIK connector on the keyboard using the non-conductive tool.
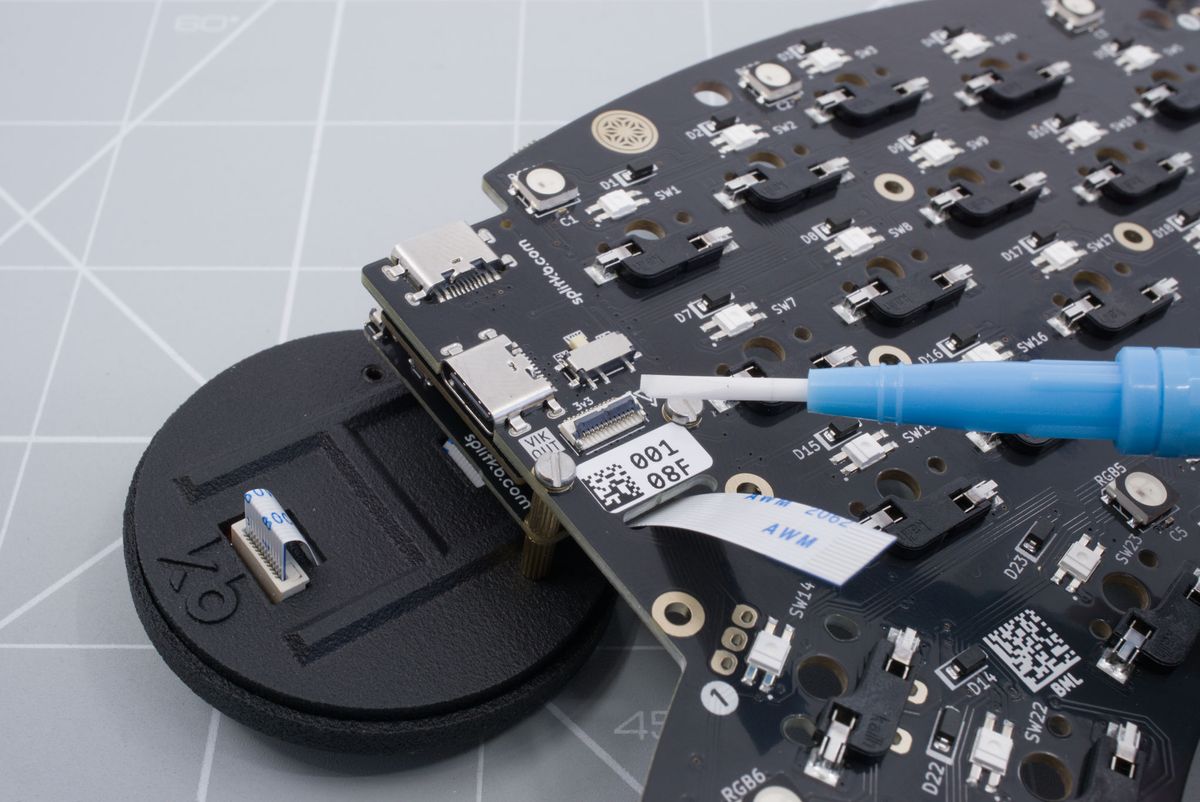
Lifting the tab up on the keyboard.
Now insert the cable.
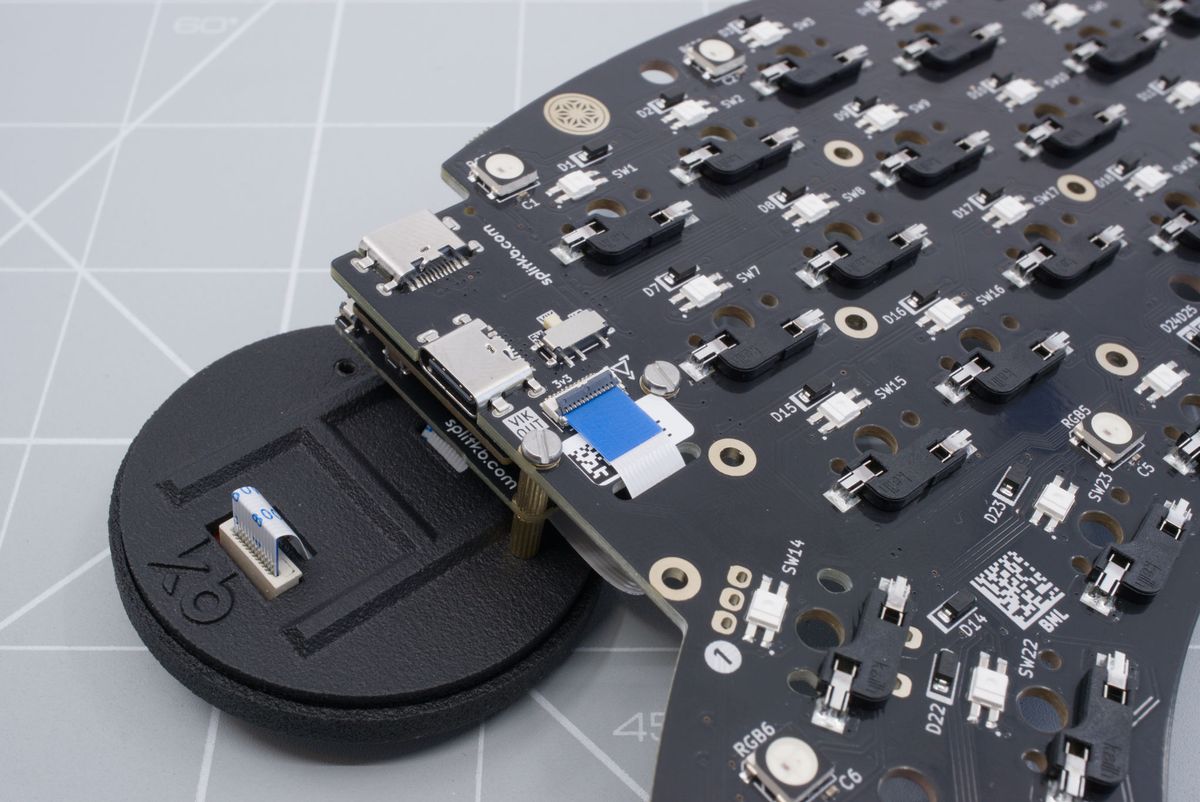
Pushing in the cable with your finger.
Lower the tab back down with the non-conductive tool.
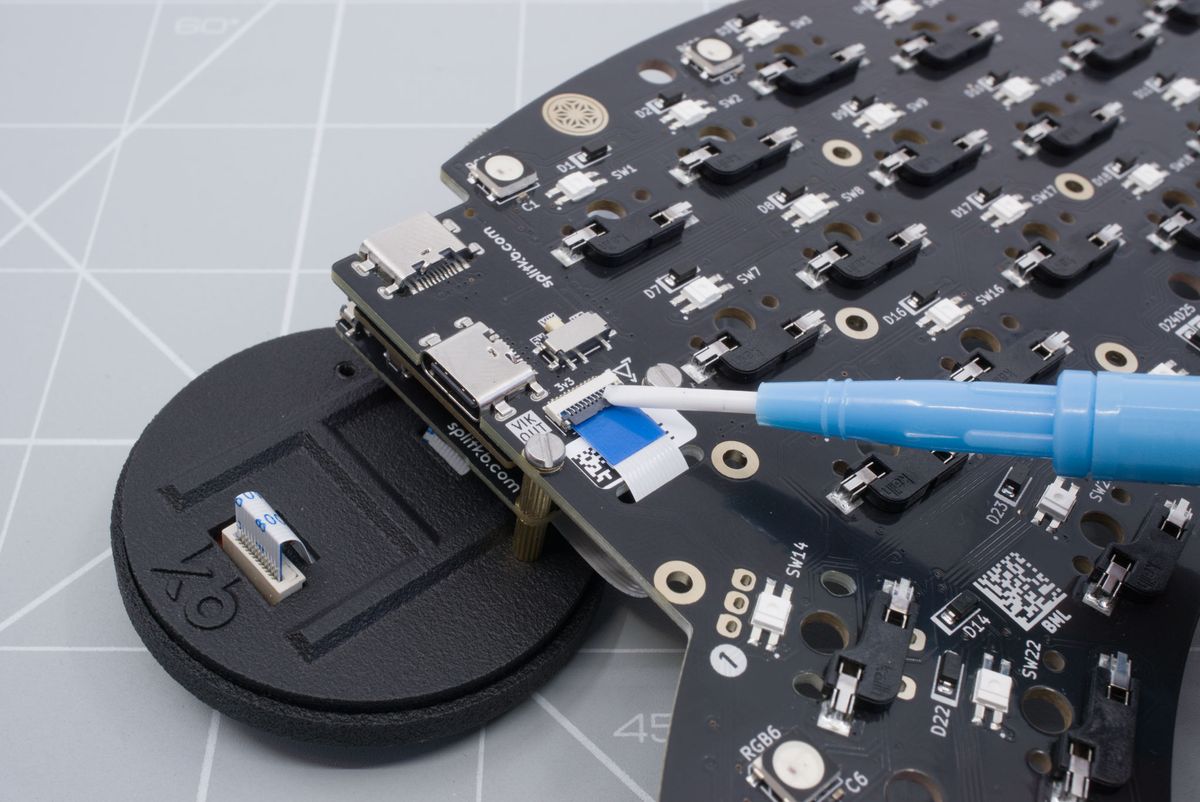
Lowering the tab back down.
You've successfully installed the encoder module! Now you can continue with the build guide.
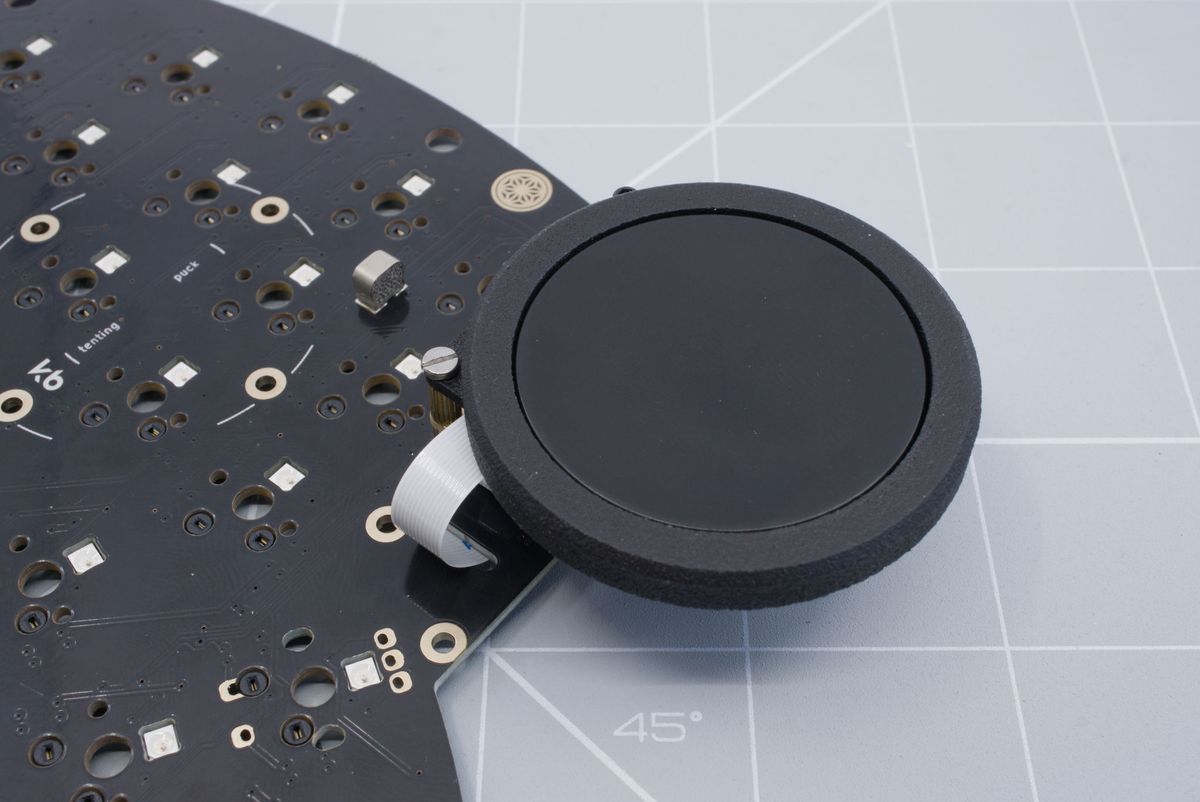
Installed module.