

Introduction
Thank you for purchasing a Halcyon keyboard! In this guide, you'll learn how to assemble and use your new keyboard.
This guide is relatively new, and may see changes and additions in the near future. If you have any questions or feedback, please don't hesitate to let us know!
In the box
You'll have purchased multiple parts, among them the keyboard kit itself, as well as case parts and other accessories.
In the main box (the one with Halcyon on it), you'll find the following items:
- A set of keyboard circuit boards;
- A Halcyon Quick Start Guide;
- A Halcyon Module Connection Kit, which contains:
- 3 x Flexible Flat Cables, 50mm, opposite side connectors (type B)
- 8 x M1.6 3mm screw
- 1 x 1.5mm Allen Key
Required tools
To assemble the keyboard, all you need is a small flathead screwdriver, which is used for the case. The kit already includes the Allen key you need to assemble a module, and any accessories that require a differently sized Allen key will also include one.
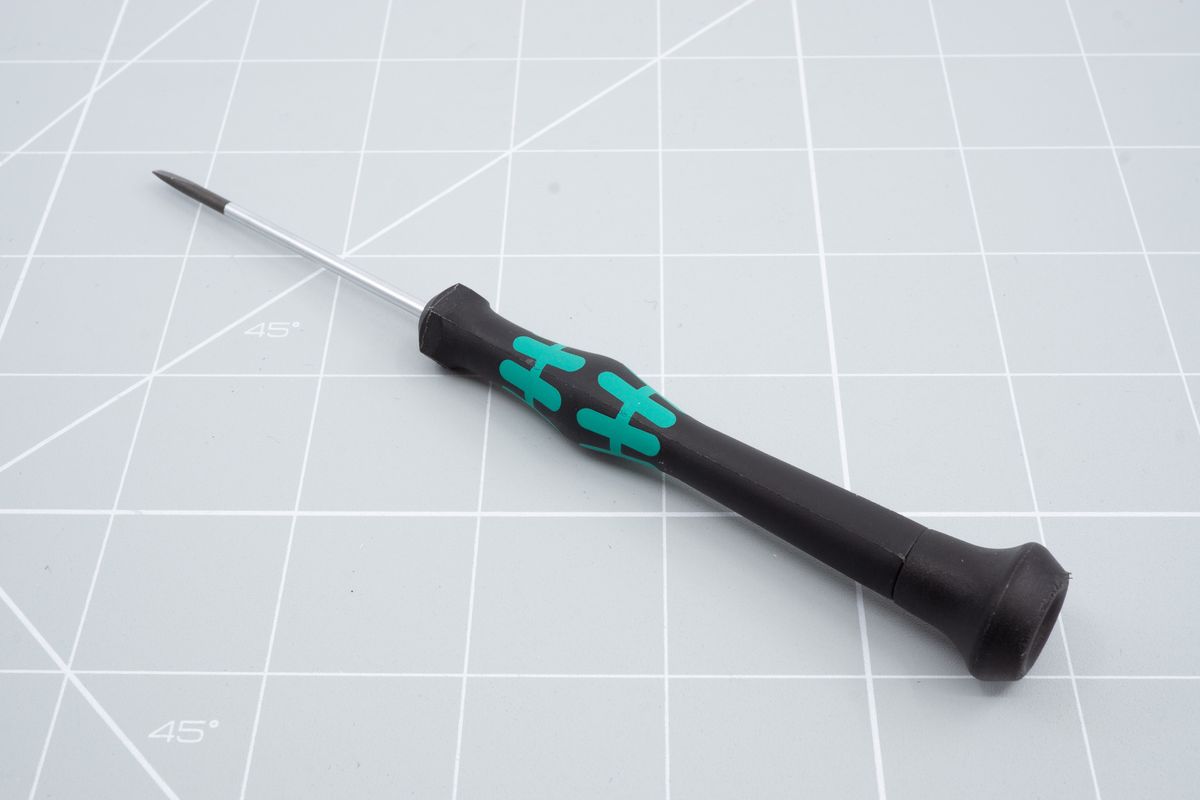
A flat head screwdriver.
Tools for Halcyon modules
For the Halcyon modules you will need:
- The included 1.5mm Allen key.
- A spudger, guitar pick, plastic screwdriver, your fingernail or something similar.
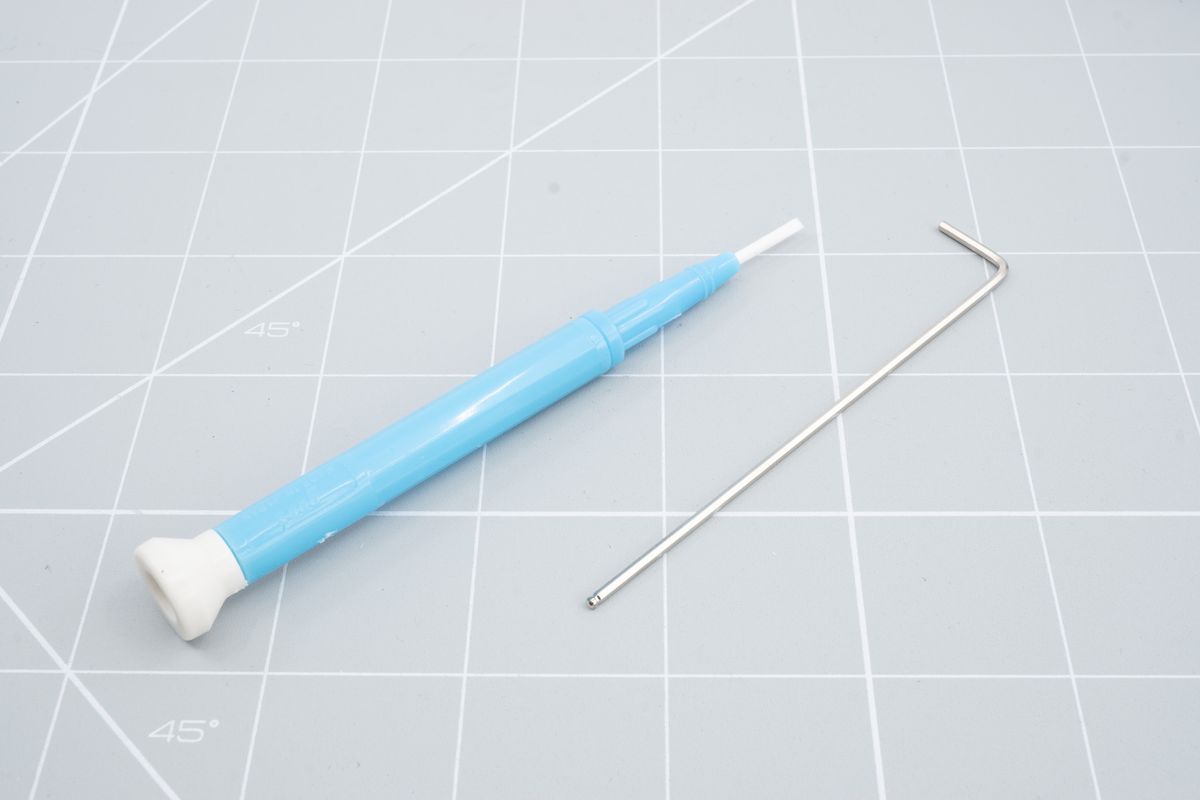
The 1.5mm Allen key and a plastic screwdriver.
Hardware sizes
Several assembly steps specify spacer and screw lengths. If you're unsure which part is required, use the reference images below.
- The spacers from left to right; 12mm, 8mm and 6mm.
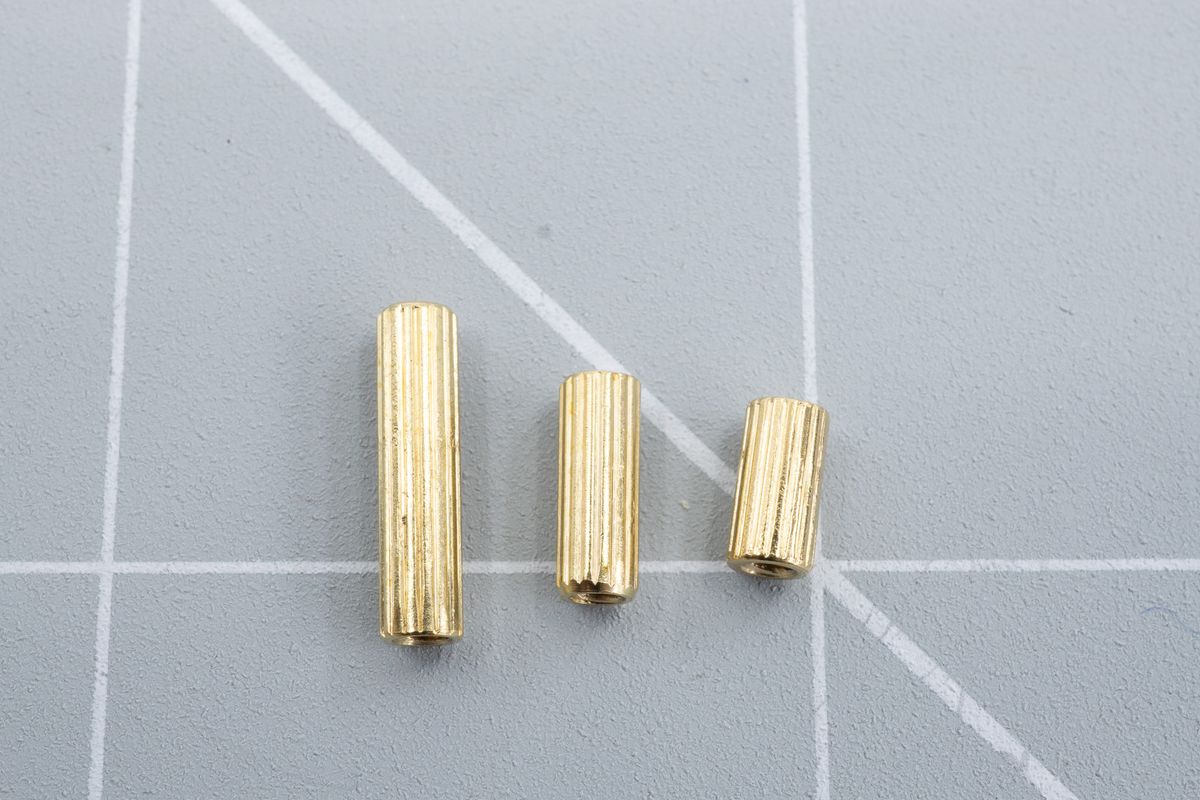
Spacers (left to right): 12 mm, 8 mm, and 6 mm.
- Flathead screws come in three sizes: 3mm, 4 mm and 5 mm.
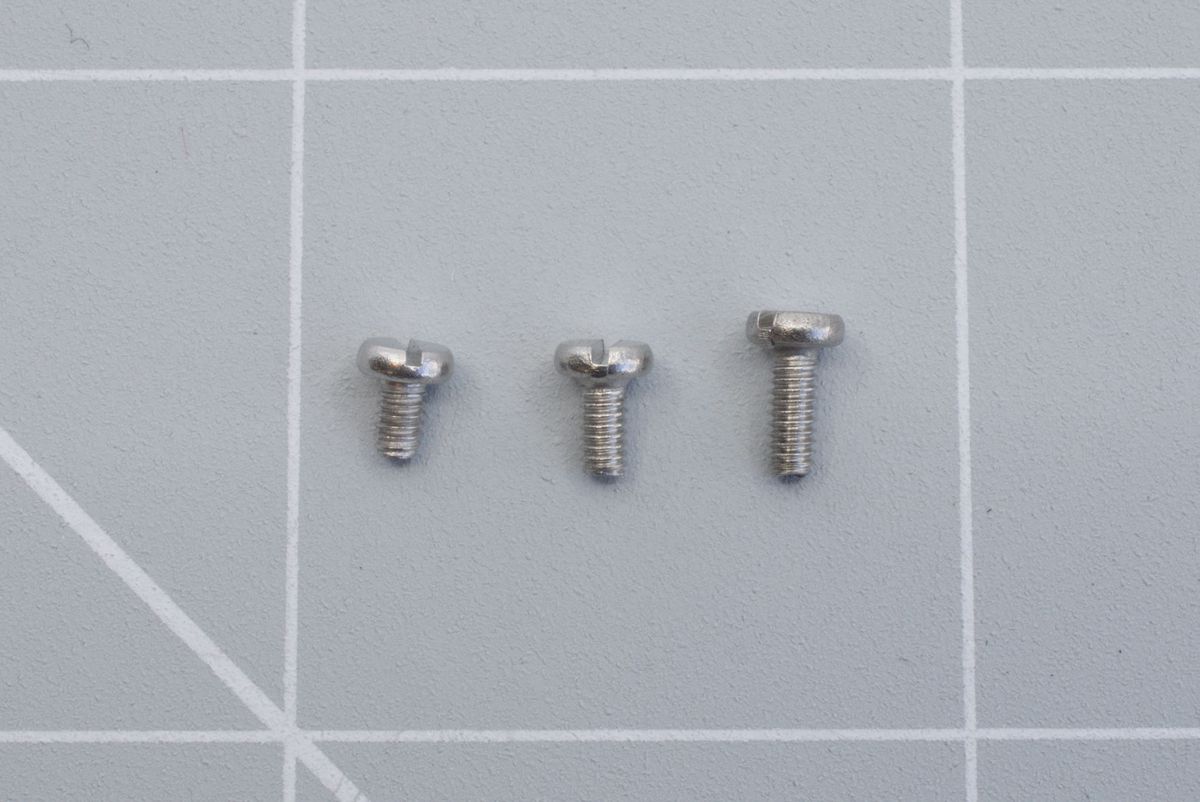
Flathead screws (left to right): 3mm, 4mm and 5mm.
The following parts will be included in the wireless module connection kit.
- The hex screws from left to right; 8mm, 10mm and 12mm.
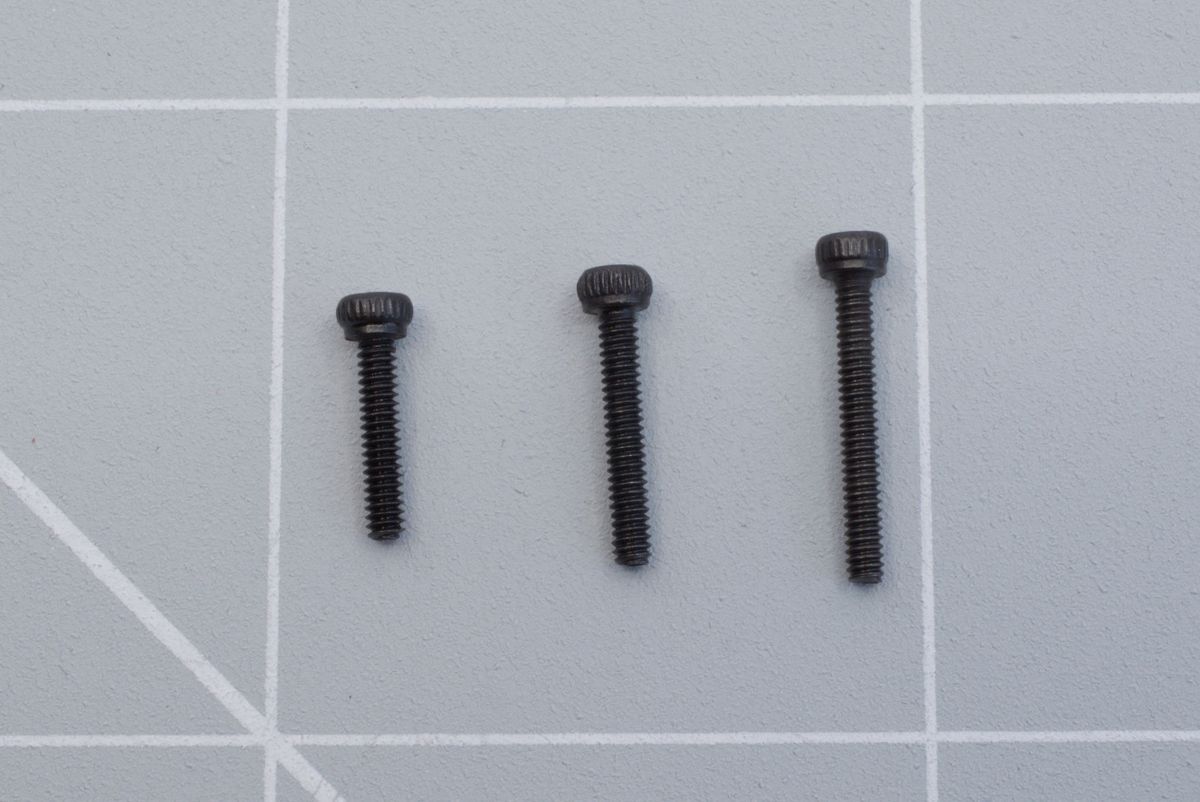
Hex screws (left to right): 8 mm, 10 mm, and 12 mm.
- Male-to-female from left to right; 6mm and 8mm.
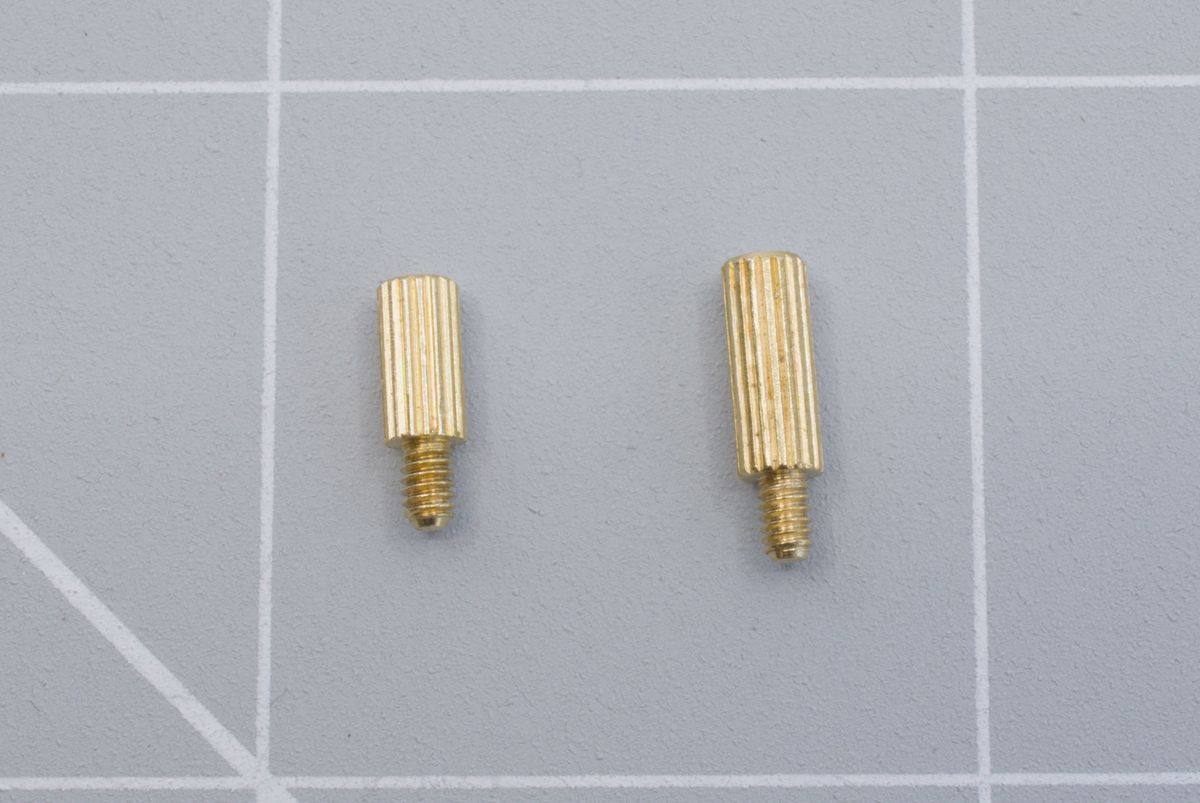
Male-to-female spacers (left to right): 6mm and 8mm.