

Replace or remove a module
You may need to remove the module if you are troubleshooting your keyboard, or you just want to install a different module.
Removing a module
Start with removing the bottom plate.
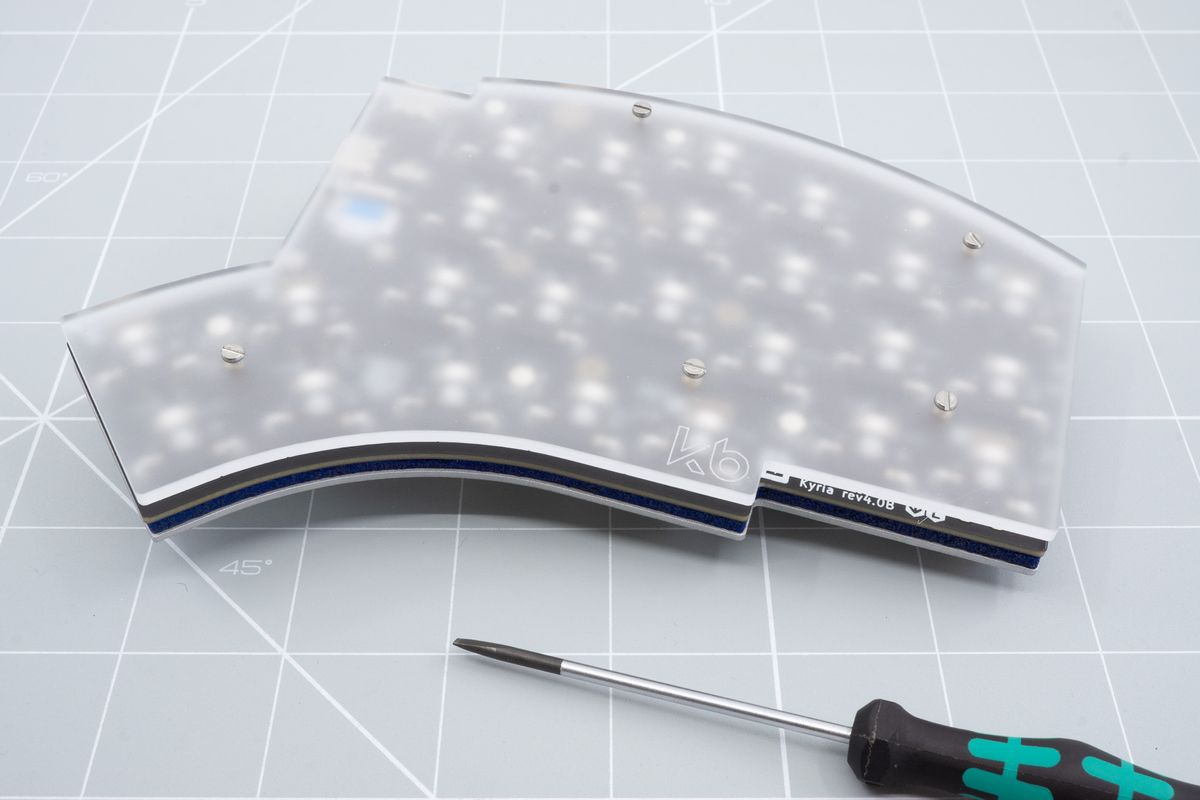
Removing the bottom plate.
Now remove the module cover. You can just remove the screws on the bottom if you plan to re-use the module cover.
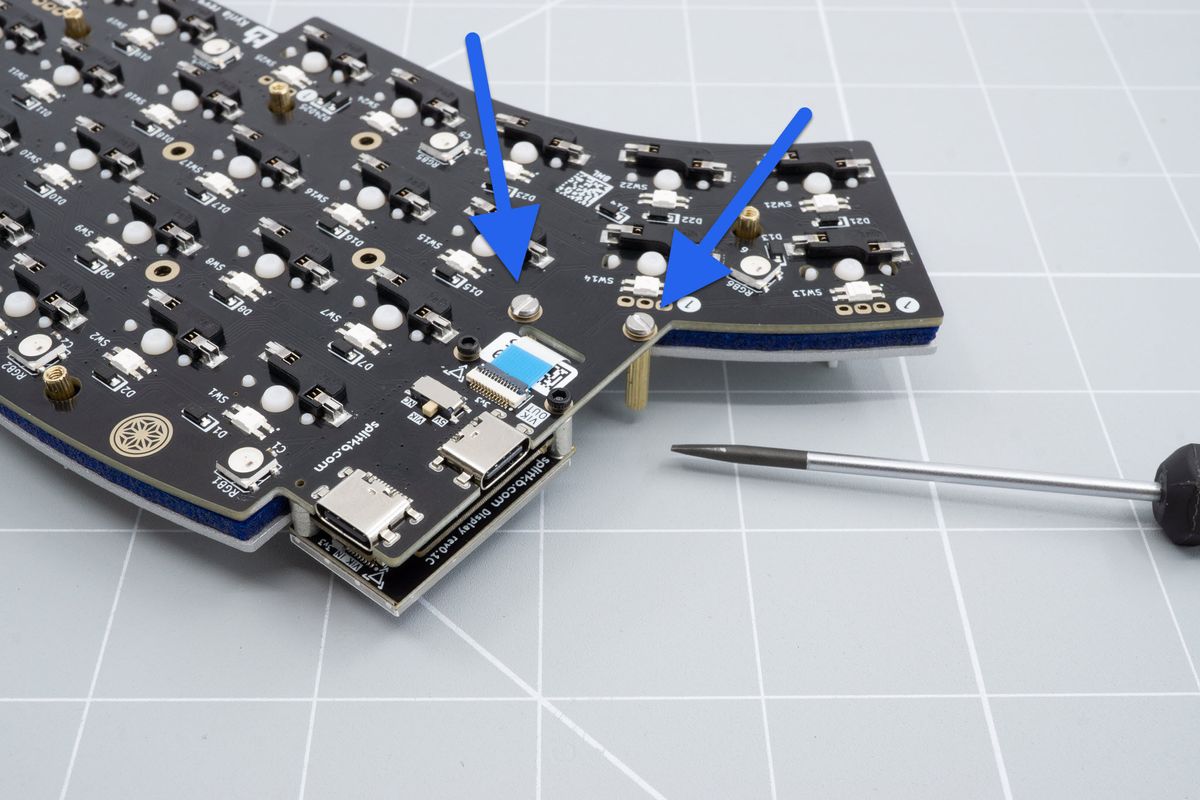
Removing the module cover.
Now follow the installation instructions of the module in reverse to remove the module. For the Cirque you of course won't need to disassemble the whole thing. Only removing the VIK cable and screws is enough. Depending on whether you have a wired or wireless build, follow the respective guide below.
For a wired keyboard:
Go to the wired modules guideFor a wireless keyboard:
Go to the wireless modules guideReinstalling a module
You can now follow the installation instructions steps in the normal order to install a module.
Wired
Go to the wired modules guideAfter that you can reinstall a module cover.
Go to the covers pageAnd finally add the bottom plate again. Skipping the bump-ons step of course.
Go to the bottom plate pageWireless
Go to the wireless modules guideAfter that you can reinstall a module cover.
Go to the covers pageAnd finally add the bottom plate again. Skipping the bump-ons step of course.
Go to the bottom plate pageRemoving the controller
If you need to replace your Halcyon controller.
Crimping LiPo batteries
How to crimp a LiPo battery for use on the wireless controller.