

Covers
You're almost there! Let's move on with the rest of the case. The steps to follow depend on which module you're using:
- Full cover
Compatible with the following modules:- When not using a module (Recommended to protect the battery)
- Display module
- Mini cover
Compatible with the following modules:- When not using a module (Coin cell only)
- Display module
- Encoder module
- Cirque cover
Compatible with the following modules:- Cirque Trackpad module
- Encoder cover
Compatible with the following modules:- Encoder module
The installation basically always boils down to the same steps.
Full cover
You will need the following parts. Your keyboard, the cover, two 6mm male-to-female spacers, two 12mm spacers, four screws and a flat head screwdriver.
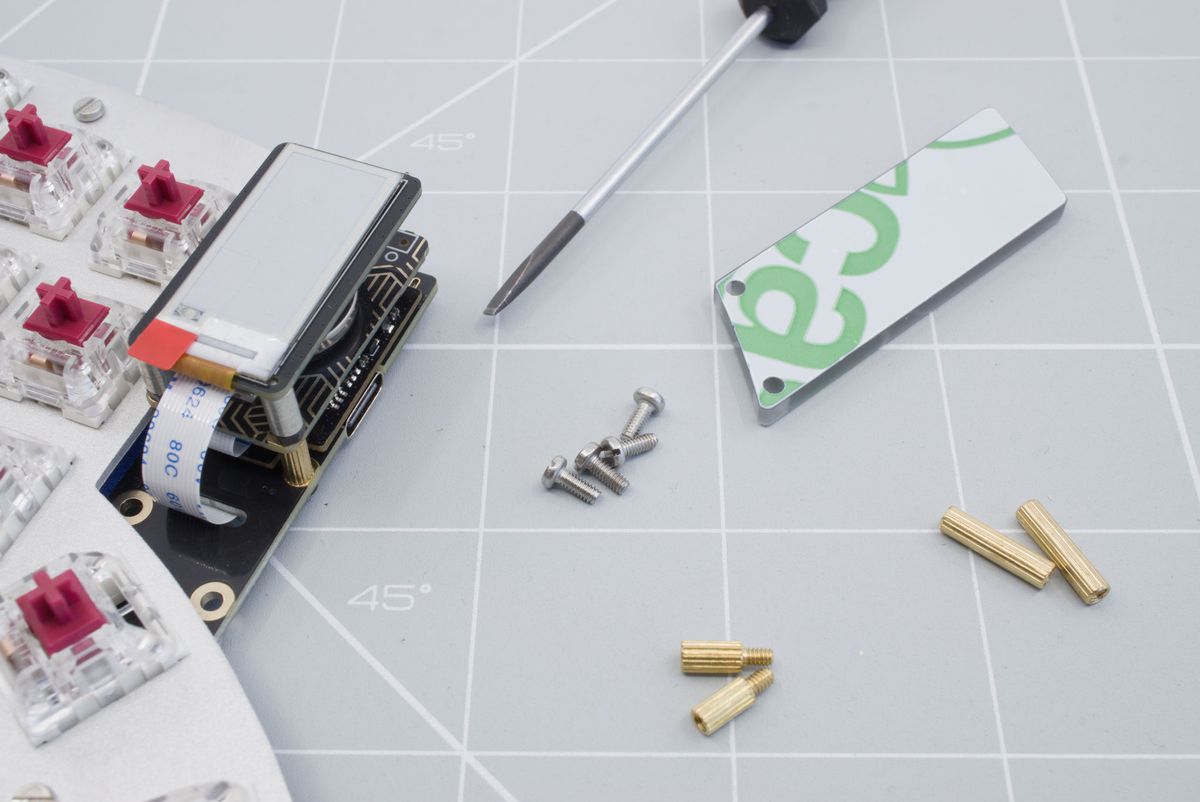
The keyboard, the cover, two 6mm male-to-female spacers, two 12mm spacers, four screws and a flat head screwdriver..
With the display module you'll first want to remove the plastic protective plastic from your display.
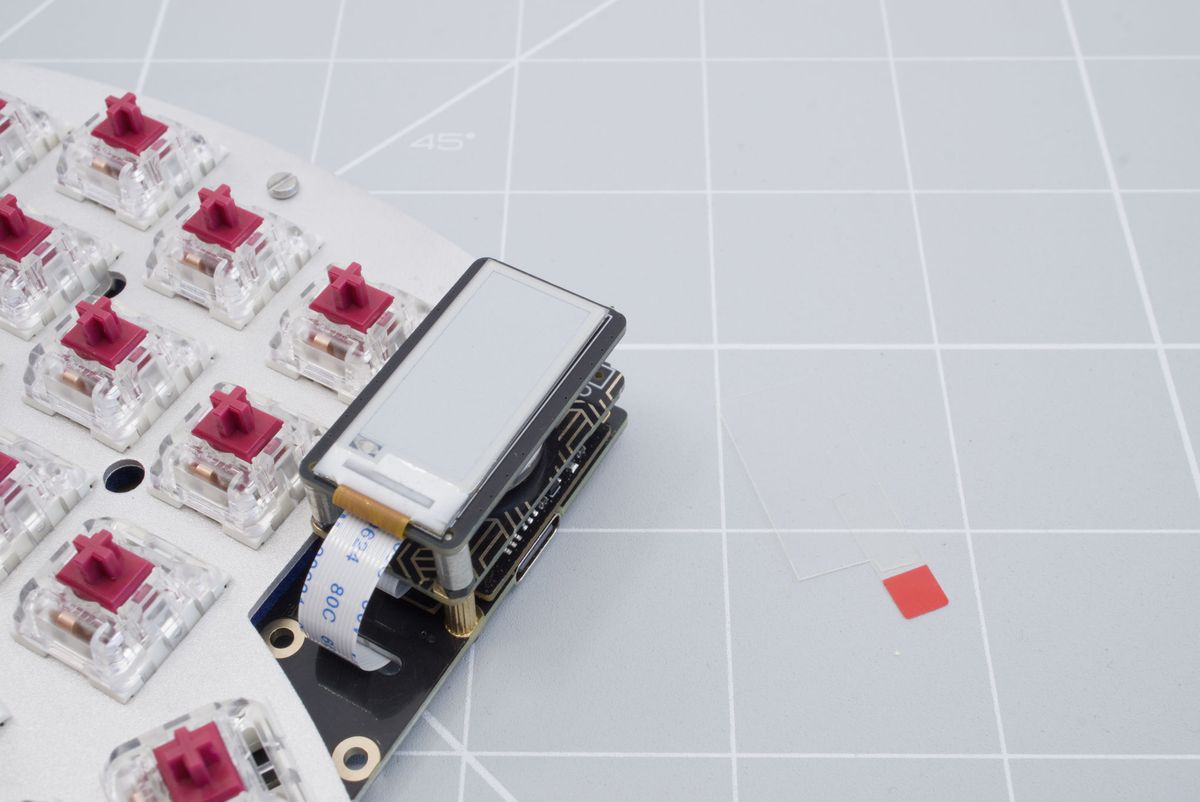
Removing the plastic protective sheet from the display.
Screw in the two spacers on to your keyboard. You may hold the spacer to make sure it screws in tight.
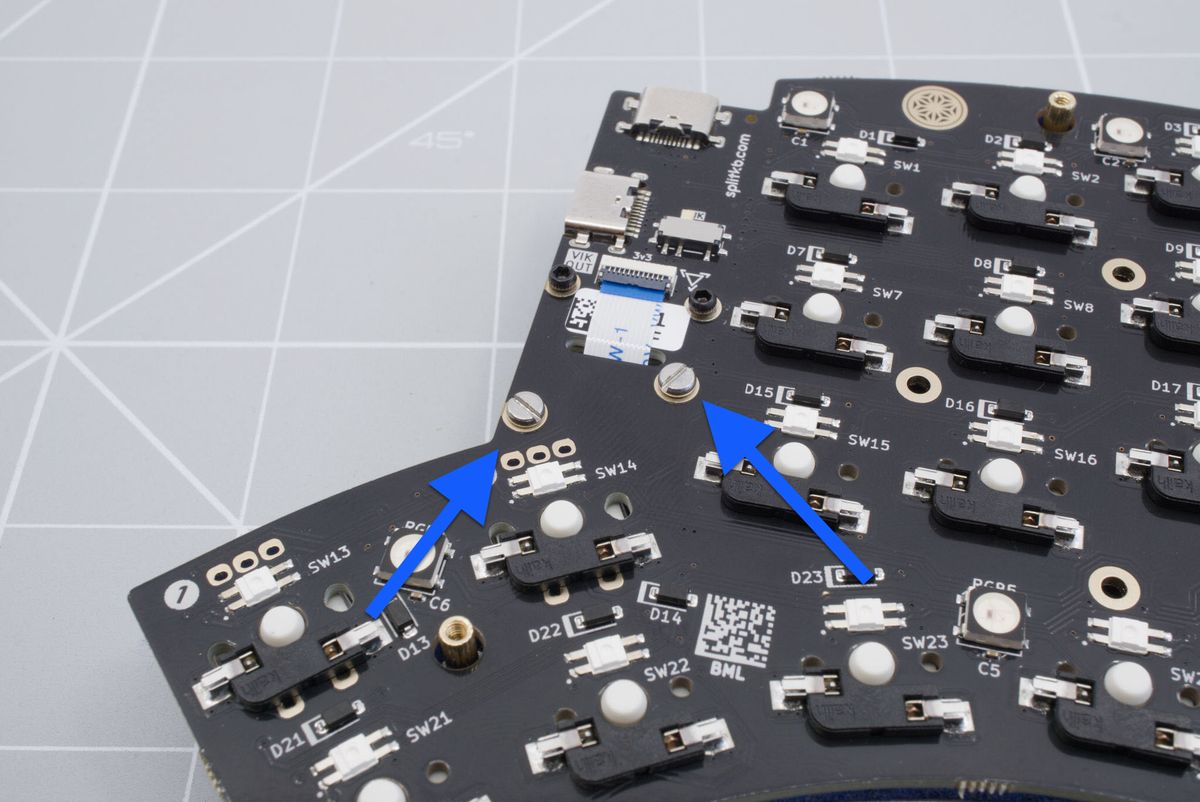
Screwing in the spacers.
Now screw in the male-to-female spacers in to the previously installed spacers.
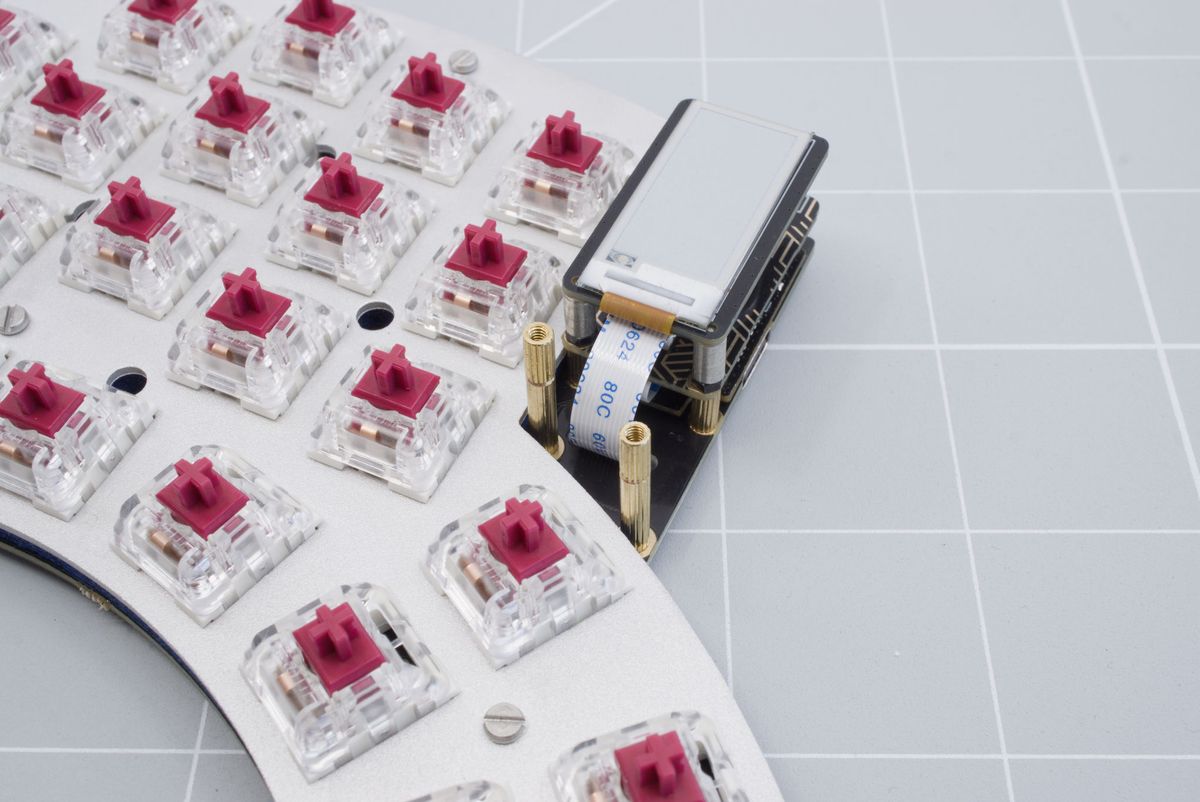
Screwing in the spacers.
Remove the protective plastic from the acrylic cover.
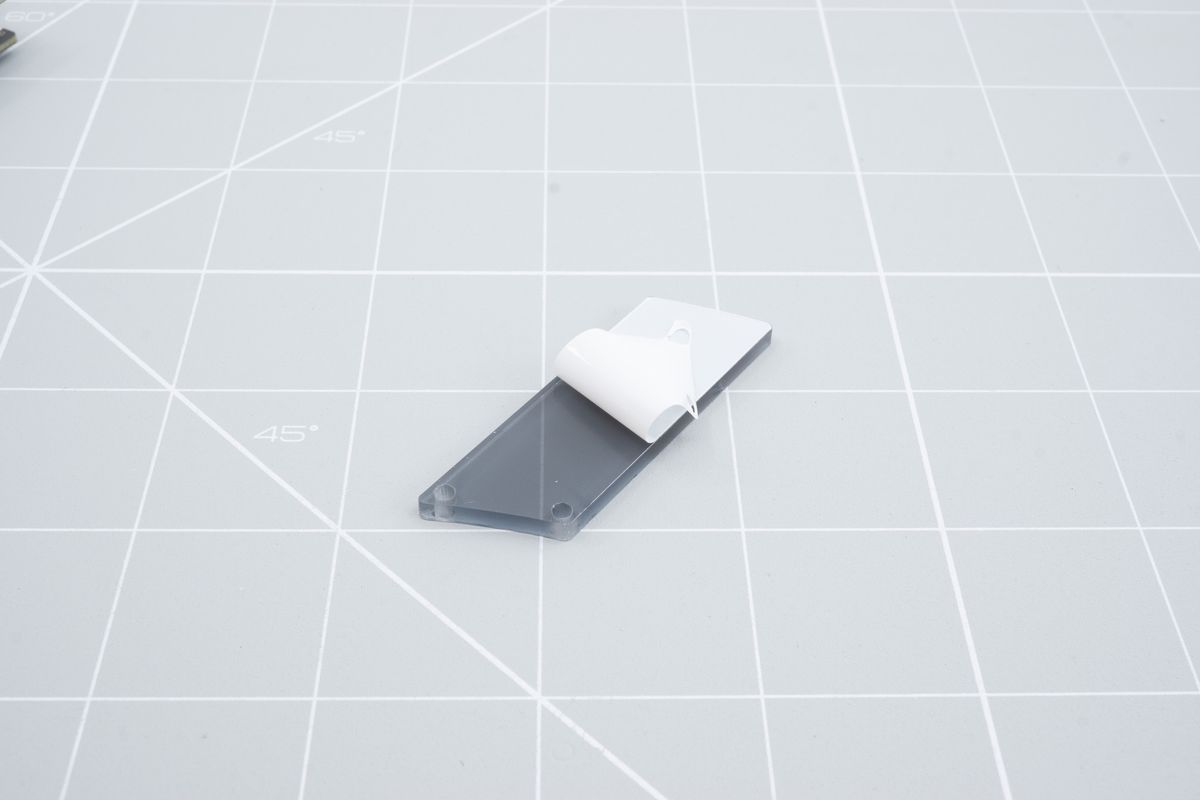
Removing the plastic protective from the acrylic cover.
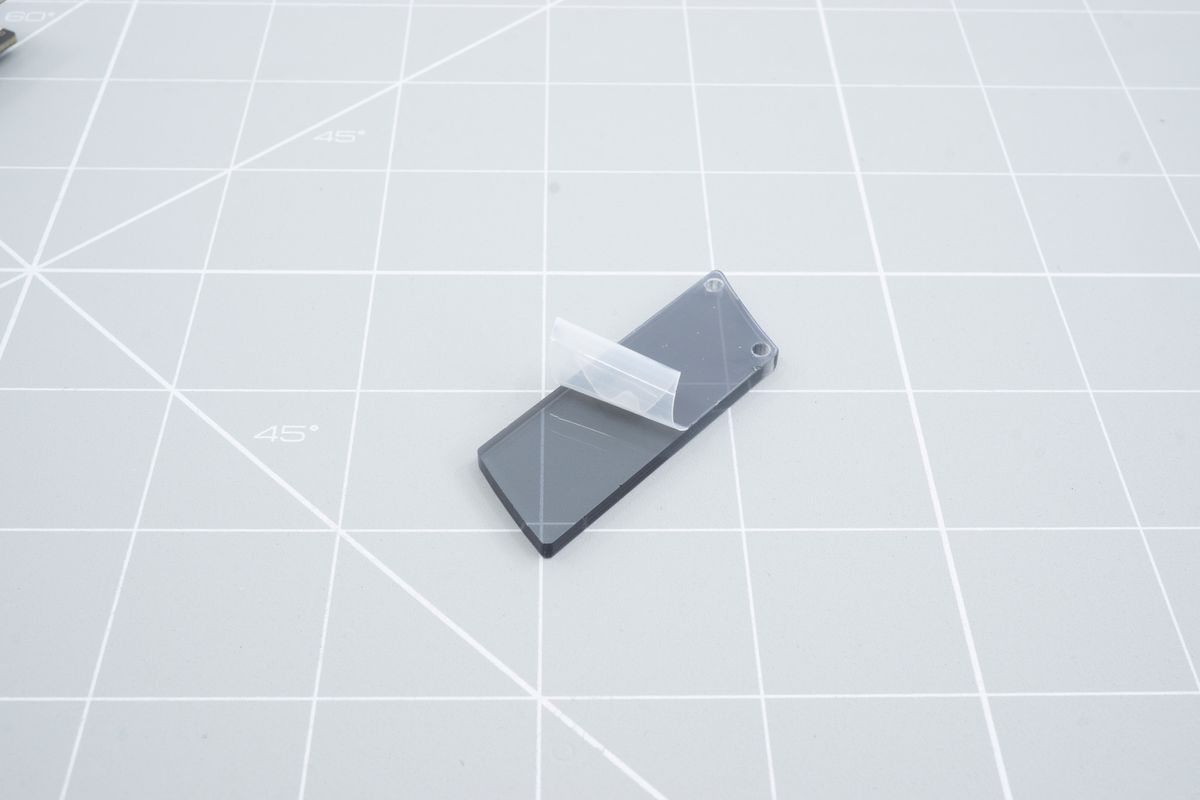
Removing the plastic protective from the other side of the acrylic cover.
Screw in the cover from the other side. You may need to hold the cover in it's desired position to make sure it's straight while screwing in the first screw.
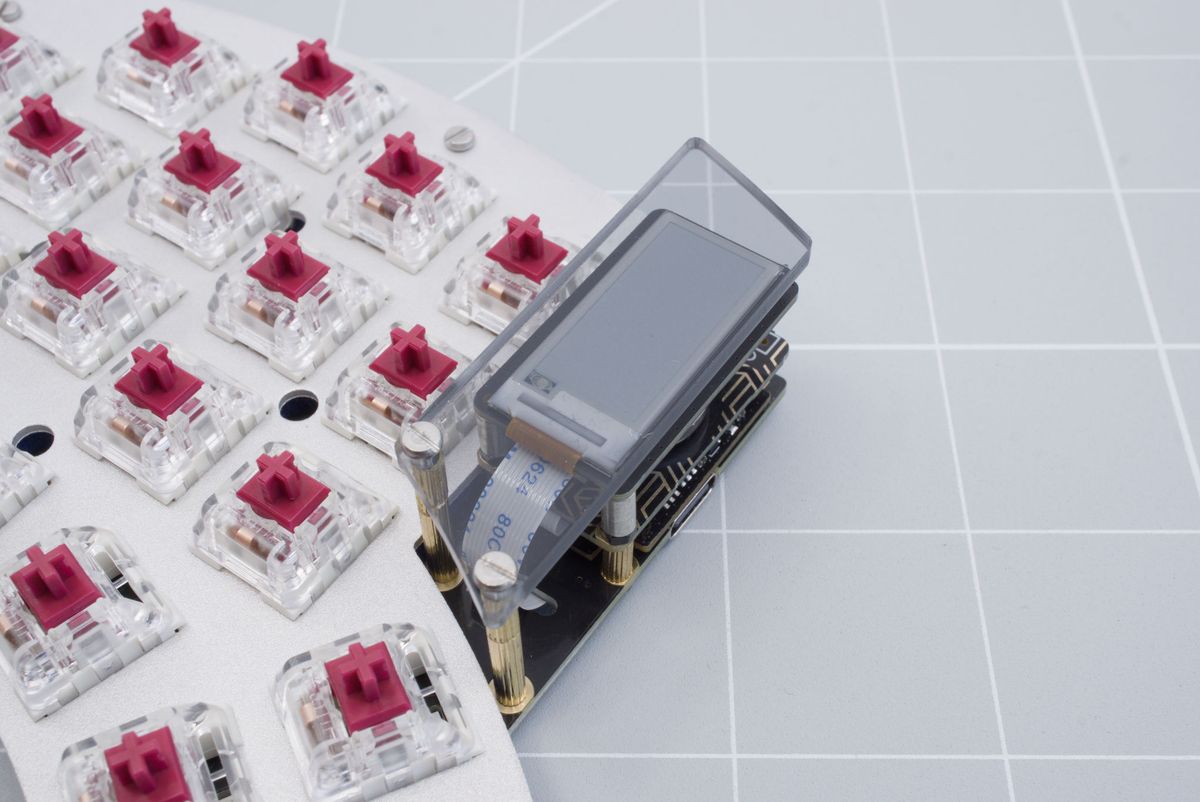
Screwing in the cover.
You've successfully installed the cover!
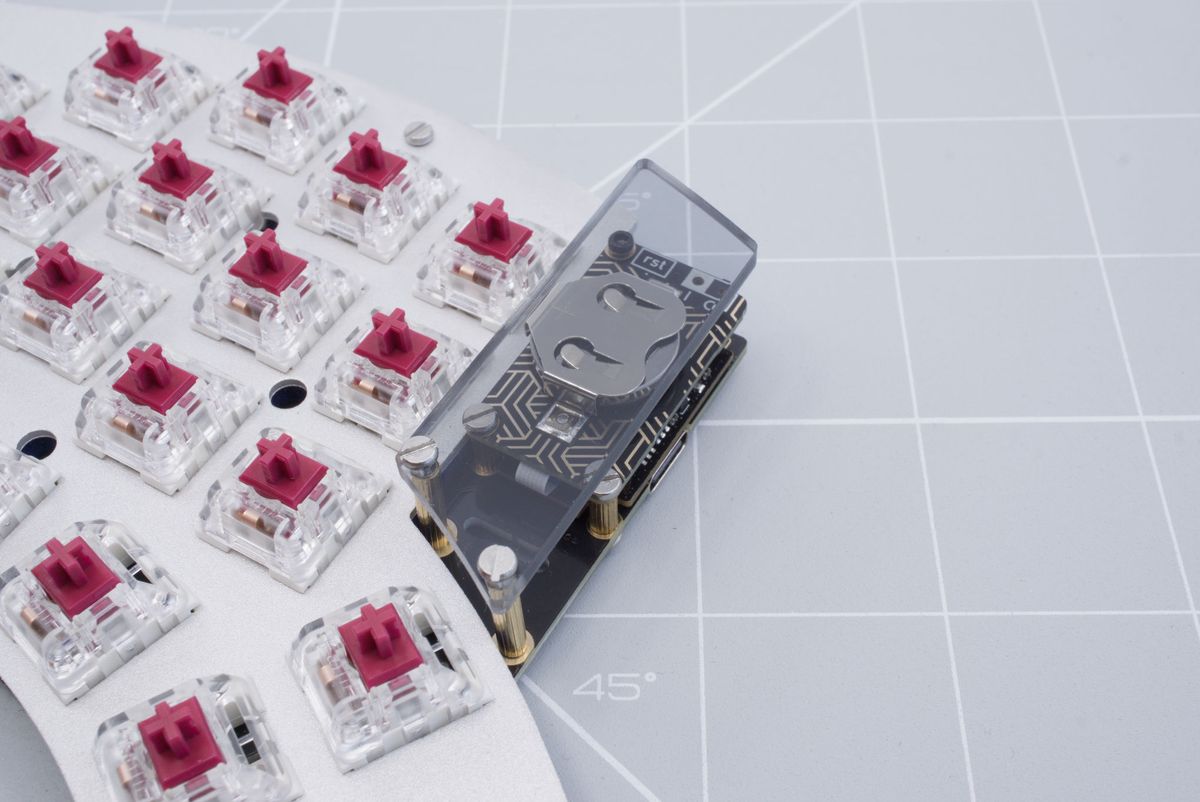
Cover with battery board.
Mini cover
You will need the following parts. Your keyboard, the cover, two 12mm spacers, four screws and a flat head screwdriver.
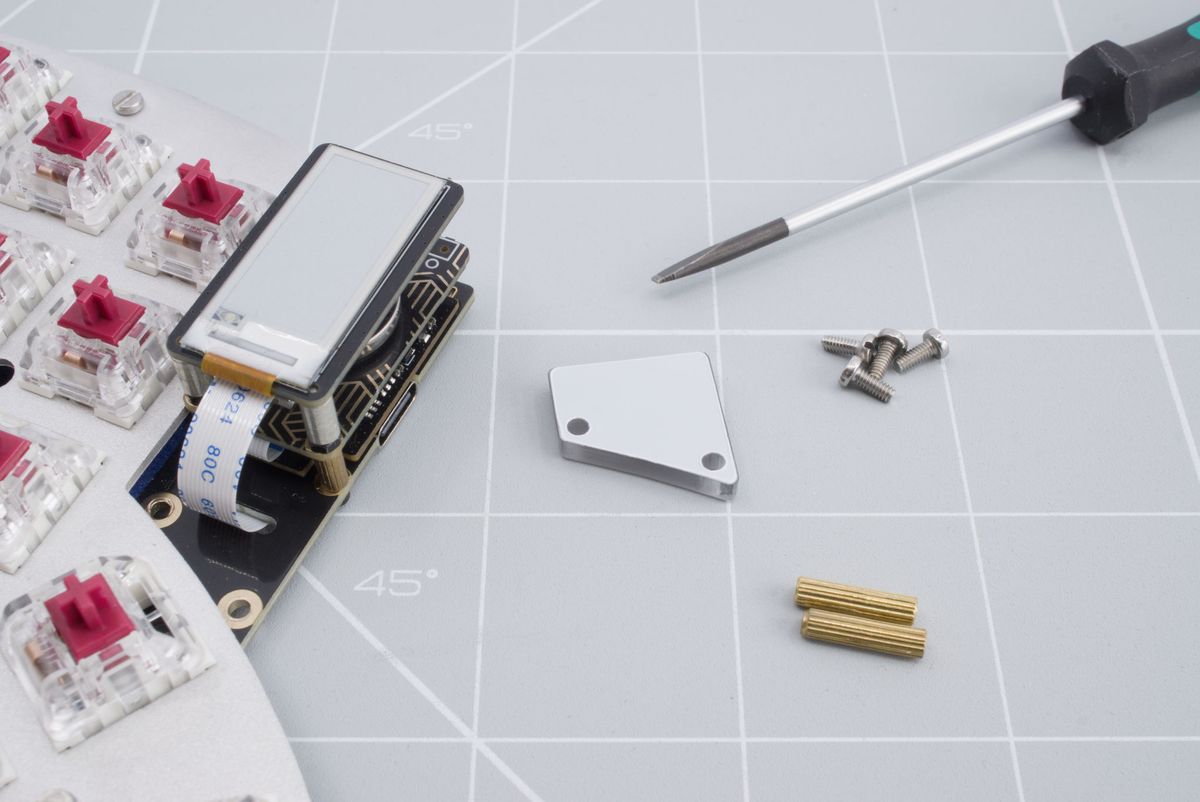
The keyboard, the cover, two 12mm spacers, four screws and a flat head screwdriver..
Screw in the two spacers on to your keyboard. You may hold the spacer to make sure it screws in tight.
Screwing in the spacers.
Remove the protective plastic from the acrylic cover.
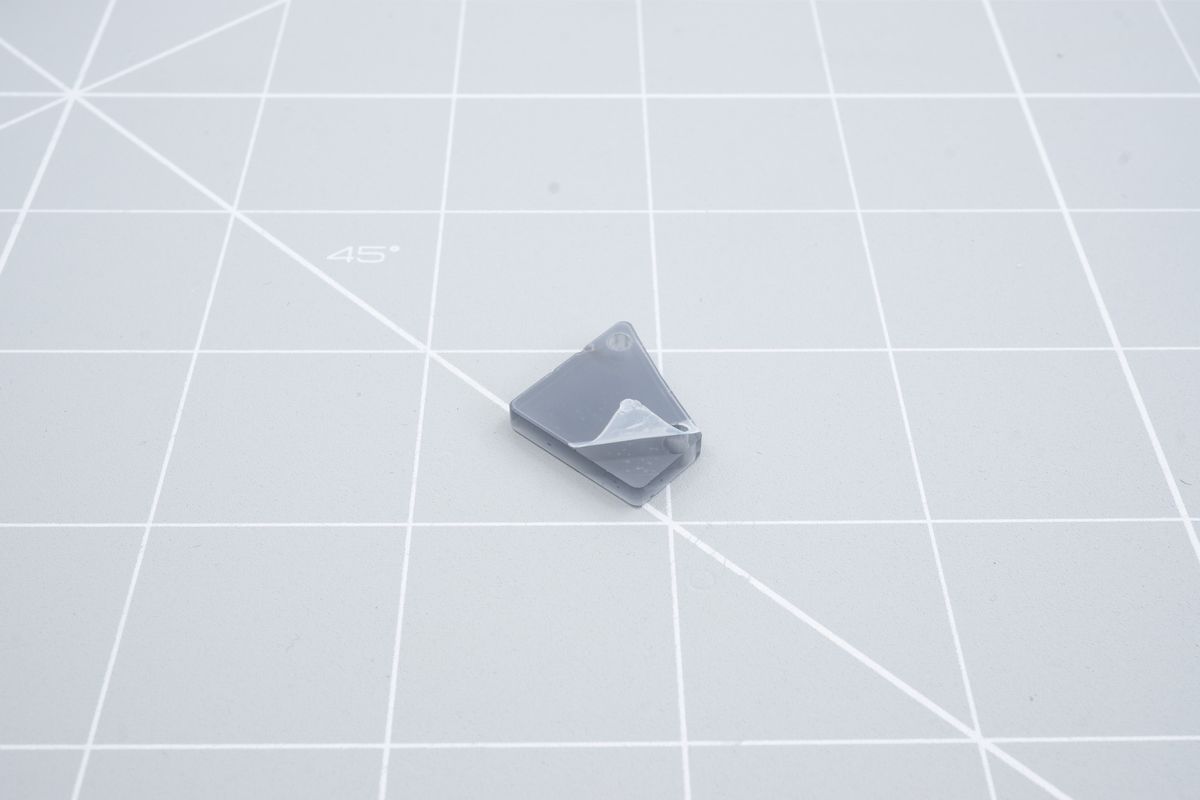
Removing the plastic protective from the acrylic cover.
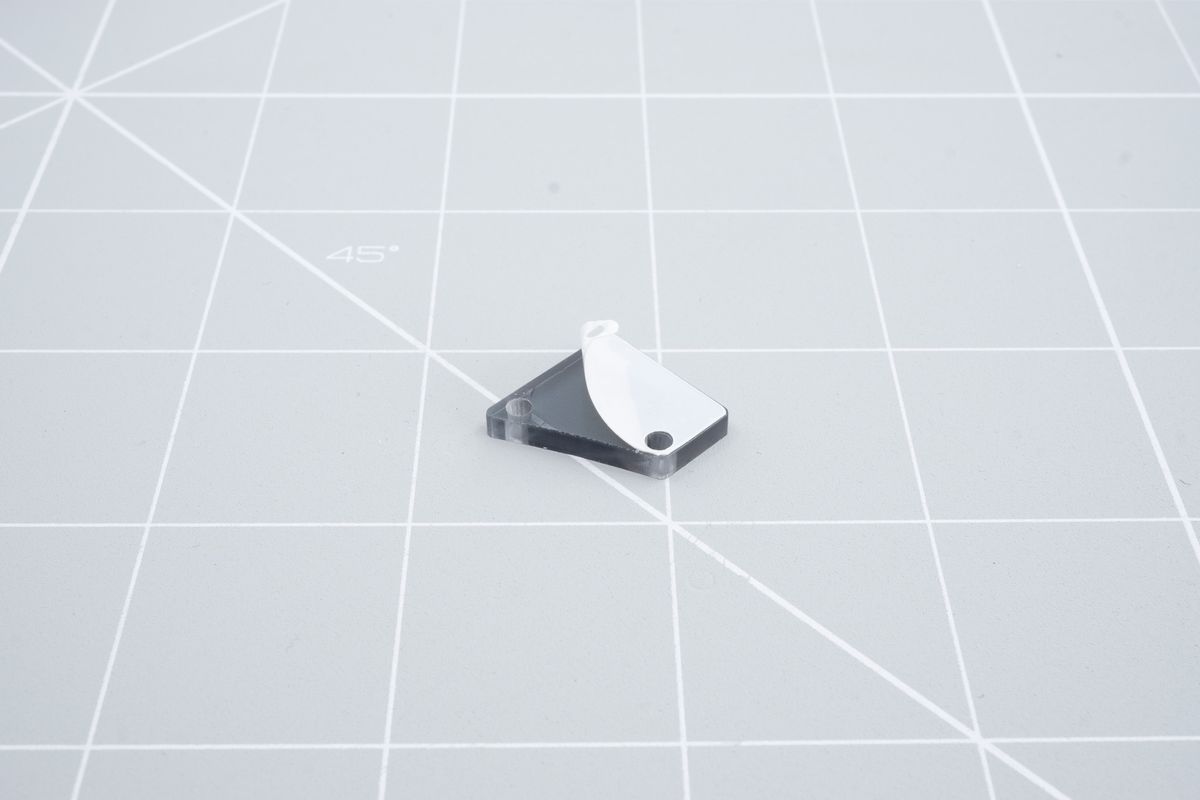
Removing the plastic protective from the other side of the acrylic cover.
Screw in the cover from the other side. You may need to hold the cover in it's desired position to make sure it's straight while screwing in the first screw.
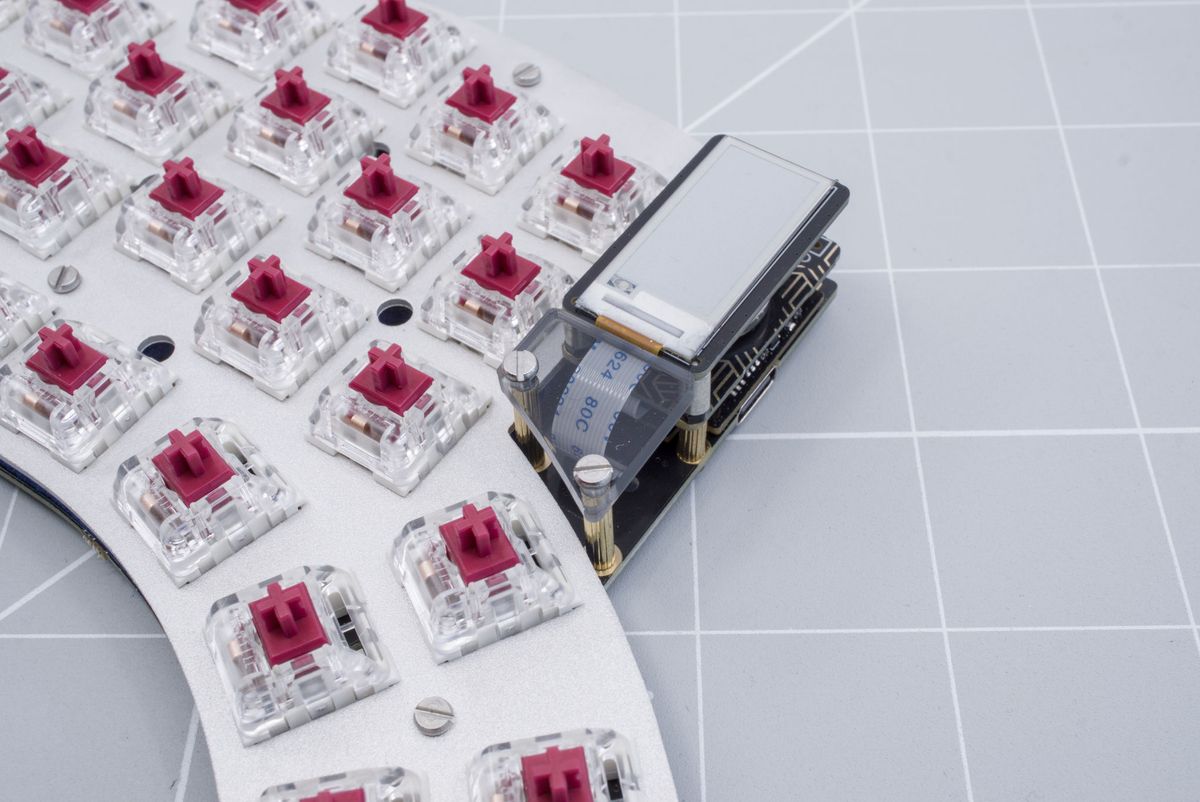
Screwing in the cover.
You've successfully installed the cover!
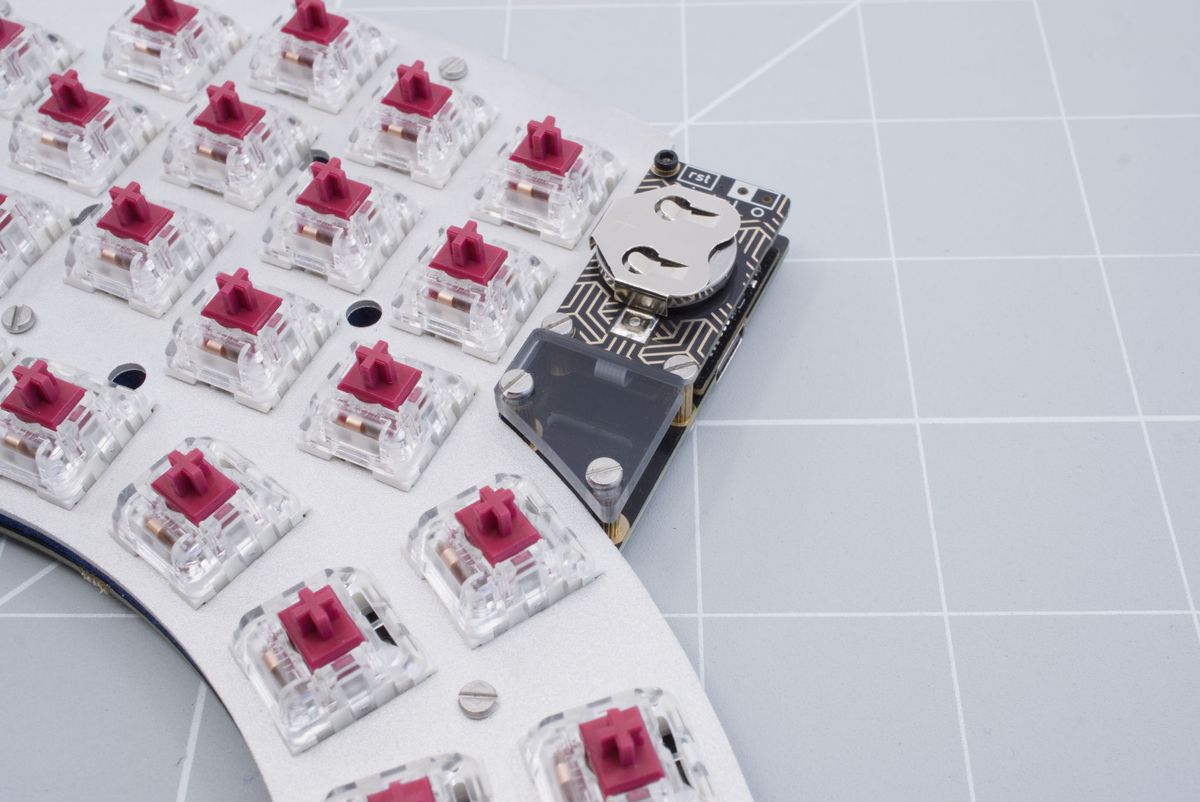
Cover with battery board.
Cirque cover
You will need the following parts. Your keyboard, the cover, two 12mm spacers, four screws and a flat head screwdriver.
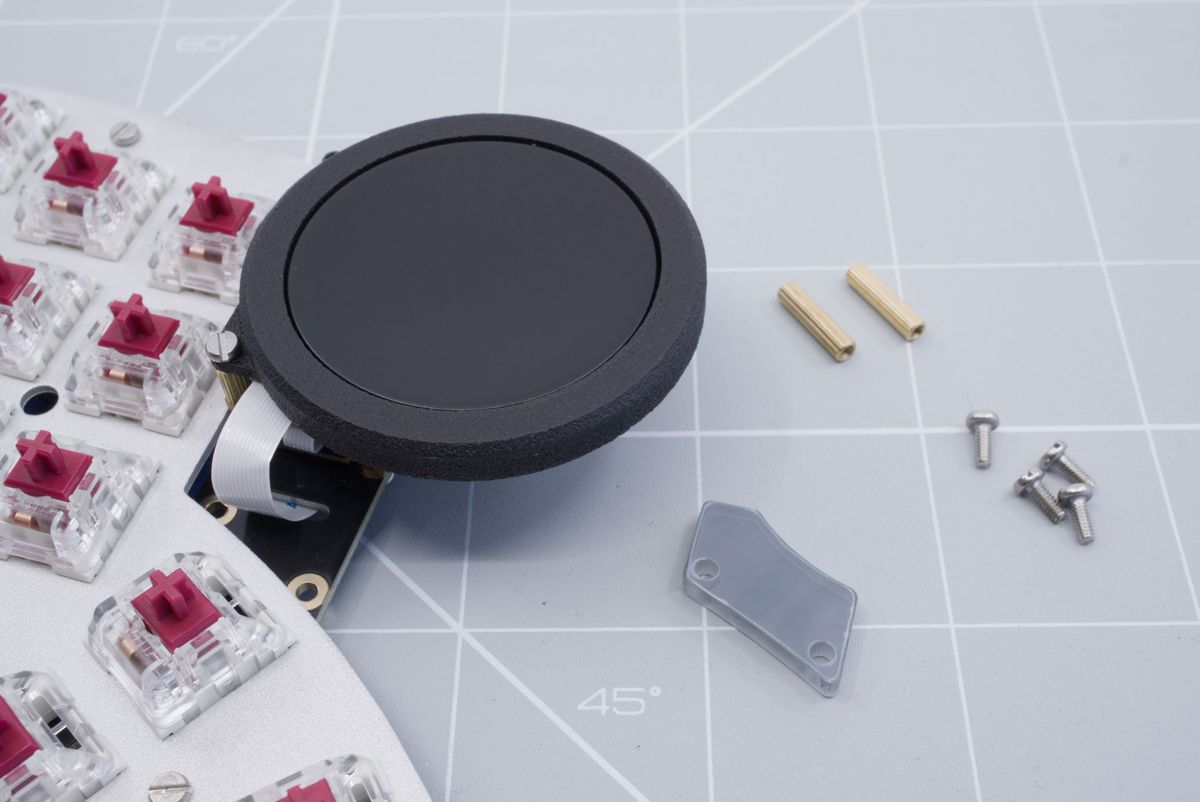
The keyboard, the cover, two 12mm spacers, four screws and a flat head screwdriver..
Screw in the two spacers on to your keyboard. You may hold the spacer to make sure it screws in tight.
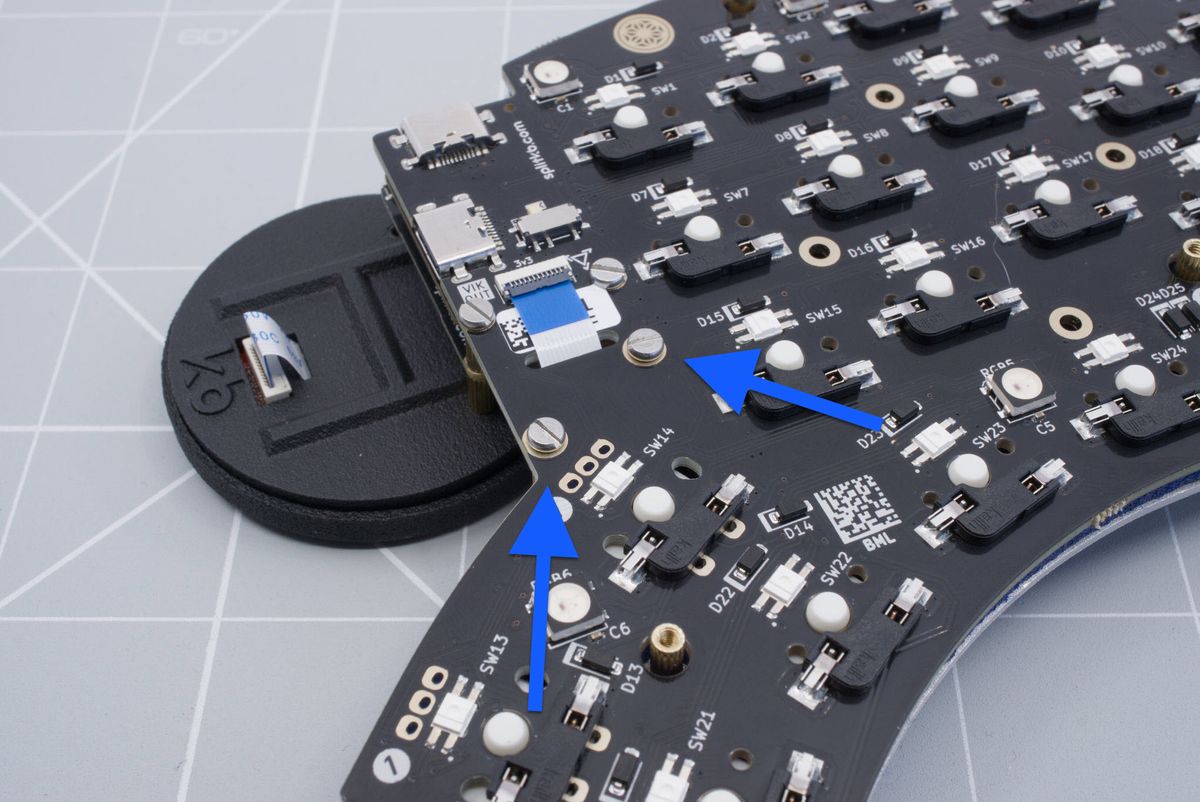
Screwing in the spacers.
Remove the protective plastic from the acrylic cover.
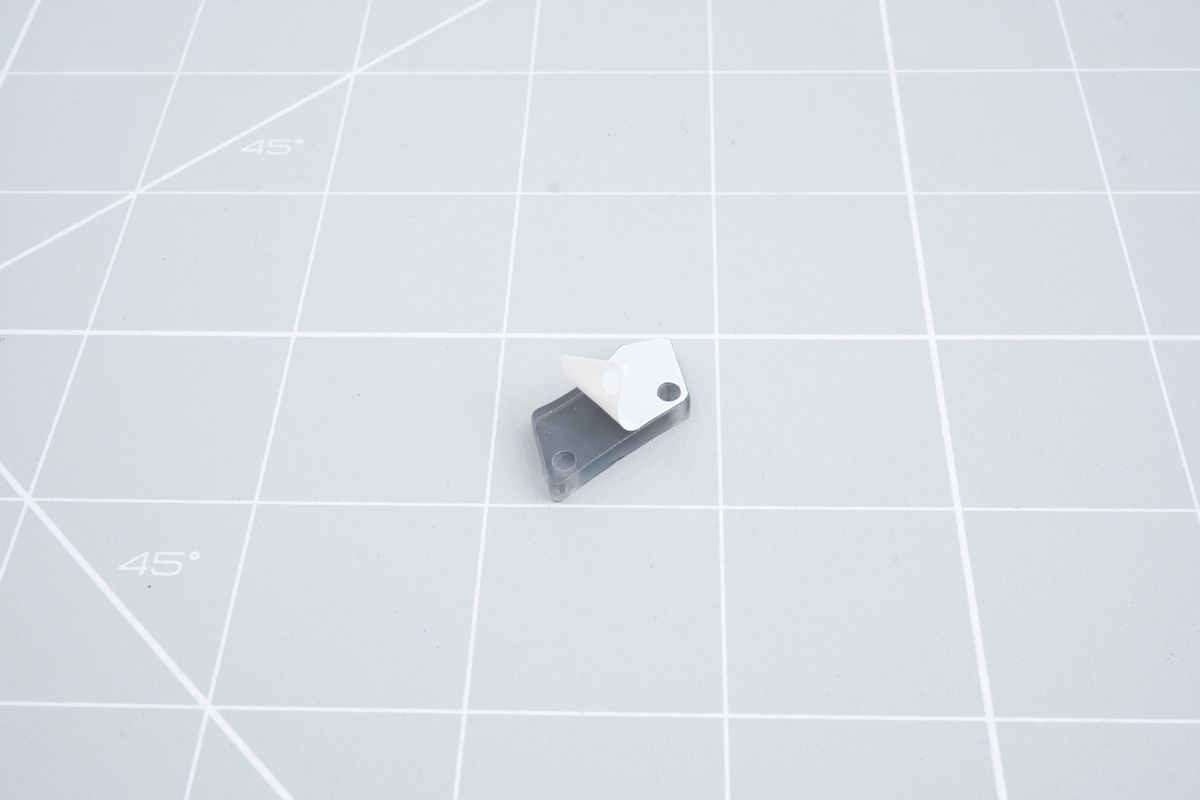
Removing the plastic protective from the acrylic cover.
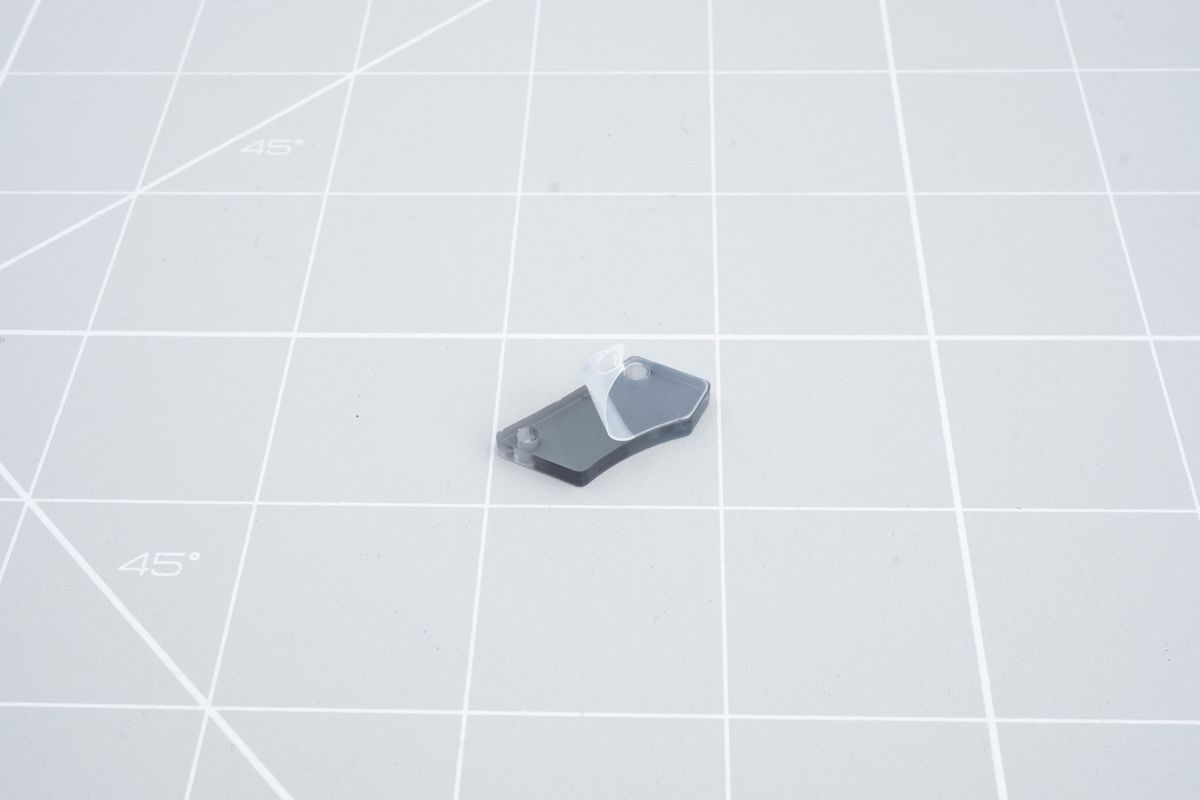
Removing the plastic protective from the other side of the acrylic cover.
Screw in the cover from the other side. You may need to hold the cover in it's desired position to make sure it's straight while screwing in the first screw.
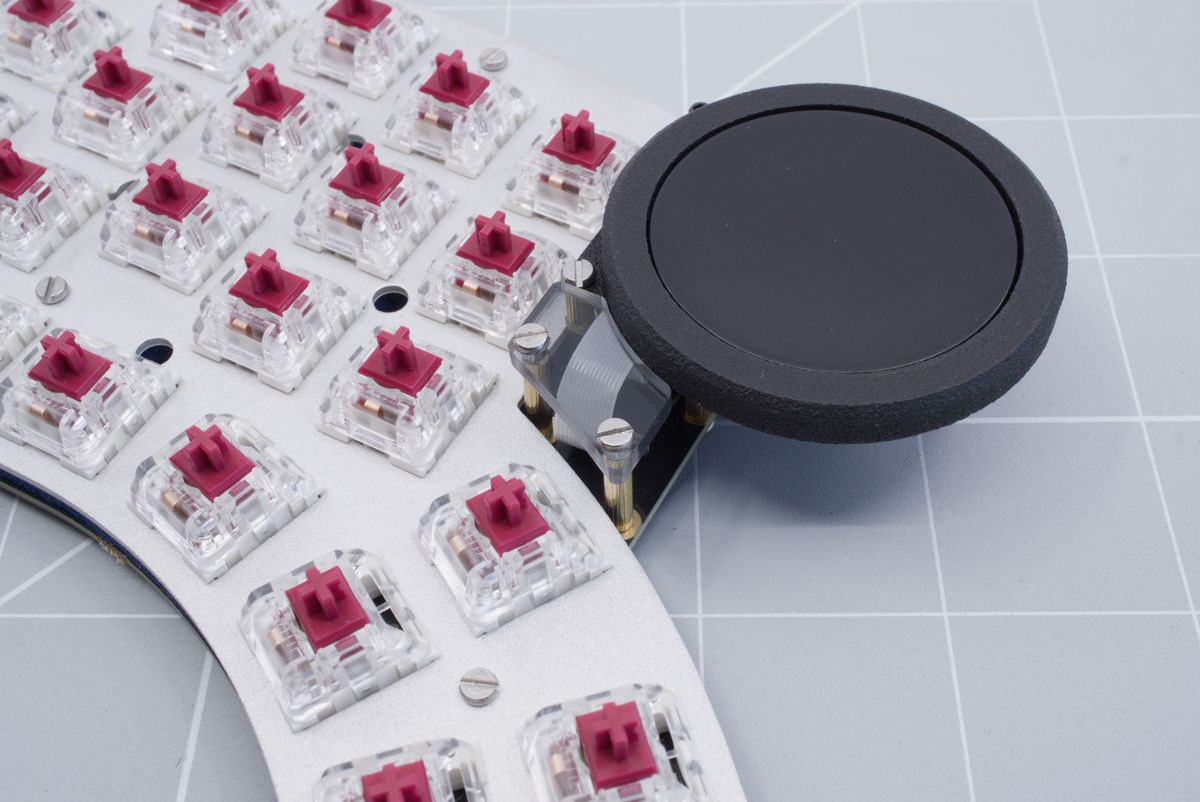
Screwing in the cover.
You've successfully installed the cover!
Encoder cover
You will need the following parts. Your keyboard, the cover, two 8mm male-to-female spacers, two 12mm spacers, four screws and a flat head screwdriver.
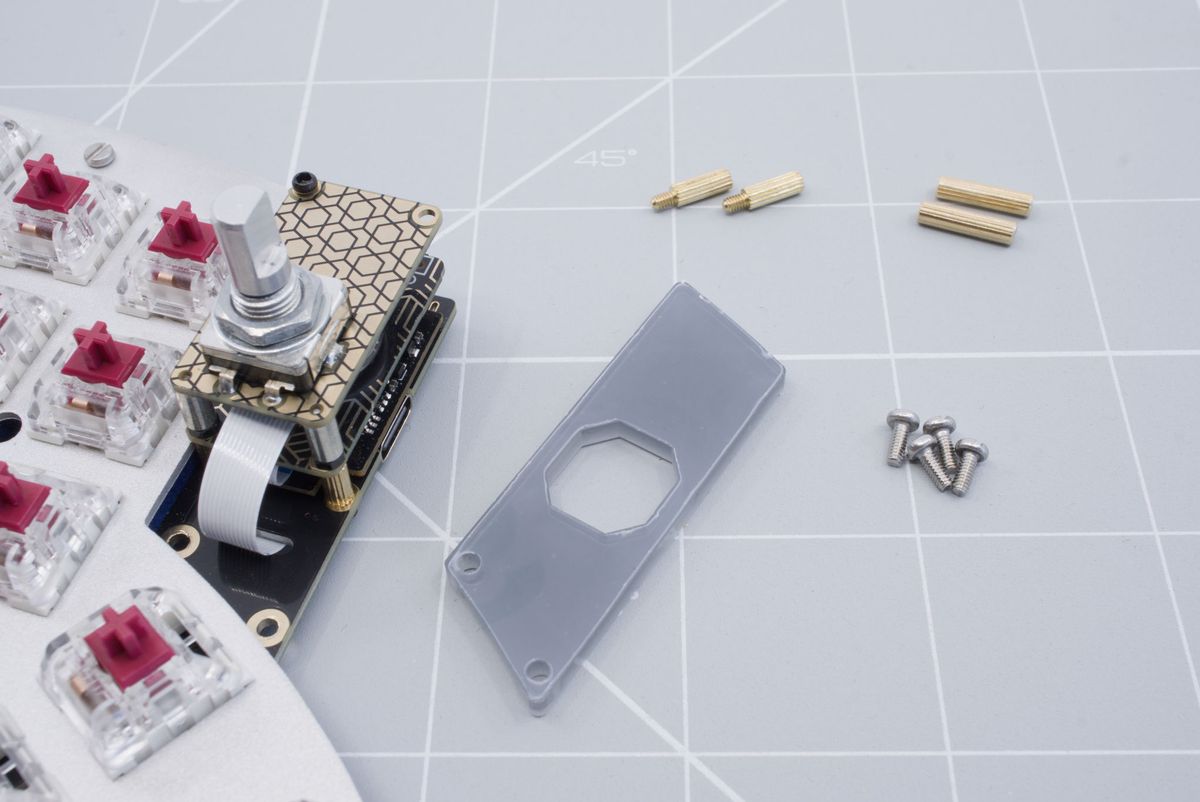
The keyboard, the cover, two 8mm male-to-female spacers, two 12mm spacers, four screws and a flat head screwdriver..
Screw in the two spacers on to your keyboard. You may hold the spacer to make sure it screws in tight.
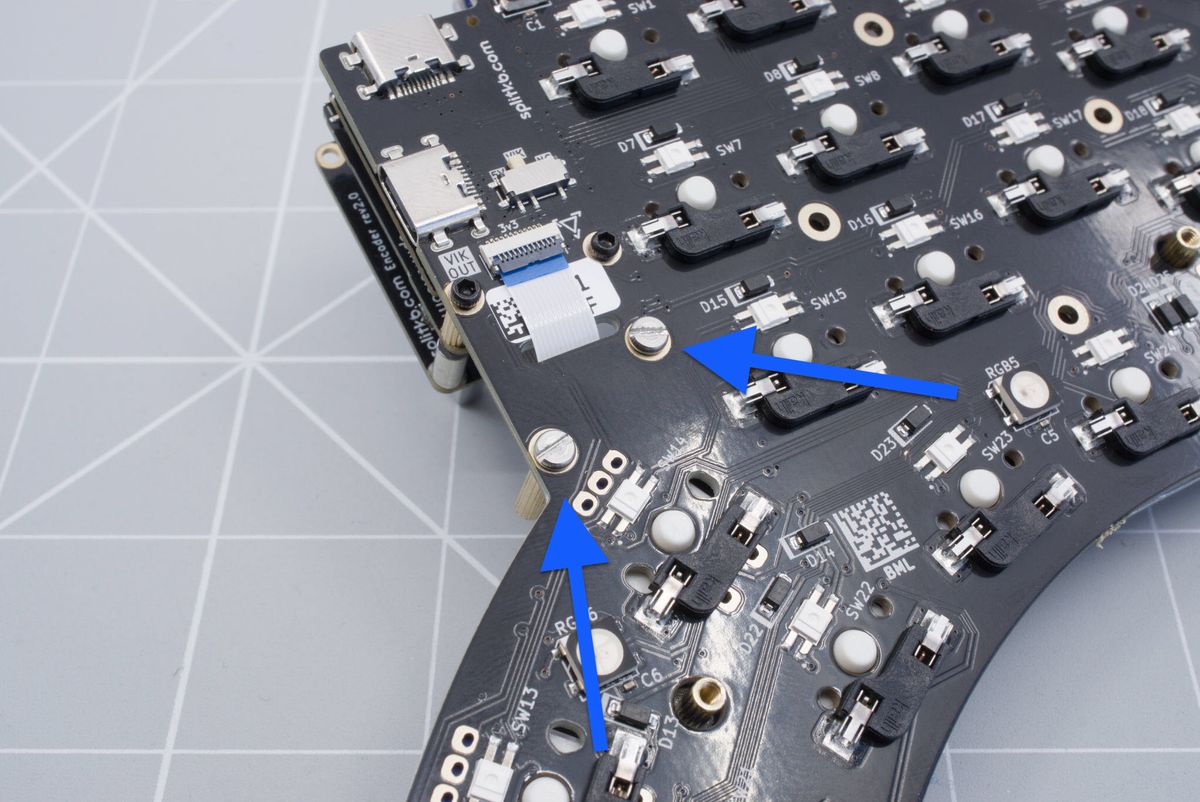
Screwing in the spacers.
Now screw in the male-to-female spacers in to the previously installed spacers.
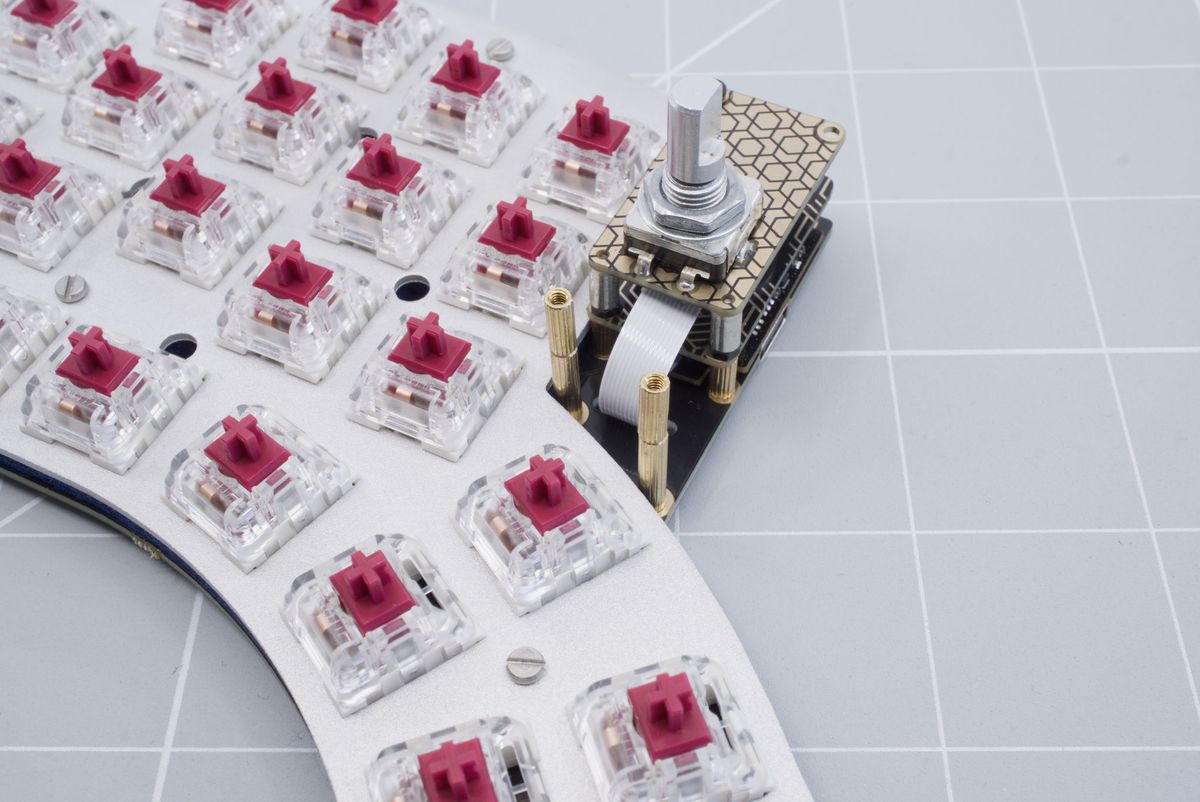
Screwing in the spacers.
Remove the protective plastic from the acrylic cover.
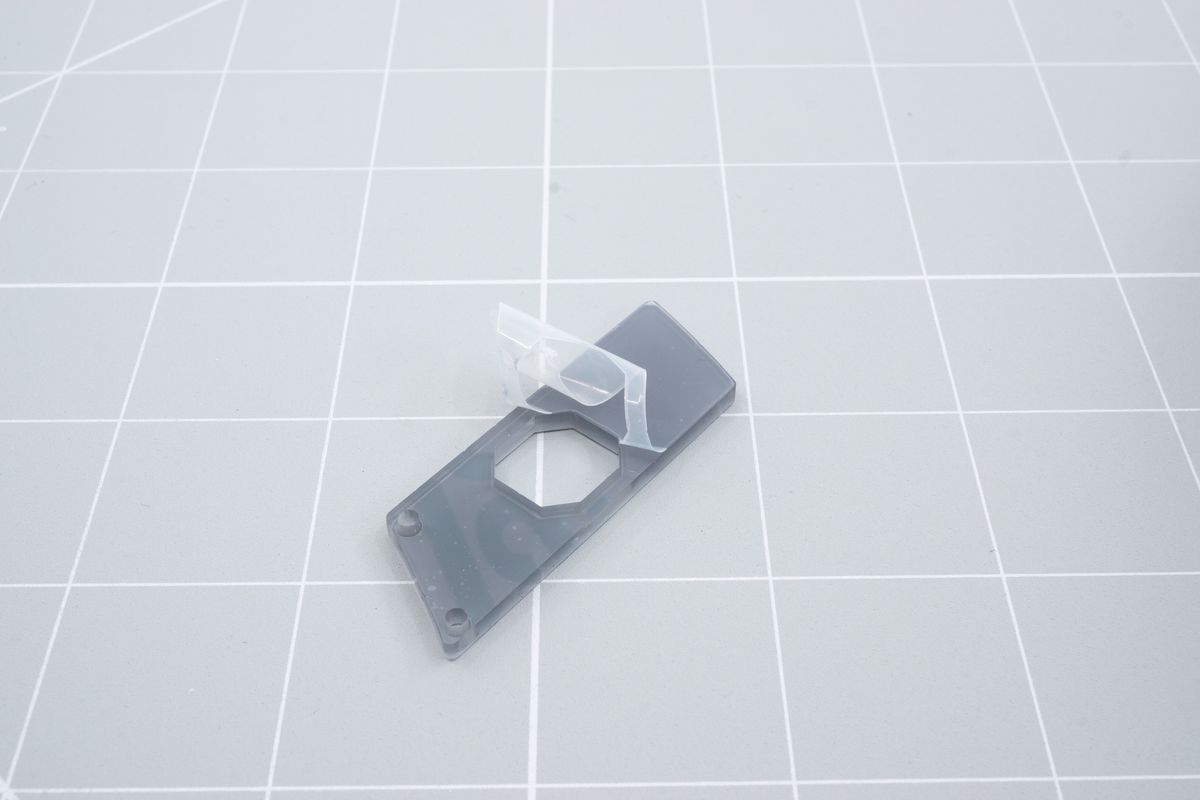
Removing the plastic protective from the acrylic cover.
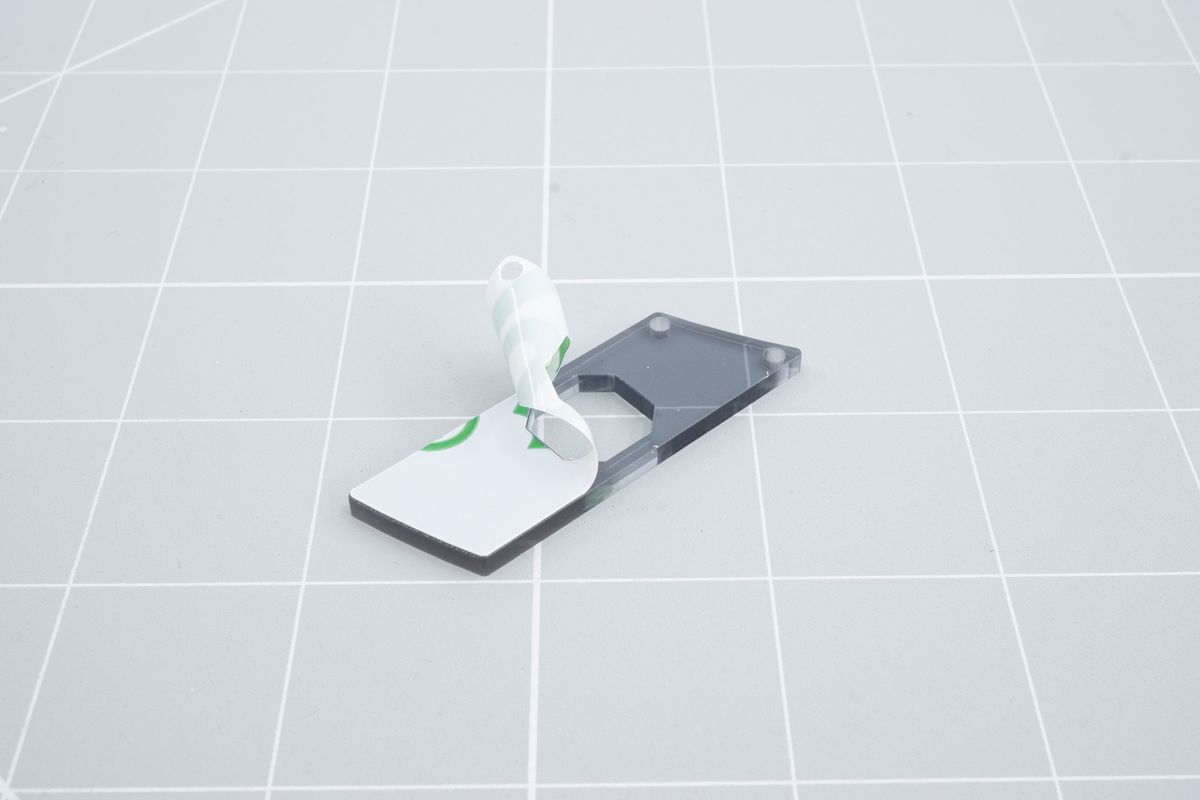
Removing the plastic protective from the other side of the acrylic cover.
Screw in the cover from the other side. You may need to hold the cover in it's desired position to make sure it's straight while screwing in the first screw.
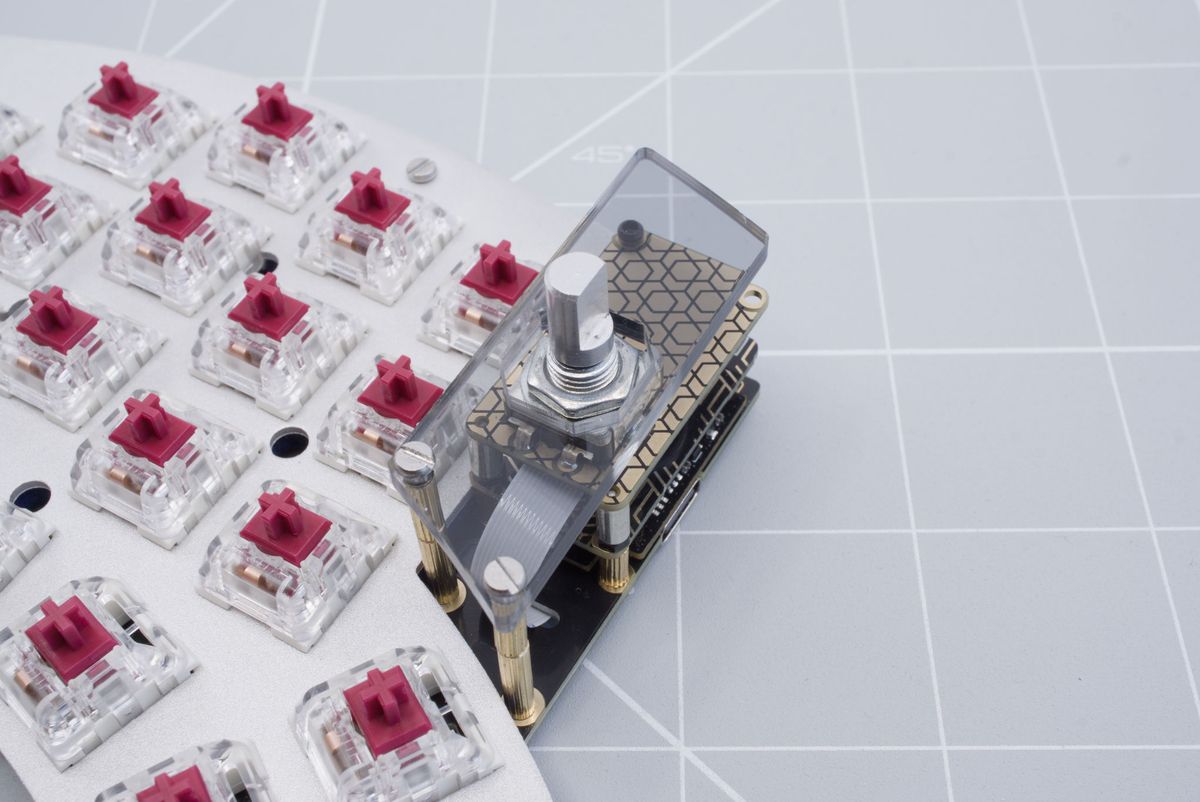
Screwing in the cover.
You've successfully installed the cover! You can now go back to the module page to install the encoder knob
Switches
Putting the switches through the top plate.
Bottom plates
Let's finish the case using the bottom plates.