

Crimping LiPo batteries
Adding a JST plug to your battery
You will of course need the battery, a JST-PH body and two connectors. The battery here has already stripped cables and a piece of tape on the positive (red) cable. Keep this piece of tape on there or add some tape yourself if it’s not on there by default. Also strip the black cable if it’s not stripped by default.
You can use a specialised JST crimping tool. This makes the job very easy, but the tool can be quite expensive. Alternatively, you can also use small pliers. How to use either of these tools is explained below.
First, let's ready the cables for the connector. These steps apply to both tools.
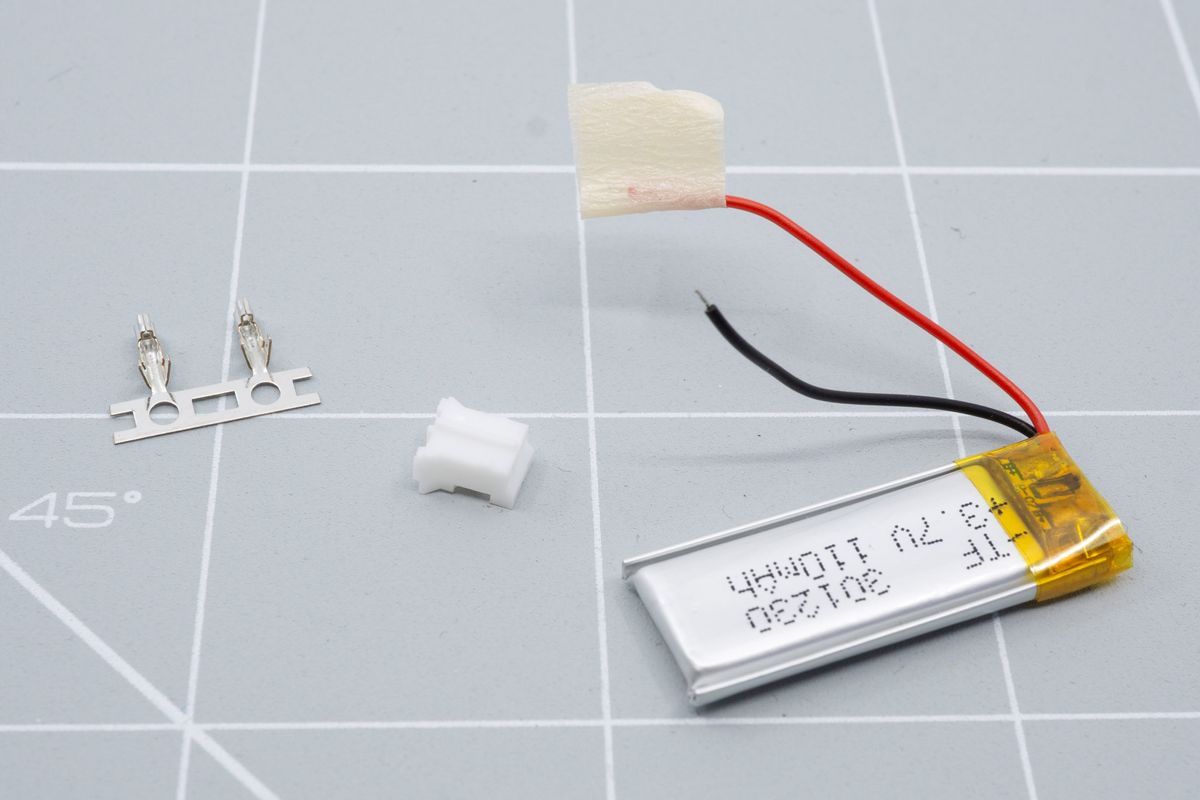
The necessary parts, from left to right: the connectors, the JST-PH body and the battery you're going to add the plug to.
Remove the connectors from the strip by bending it forward and backwards until it breaks off.
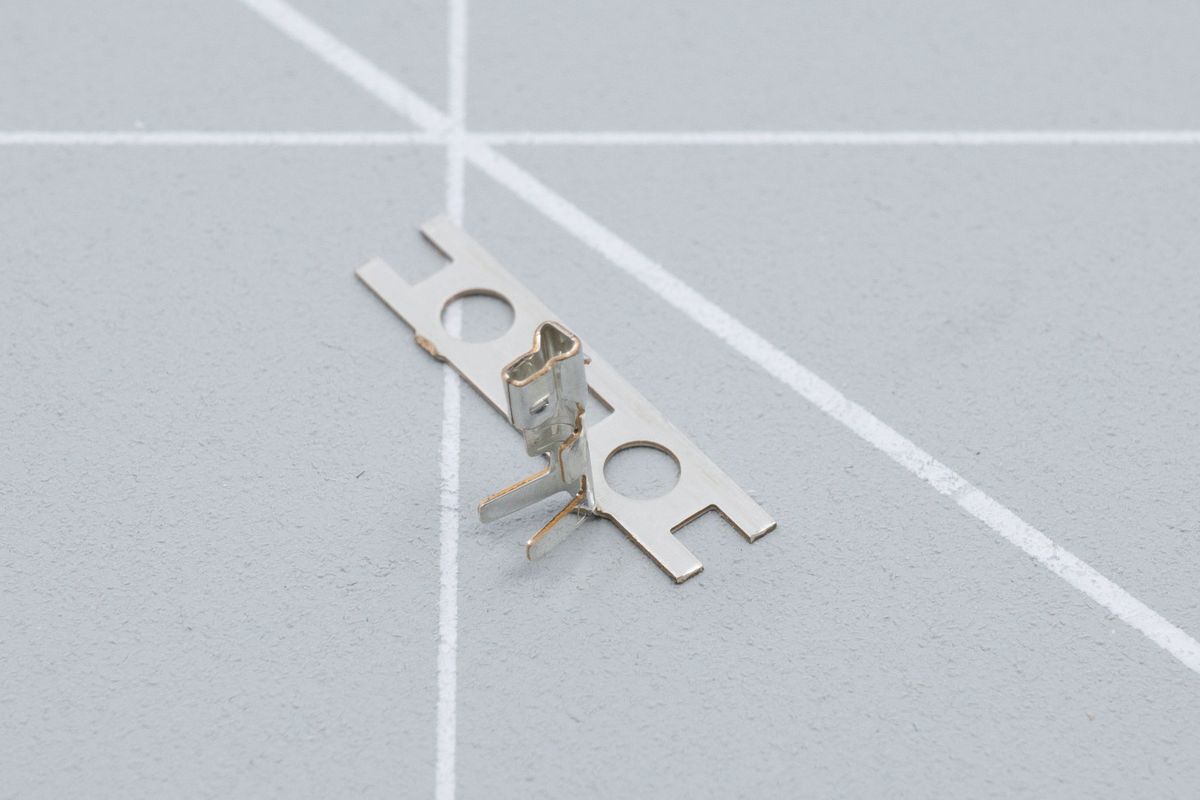
If using just your fingers is awkward, you can also use pliers to hold the metal strip while you move the connector back and forth.
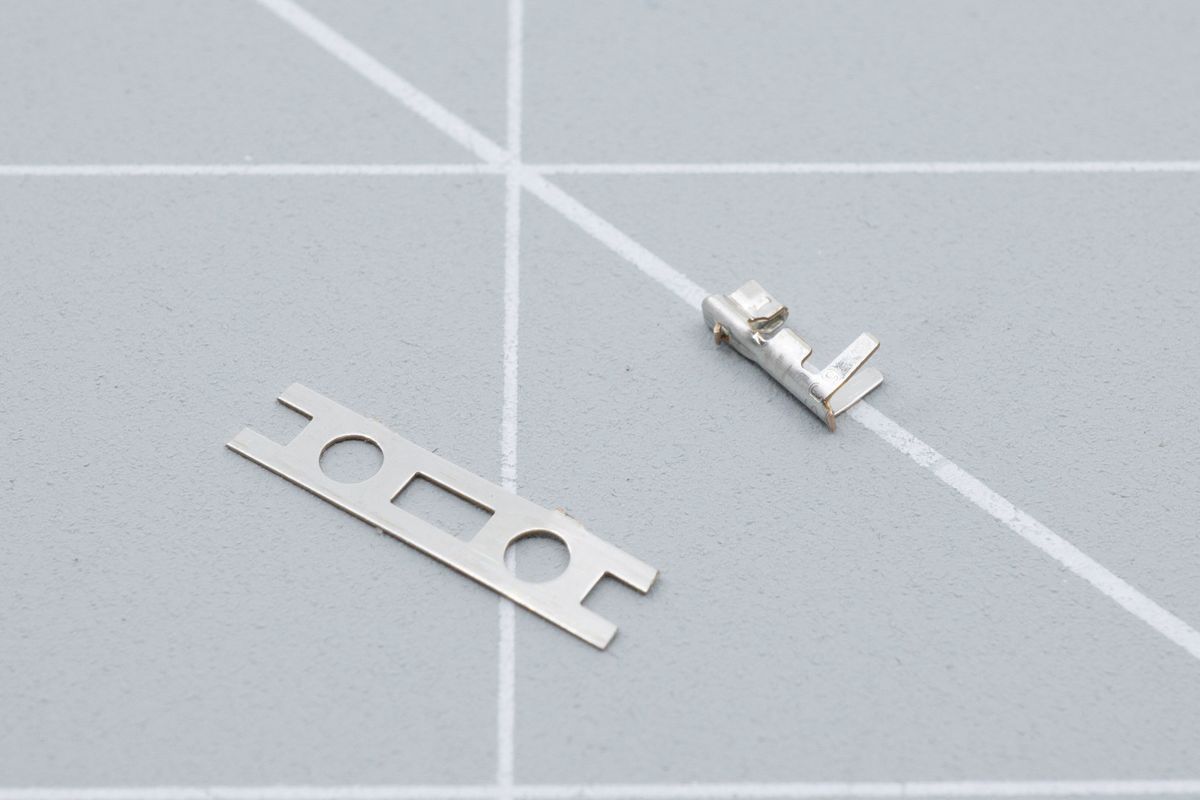
The connector will snap clean off the strip.
Using an appropriate JST crimping tool
Insert the connector in to the JST crimping tool, use the 1.3mm wide slot. Make sure it’s all the way in by pushing the longer legs against the tool. Don’t squeeze the crimper too hard yet!
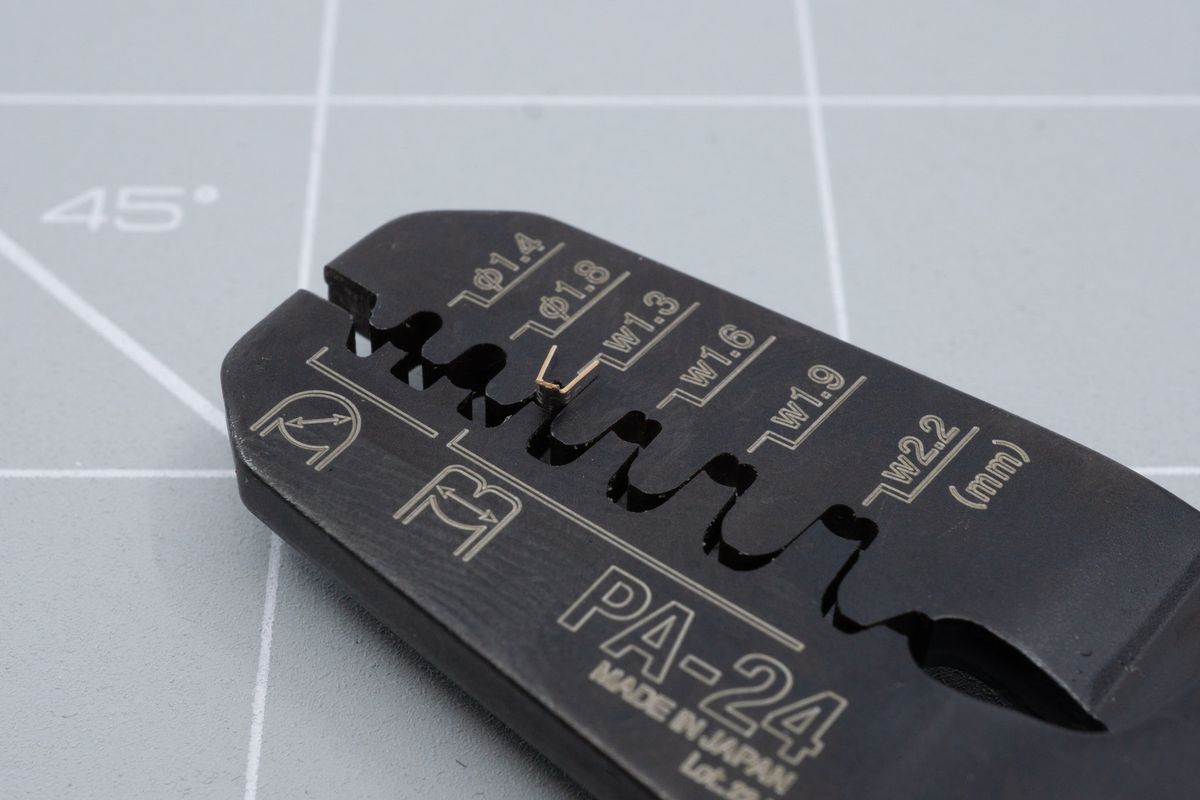
A crimping tool makes the job easy.
Insert the cable into the connector. Make sure you don’t push in the cable too far. The exposed metal should be parallel with the crimping tool. When it’s in position, squeeze the crimping tool hard.
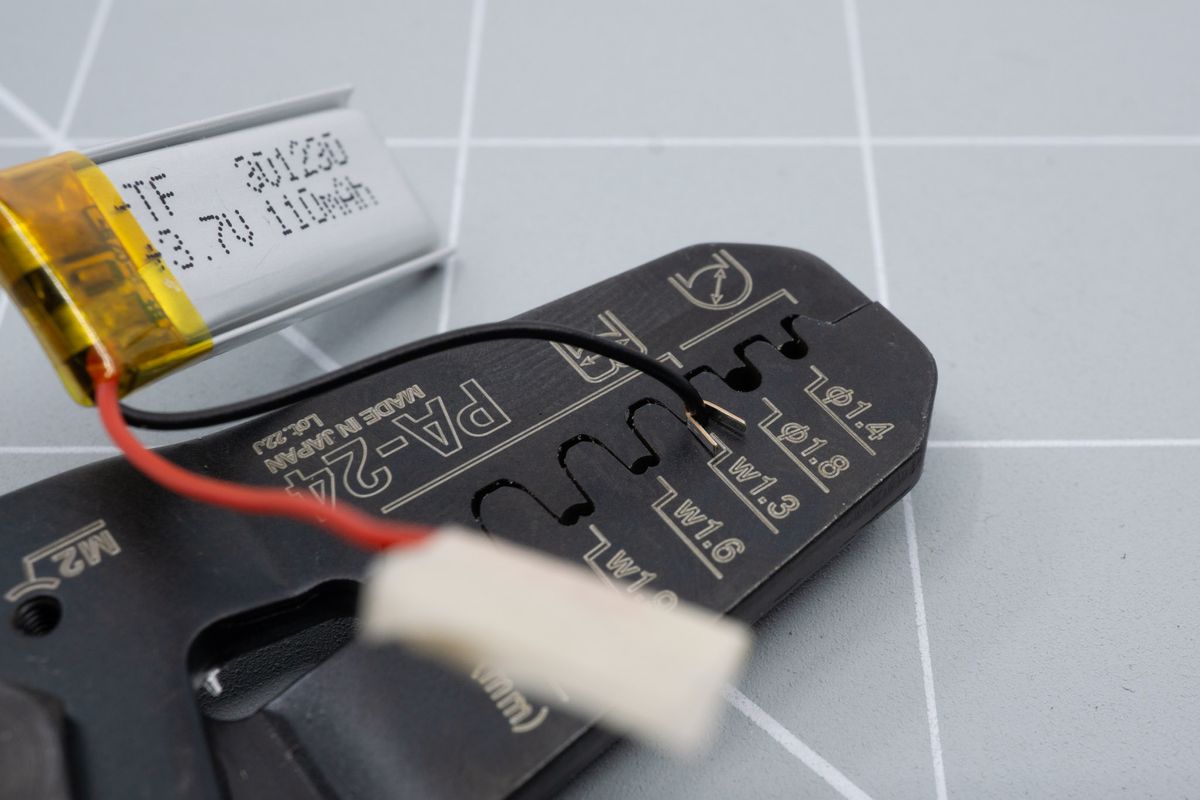
Crimping the first part of the connector.
It should look similar to this.
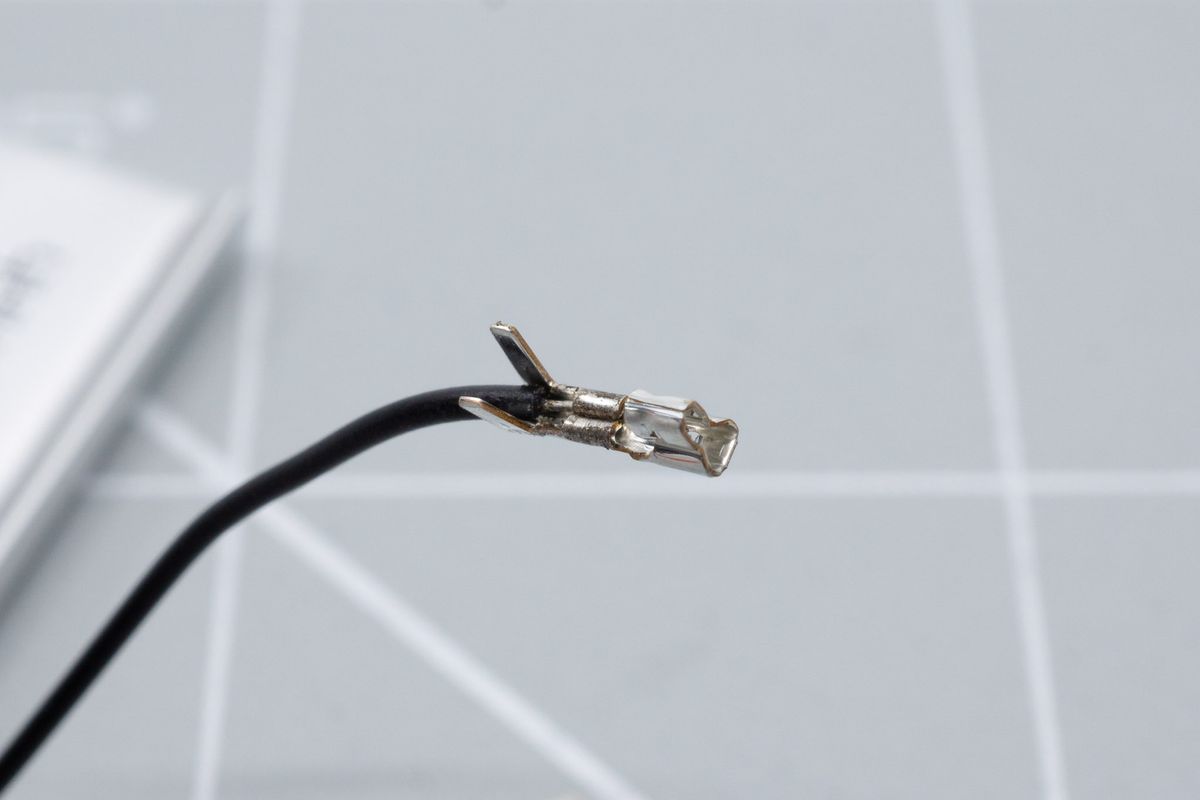
The first part of the connector makes the electrical connection between the cable and the connector.
Now stick the longer leg part in to the 1.6mm crimping spot and squeeze it tight as well. You should end up with something looking like this.
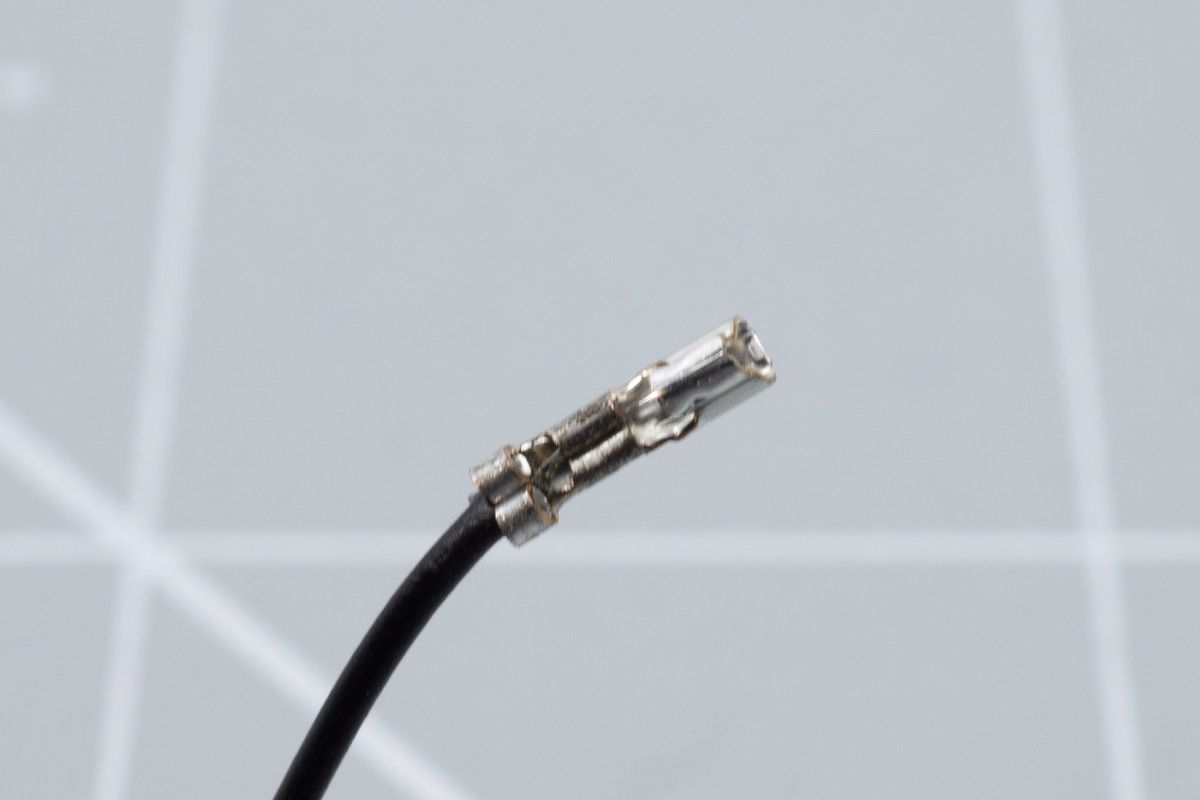
The second part clamps down the cable housing, to alleviate stress from the electrical connection.
Using a JST jack with pliers
Using pliers is quite a bit trickier. You should hold the connector in the pliers like the picture below so when you when you place the cable in the connector you can squeeze it. Don’t squeeze too tight yet. We just want to hold it like this to be able to bend the metal parts over the cable.
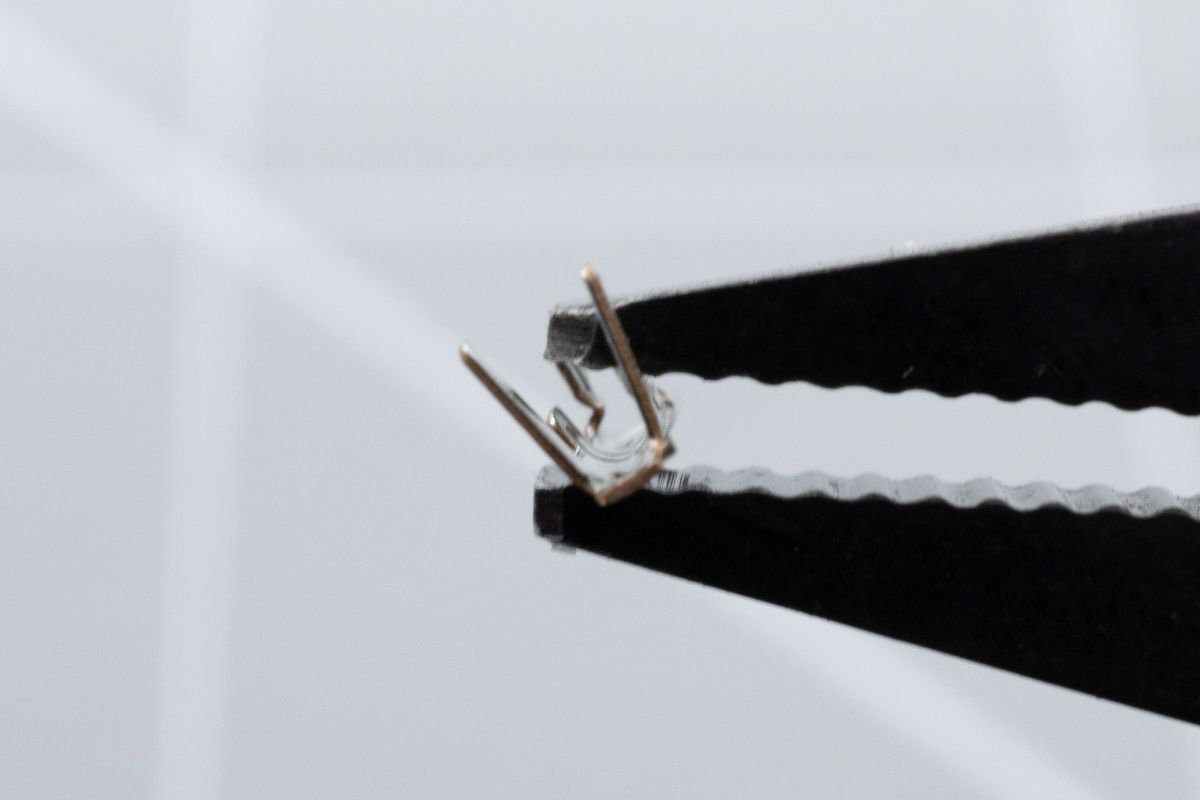
Clamp the connector, one leg at a time.
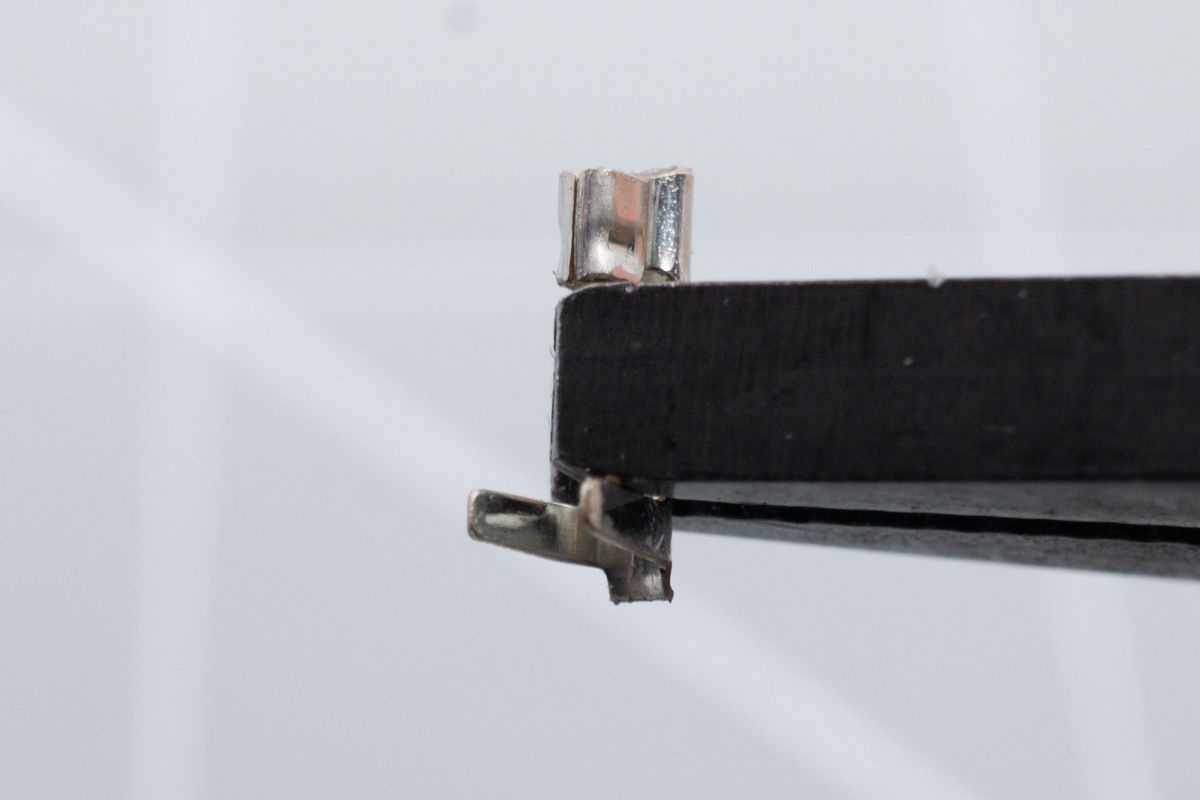
Viewed from another angle. Don't squeeze it just yet.
Insert the cable and bend over the legs over the cable. This can be quite tricky. The red positive cable is pictured here but always start with the black wire!
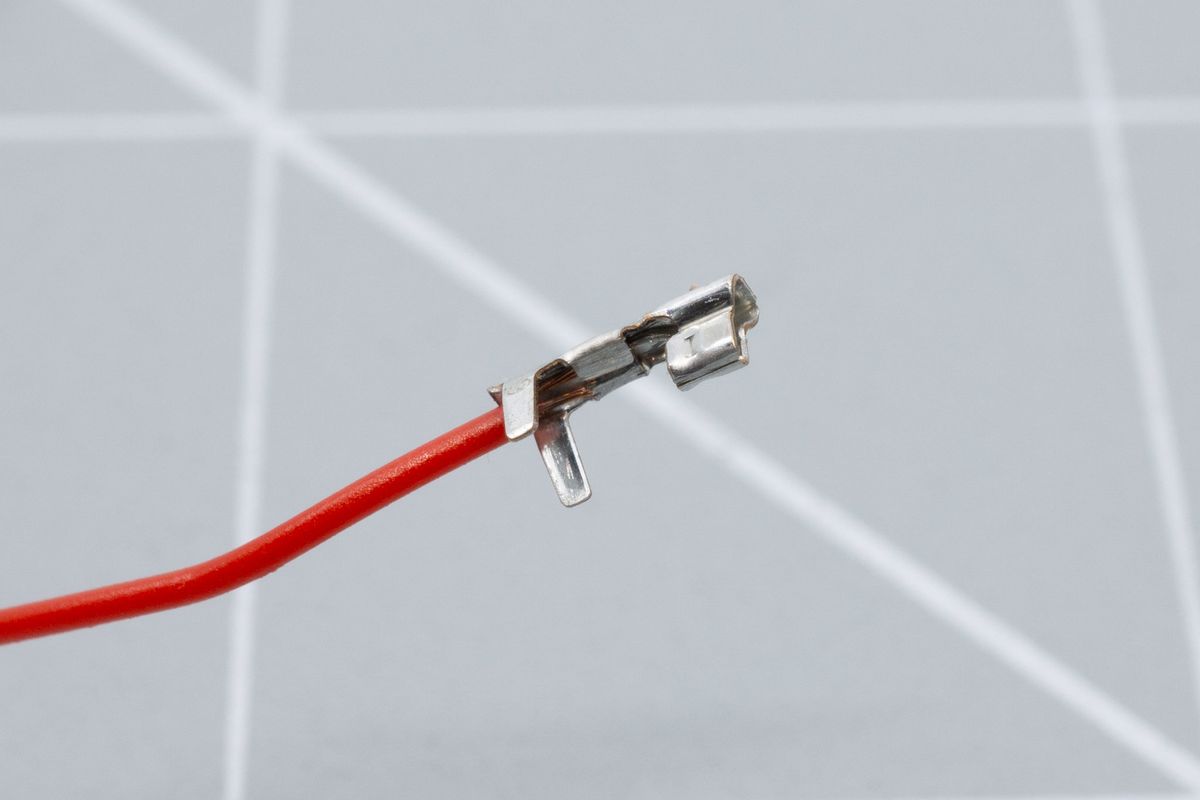
The cable, clamped in place by the first set of connector legs.
When the cable doesn't pull out anymore, you can also bend over the longer legs.
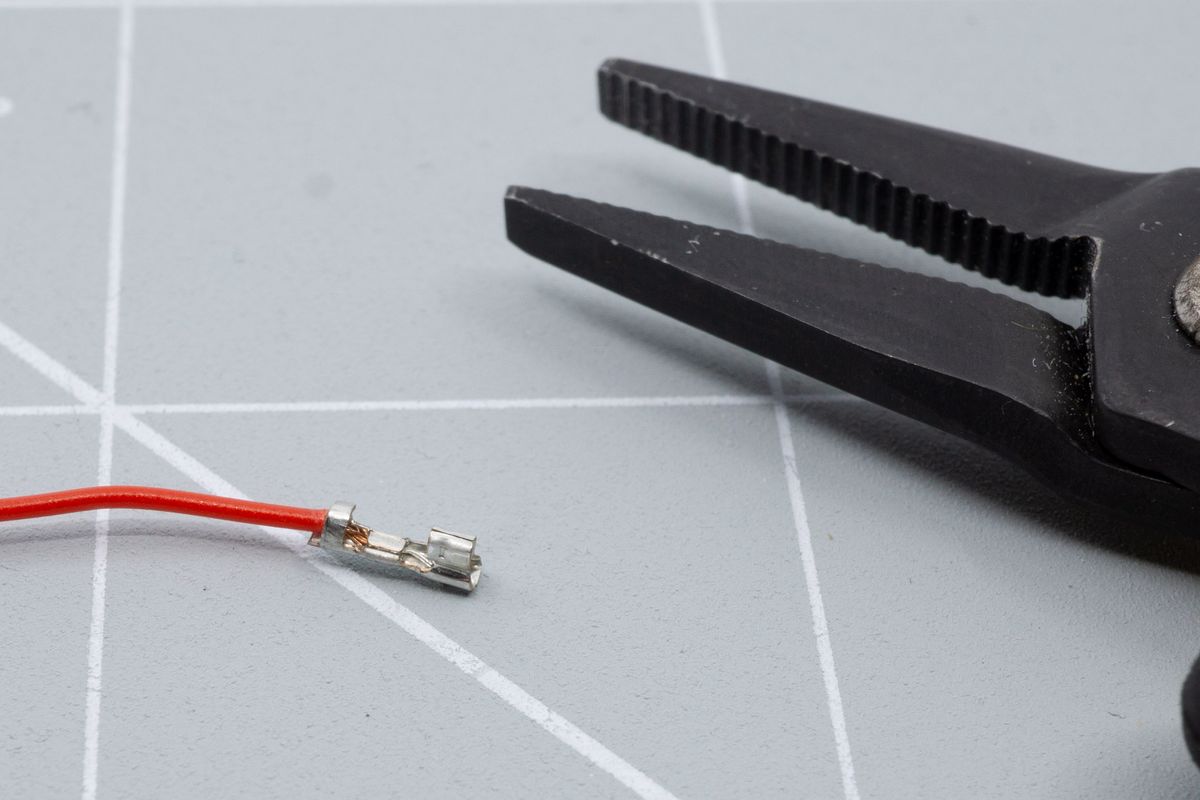
The first leg bent of the second set of legs on the connector, which relieves force from the electrical connection.
Of course, finish by clamping the last leg, too.
Inserting the connectors into the JST plug
Before inserting the JST connector into its body, double check to make sure you put the correct polarity in the correct spot. The easiest way to do this, is to look for the little plus and minus sign on the PCB.
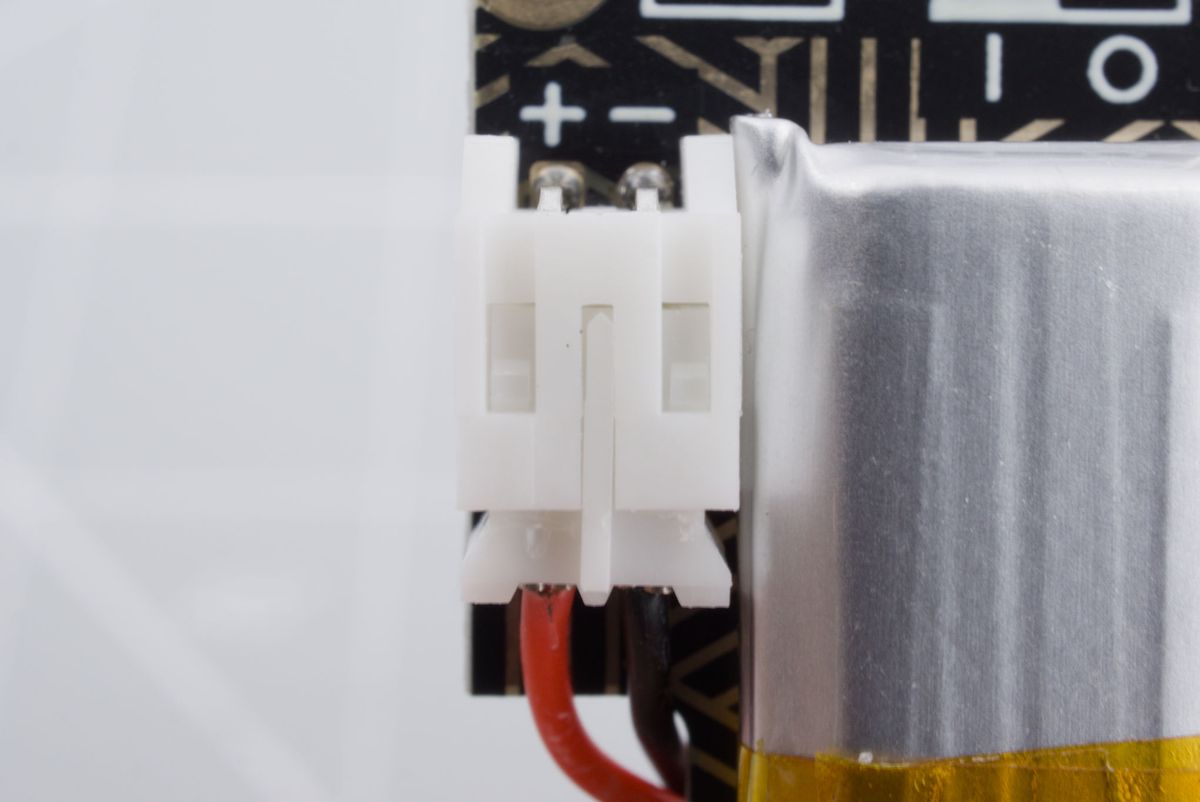
The minus and plus icons show which side should take ground (black, minus) and the voltage supply (red, plus).
The black cable should be put in to the left side when looking from the front, with the tab part sticking up.
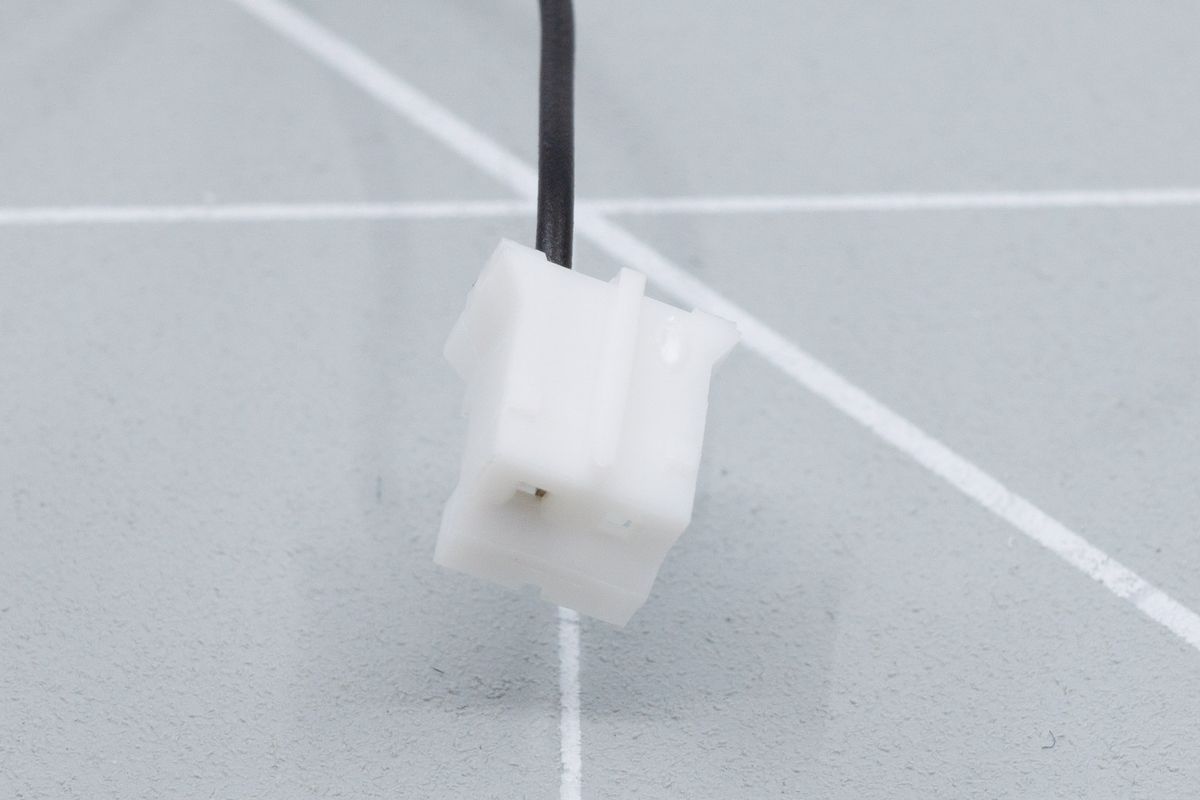
The plug housing shows a fin facing upward, which slides into a similarly shaped slot on the connector.
When inserting, make sure the connector is in the correct orientation compared to the plug. Look at the image and compare with your own work.
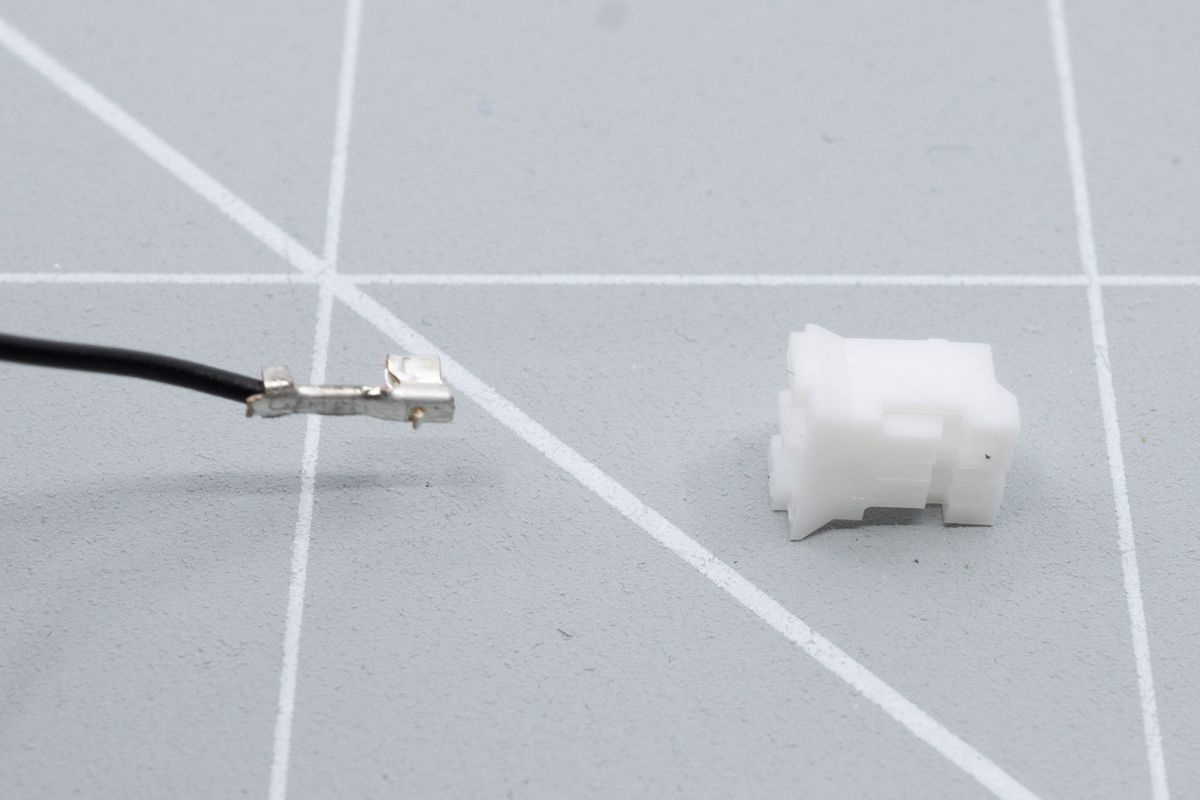
Readying the cable for insertion into the plug.
Make sure to push the connector al the way in to the JST plug. You may or may not hear a little clicking noise. You can confirm it’s all the way in when the metal lip is above the little plastic wedge.
If you used pliers, it might not fit directly and you may need to squeeze the sides of the connector and try again.
After inserting the black wire, do the same steps for the red wire.
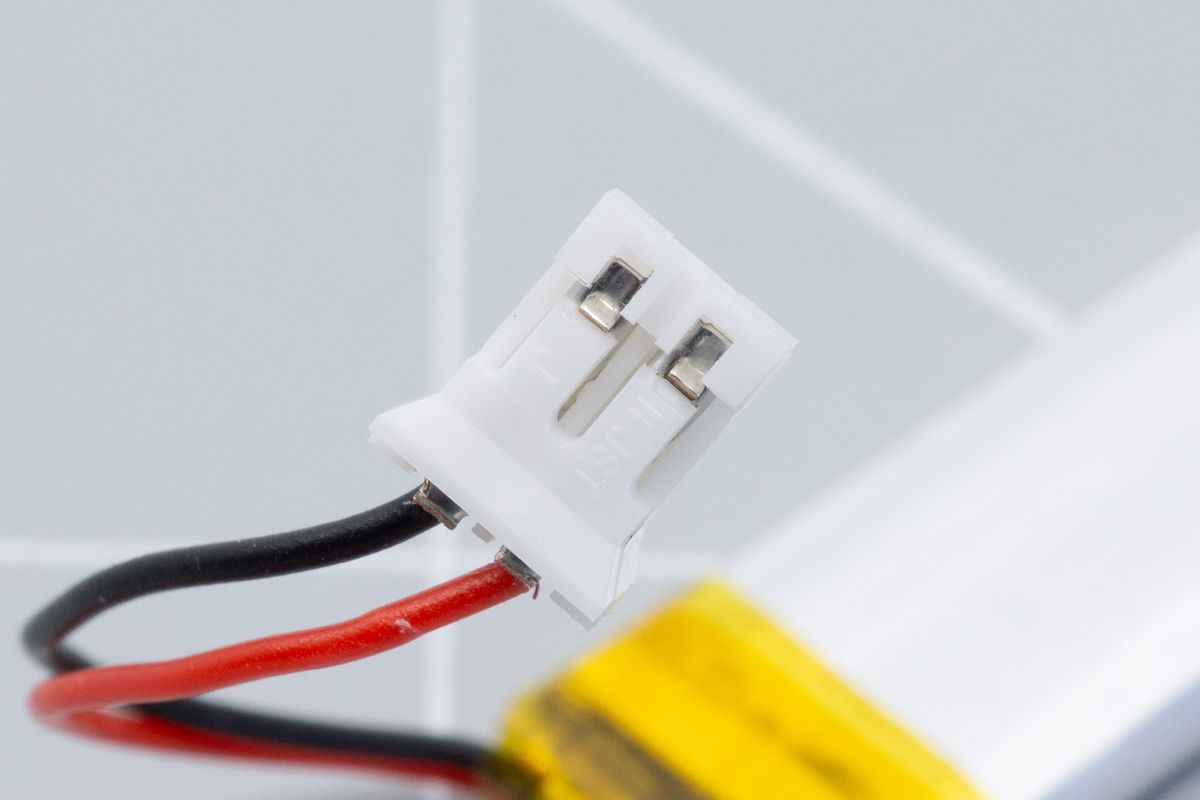
Both wires inserted into the JST plug. A little metal tab keeps the cables in place.
Congratulations! You added a JST plug to your battery.
Replace or remove a module
How to replace or remove a module.
Soldering an encoder
Solder an encoder to your Halcyon keyboard.